How to replace a broken front panel on your iPad
Breaking the glass on your iPad might not stop it from working, but can make it difficult and unsafe to use. Here's a step-by-step guide to fixing a broken front panel on your iPad 2 or iPad 3.
If you crack the front panel on your iPad, you can either live with it, buy a new one, or fix it.
For those with an AppleCare+ or other warranty that covers accidental damage, the choice is obvious. Get the unit fixed or replaced. If your iPad isn't under warranty, you don't want to buy a new one, and you're ready to tackle a challenging, but satisfying do-it-yourself fix, here's a guide for replacing the front panel.
Before you begin
Before you tackle this fix, I encourage you to watch my video on what to know before trying to fix a smartphone or tablet. It will help you decide if you should tackle the repair yourself or take your iPad to a shop.
And lastly, understand that by following the instructions in this video, you do so at your own risk. Neither CNET nor any of its representatives can be held responsible for injury, damage, or loss of data.
Getting replacement parts and tools
Before you begin, you'll need to get the necessary replacement parts and tools. For this fix, we're just replacing the front panel--not the LCD. We'll be reusing the Home button and camera bracket from the old panel, as they aren't damaged.
You can buy replacement panels online for between $50 and $150. Just be sure that you buy the right one for your iPad. And depending on where you buy the panel, it may come with pre-cut adhesive strips. If it doesn't, you'll need to buy them or cut your own strips from double-sided tape.
As for tools, you'll need a hair dryer or heat gun, a few thin metal blades, several plastic spudgers, guitar picks, or plastic case opening tools, and a Phillips #00 screwdriver. Again, you can pick these up online if you don't have them.
Lastly, I'm using an iPad 2 as the guinea pig in this article. But the same basic steps can also be used to replace the front panel on the iPad 3.
1. Back up your data
Just in case anything goes wrong during the fix, you should back up all the iPad's data using iCloud or iTunes.
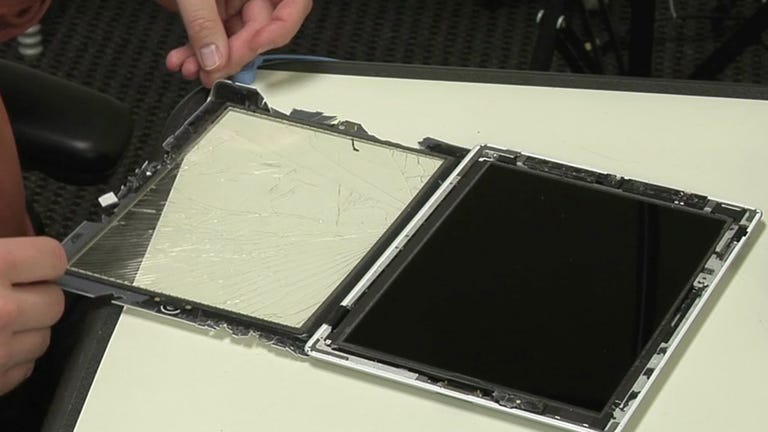
2. Remove the broken panel
With your data safe, heat the panel's edges with the hair dryer or heat gun. This loosens the adhesive that holds the panel to the iPad's metal case. Heat a small area until you can easily insert a thin tool between the panel and case. Gently pry them apart. If the panel doesn't easily come away from the case, keep heating the area. Also, take care not to insert the tool too far into the iPad as this can damage the LCD and other internal components.
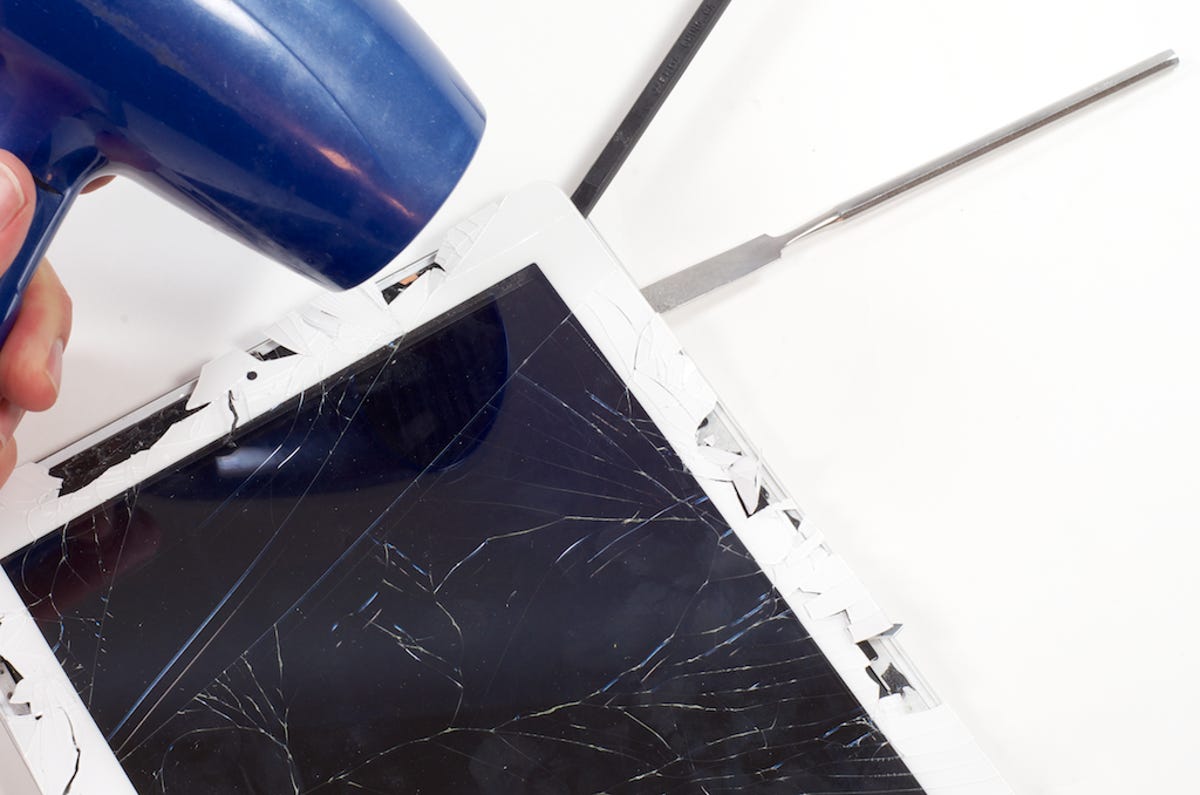
Once you've created a small gap in one area, work your way around the edge--heating and prying as you go. You'll need to leave spaceholders (like a plastic spudger or guitar pick) in the separated sections, to prevent the panel and case from sticking back together.
You'll also need to be very careful when working to the right of the home button. The Wi-Fi antenna is attached to the panel here, and you'll need to gently pry it loose without damaging it.
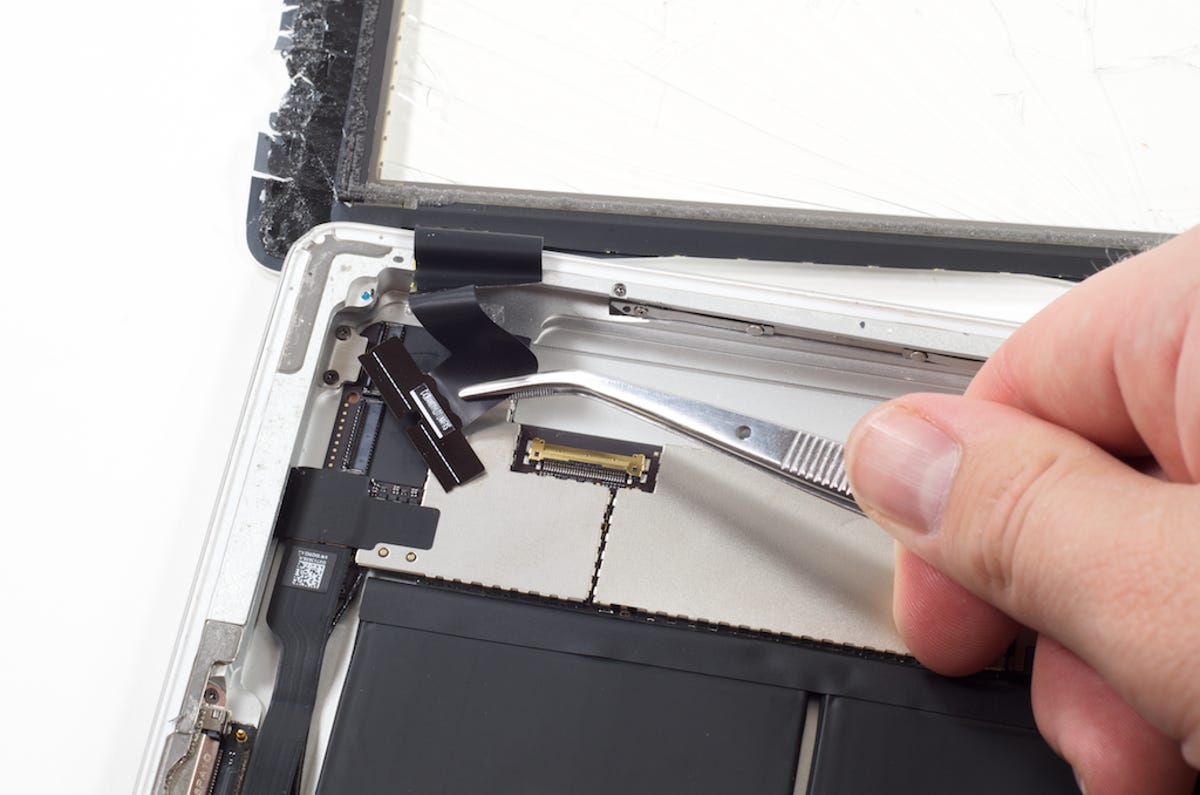
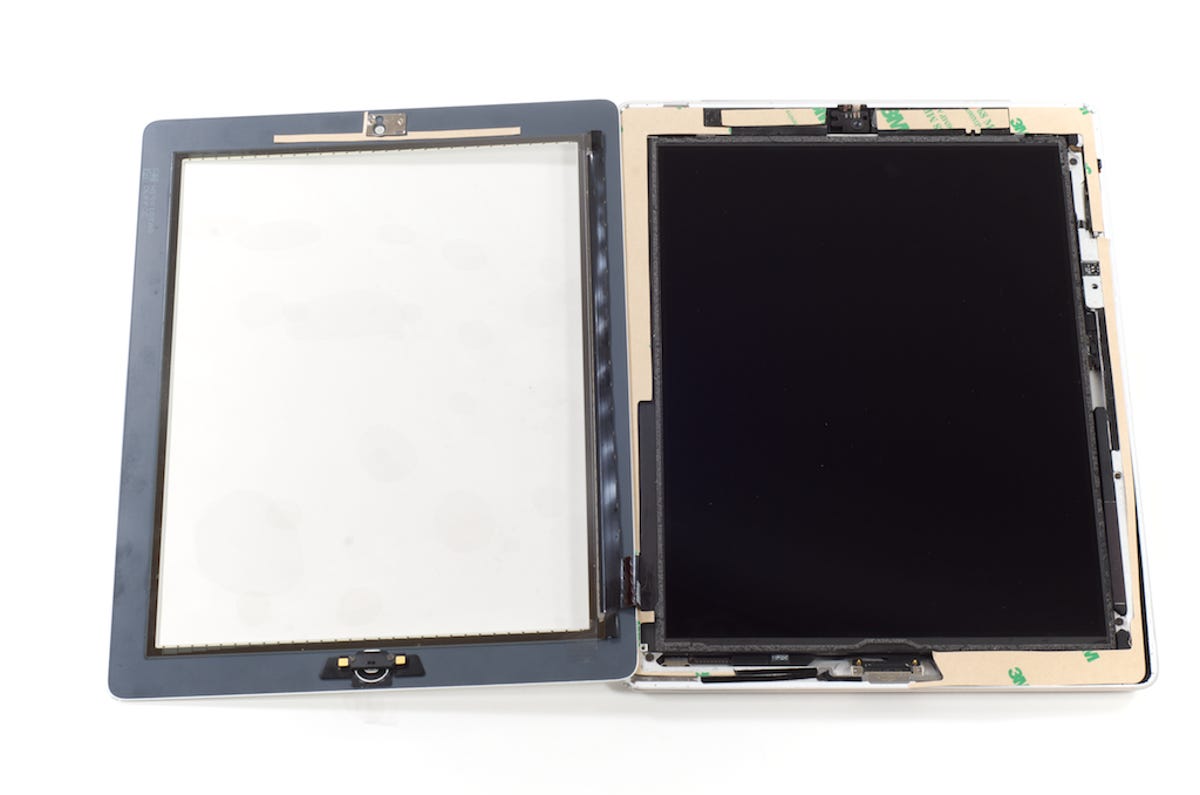
Then disconnect the LCD connector from the main board and set the display somewhere safe.
You can now disconnect the broken panel. First, carefully flip up the two locking levers on the digitizer cable connector. As you remove the ribbon cable from the connector, you'll also need to gently peel it away from the main board's metal shielding.
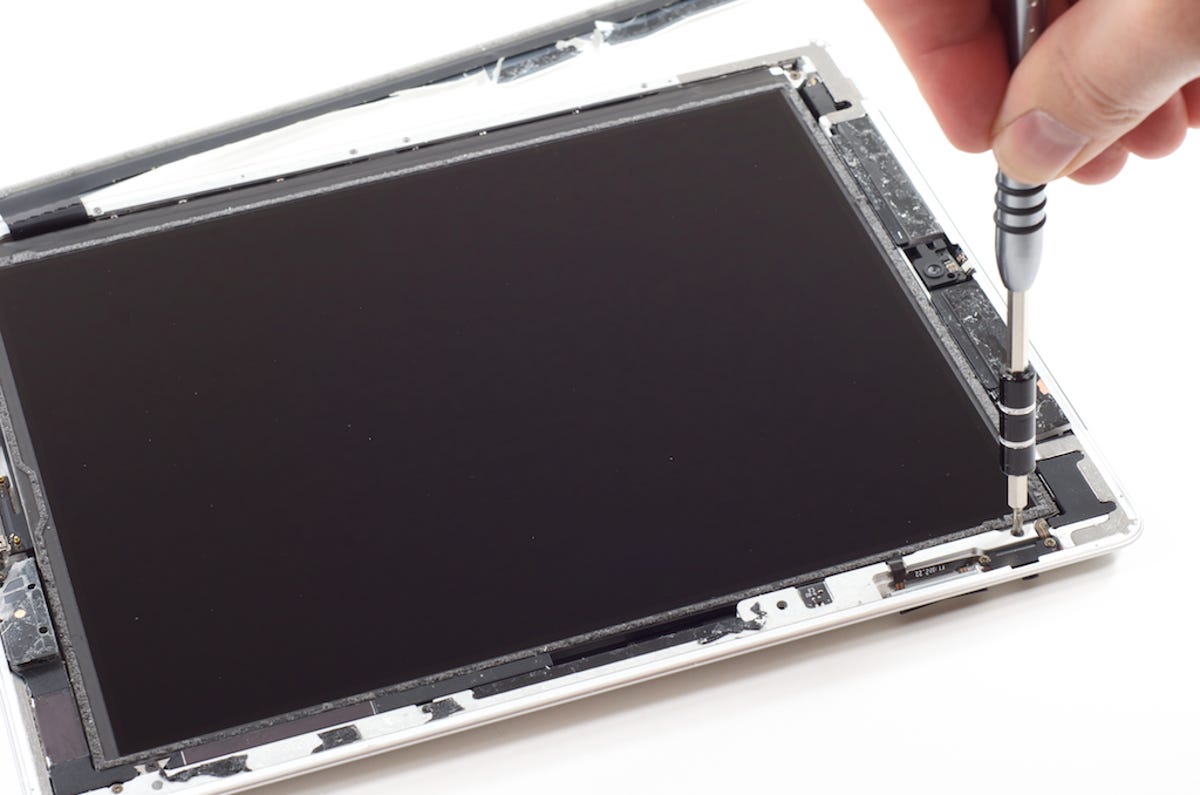
3. Remove the home button and camera plate
With the broken panel completely detached, you can remove the home button contact using the Phillips screwdriver. Then using the hair dryer again, heat and remove the bracket and button. Likewise, heat the metal camera plate and pry it loose with a thin blade.
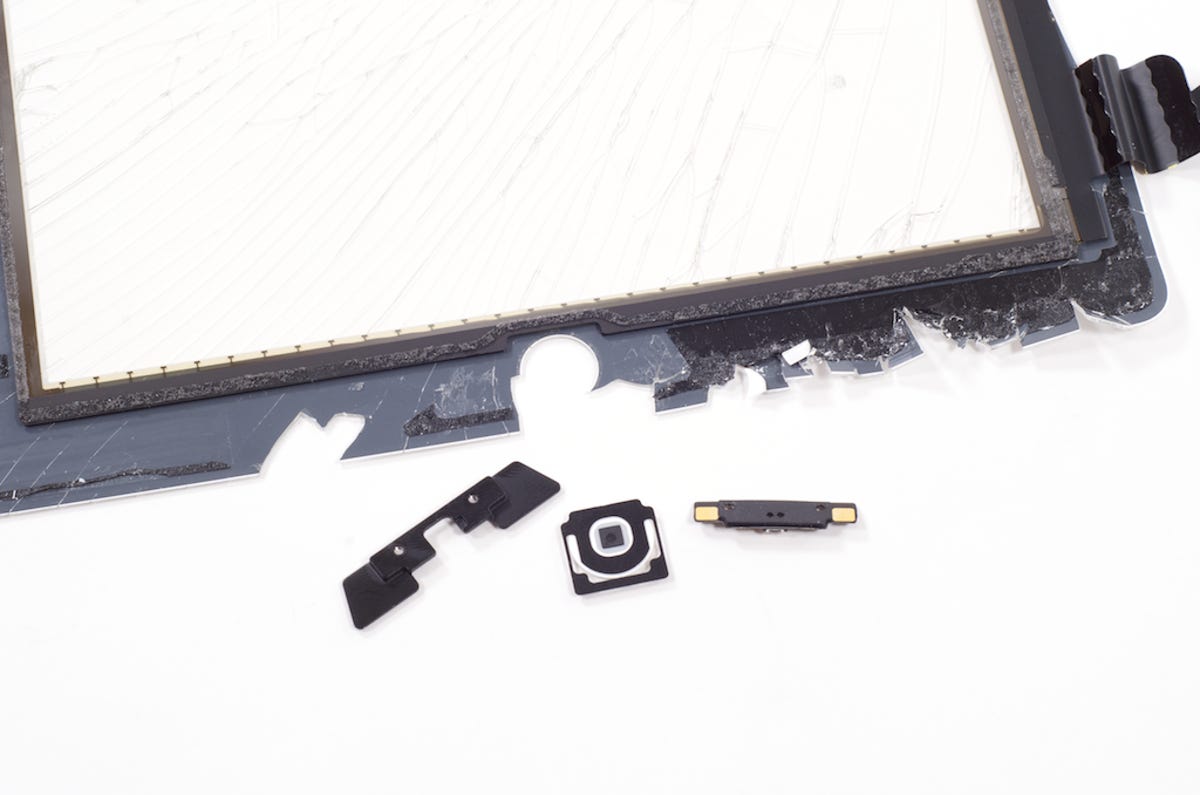
4. Install the home button and camera plate on the new front panel
Using the pre-cut adhesive strips or double-sided tape, attach the camera plate to the new panel. Do the same for the home button and the button bracket. Then reattach the home button contact with the screwdriver.
At this point, we're just testing the panel's fit and functionality, so we've haven't applied any of the adhesive strips. Turn the iPad on and verify everything works. If it does, turn the unit off, lift open the panel and apply the adhesive strips.
Before closing the panel for the last time, carefully inspect the LCD and inside of the panel for dust. If you see any, gently remove it using a microfiber cloth or puff of air. Avoid touching the inside of the panel's viewing area or the LCD with your fingers or anything else that might damage these surfaces. Once you're sure both surfaces are clean, fold the front panel back onto the metal case and press firmly, but gently along the edges. After removing the panel's protective film (if it has one), your fix is complete.
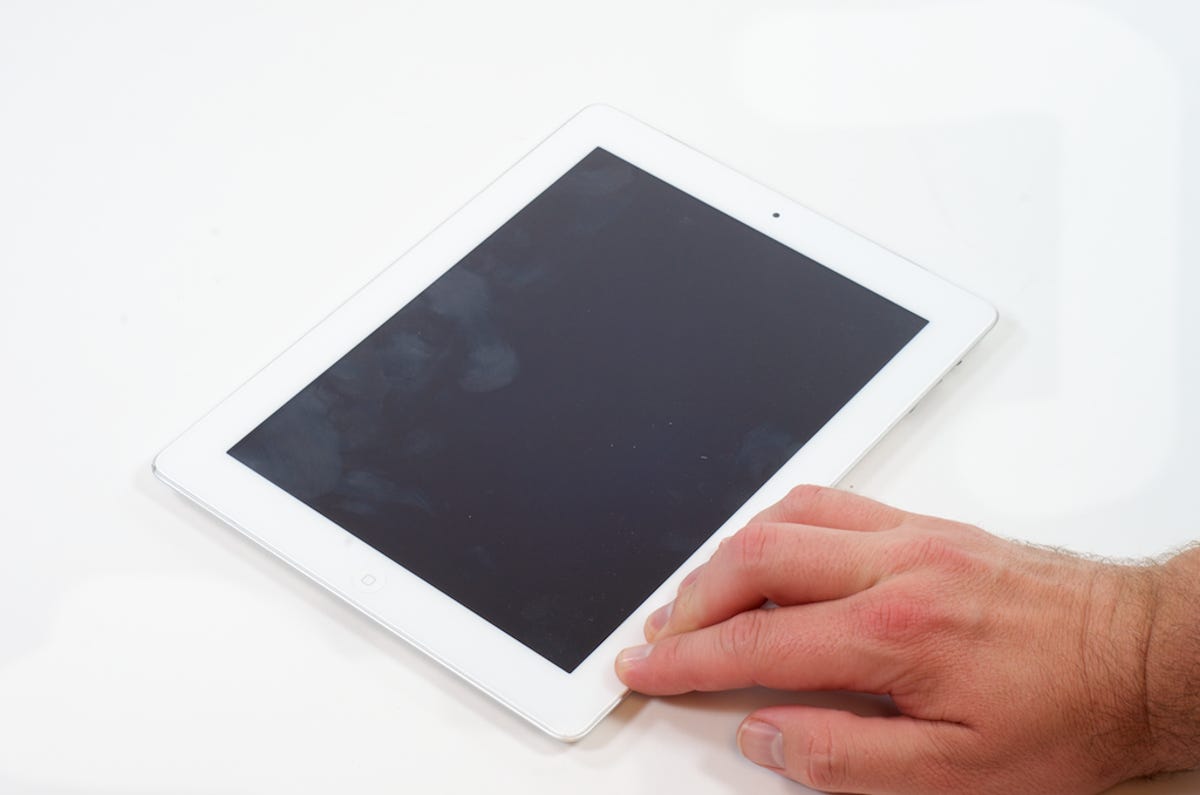
This is a tough fix. But when done successfully, it can breathe new life into a broken iPad.
For more teardown photos of the iPad and other tech, check out my Cracking Open blog on TechRepublic.