Five tips for a perfect exposure
Learn to take better photos instantly with our guide to the finer aspects of exposure.


- Webby Award honoree, 2x Gold Telly Award winner
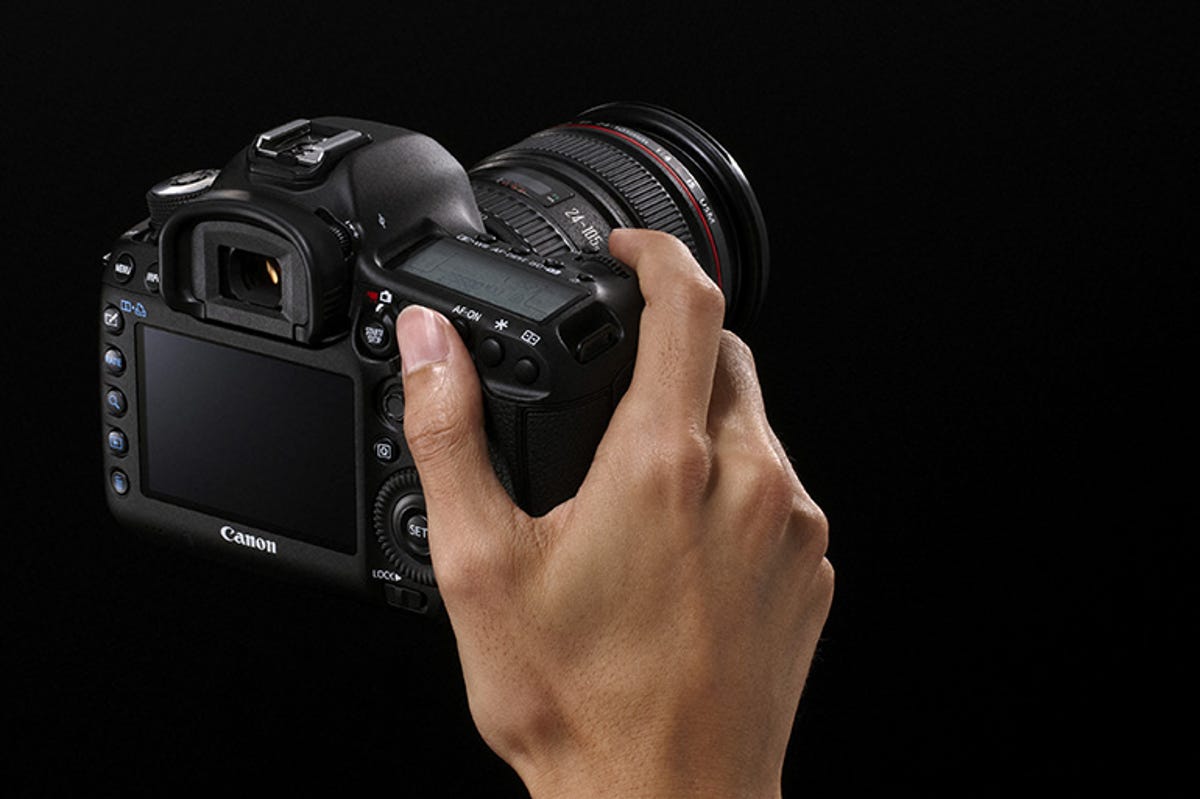
Digital cameras make it incredibly easy to take a photo at the correct exposure. There are several tools in your SLR that remove the guesswork from determining what your picture will look like once it has been taken.
Here are some tips on how to get a better exposure every time you take a photo.
Exposure bracketing
There will be times when your digital camera won't be able to accurately capture the photo you want to take because of a tricky lighting situation.
This might be something like a strong contrast between light and shadow areas within the scene. This is where bracketing comes in handy.
Bracketing is the name given to a series of photos that either the photographer takes manually or the camera takes automatically, at set intervals above and below the camera meter's "correct" reading for the exposure. These intervals are generally in stop increments.
For example, if the camera gives you an exposure of 1/125 at f/5.6, ISO 100, you may decide to bracket your exposure one stop either side, at 1/60 and 1/200, keeping your aperture and ISO constant.

Auto exposure bracketing (or AEB) may be an option available depending on how recent and how advanced your SLR is -- check your camera manual to see if you have the feature. You can select the interval at which the camera will bracket, for example, +1EV and -1EV. Once you press the shutter button, the camera will automatically take the first bracketed frame and will continue to bracket for as many frames as you selected.
Another instance where bracketing is useful is for once-off images which you can't retake. For example, you may see wedding photographers bracket their shots to make sure they have the best chance of a correct and usable exposure.
Bracketing is also how HDR (high dynamic range) images are made, by merging multiple exposures of the same scene into one.
Exposure compensation

An alternative to manual or automatic bracketing is exposure compensation. All digital SLRs will have an exposure compensation button that tells the camera to underexpose or overexpose the scene in stop increments. This can be useful if you are not getting a desirable exposure straight out of the camera.
Depending on which shooting mode you're in, the camera will adjust either the aperture or shutter according to the increment that has been dialled in from the exposure compensation button.
Exposure compensation generally doesn't work in manual mode, as you have full control over the aperture, shutter and ISO values. It may adjust the reading from the light meter, but won't affect the final exposure.
The histogram
Learning to read the camera's histogram is one of the most useful tools for determining your exposure. Like the statistical chart that it is named after, the camera's histogram shows the distribution of tones across an image.
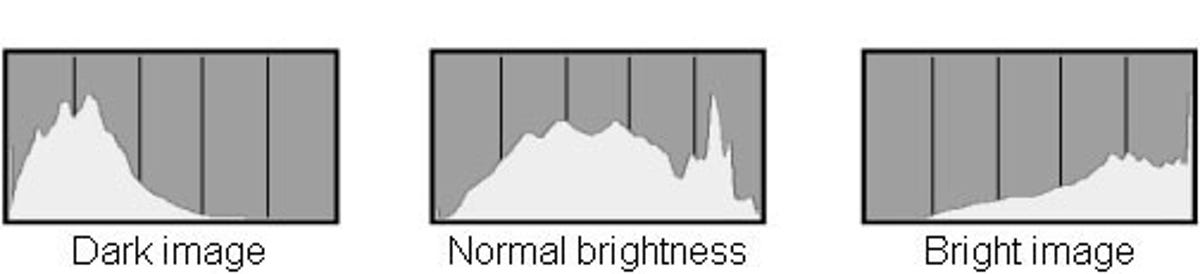
A histogram with bars pushed up to the extreme side of each range can be an issue, unless you are looking to under or overexpose for a deliberate effect. If your histogram has bars pushed up to the left, that means underexposed; bars pushed to the right means overexposure.
Playing with your exposure values (aperture, shutter and ISO) directly affects the histogram. The best way to use it is to keep the histogram active on your LCD screen as you compose an image. It is often triggered on the display using your SLR's display button or the information button, but again check your manual for details.
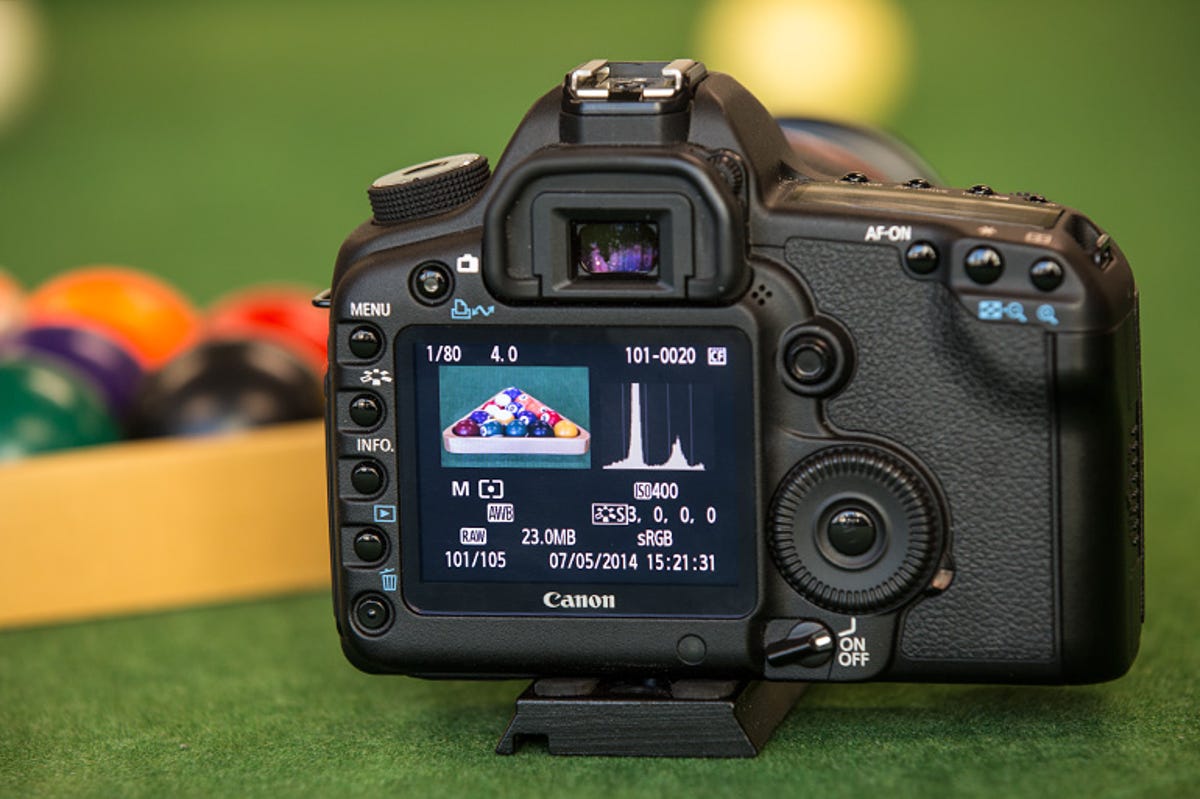
The histogram can also be activated when reviewing images in playback mode. For an excellent technical explanation of how to expose using your histogram, click here.
Using your camera's LCD might seem like a viable alternative to checking the histogram, but in many cases it won't give you an accurate reading of the exposure. However, if you do want to use the screen and avoid the histogram, change the brightness of the LCD screen making sure it is set to a medium value rather than overly bright or overly dark.
Most cameras will be able to playback photos and "flash" areas of the image that are under or overexposed. These are areas where the camera has blown out highlights or shadows, indicating a potential loss of detail.
Change the metering
A metering pattern is the method by which the camera sources the light to take a reading. Each manufacturer calls their metering modes something different, but below are the most common types you are likely to come across.
Centre-weighted/Average
The camera calculates the ambient light falling over a relatively large area of the frame, from the centre out towards the edges. This is useful for photos taken in landscape, and general photography when the entirety of the scene needs to be accounted for and correctly exposed.
Spot
The camera will determine the exposure from a very small area within the frame. Usually it's directly in the centre, but on some cameras the spot area is adjustable.
Use spot metering for objects and situations where you need a very accurate measurement of one particular subject, like portraiture or wildlife photography, or for backlit photography where there is a lot of light coming out from behind a subject.
Matrix/Evaluative/Multi-zone
This is used for taking readings from various points within the frame, or the active AF points, with the camera combining each one to determine the best overall exposure. Some cameras will also determine what sort of scene you are trying to photograph, and match it against a repository of predefined scenes in the camera to give you the best exposure for the scene.
By changing your metering mode to the most appropriate one for the scene, you can help get a better exposure than by leaving your camera on the default.
Shoot in raw
A raw file is the image as seen by the camera's sensor. Think of it like an unprocessed frame of film. Rather than letting the camera process the image for you, turning it into a JPEG image, a raw file gives you heaps of latitude to process the image to your liking.

Applying adjustments to araw image in a software package like Lightroom or Photoshop is a non-destructive method of editing your photos. Raw files give you much more scope for recovering detail if something goes wrong with your exposure. For example, if there are blown out highlights in your image, editing a raw file can help recover some of that information. Also, it lets you adjust white balance and is generally better for noise reduction than if you edit your camera's JPEG straight out of the box.
You can also tweak the exposure directly using a slider and see the result instantly on the image. This gives much more flexibility to fix your exposure if something went wrong in the first place.