View the steps involved for transferring you VHS home videos to digital files on your computer.
Donald Bell
Donald Bell has spent more than five years as a CNET senior editor, reviewing everything from MP3 players to the first three generations of the Apple iPad. He currently devotes his time to producing How To content for CNET, as well as weekly episodes of CNET's Top 5 video series.
You probably have a box or two of old VHS home movies gathering dust in the closet. This media format, as well as the VCRs used to play them, are a dying technology. The likelihood of a VHS comeback is slim to none, so why not take an afternoon to transfer these videos to your computer?
In this How To, I'll show you how to archive those videos to a digital format.
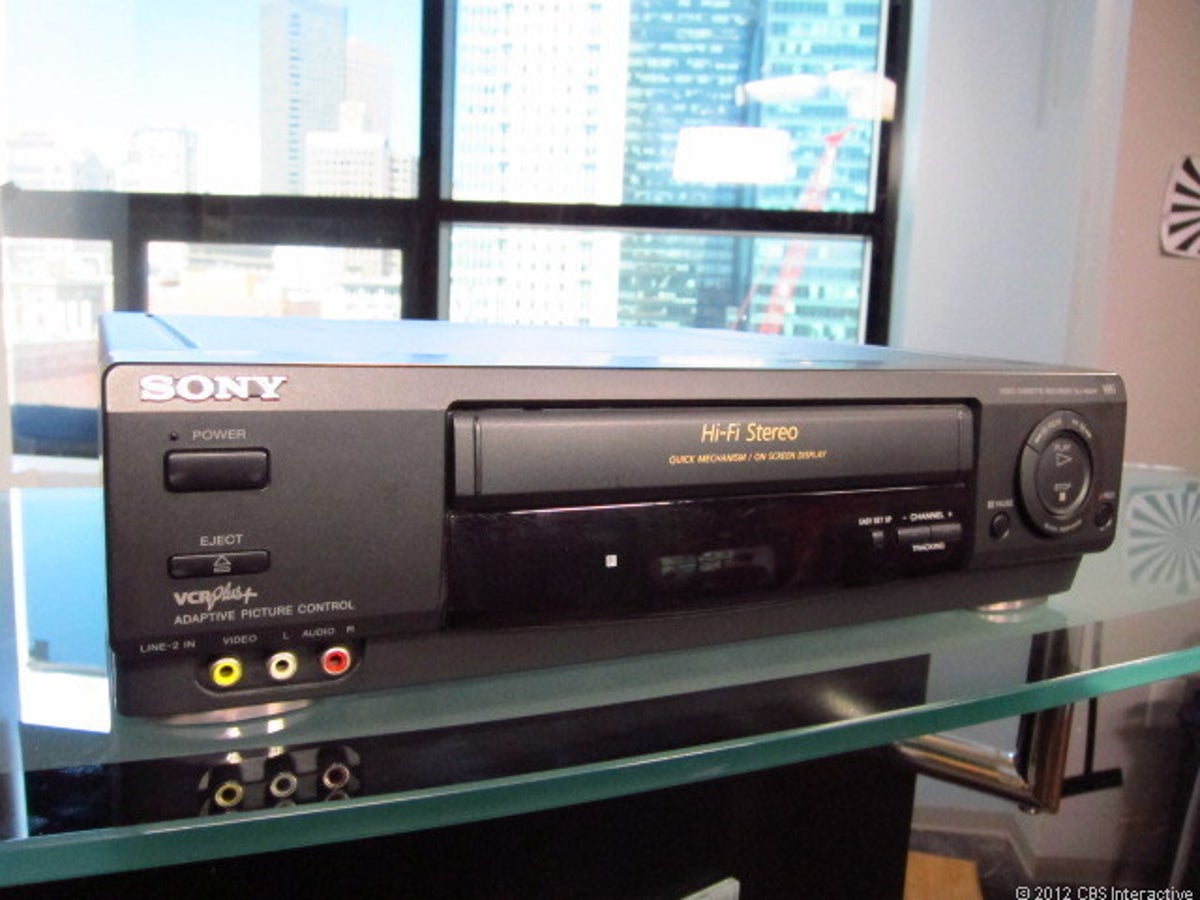
First, locate a VCR. If you don't have one already, check your thrift stores or check eBay. You shouldn't have to pay more than $20 for a used VCR in decent condition. If you're really in a pinch, you can still buy VCRs new, but they typically run around $100.
2 of 10 Donald Bell/CNET
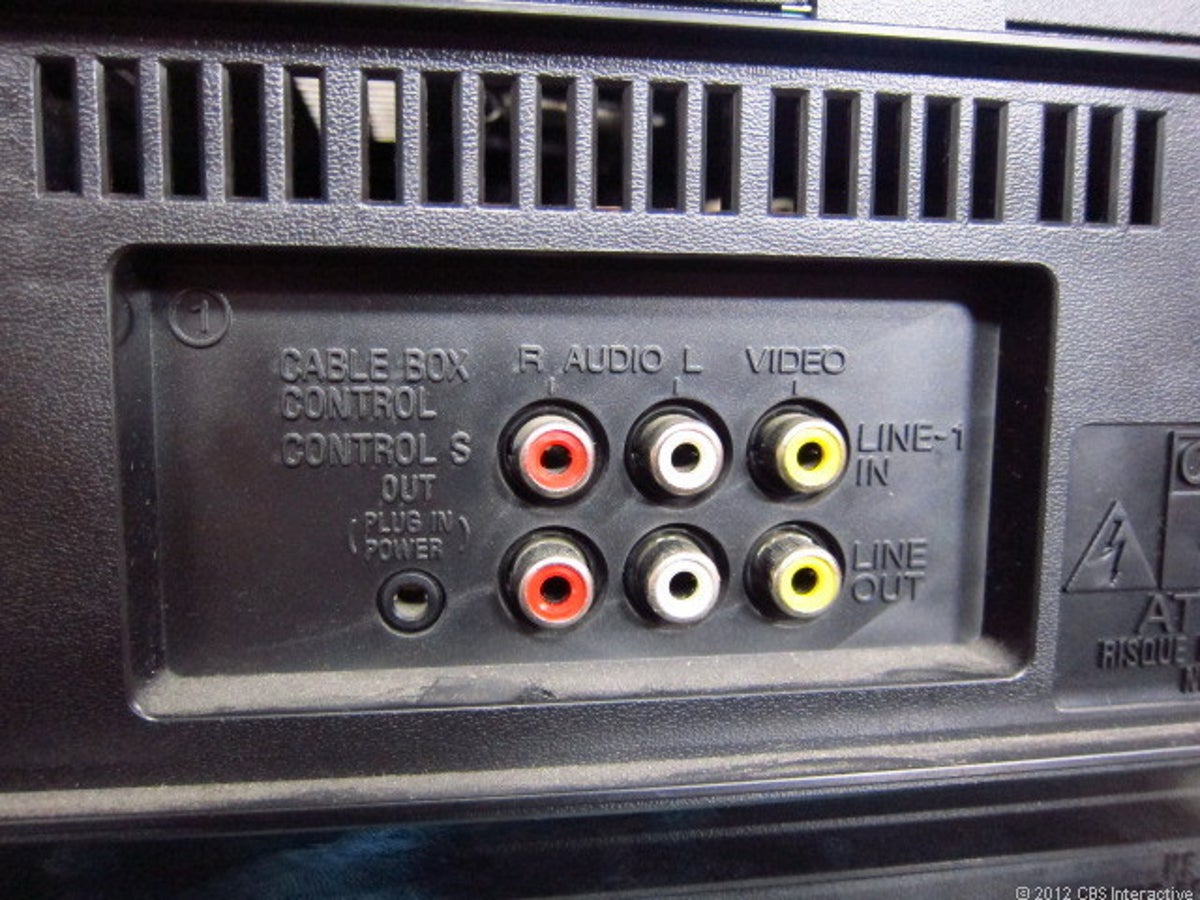
VCR outputs
You'll need a VCR with an audio and video output on the back. Video is that yellow connection. For audio, you'll see either a white connector for mono, or white and red for stereo. A lot of cheaper VCRs only have mono, but if we're talking about home movies here, it shouldn't be a big deal.
3 of 10 Donald Bell/CNET
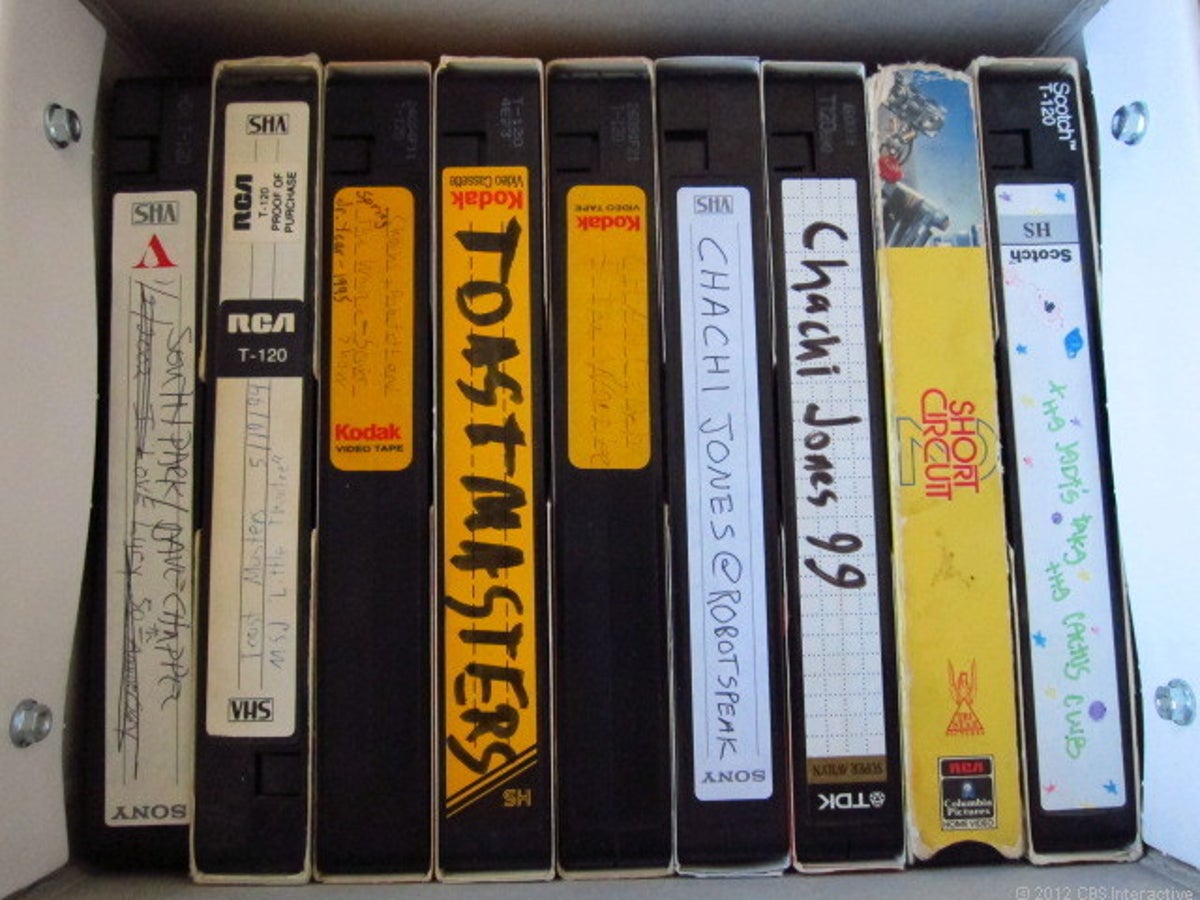
VHS tapes
Of course, you'll need a VHS tape to record from. Let me be clear that we're talking about transferring home videos, not copyrighted content like movies or TV shows. It's against the law and it really doesn't make any sense. Most copyrighted content can be picked up as a used DVD for a few bucks at this point, so don't break the law or waste your time.
4 of 10 Donald Bell/CNET
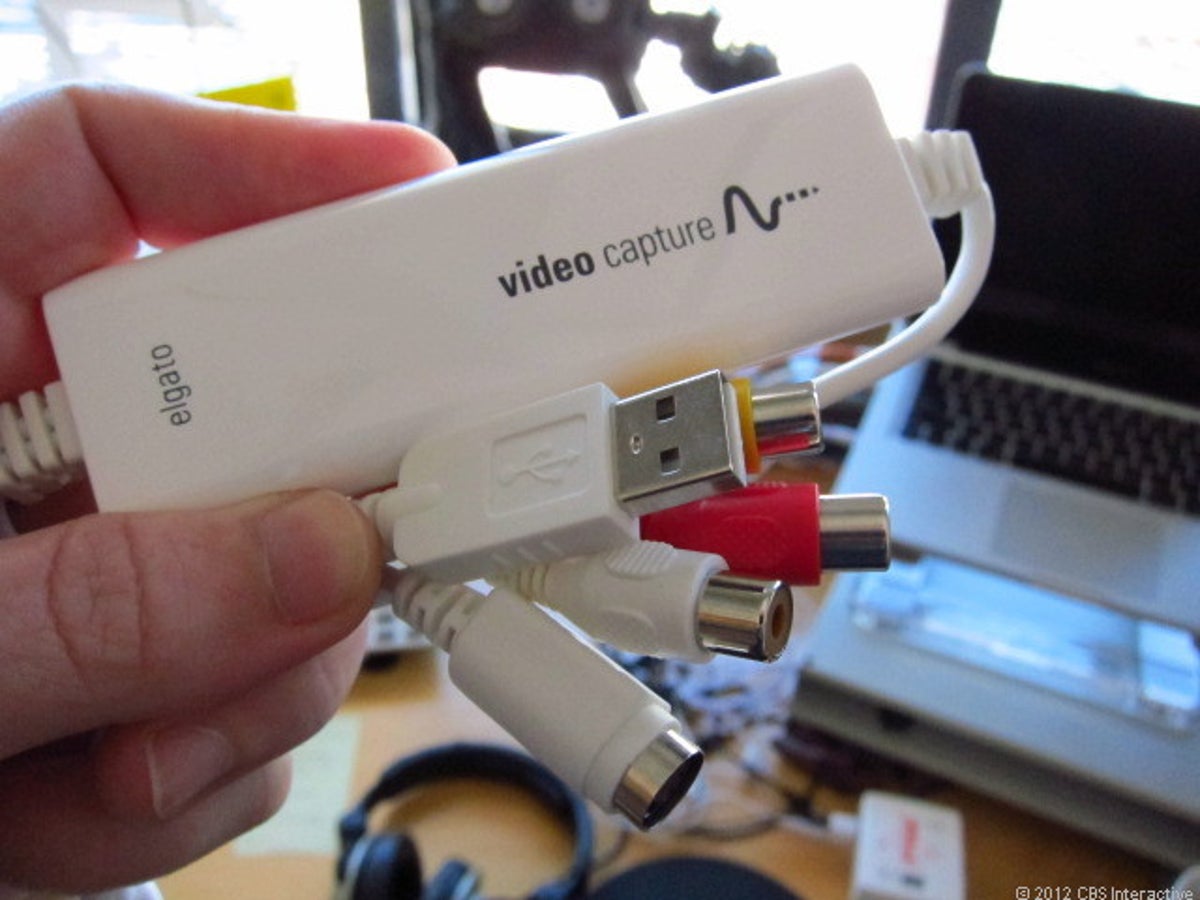
Elgato Video Capture
The most critical component you'll need is an adapter that will connect between the computer and VCR. The one I'm using here is the Elgato Video Capture; it's around $80, and I chose it because it's compatible with both Macs and PCs. You simply connect the RCA connectors to the output of your VCR, and connect the USB end to your computer.
You'll also need to install the software that comes with your video capture adapter. Elgato's is fairly straightforward, walking you through the process of testing your setup, capturing video, and editing the result.
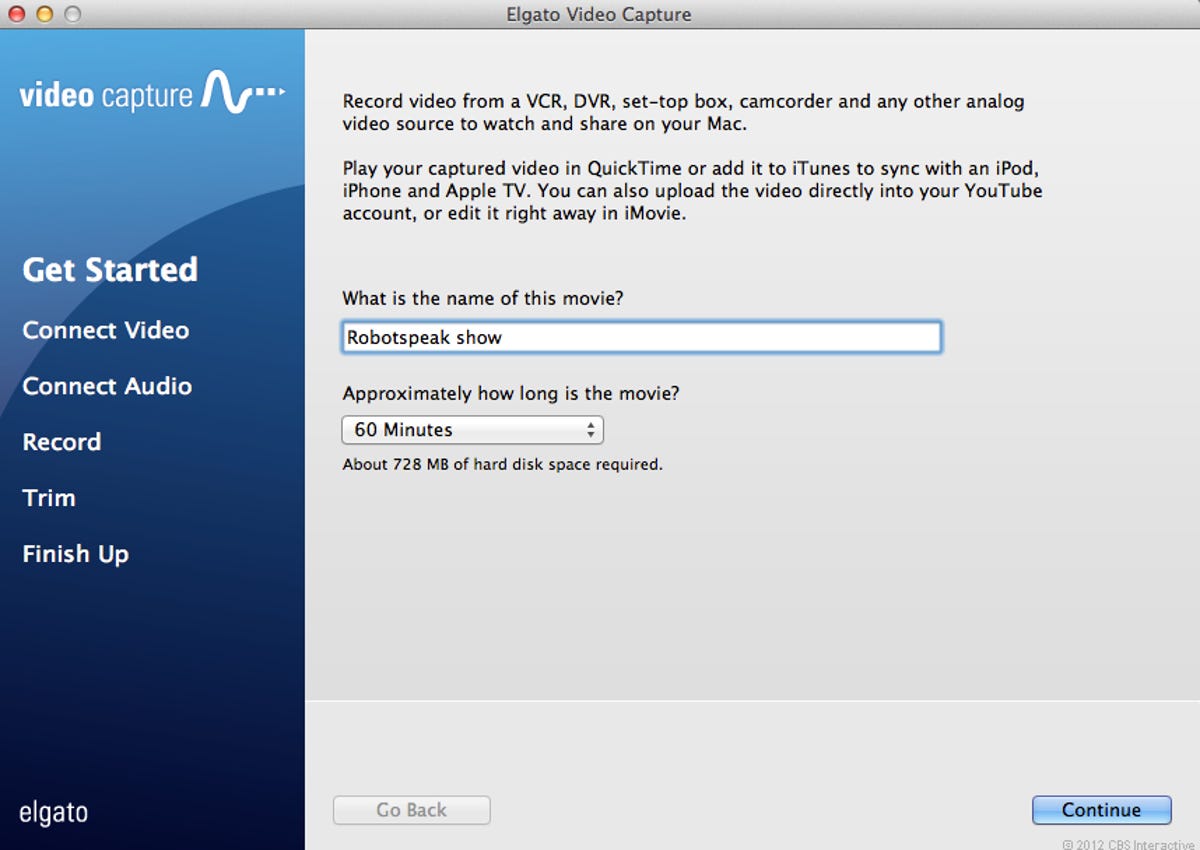
In the first step, the software will prompt you to name your video, and estimate the length of your recording.
6 of 10 Donald Bell/CNET
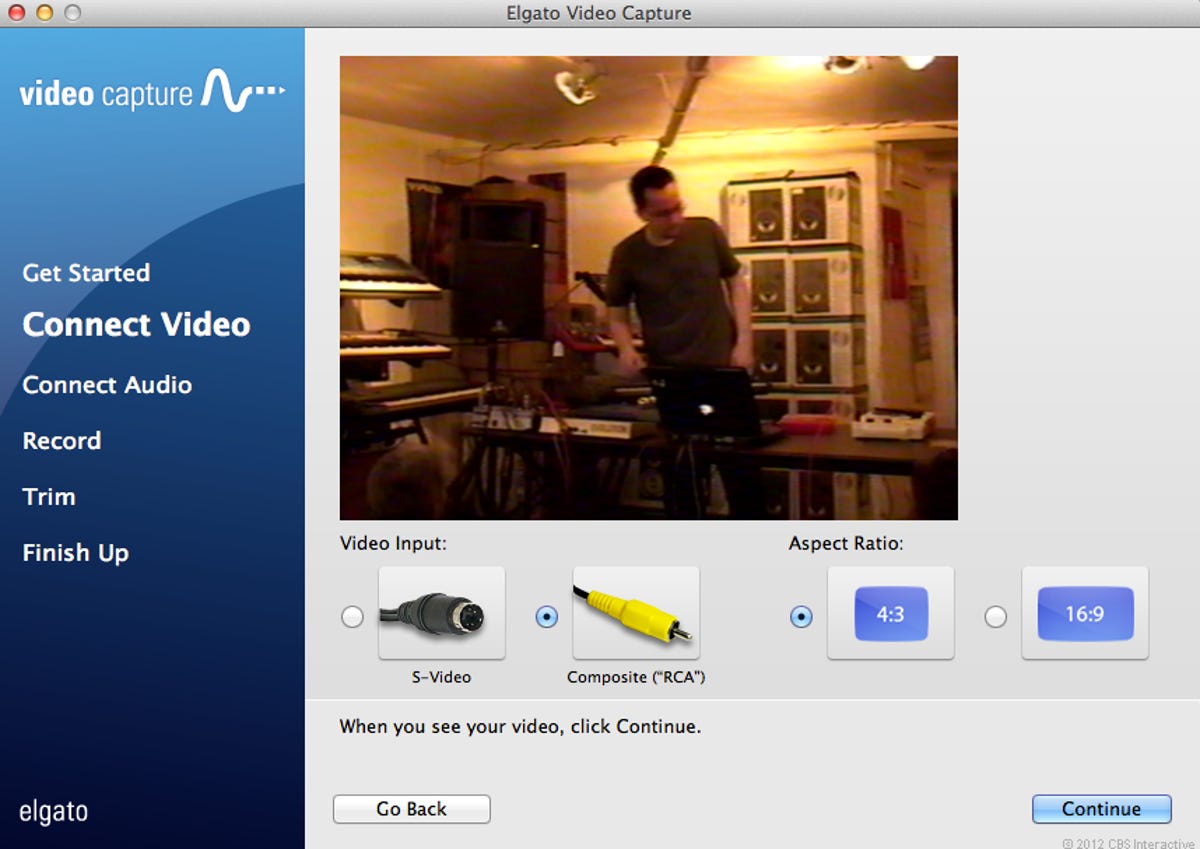
Software setup, Step 2
In Step 2, you'll see a preview window where you can confirm that the video is displaying correctly from your VCR.
7 of 10 Donald Bell/CNET
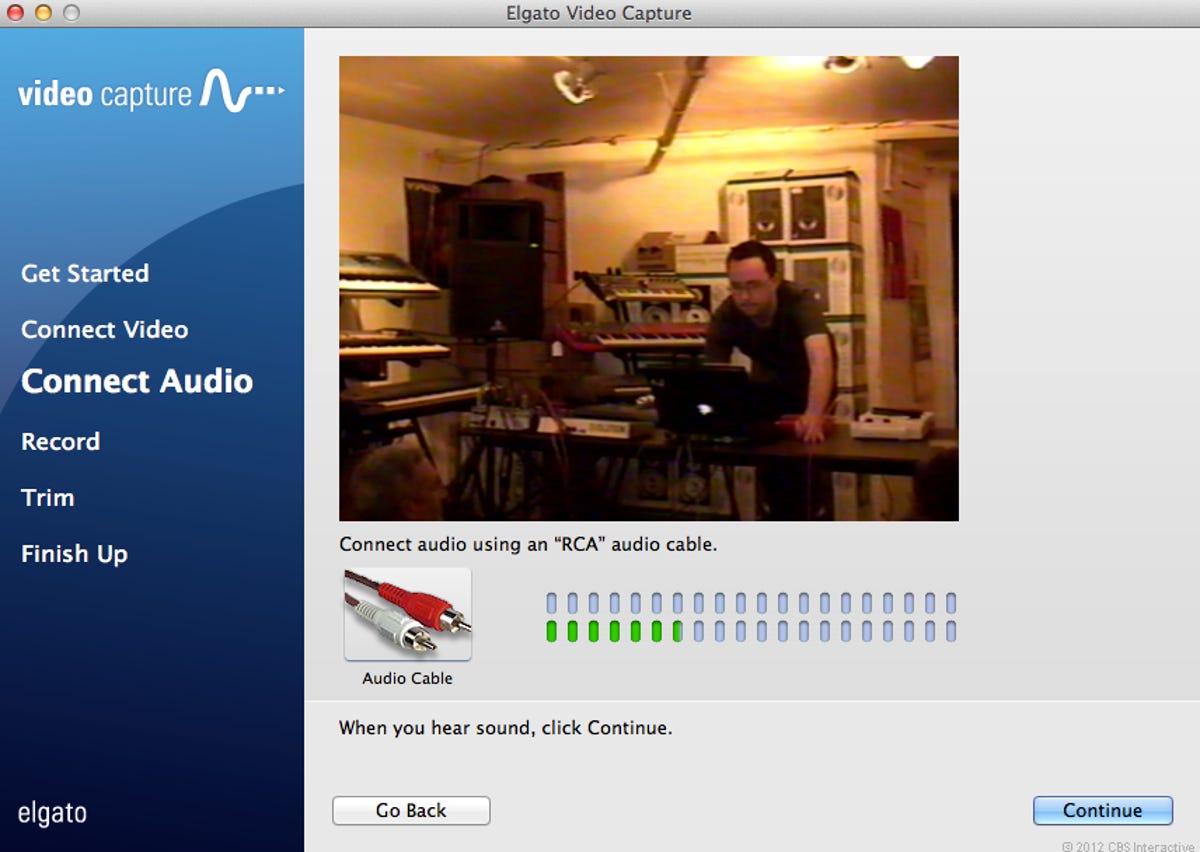
Software setup, Step 3
In Step 3, you'll see an audio input meter that can give you an indication of whether audio is coming through. With the speakers turned up on your computer, you should be able to hear the audio, as well.
8 of 10 Donald Bell/CNET
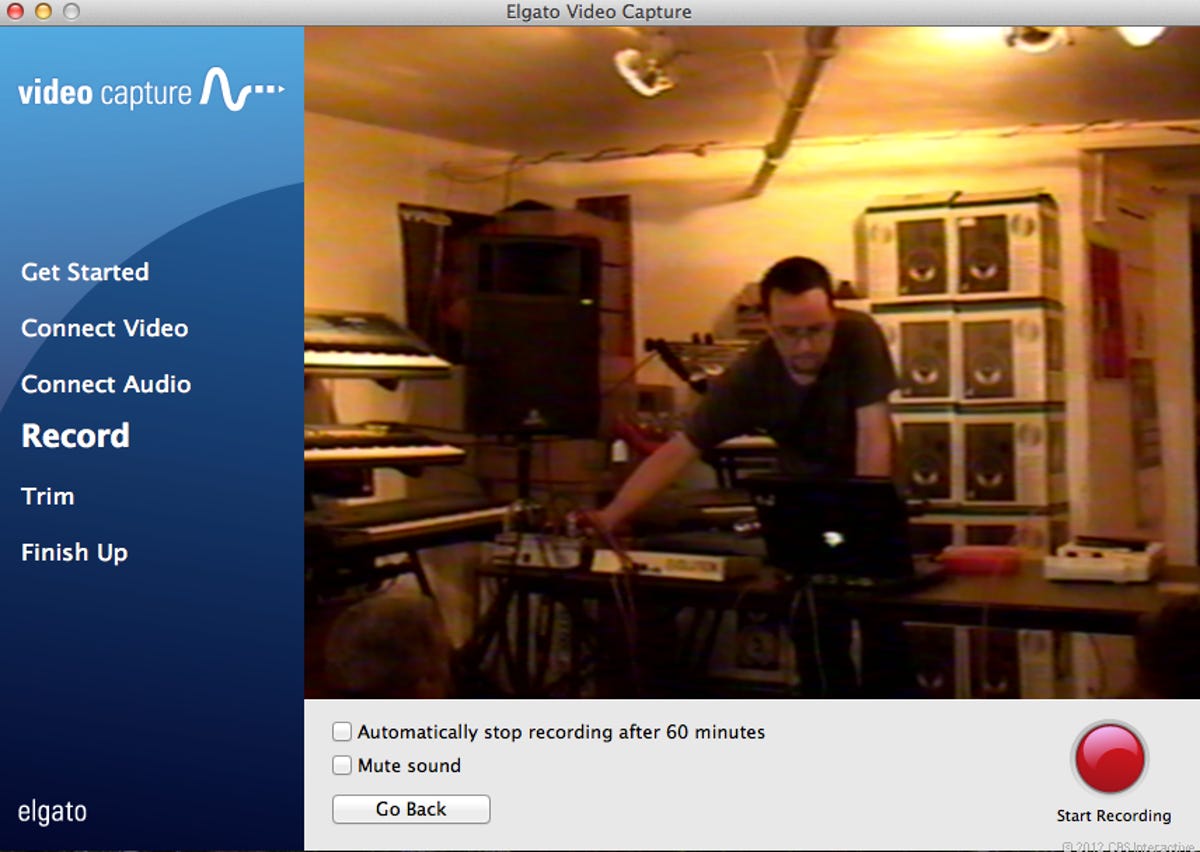
Software setup, Step 4
In Step 4, assuming everything looks and sounds right, you can hit the big red record button and begin your video transfer. You may want to rewind your tape to the beginning before hitting record.
Also notice that there's a check box for automatically stopping the recording at the estimated time you set in Step 1. This feature will allow you to let the recording run in the background without having to babysit the process. If the recording runs a little long, you can always trim off the extra when you edit it in the next step.
9 of 10 Donald Bell/CNET
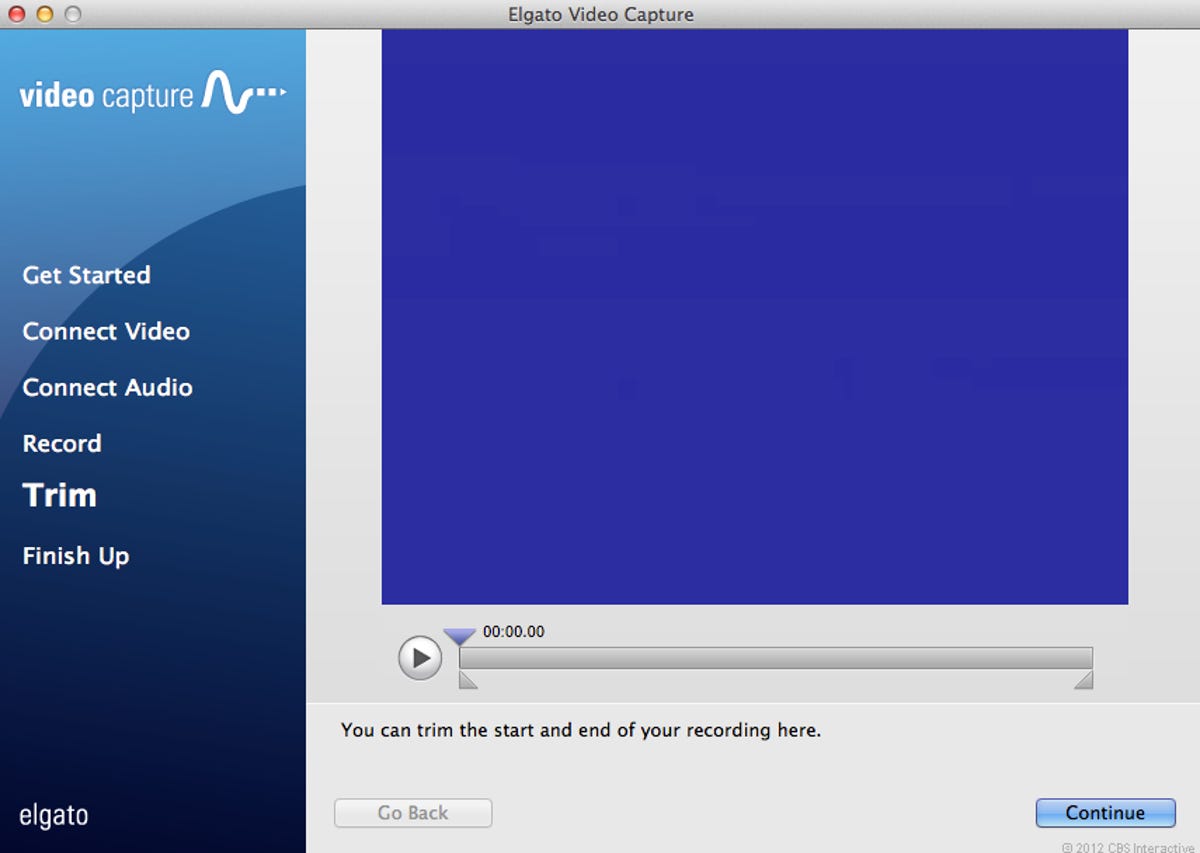
Software setup, Step 5
Step 5 allows you to trim off any unwanted bits from the beginning and end of the recording, so that you're just left with the good stuff. You can't do any advanced nonlinear editing here, it's just an opportunity to trim the fat.
10 of 10 Donald Bell/CNET
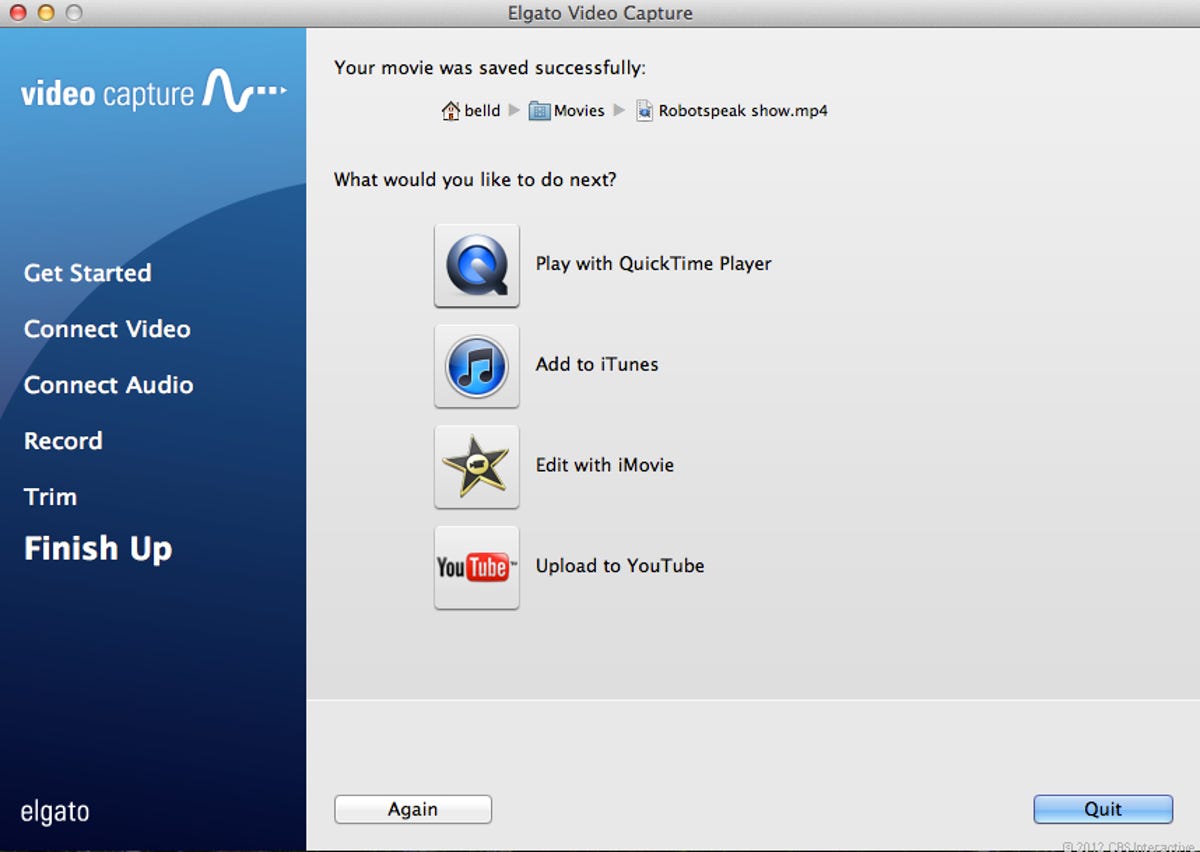
Software setup, Step 6
On the last step, you'll see a file path for the location of the video file you created, along with some extra options for watching, uploading, or further editing the video. Chances are that you'll be doing a bunch of these back to back, so hit the Again button to start the process over with a new tape.