Learn how to turn your old cassette tapes into digital MP3 files compatible with any computer or portable audio device.
Donald Bell
Donald Bell has spent more than five years as a CNET senior editor, reviewing everything from MP3 players to the first three generations of the Apple iPad. He currently devotes his time to producing How To content for CNET, as well as weekly episodes of CNET's Top 5 video series.
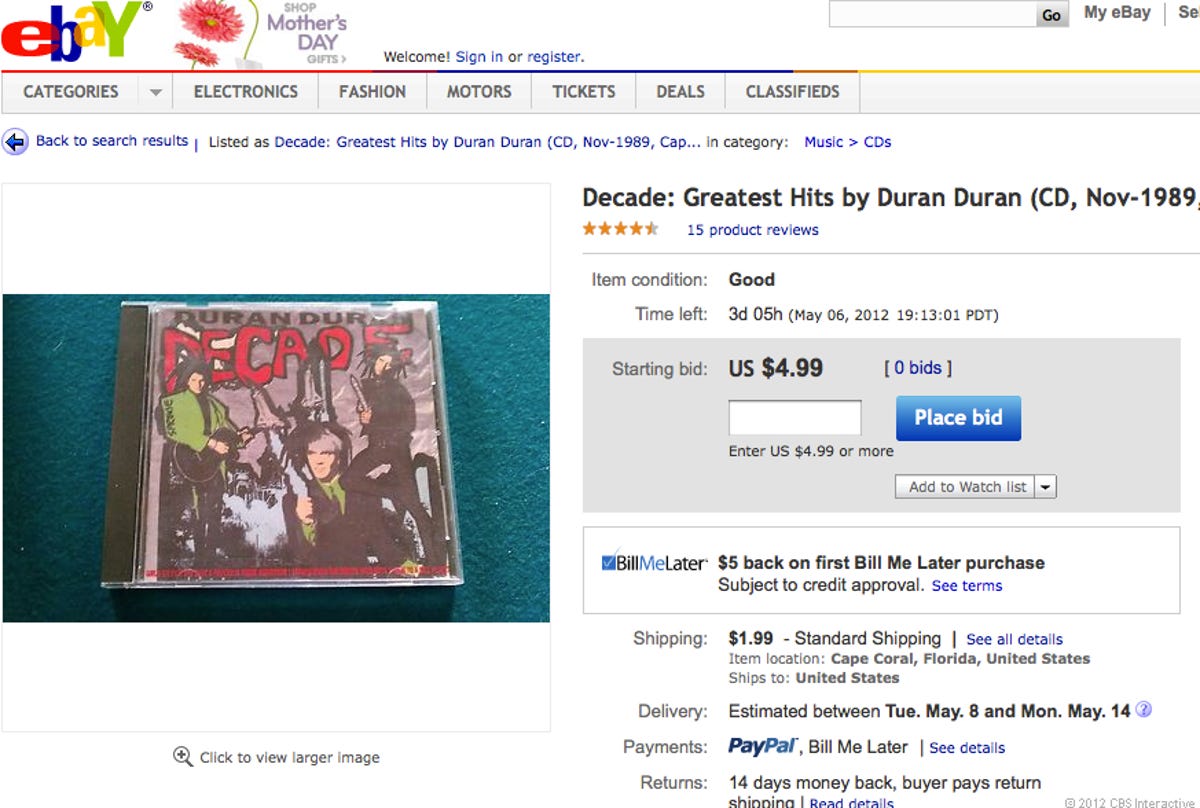
Make sure you're dealing with a recording you can't easily buy on CD or MP3. Check eBay. Check iTunes. Avoid the hassle of converting if you can.
2 of 25 Donald Bell/CNET
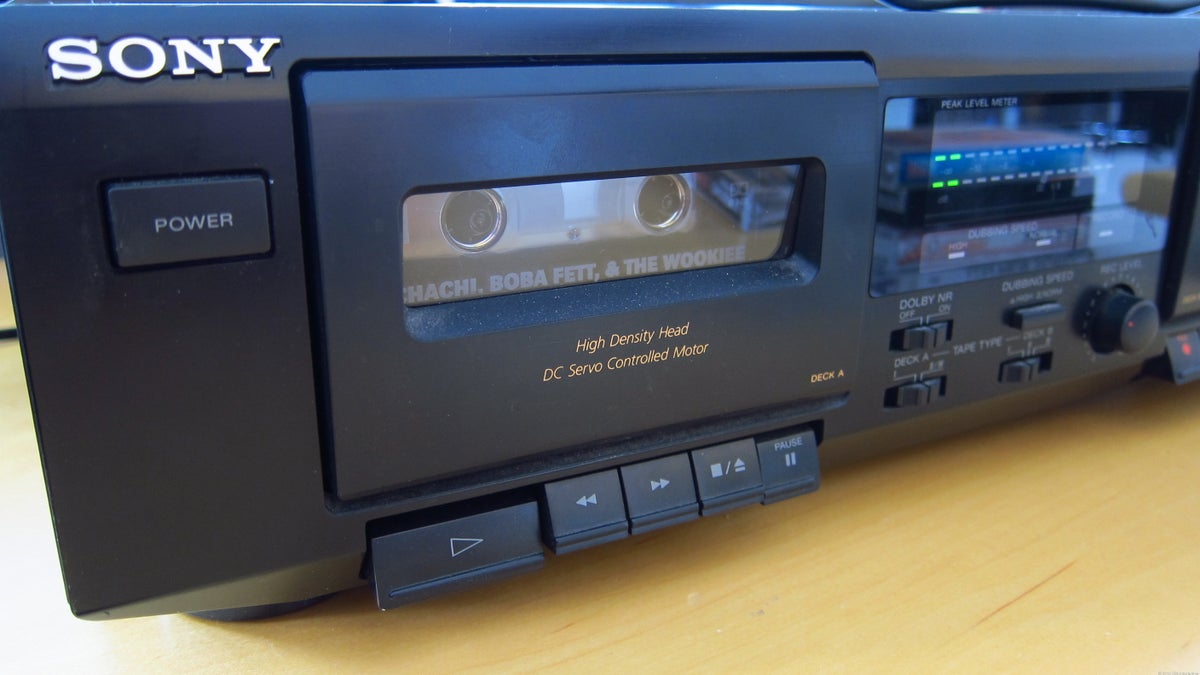
Get a deck
Next, find a tape deck. Best case, a nice one like this with RCA outputs that's in good condition. An old Walkman will do if you're not picky.
If you're buying one new and you're thinking of converting many cassettes, consider one of the many tape decks being made today that include a USB output specifically for the purpose of digitizing cassettes. As an example, I reviewed the Alesis TapeLink USB a few years back. The tape deck shown above (Ion Audio's Tape2PC) is also a popular option.
3 of 25 Donald Bell/CNET
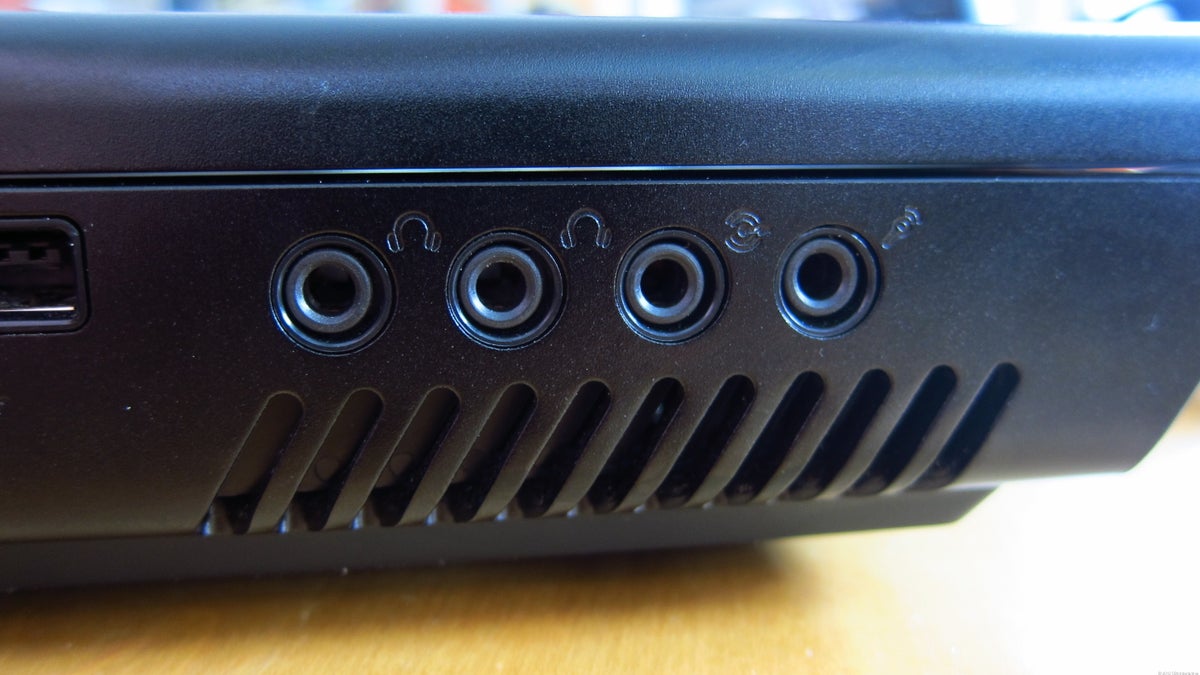
Check your connections
Now, figure out how the deck will connect with your computer. In this case I have RCA coming out of the tape deck and a mini jack stereo input going into the PC. This will work as long as I turn down the input gain from microphone level to line level.
If you have an older PC with a blue line input, that's the preferred way to go.
4 of 25 Donald Bell/CNET
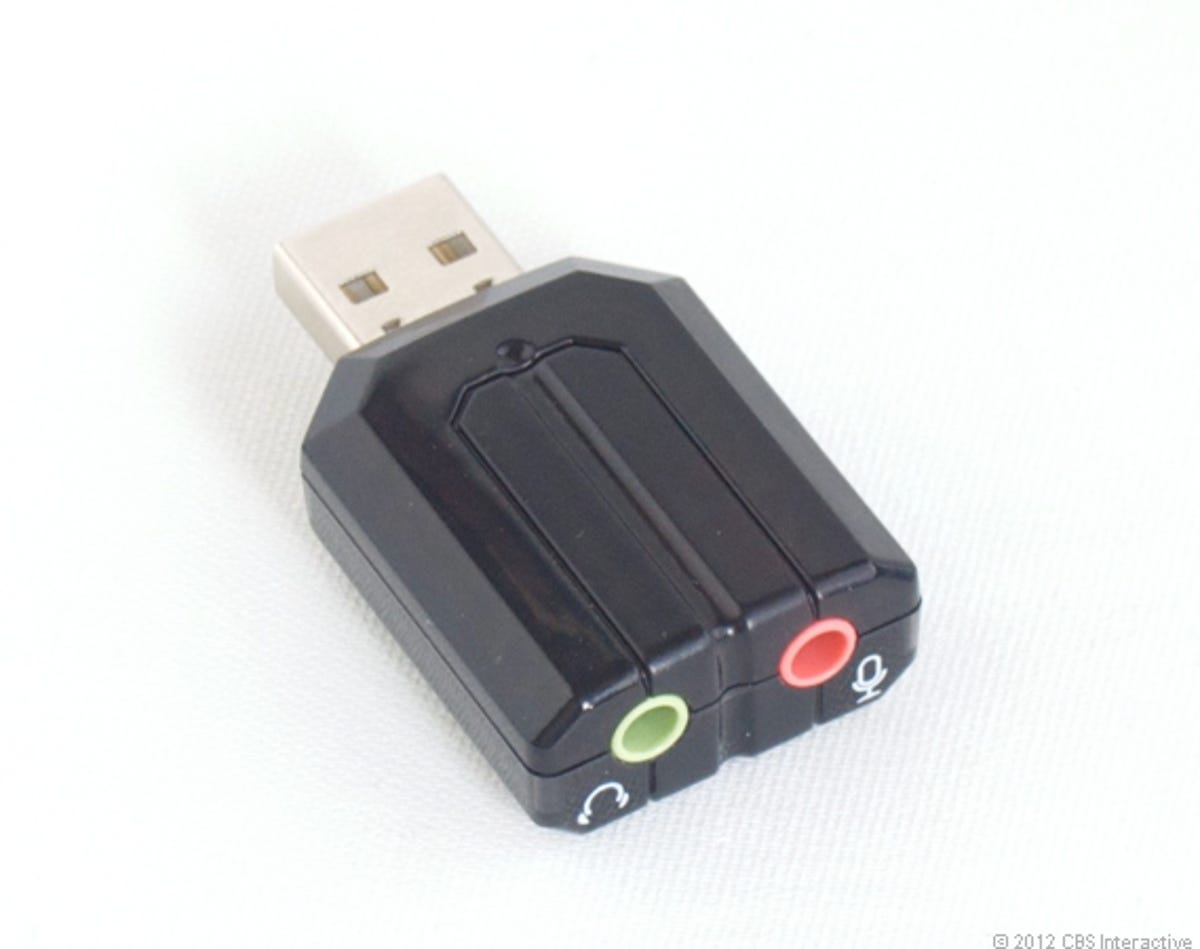
Get some input
If your computer doesn't have an input, a situation many new Mac users will find themselves in, you'll need to get a USB audio adapter. Don't go overboard. You can find solutions for under $50.
5 of 25 Screenshot by Donald Bell/CNET
Download Audacity
For our recording we're going to use a free program called Audacity -- it works on Mac, PC, and even Linux.
6 of 25 Screenshot by Donald Bell/CNET
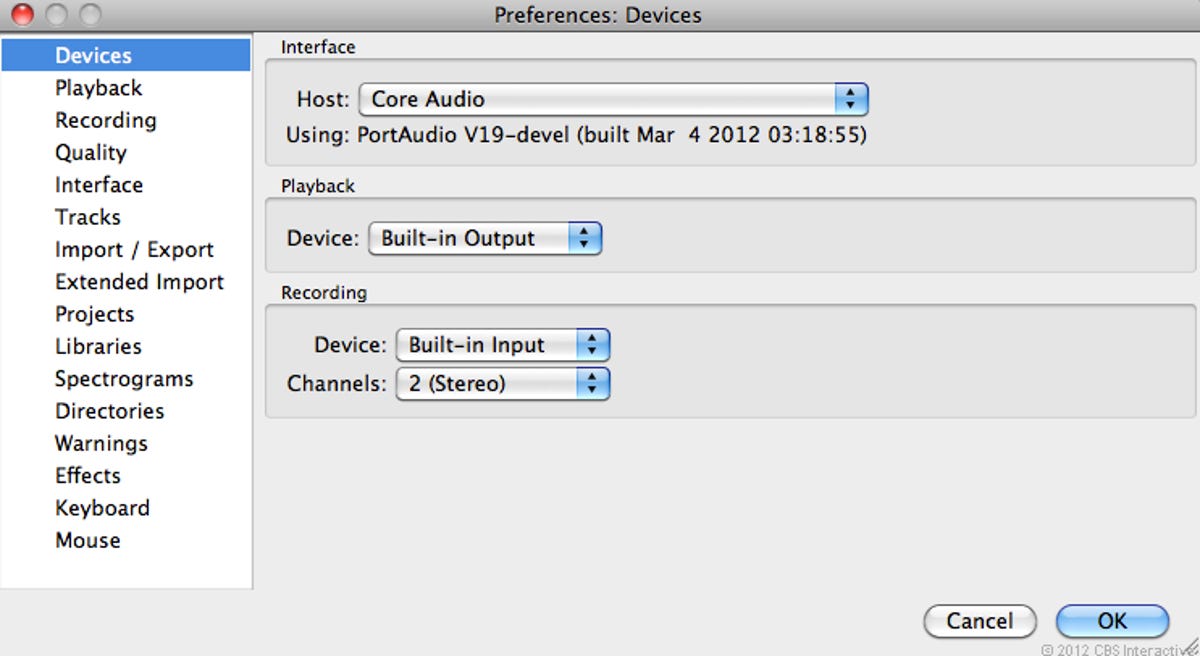
Input selection
Check under Audacity's software preferences to make sure the recording input is set to where the tape deck is connected (mic input, line level input, USB audio adapter input, etc.). If you're using the mic input on your computer, turn the Mic gain here all the way down to line level.
It's better to have a slightly quiet recording that you can boost later than having something recorded too loudly. Distortion caused by overdriven volume can't be undone.
7 of 25 Screenshot by Donald Bell/CNET
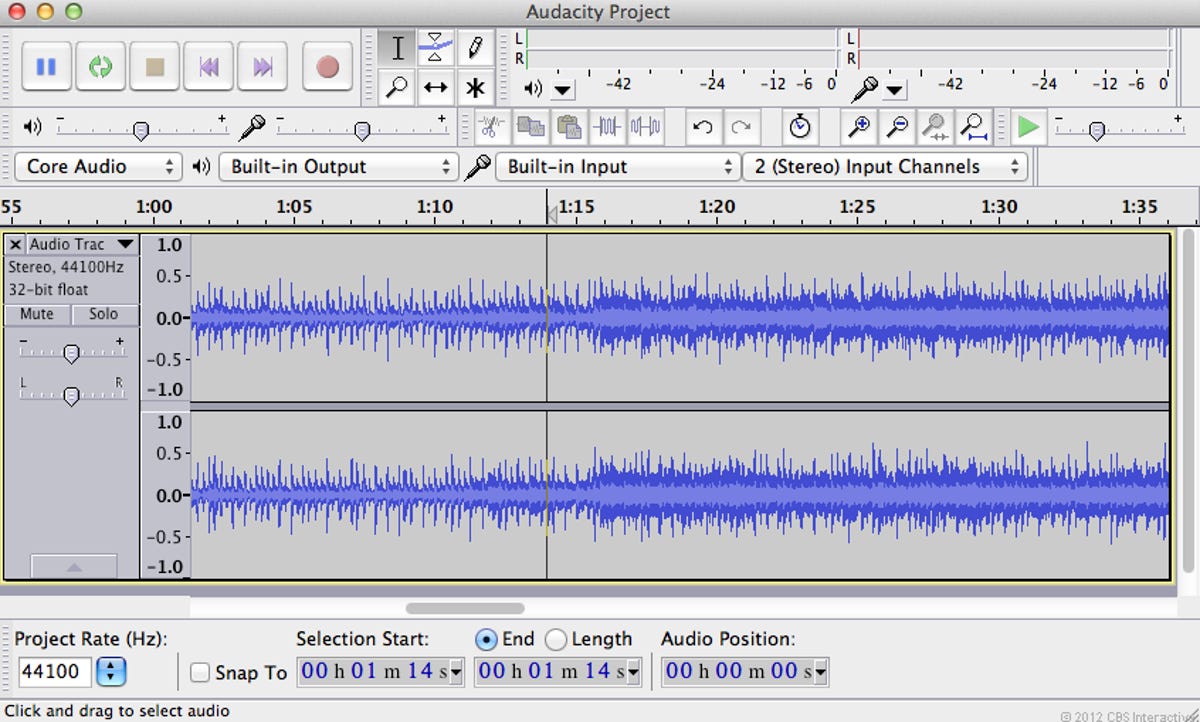
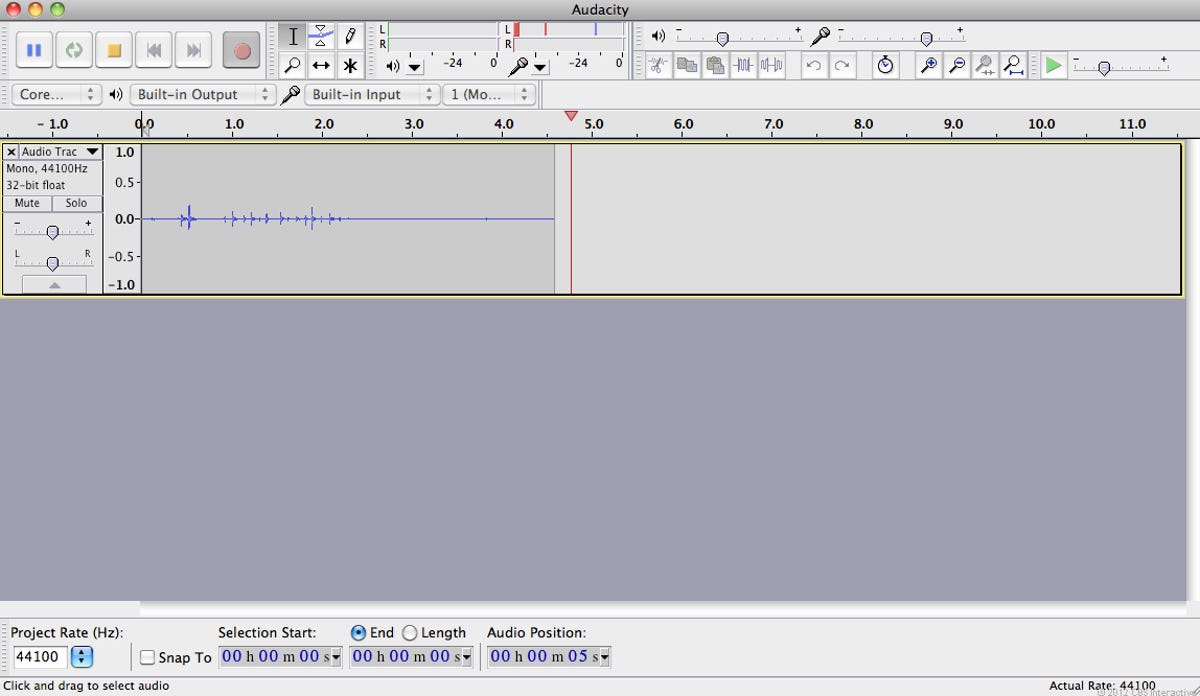
Test recording
Before committing to recording a whole side, hit play on your tape deck and record 30 seconds of audio into Audacity using the application's Record button.
Hit the Stop button in Audacity once you're done and then play the recording back over some connected headphones to check the quality. Make sure the recorded volume sounds (and looks) OK. We'll give it a little boost at the end, but you don't want it to be too quiet or so loud that the waveform jumps out of the window and distorts the sound. Also, make sure you're looking at a stereo recording (two waveforms). If you're recording in mono, check your recording input preferences and make sure the number of channels is set to two, not one.
Also, if the recording sounds oddly muffled or bright, check your tape-specific settings on the tape deck. Typically you'll find settings for tape type (I, II/IV) and settings for Dolby Noise Reduction (NR). Most music tapes are going to use the Type II/IV setting. Whether to enable Dolby NR is a trickier problem to figure out. If the recording was made using the NR setting, then arguably it should be played with it on, as well. If the recording didn't employ NR, playing it with NR may result in muffled sound. If the recording did employ NR when it was made, and you disable it during playback, you'll hear an unnaturally brighter-sounding recording.
Bottom line: use your ears, and use this test-recording process to work things out before you've already committed a few hours of your time.
8 of 25 Donald Bell/CNET
Arm your deck
Assuming it sounds fine, close out the window (or just the waveform) and start fresh.
Rewind the tape, then hit pause, and then play on the tape deck to arm it. Switch over to Audacity and hit record in the software. Then, release the pause button on the tape deck and allow the whole side to play through while you record. Hit Stop in Audacity when the first side of the tape is through.
9 of 25 Screenshot by Donald Bell/CNET
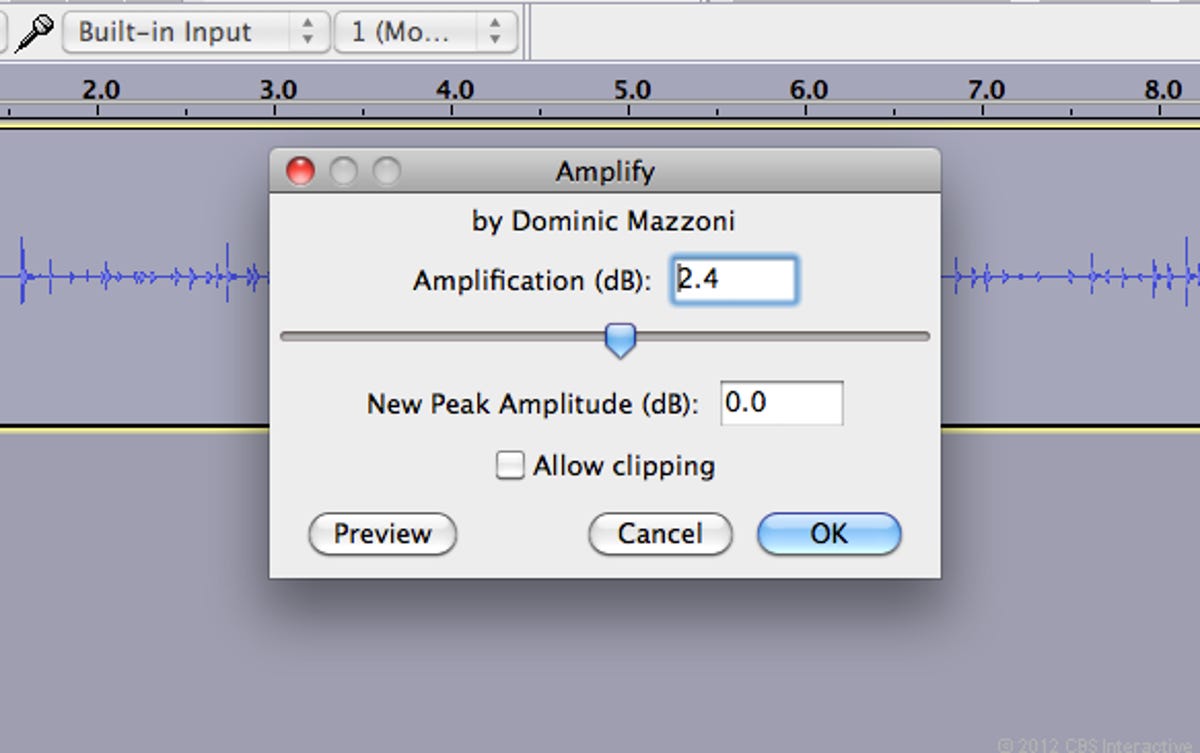
Amplify your sound
To maximize the volume, go to the Edit menu in Audacity and Select All, then go to the Effect menu and select Amplify. By default it will set itself to the maximum amount this recording can be boosted before distorting. Hit OK.
10 of 25 Screenshot by Donald Bell/CNET
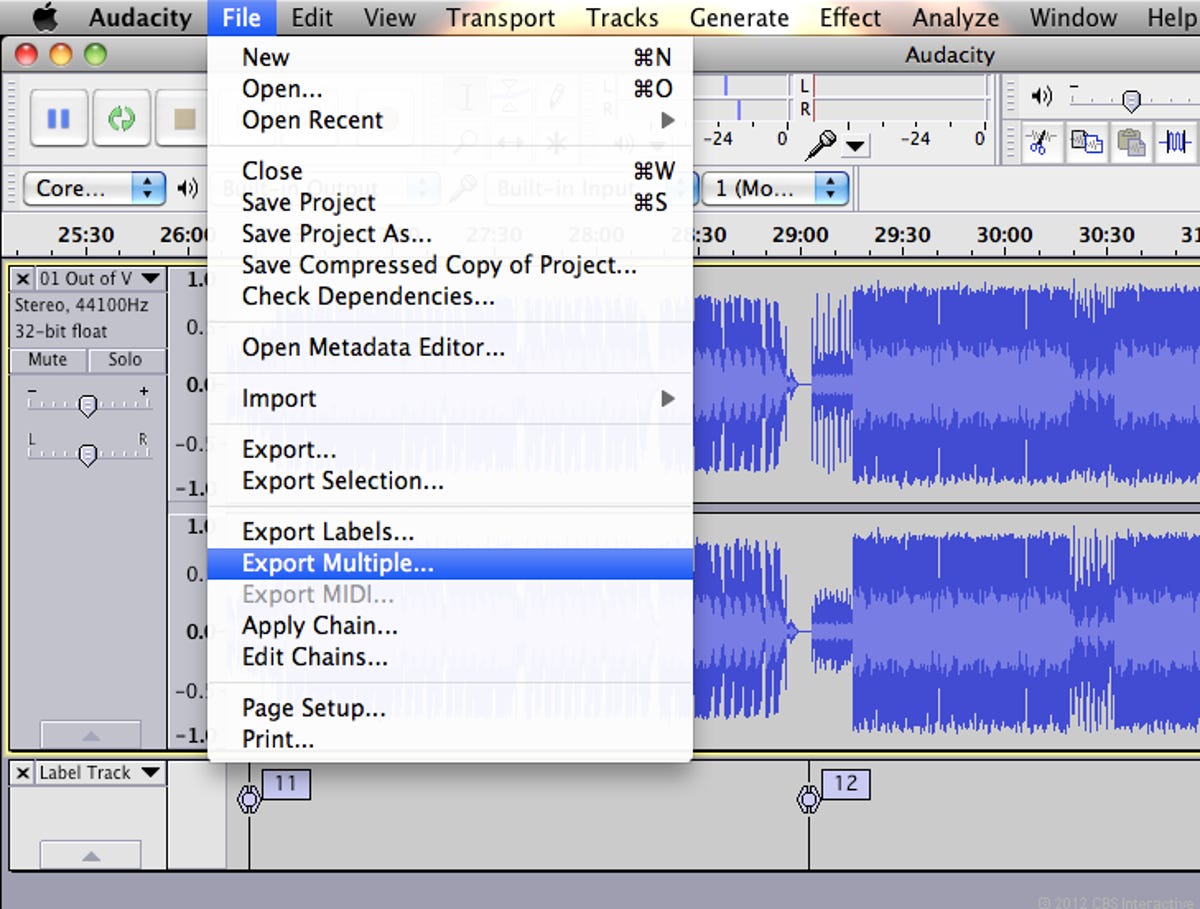
Label your tracks
Next comes the real pro move that will cut this project time in half. Instead of individually copying and pasting each song into its own file, we're going to drop markers at the beginning of each song and then export them in one batch.
Find the beginning of the first song, click it to place the cursor there, and then go to the Tracks menu and select Add Label at Selection. Now, do this for the rest of the tracks and number them as you go. Typically you can eyeball this by looking for spaces between tracks, but always check the markers against the track listings. Sometimes a dramatic pause in the middle of a song will fake you out. If you want to do this really fast, learn the keyboard shortcut for adding a label. On the PC, Ctrl+B will let you fly through this.
11 of 25 Screenshot by Donald Bell/CNET
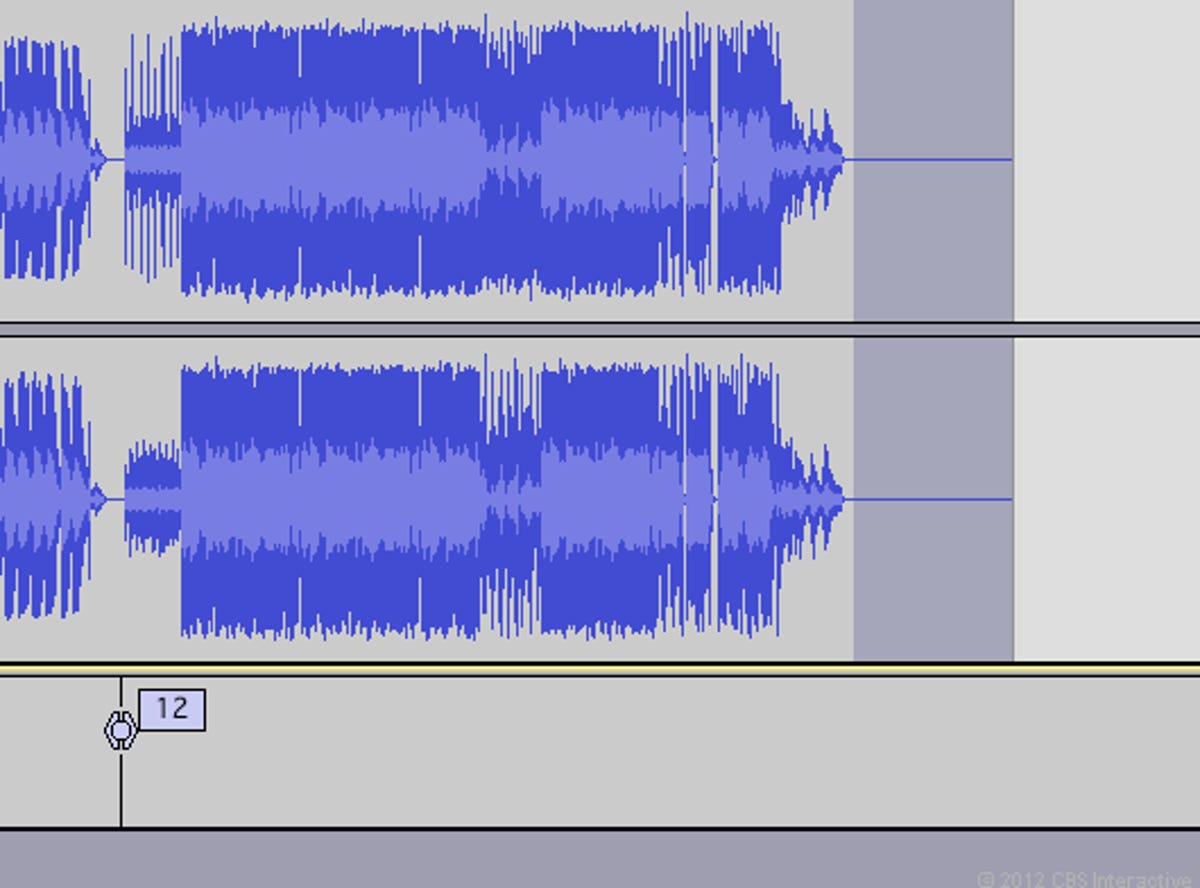
Delete the post-roll
Trim the silence off the last track by selecting the silence and hitting delete.
12 of 25 Screenshot by Donald Bell/CNET
Export multiple
To export separate tracks at once, use the Export Multiple command in the File menu.
13 of 25 Screenshot by Donald Bell/CNET
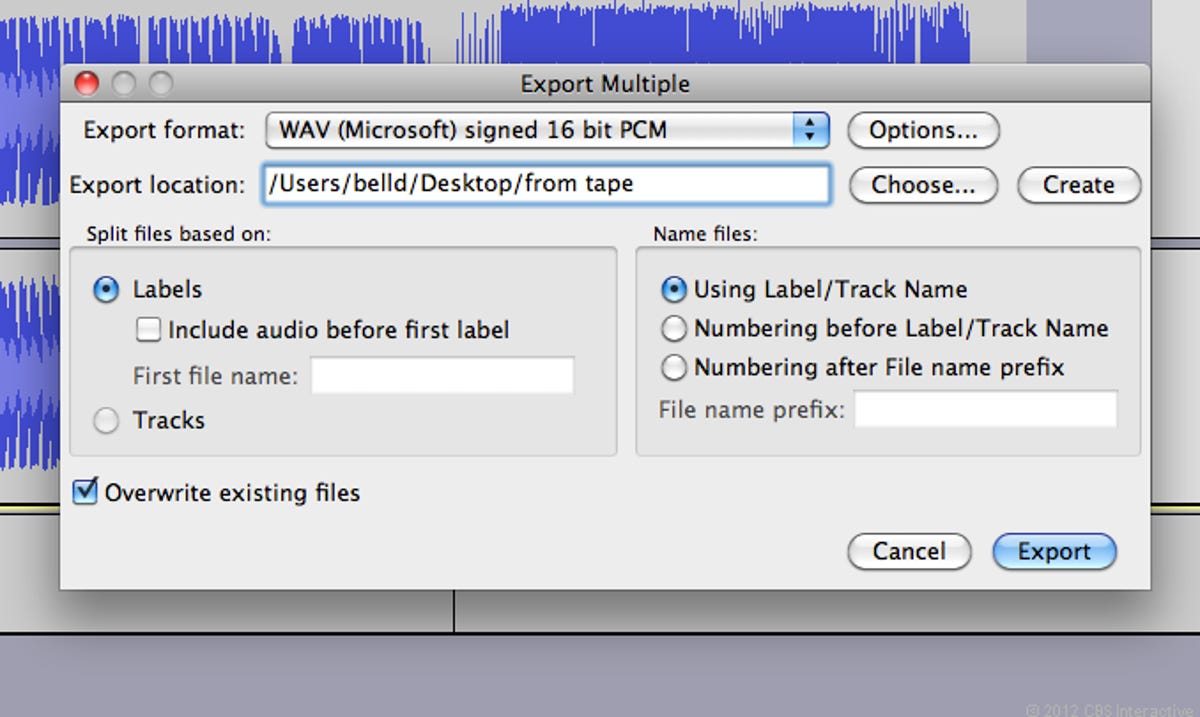
Export options
You'll see an intimidating screen of options, but all you need to worry about is that the Export Format is set to WAV and that the Export Location is somewhere handy. I would opt for a new folder on the desktop.
14 of 25 Screenshot by Donald Bell/CNET
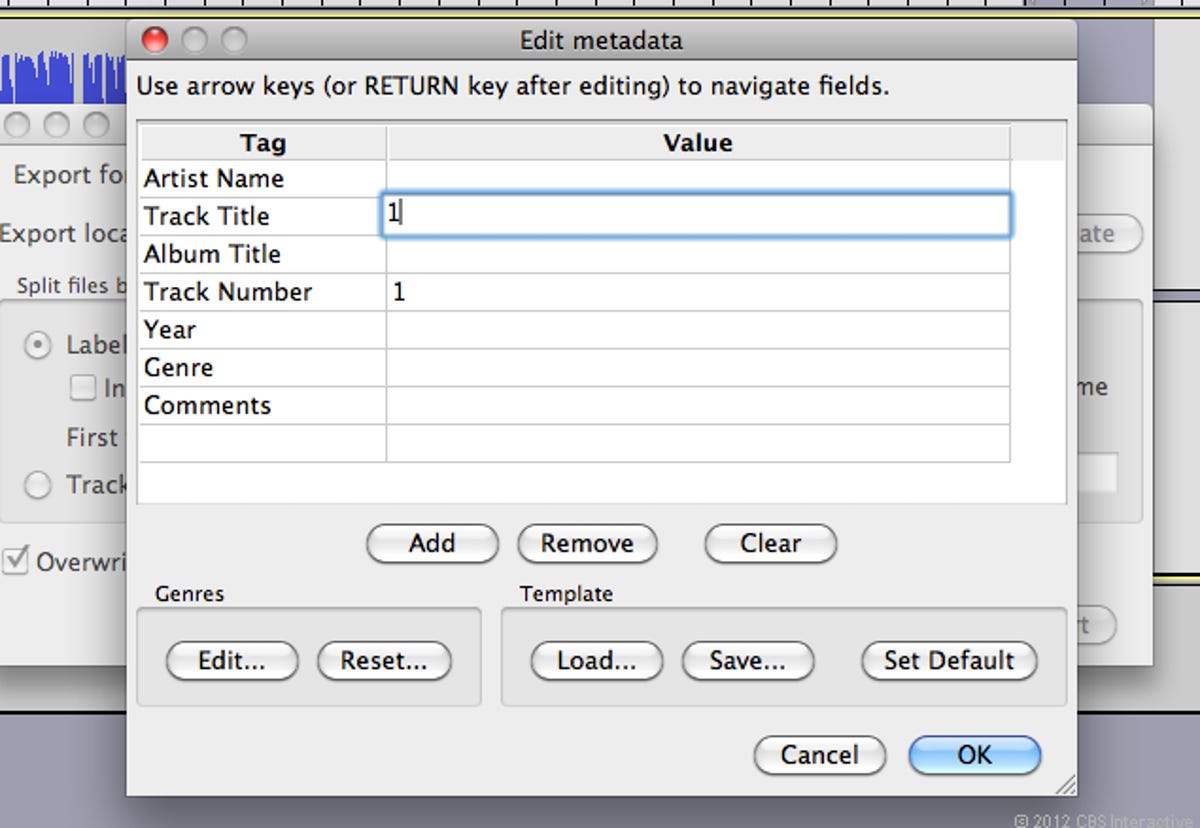
Track info
Hit Export and you'll be shown a series of windows where you can enter track information. Make sure that the number you gave each track in the note appears here as the track name, but other than that just hit OK and get through them.
I'll show you a better method for adding detailed track info at the end. Before that, though, flip your tape over and go through the same process with side B.
15 of 25 Screenshot by Donald Bell/CNET
Boot up iTunes
Now with a few tweaks, you could have it so that you're exporting MP3s right out of Audacity. For me, though, I'm going to make iTunes my last stop so that I can archive my high-quality files to CD, convert to MP3, and add track info more quickly.
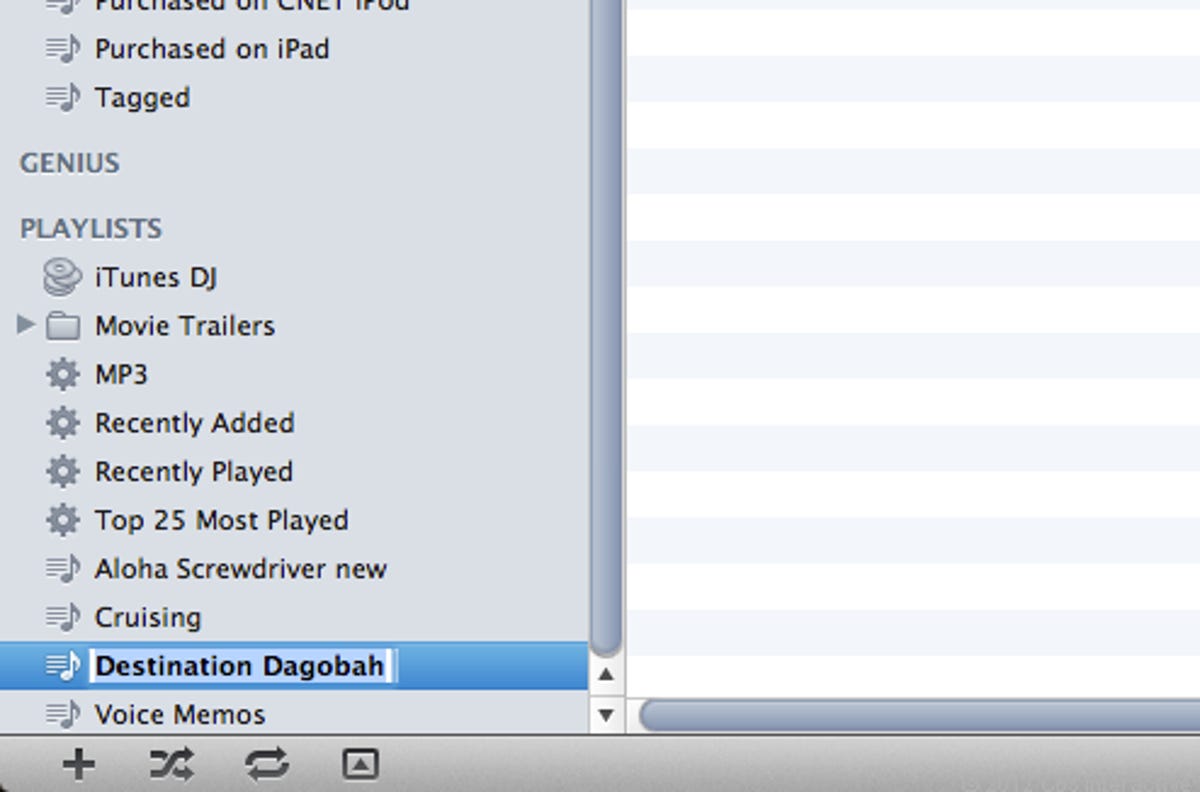
Install iTunes if you don't already have it, and then make a new playlist and name it after your tape.
16 of 25 Screenshot by Donald Bell/CNET
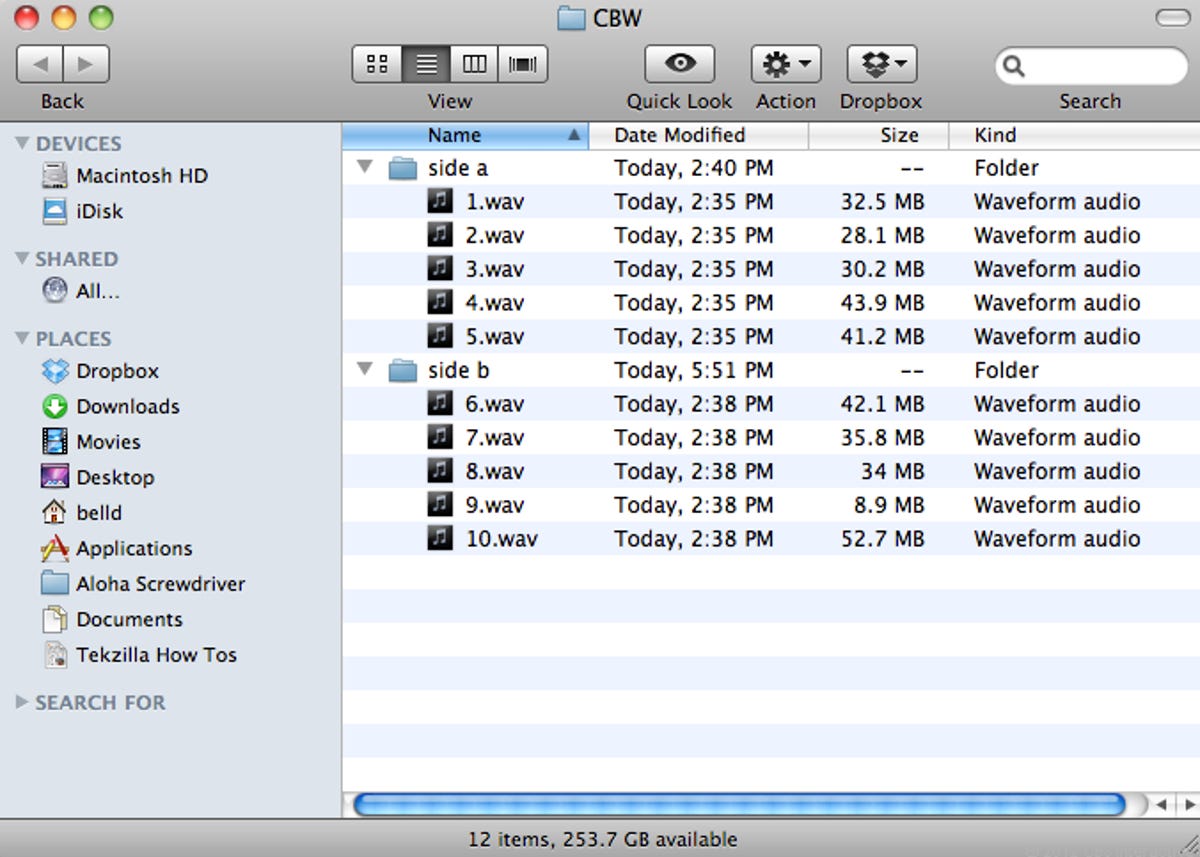
Drag your files
Drag your files (or their containing folder) onto your new playlist to add them to iTunes, wait for them to pull over, and make sure they're in the right order.
17 of 25 Screenshot by Donald Bell/CNET
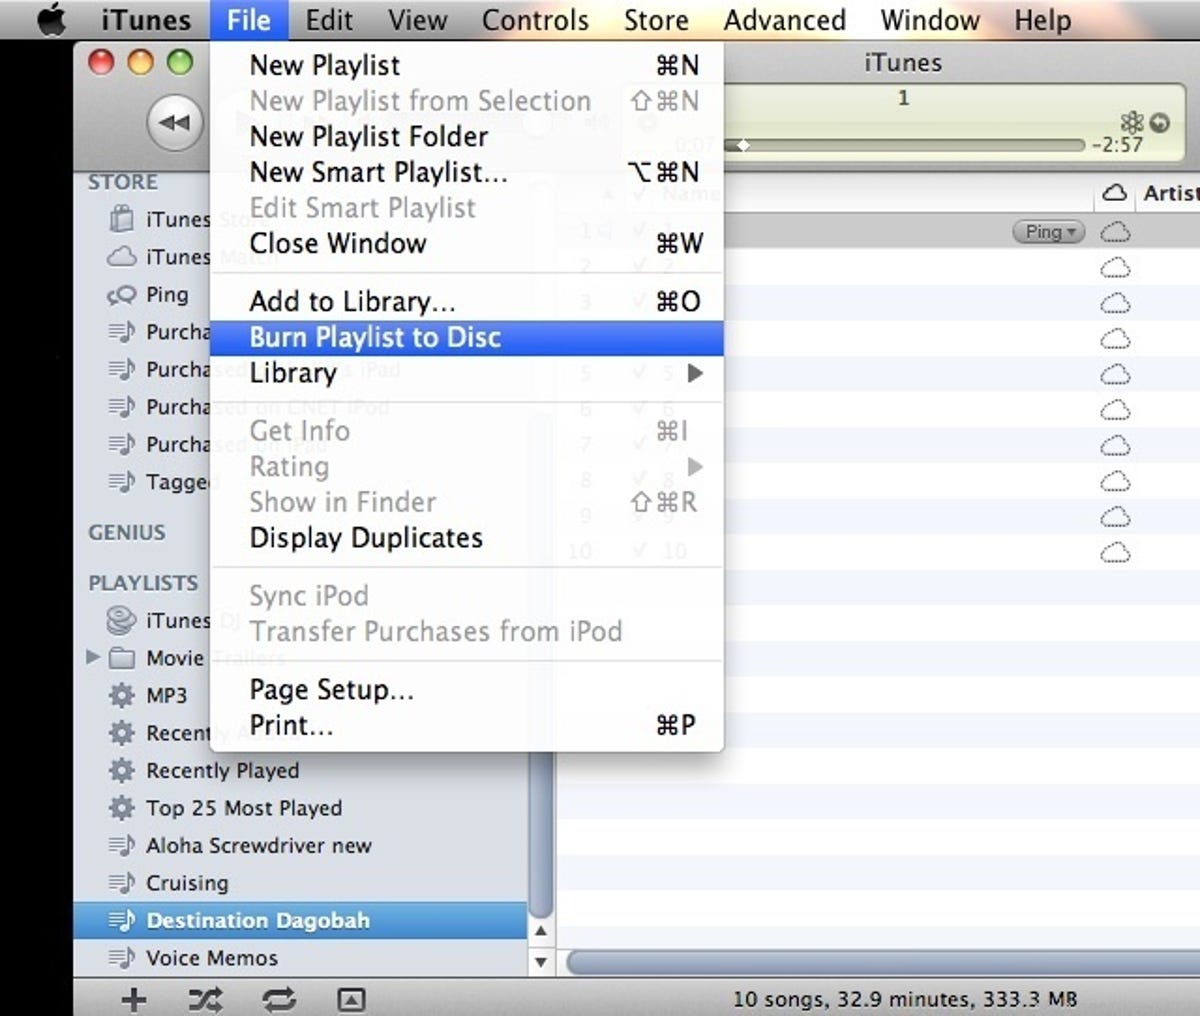
Burn a backup
With your playlist selected, go to the file menu and select Burn Playlist to Disc.
18 of 25 Screenshot by Donald Bell/CNET
CD options
You'll see options here to burn them as either an audio CD you can play in a CD player or a Data CD where you can copy the files to another computer. Either one is fine for the job of archiving, so it's up to you.
Burn it, label it, file it away.
19 of 25 Screenshot by Donald Bell/CNET
Import settings
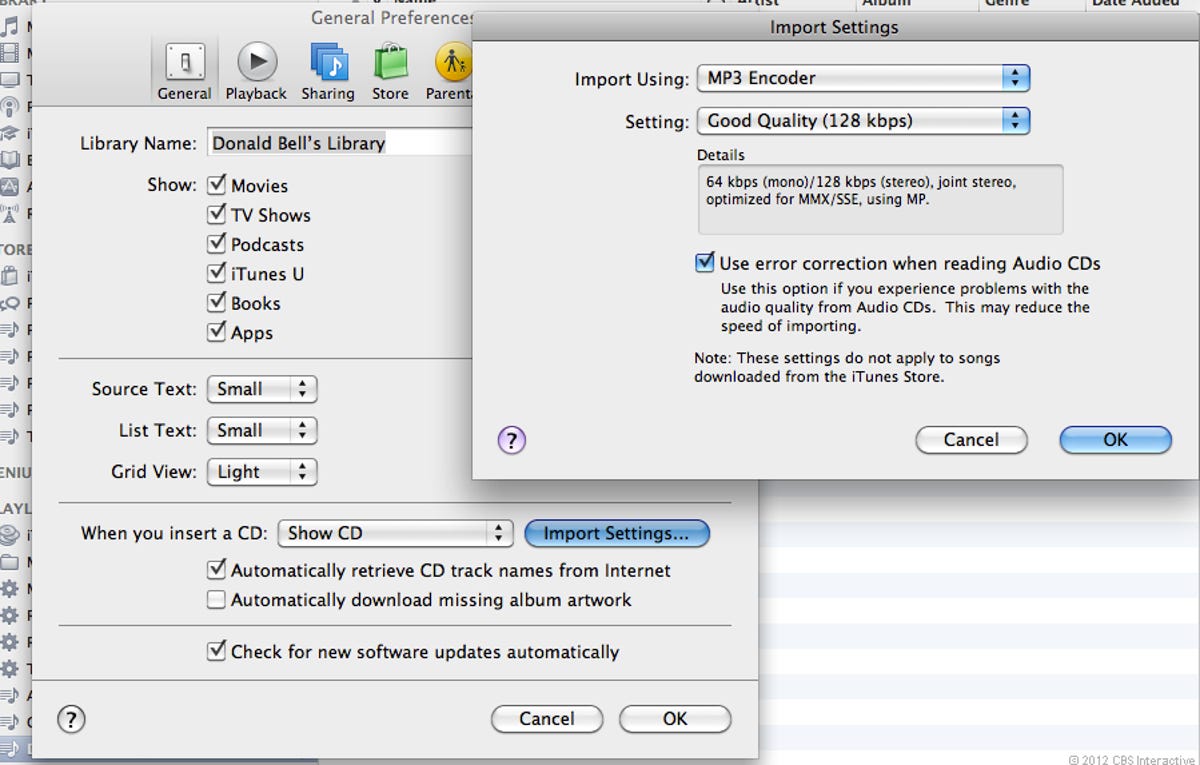
To convert these to MP3, we first need to go into iTunes Preferences, open the Import Settings, and make sure the import format is set to MP3 at whatever quality you want.
20 of 25 Screenshot by Donald Bell/CNET
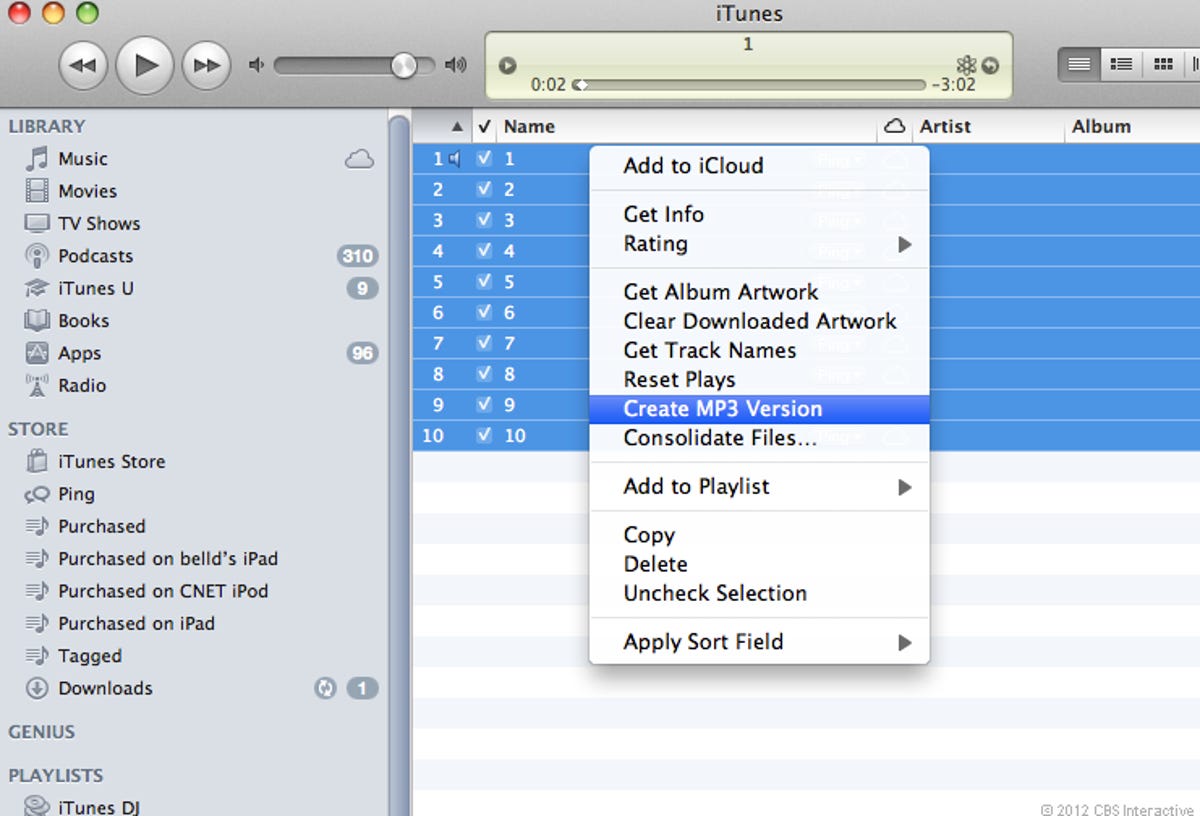
Convert to MP3
Hit OK and go back to your playlist. Select all of the tracks, and then right-click and select Create MP3 Version.
21 of 25 Screenshot by Donald Bell/CNET
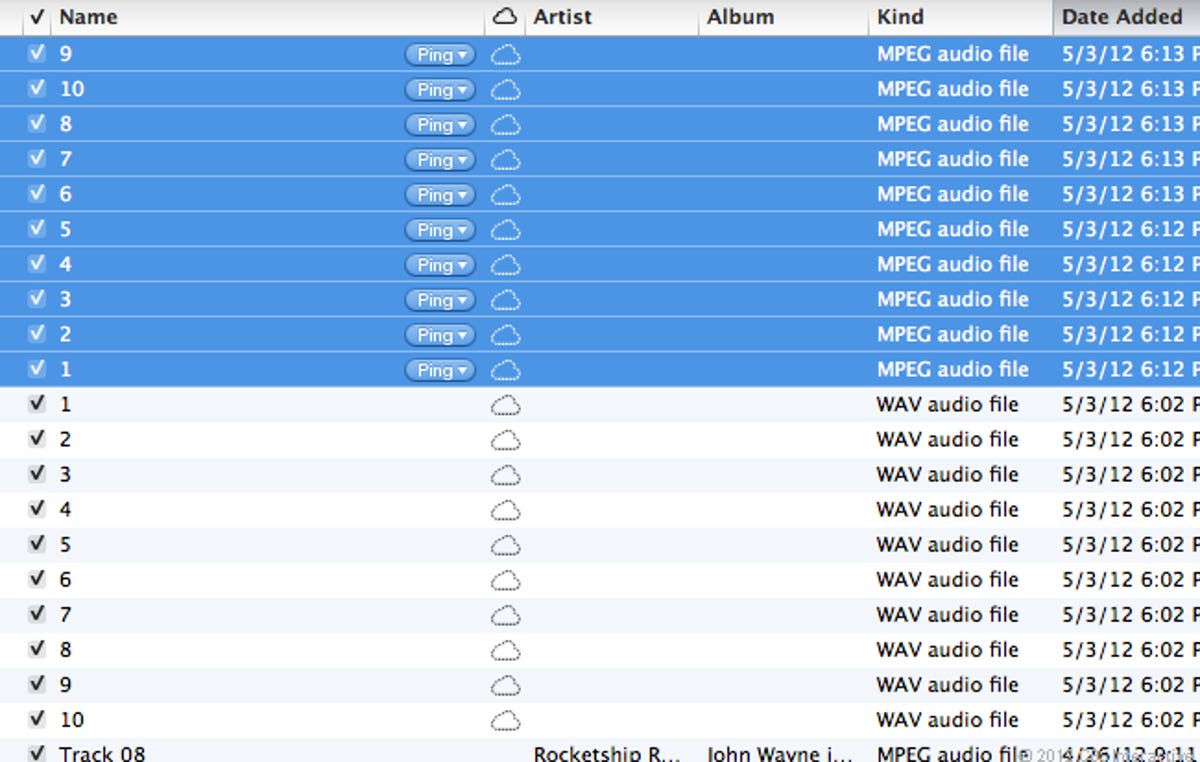
Find your new MP3s
iTunes won't add these new MP3 versions to your existing playlist, so click on your Music Library and sort by Date Added to see the MP3 Versions of the songs you just created at the top of the list (or find them in the Recently Added playlist), above the high-quality WAV versions. To start the process of entering in detailed track information, select just the MP3 versions by holding down the Shift key.
22 of 25 Screenshot by Donald Bell/CNET
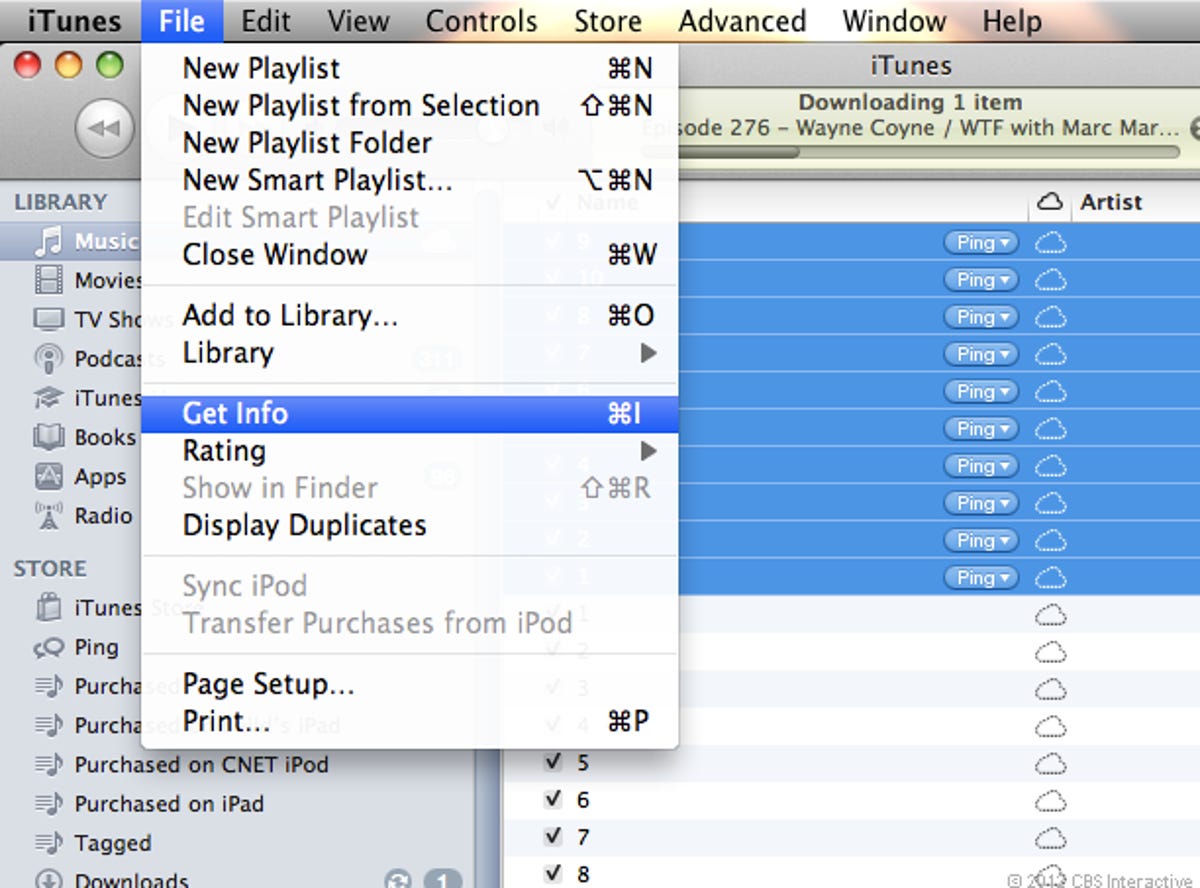
Batch edit
With the MP3 versions selected, go up to the File Menu and select Get Info. You may see a warning window telling you that you're about to change information on multiple items. That's our intention here, so just click through it.
23 of 25 Screenshot by Donald Bell/CNET
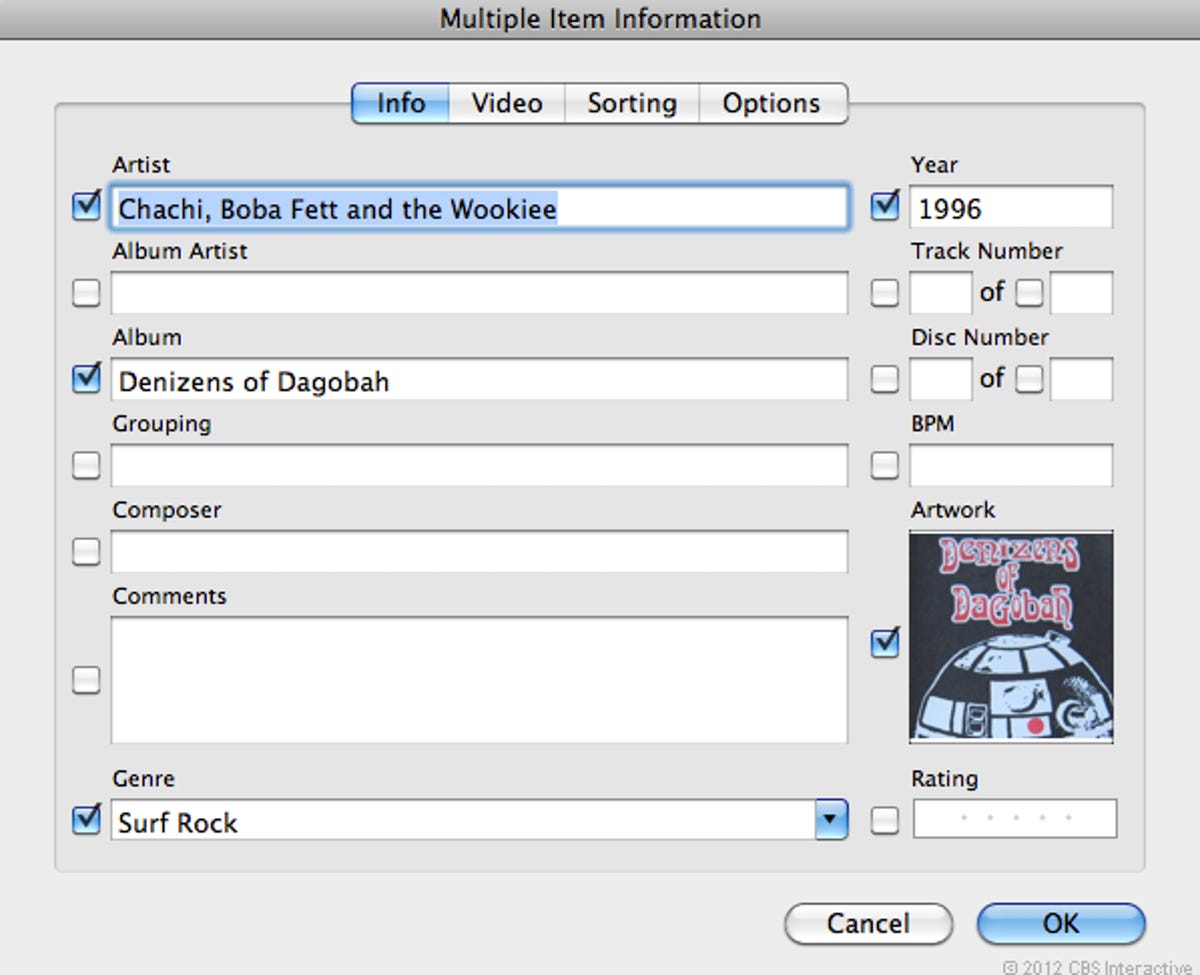
Enter album info
Now you can enter in the artist and album info for all the tracks at once and even add cover art and the total number of tracks in the album. Then, hit OK.
24 of 25 Screenshot by Donald Bell/CNET
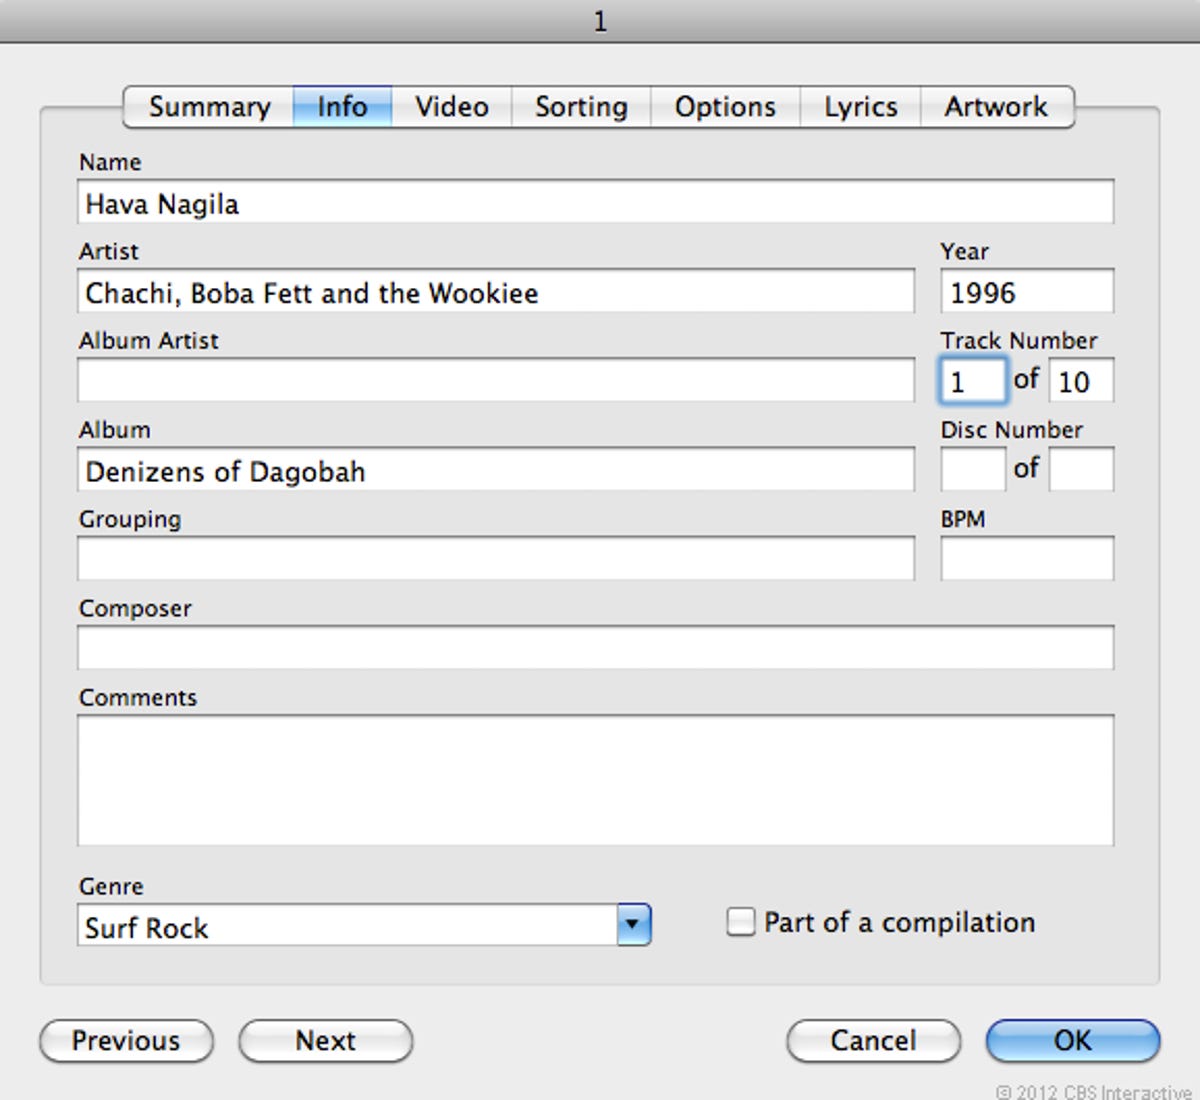
Song title and numbering
Now we'll enter the individual track names and put songs in your preferred album order. To do this, select just one of the tracks and then use the Get Info command again. Go to the info pane and enter the track title and track number. Then, hit the Next or Previous buttons to enter the title for another track. Repeat this process all the way through to the end. When you're done, hit OK.
25 of 25 Donald Bell/CNET
Pat yourself on the back
Congratulations! You just saved a cassette recording from an analog demise. Since you have a WAV backup on disc, you can delete the WAV files from your computer now if you wish.
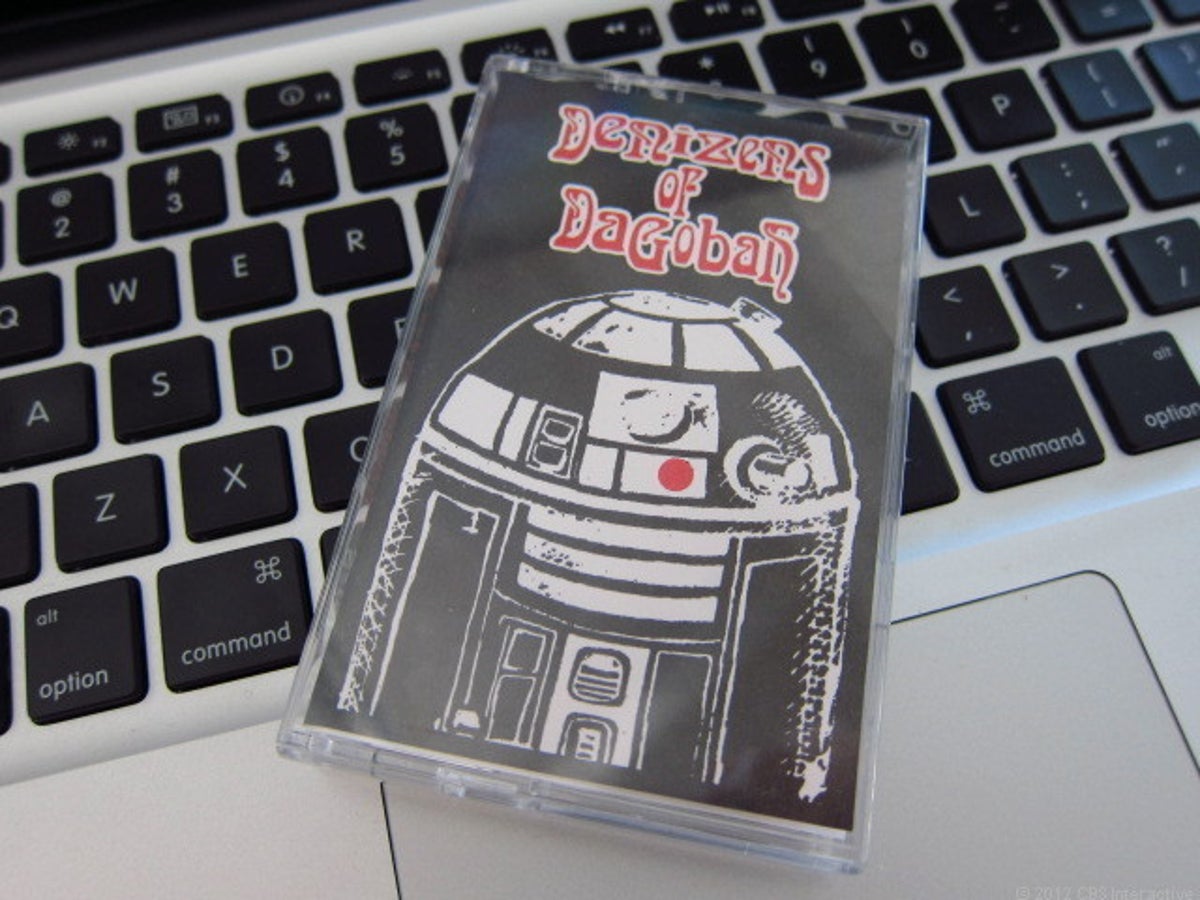
Before you do, though, consider sharing them with the world on sites like Archive.org or SoundCloud. For my high school garage band's demo tape, I posted the tracks on SoundCloud along with a shot of the original artwork. From there I can share it with all of my friends and hold onto the hope that someday my own kid will dig it up and give it a listen.
I hope you liked this tutorial on converting tapes into MP3s. To see a video version, head over to CNET How To.