Super-fast DIY LED cloud lamp
The quick and easy way to make your own LED cloud lamp in around 60 minutes.


If you frequent Pinterest or any other website where DIYers hang out, you've probably seen how-tos for making amazing lamps that look like glowing clouds. Usually, those DIYs consist of wiring, framing and a bunch of other crafty skills that are intimidating to a lot of people, including myself. So, I came up with a way to make one of those crazy awesome lamps with the smallest effort possible.
Choose the right light source
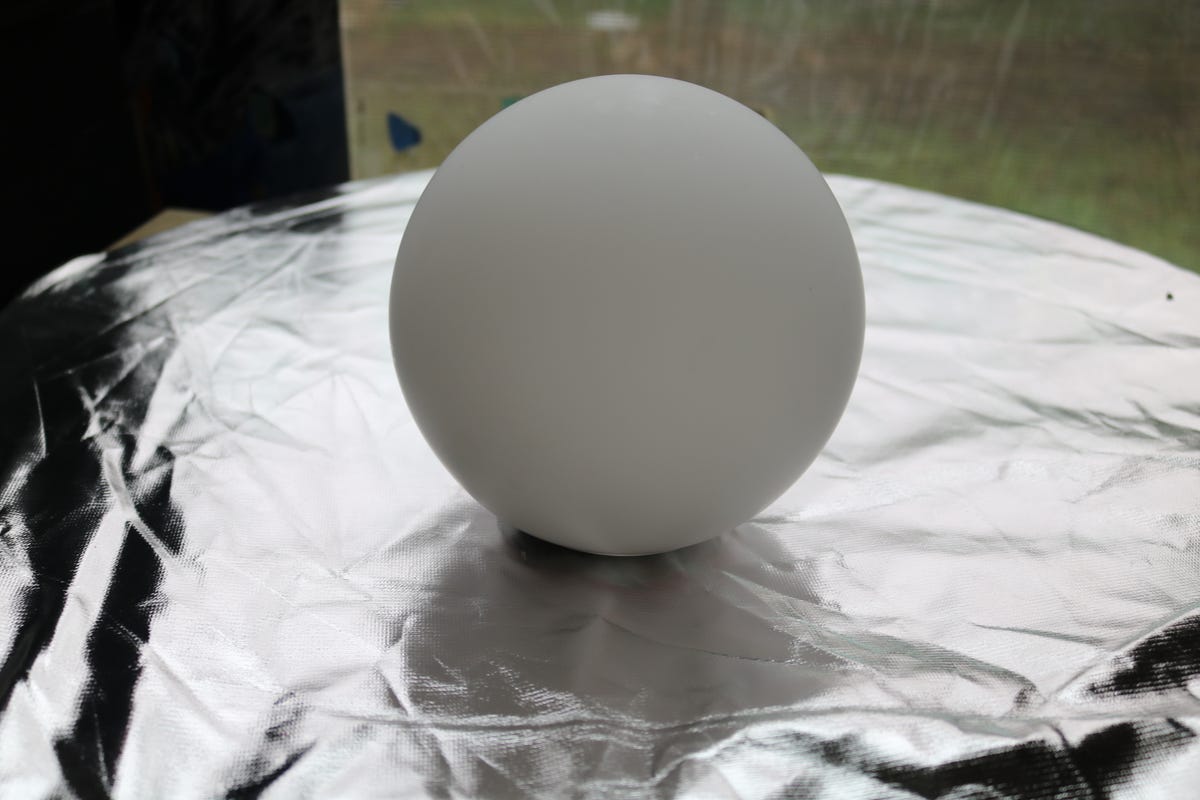
The key to this project is using an LED globe light. I used the Playbulb Sphere because you can use a phone app to change the color and intensity of the light. There are many LED ball lights on the market in a wide range of prices you can select from, though. Some are powered by batteries, like this sequined ball or this colorful one, while others are charged by USB, like the Playbulb Sphere. No matter what globe you choose, make sure that it is LED. LEDs don't put out much heat while other types of bulbs do. Heat can cause a fire hazard, so stick with LED.
Supplies you'll need
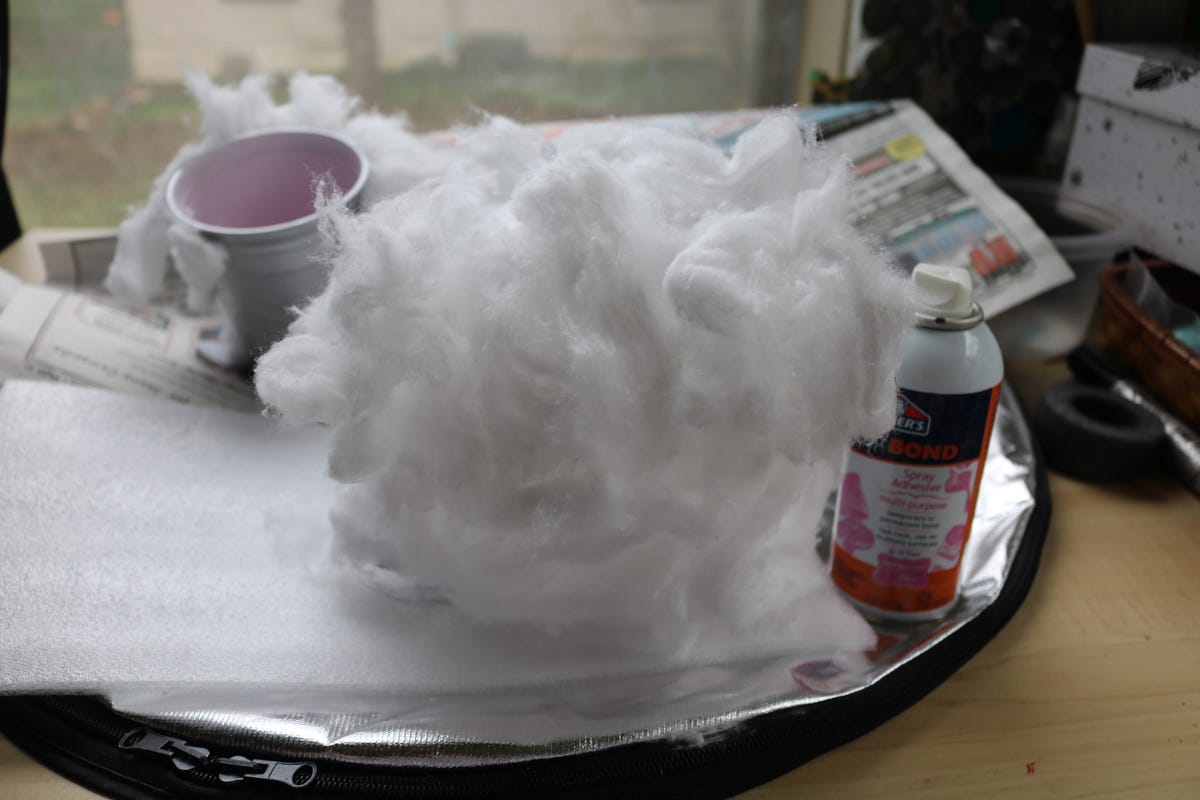
Another important part to the project is the cloud material. Some people say that using polyester pillow filling is best, but I found it to be really messy and unwieldy. It turns out that the best material is also the cheapest. I just used cotton balls that you can find in any drugstore. Other supplies you'll need are a plastic or glass cup big enough for the sphere to sit in, white or silver spray paint, small pebbles marbles, or other small, heavy objects, 100 to 200 cotton balls, spray adhesive and spray glitter (optional).

Step 1: Prep the base
Take your supplies to a well-ventilated area and paint the cup white or silver. This will be the base for your lamp. I like silver because it reflects the light coming from the LED globe. After the cup dries, fill it with small pebbles or other heavy objects to prevent the lamp from tipping.
Step 2: Prep your fluff
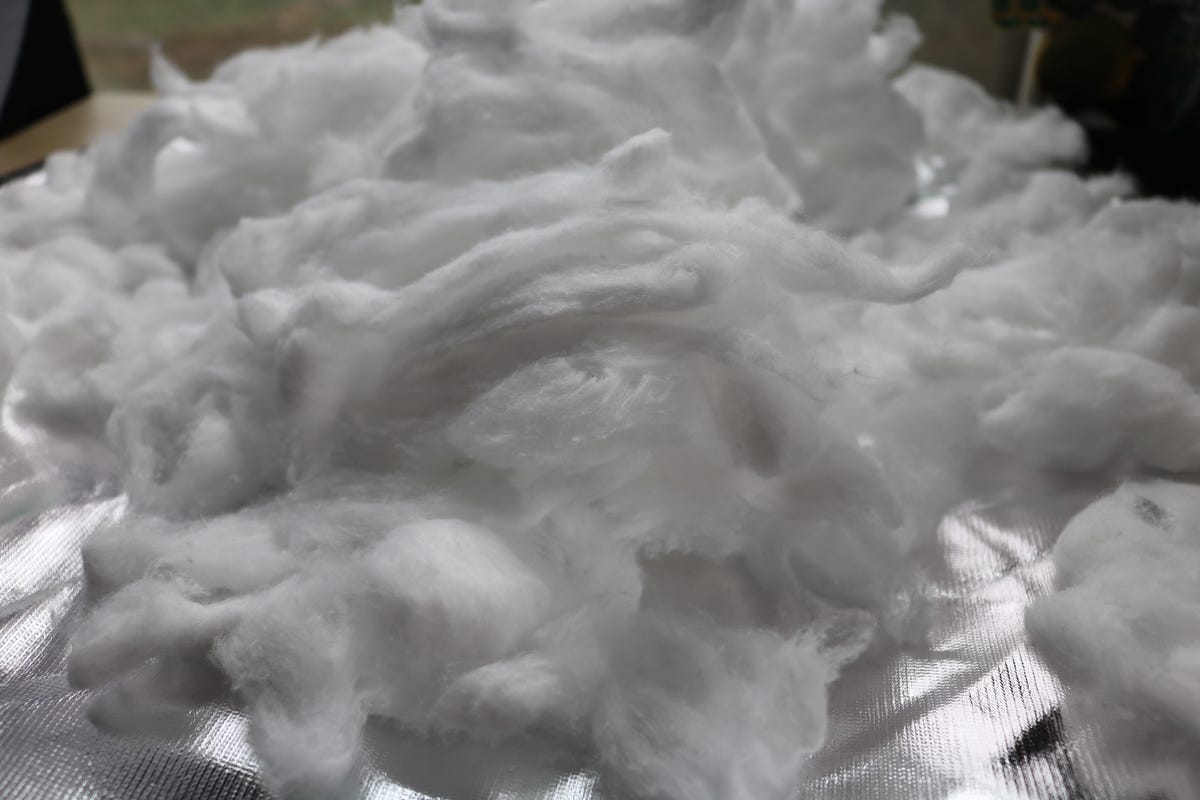
Tease apart the cotton balls with your fingers until they are somewhat flat. Some cotton balls are just rolled up pieces of cotton and you can unroll them into flat pieces. Don't worry about the pieces being perfect. Clouds are irregular so your cotton pieces should be, too. Do this part while watching TV because it's a bit tedious.

Step 3: Fluff your globe
Spray the globe with the adhesive spray and cover it with cotton. Keep the cotton layer very thin in some areas and extra fluffy and dense in others. Make sure not to cover the charging area or battery area of the globe.
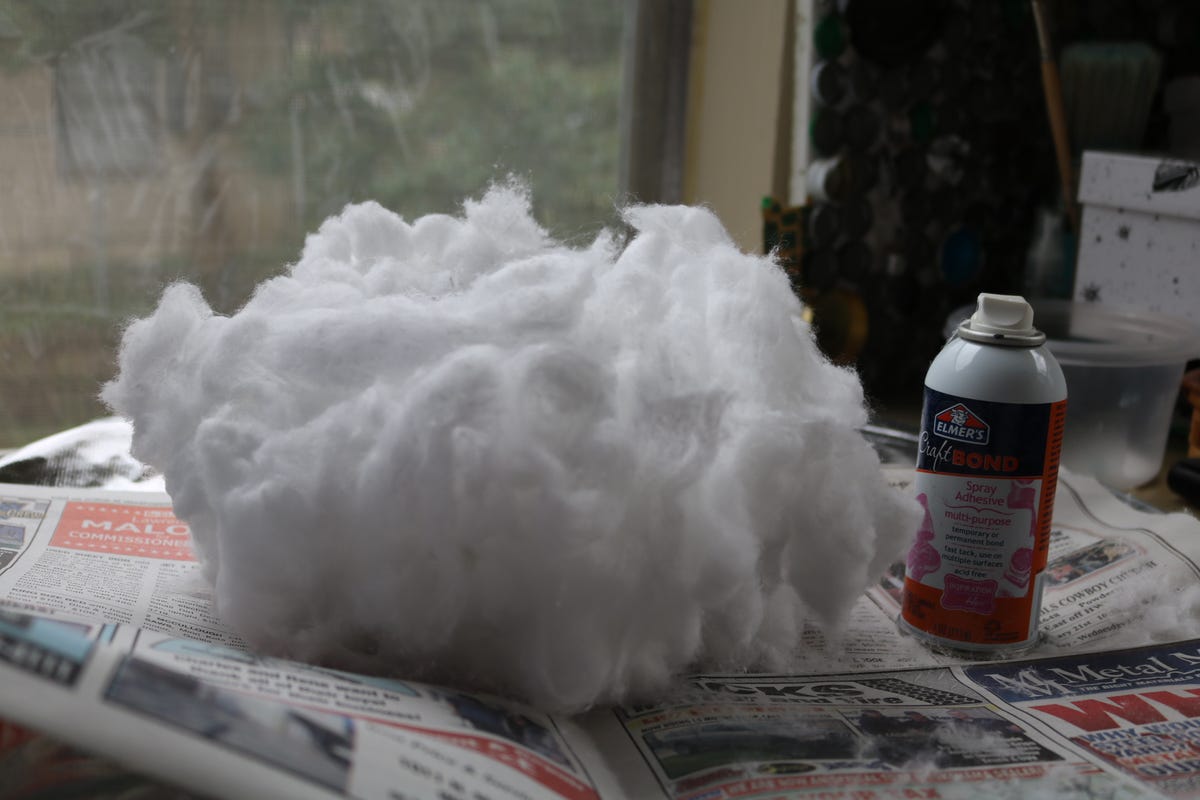
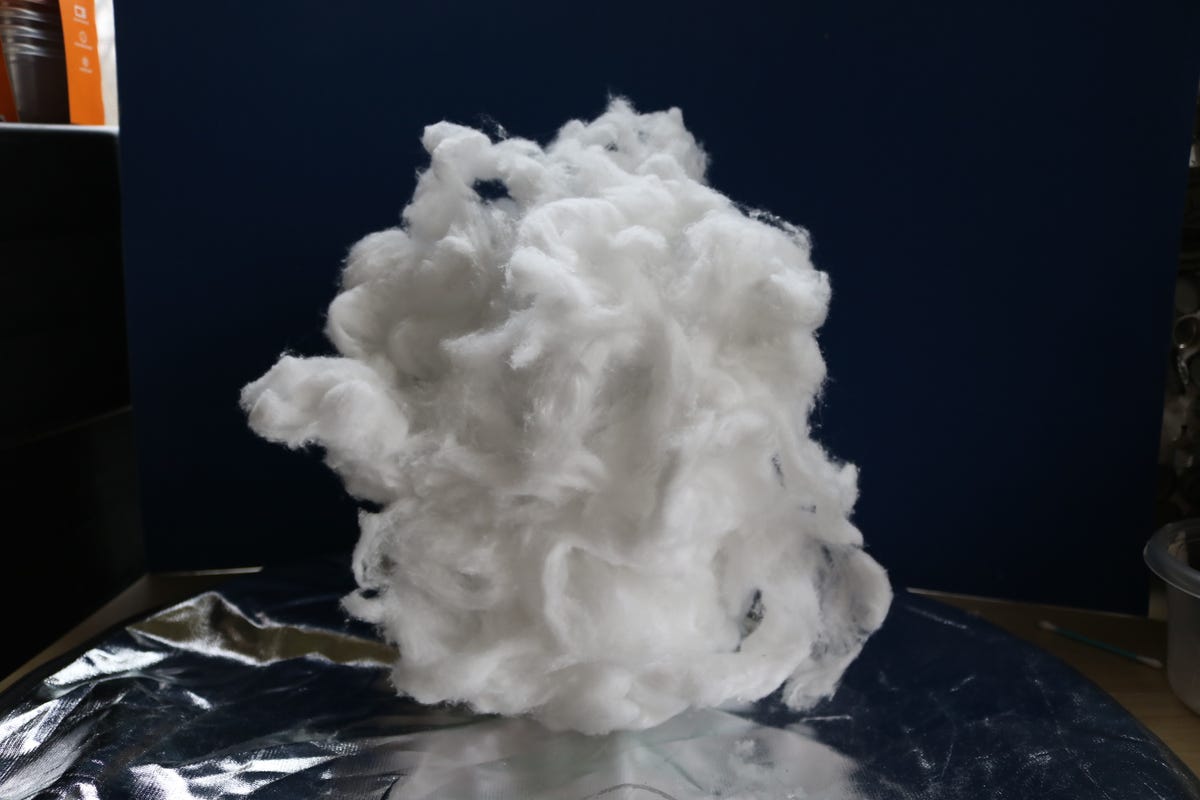
Step 4: Add fluff to the base
Spray the base with adhesive and go crazy. Cover the base until it's a big ball of fluff. To build up layers, spray the entire base with adhesive and cover it with one layer of cotton and then spray various spots and stick puffs of cotton here and there. There's no real art to this, so don't be afraid.
Step 5: Let your lamp dry
Let the globe and base dry for around 5 minutes, turn the globe on and place the globe on the base.
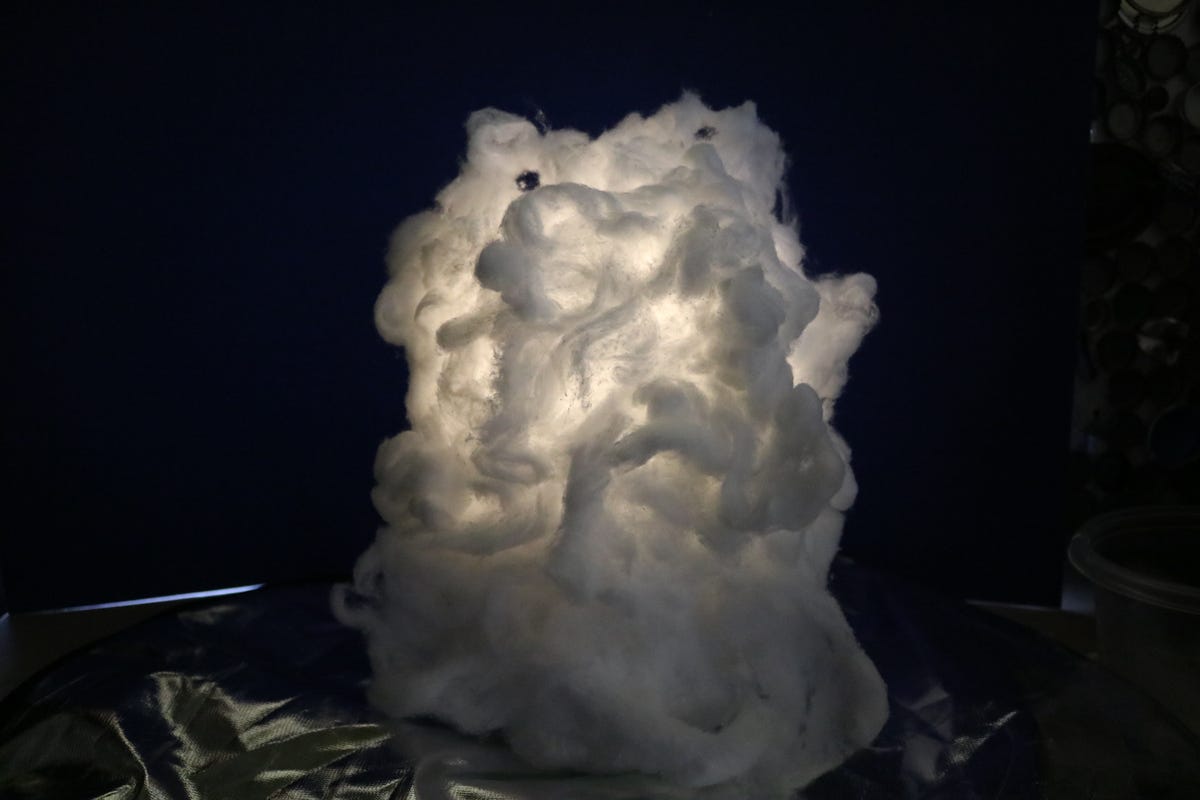
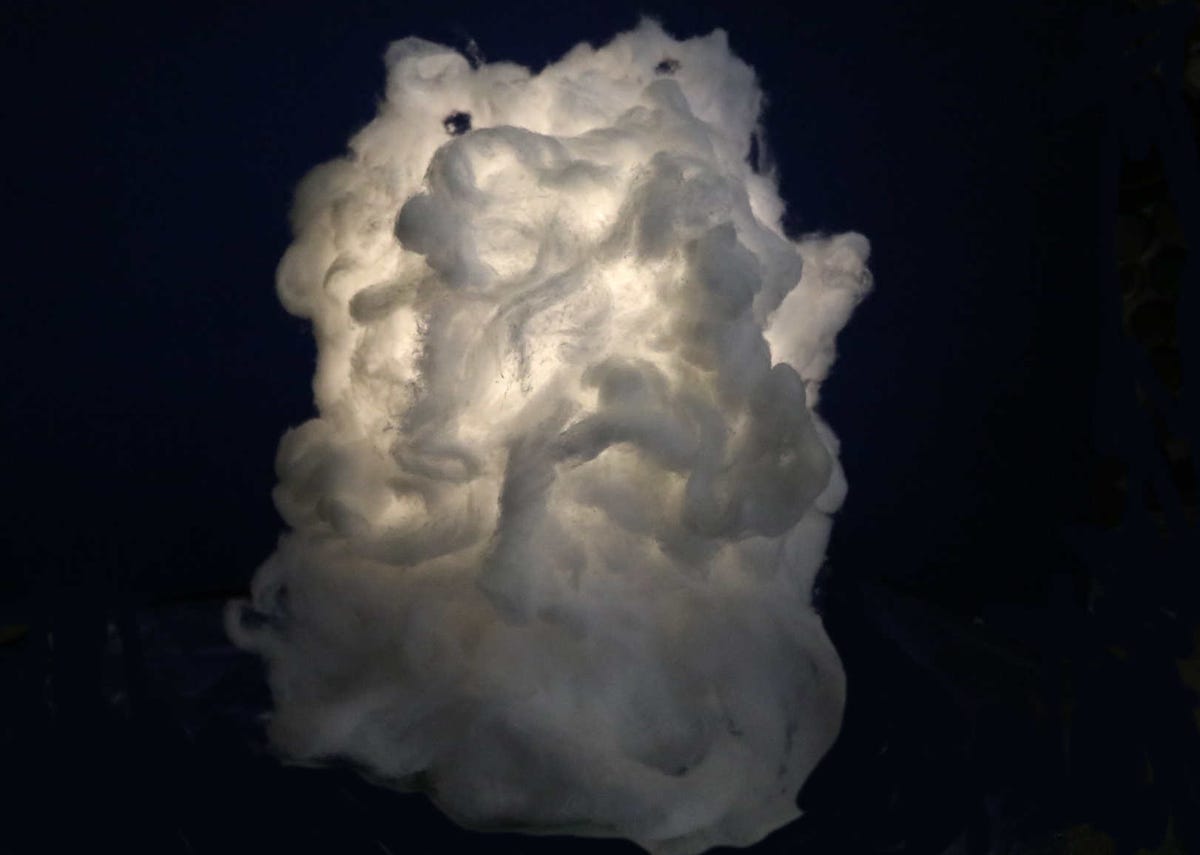
Step 6: Test your cloud lamp
Take the lamp to a dark room and see how you like it. If you feel like there is too much cotton around the globe, pull some of the cotton off until it is as bright as you like.
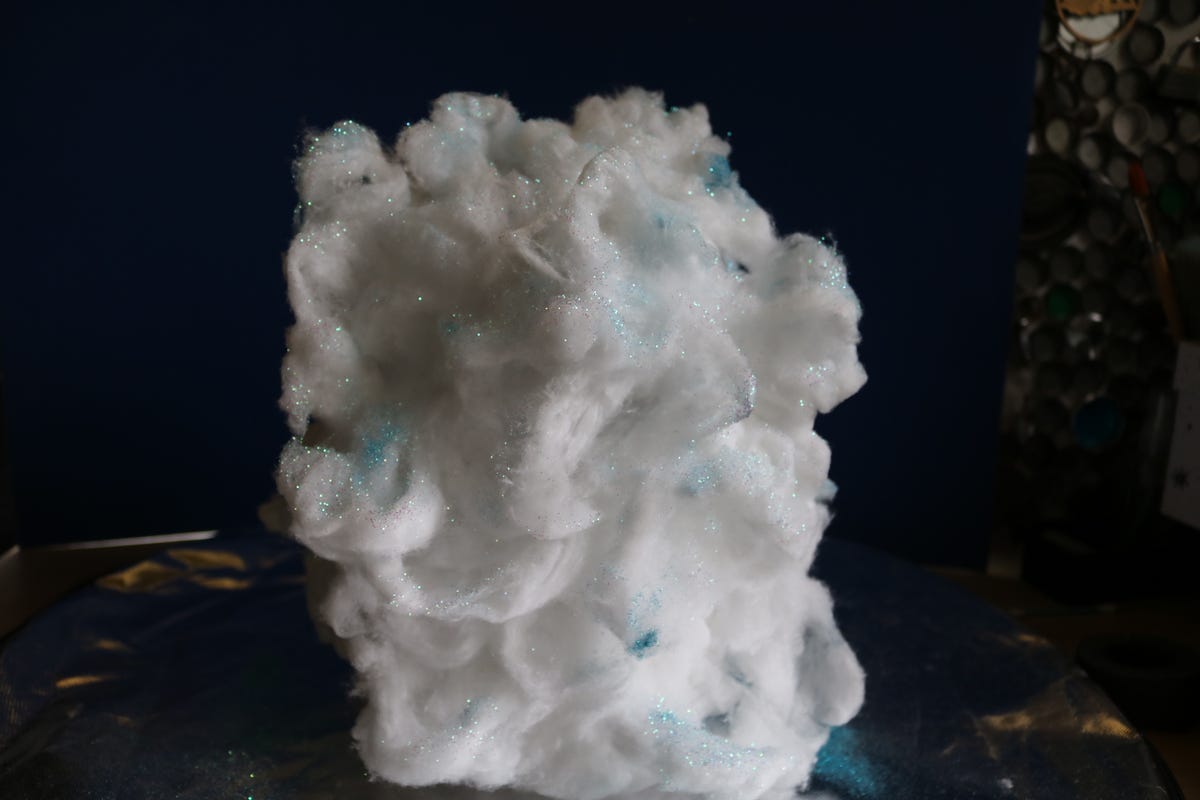
Step 7: Add glitter
Cover the lamp in glitter, if you like. Make sure to make the glitter thicker in some areas and lighter in others. Once the glitter is dry, light it up and enjoy!
More Galleries

My Favorite Shots From the Galaxy S24 Ultra's Camera
20 Photos
Honor's Magic V2 Foldable Is Lighter Than Samsung's Galaxy S24 Ultra
10 Photos
The Samsung Galaxy S24 and S24 Plus Looks Sweet in Aluminum
23 Photos
Samsung's Galaxy S24 Ultra Now Has a Titanium Design
23 Photos
I Took 600+ Photos With the iPhone 15 Pro and Pro Max. Look at My Favorites
34 Photos
