I spent some time last weekend putting together my own MP3 player using the Teuthis/Make Daisy DIY MP3 player kit. Here are some photos documenting the construction.
Donald Bell
Donald Bell has spent more than five years as a CNET senior editor, reviewing everything from MP3 players to the first three generations of the Apple iPad. He currently devotes his time to producing How To content for CNET, as well as weekly episodes of CNET's Top 5 video series.
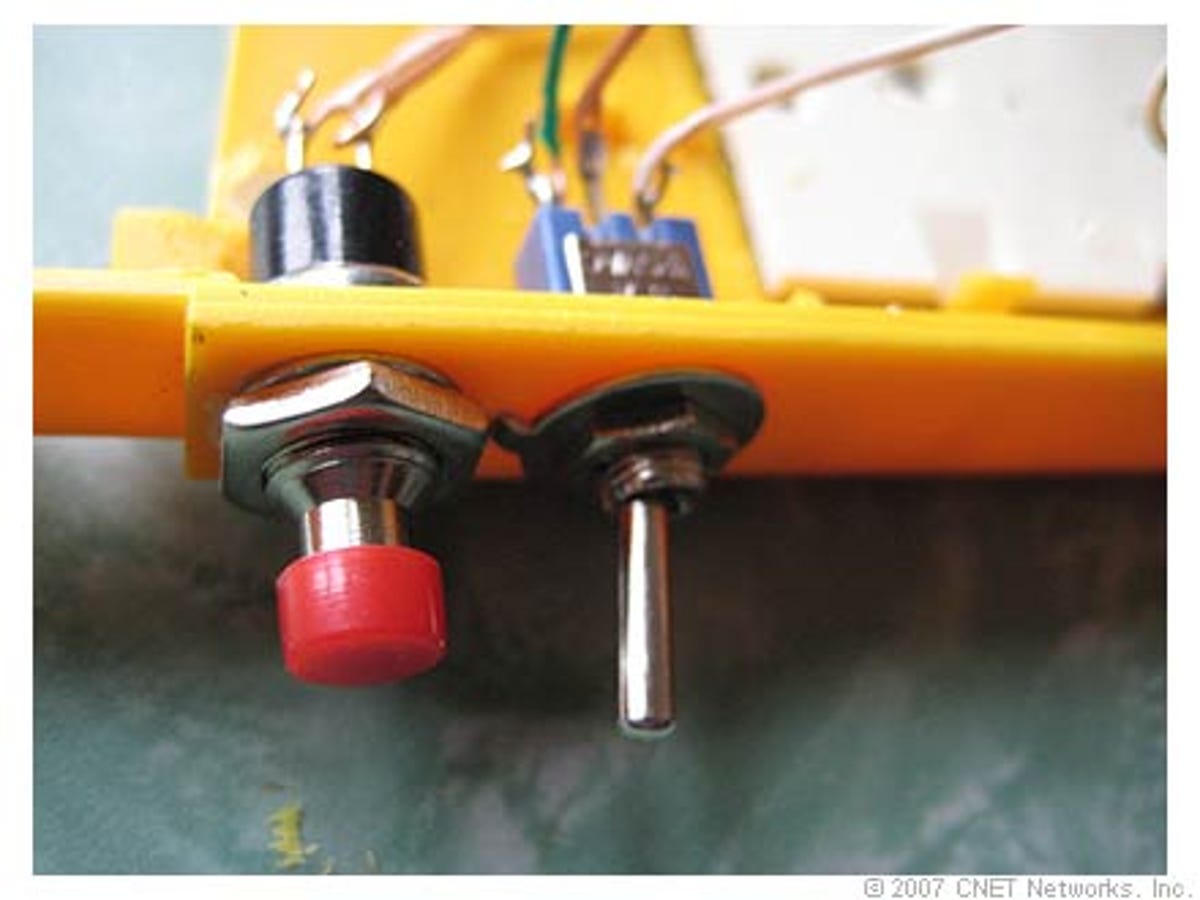
I figured I'd mount volume controls to the side of the case and wire playback controls to the ancient original keypad.
2 of 16 Donald Bell / CNET Networks
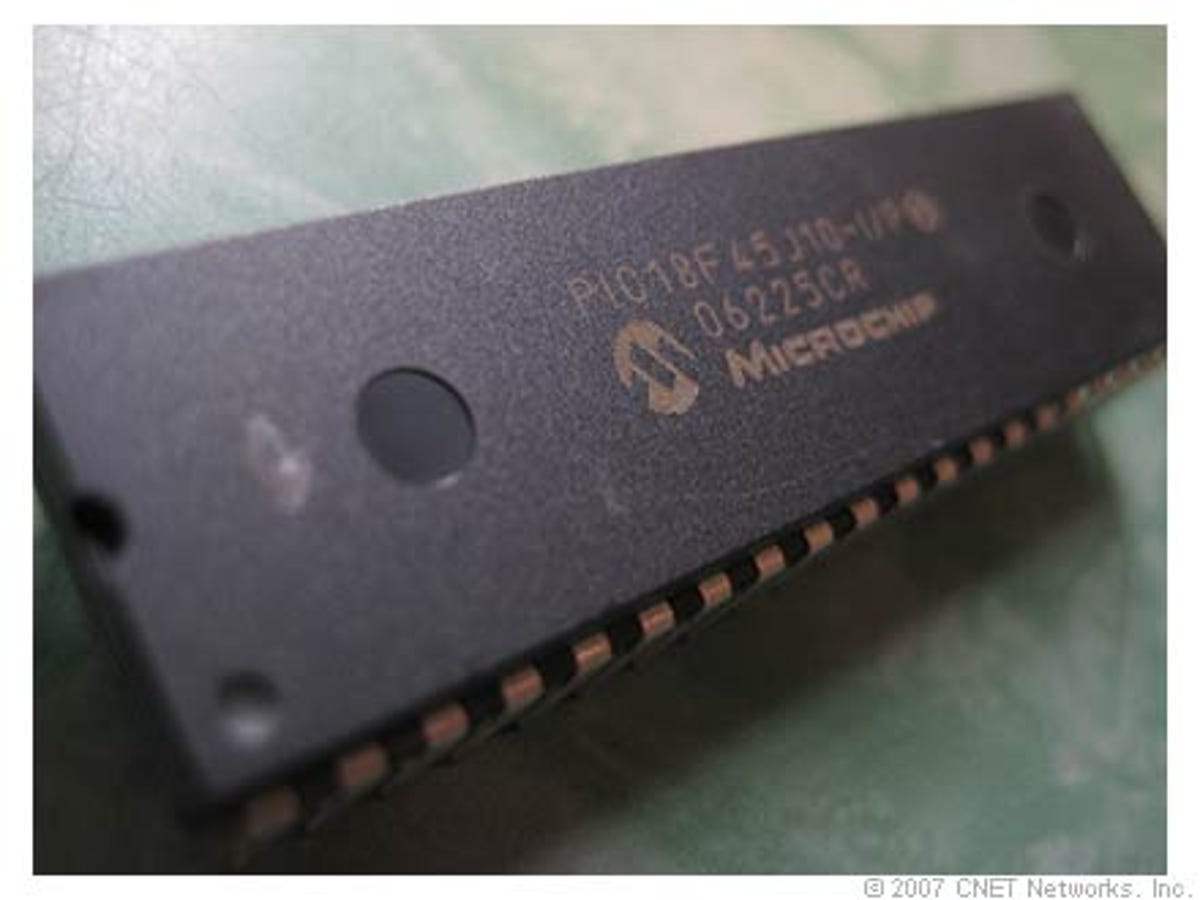
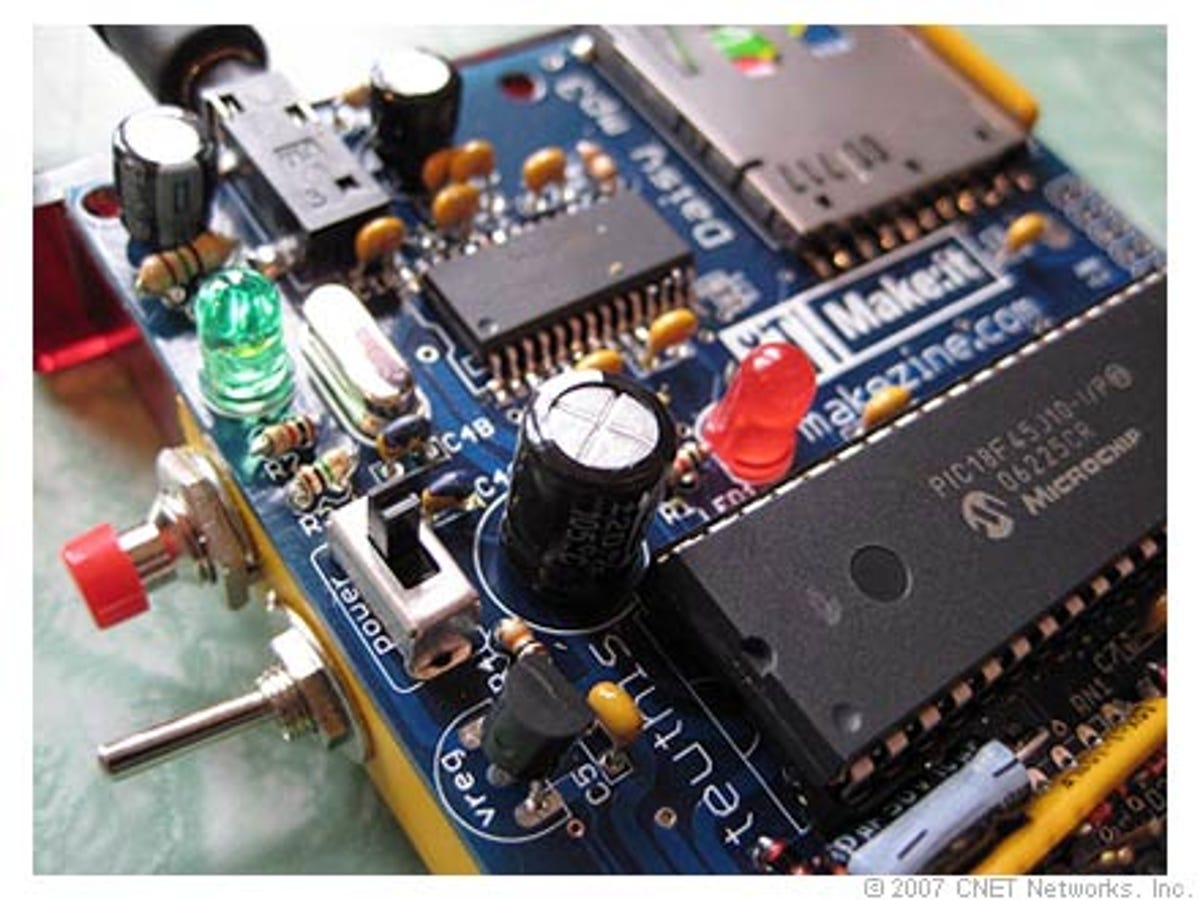
The PIC18F45j10 microchip is a PIC microcontroller that does a lot of the dirty work on the Daisy.
3 of 16 Donald Bell / CNET Networks
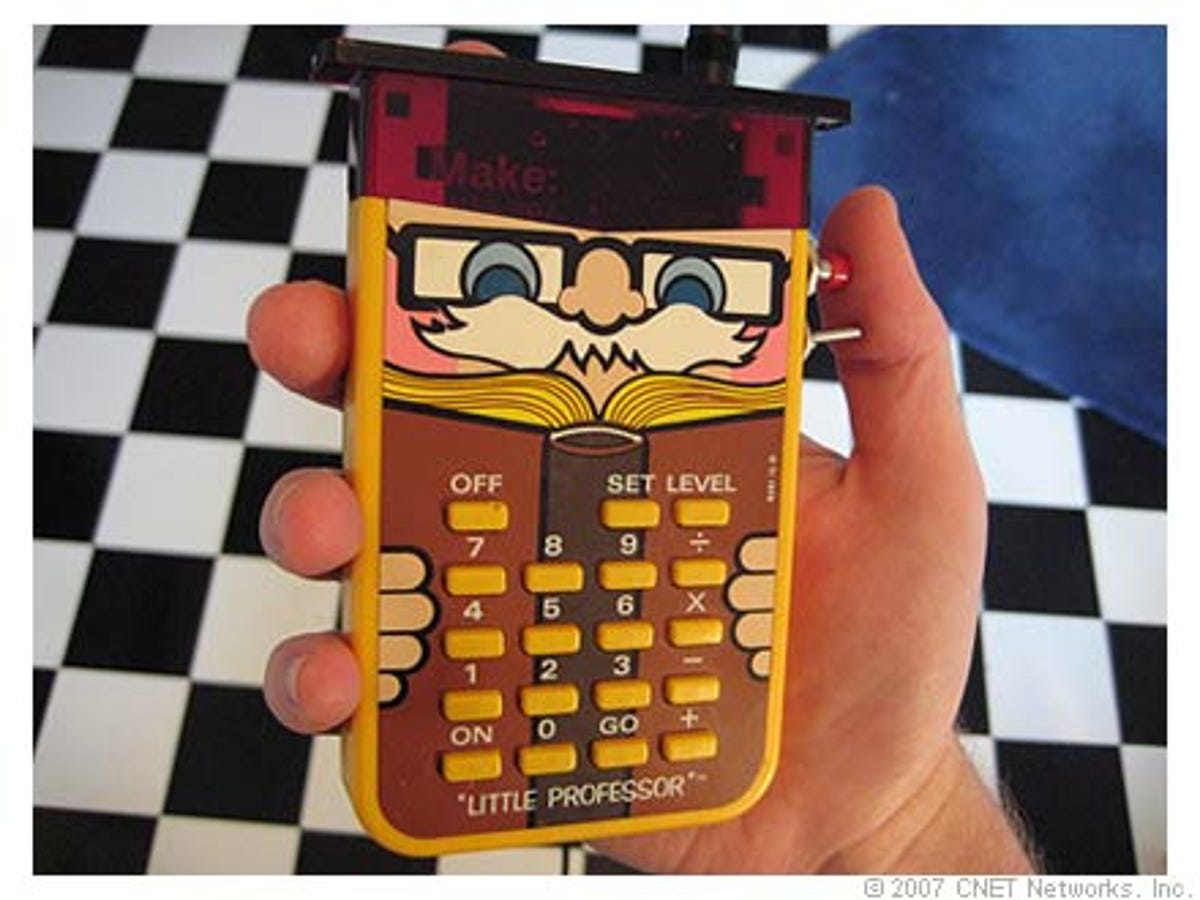
It looks ridiculous, I know, but the sound quality is stunning. Plus, you can hear the love that went into this thing. I wired the keypad so that buttons 4, 5, and 6 control rewind, play/pause, and fast-forward, respectively.
4 of 16 Donald Bell / CNET Networks
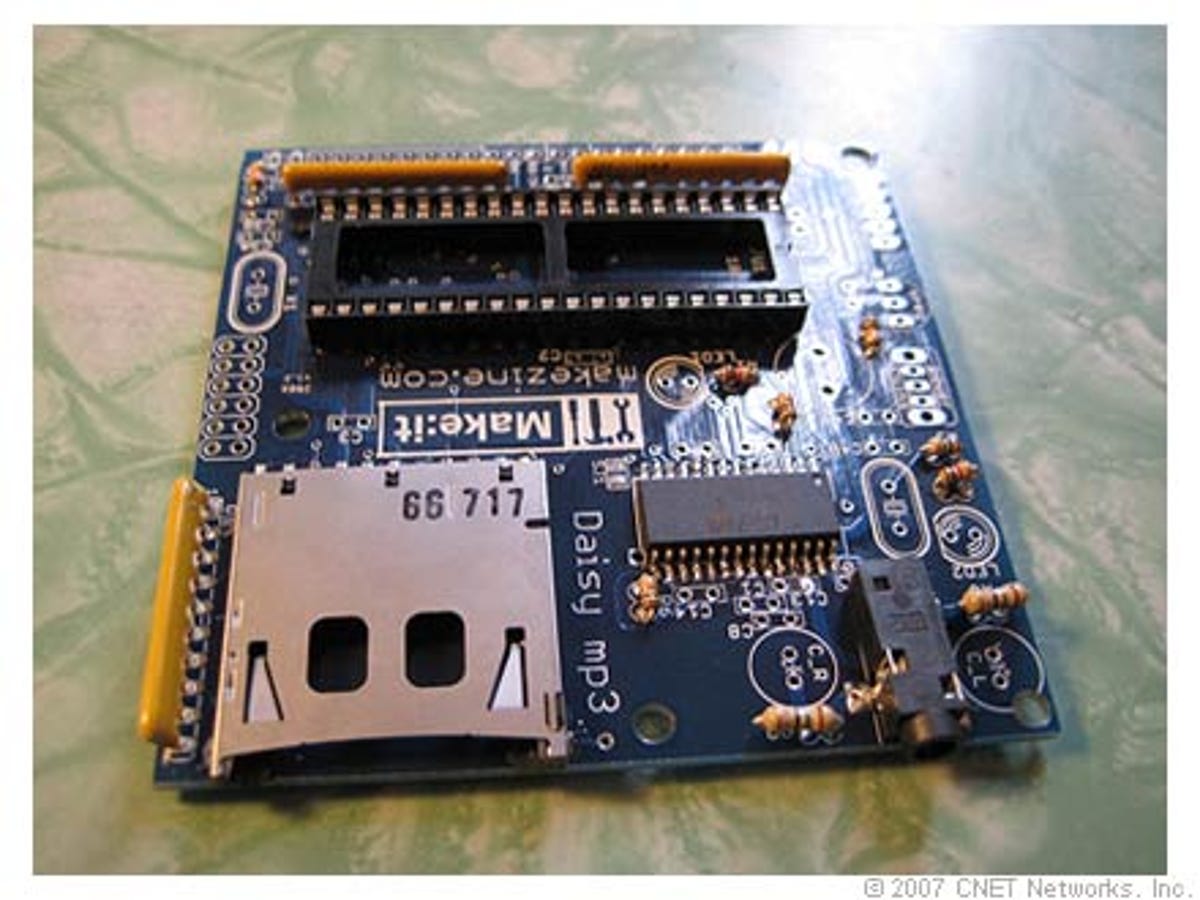
First step (and the hardest) was surface mounting the small VS1011 chip in the top left corner. The VS1011 chip is an MP3 decoder, digital/analog converter, and headphone amplifier all in one little package. The tiny little pins were hard to line up straight, but it's close enough for rock 'n' roll. After that, I put down the resistors.
5 of 16 Donald Bell / CNET Networks
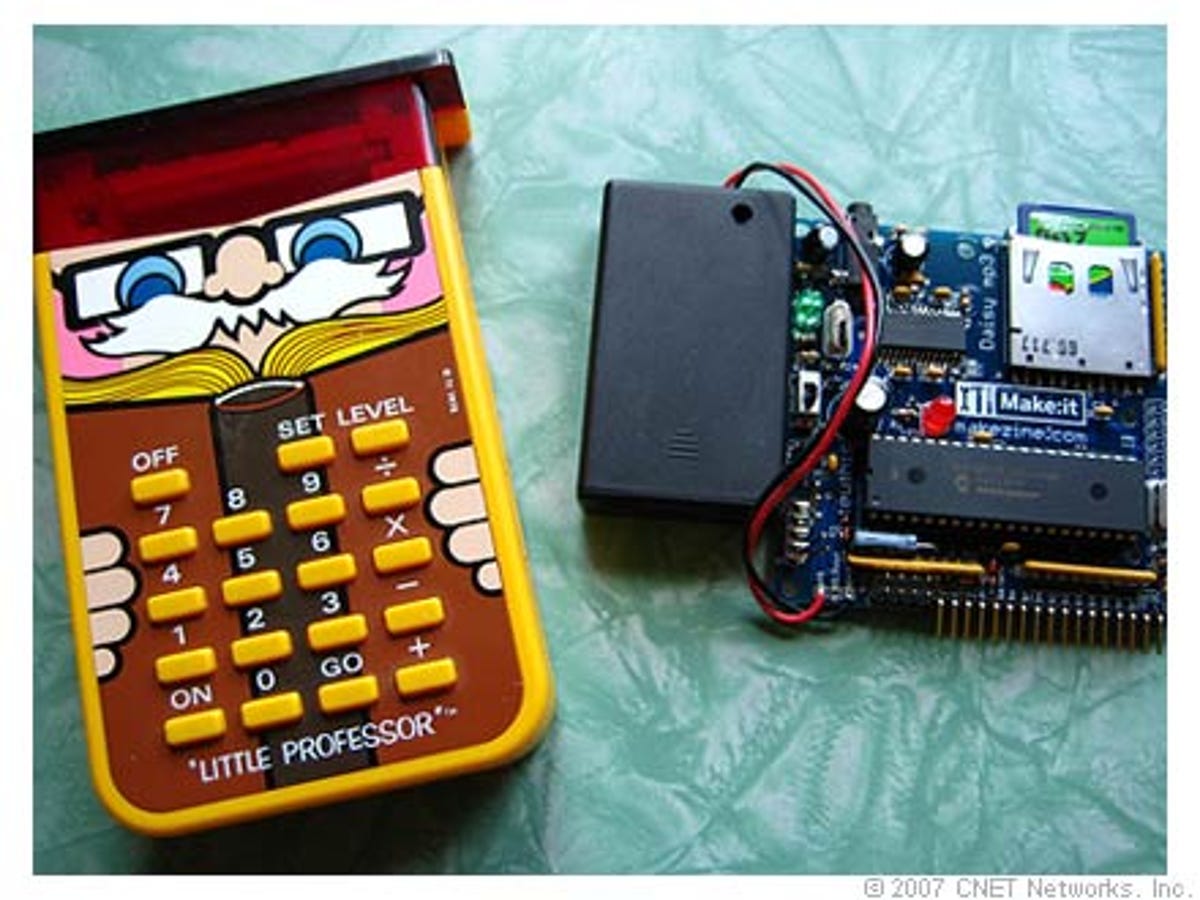
Aside from the fact that I'll have to keep the back open, it's a perfect fit! After all that work, it's hard to describe how exciting it was to hear music come out of this thing that was just a pile of parts a few moments ago.
6 of 16 Donald Bell / CNET Networks
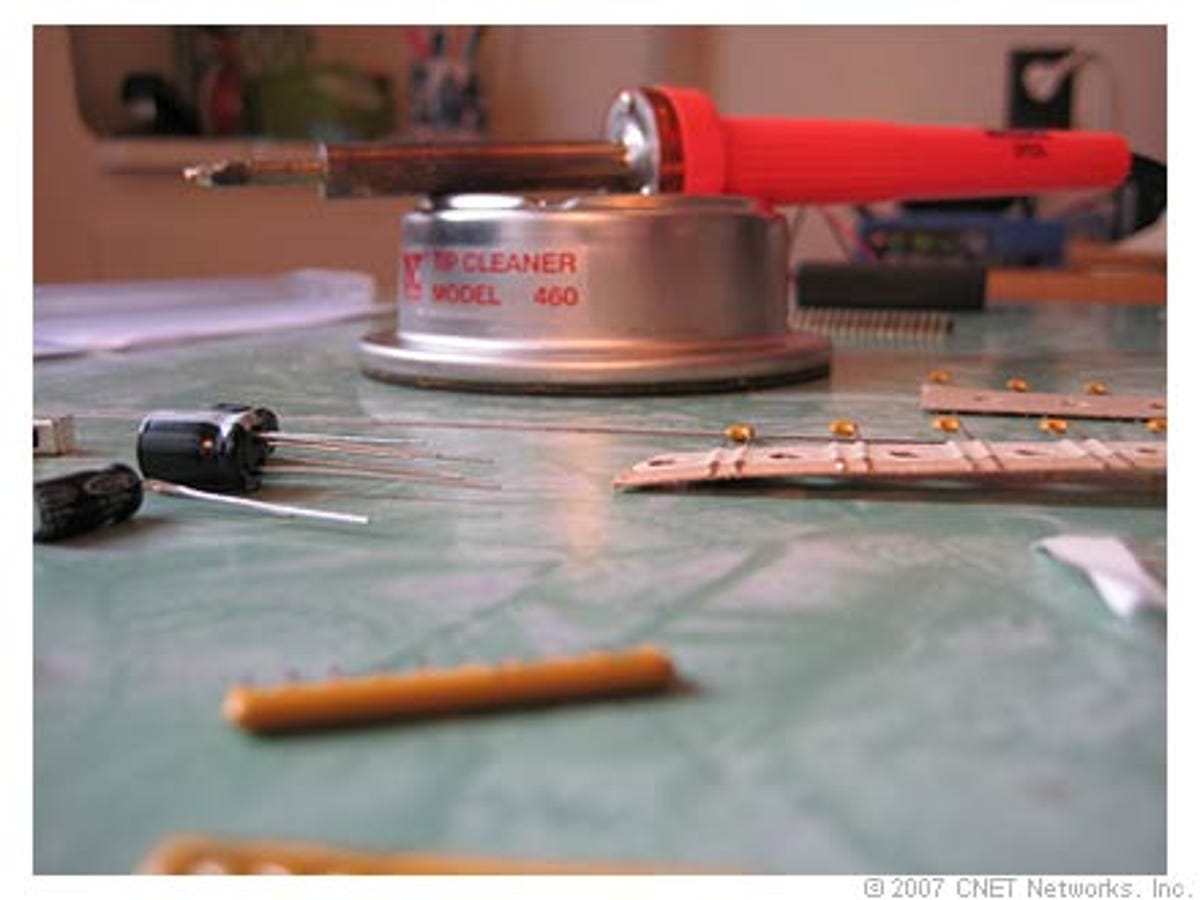
Before getting started, I warmed up the soldering iron and laid out all the parts.
7 of 16 Donald Bell / CNET Networks
Next came the headphone jack (bottom right) and the SD flash memory card slot (bottom left). The Daisy plays music formatted as either MP3 or WAV files loaded onto FAT32-formatted SD or MMC flash memory cards.
8 of 16 Donald Bell / CNET Networks
An MP3 player is only as good as its enclosure. My 1978 "Little Professor" calculator game needed an upgrade, and the Daisy just barely fit.
9 of 16 Donald Bell / CNET Networks
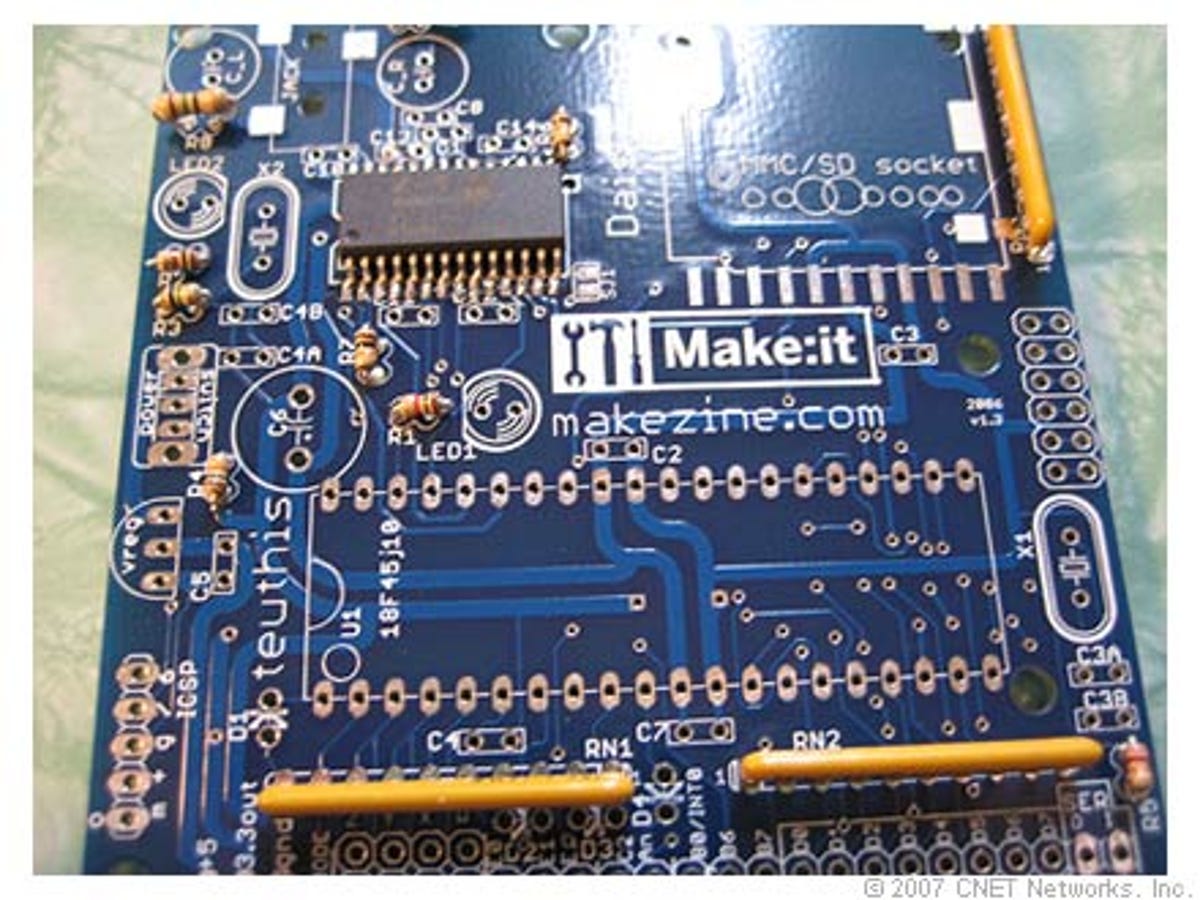
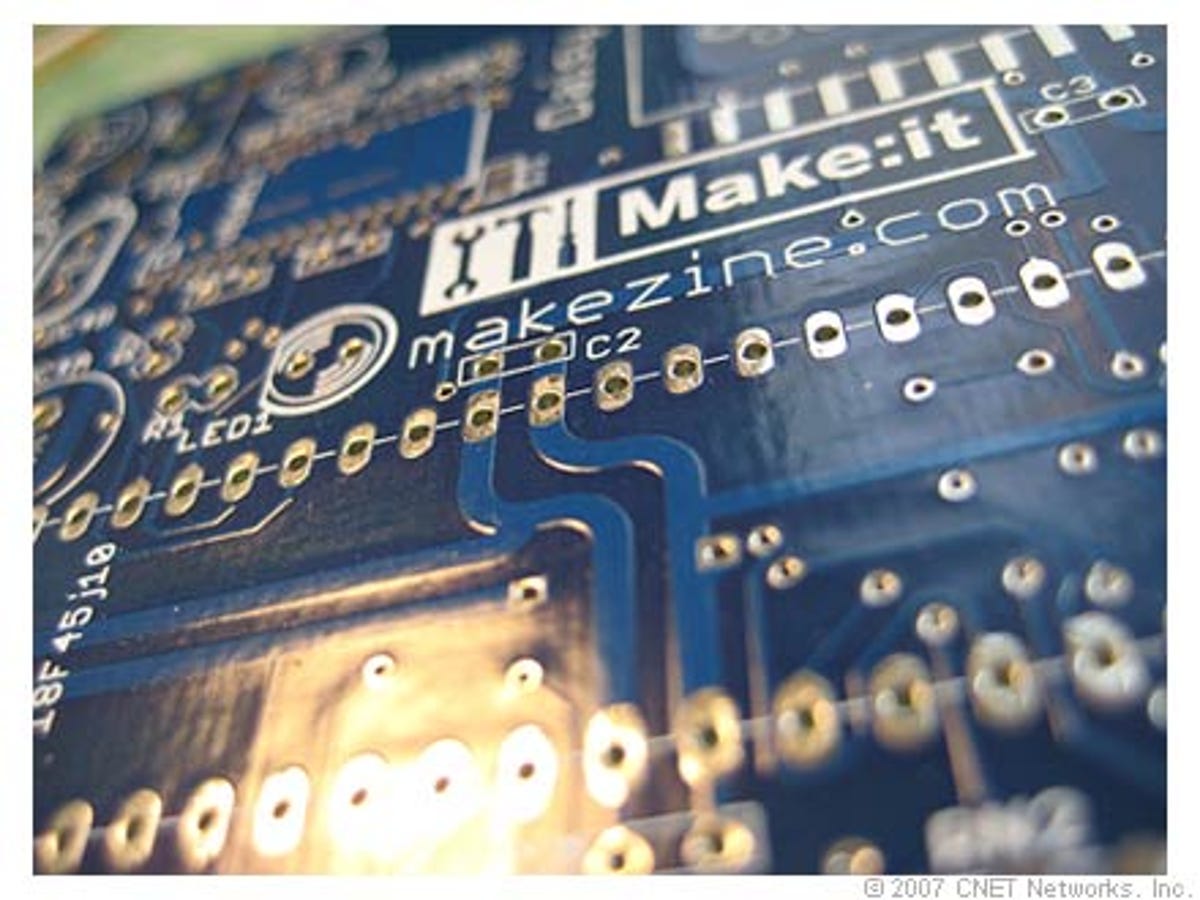
This is a shot of the board before any of the components have been soldered on. The Daisy kit was designed by a San Francisco-area group called Teuthis and marketed under the Make Magazine brand name. The board measures 3 inches square.
10 of 16 Donald Bell / CNET Networks
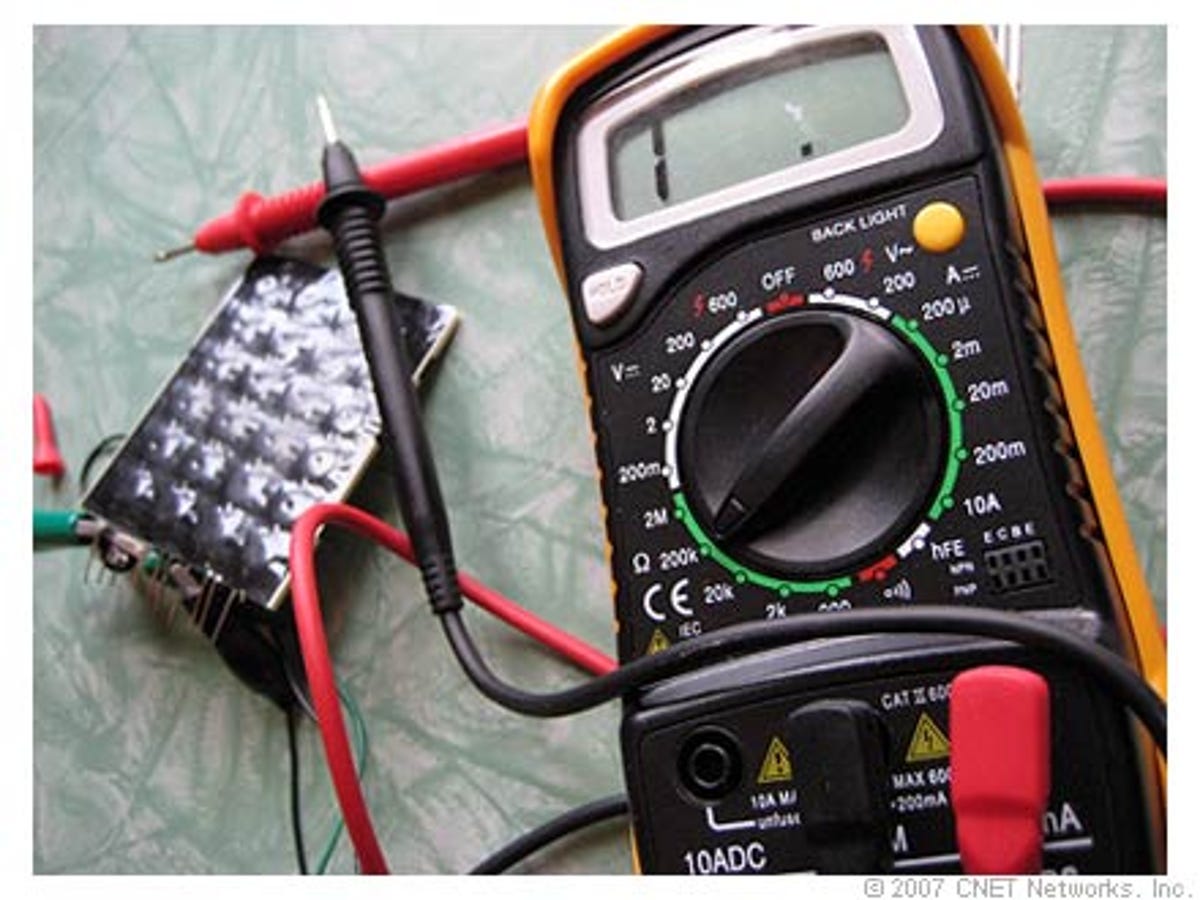
Figuring out how to take advantage of the original Little Professor keypad was no easy feat. I used a multimeter and a lot of patience to determine how the leads worked together.
11 of 16 Donald Bell / CNET Networks
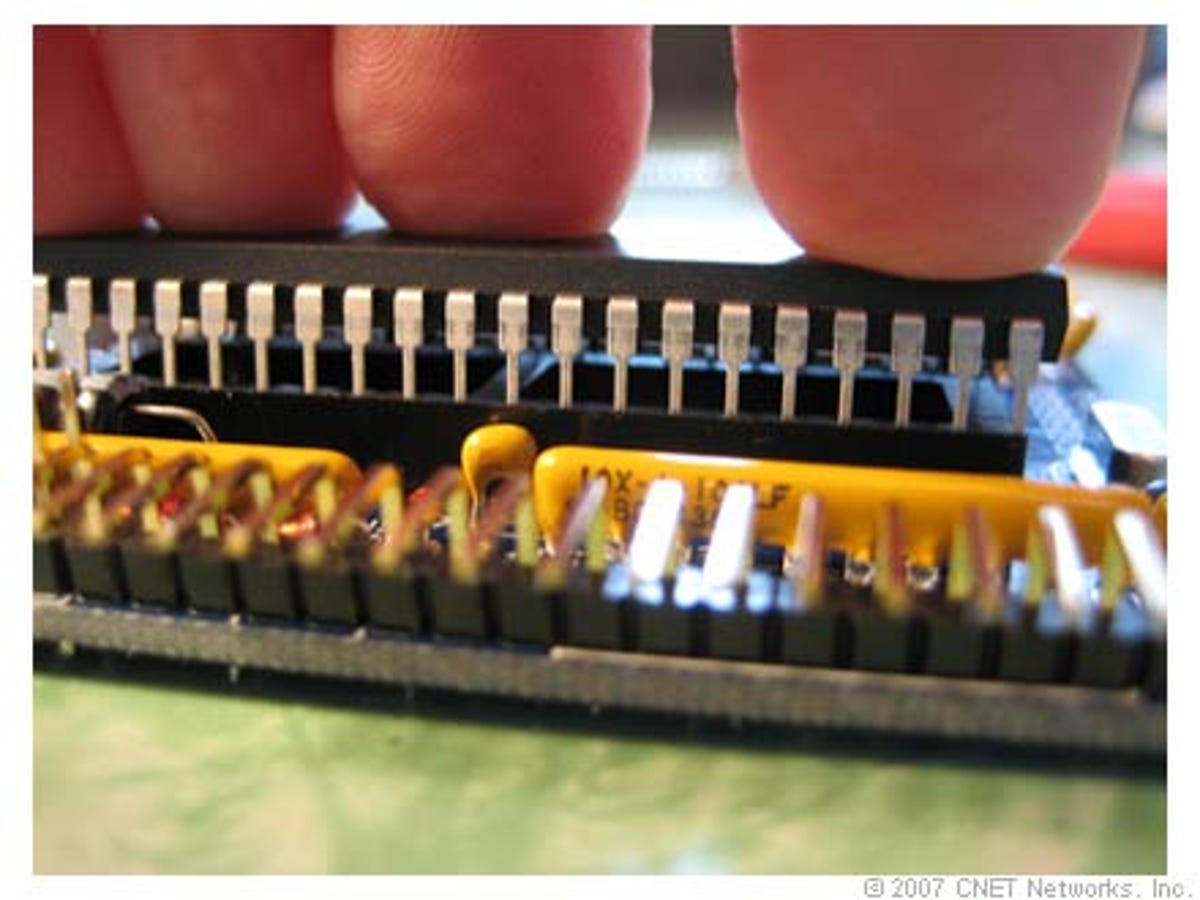
Here's a shot of me pushing the PIC18F45j10 microchip into place. Hold your breath and pray you don't hear any sharp, snapping sounds.
12 of 16 Donald Bell / CNET Networks
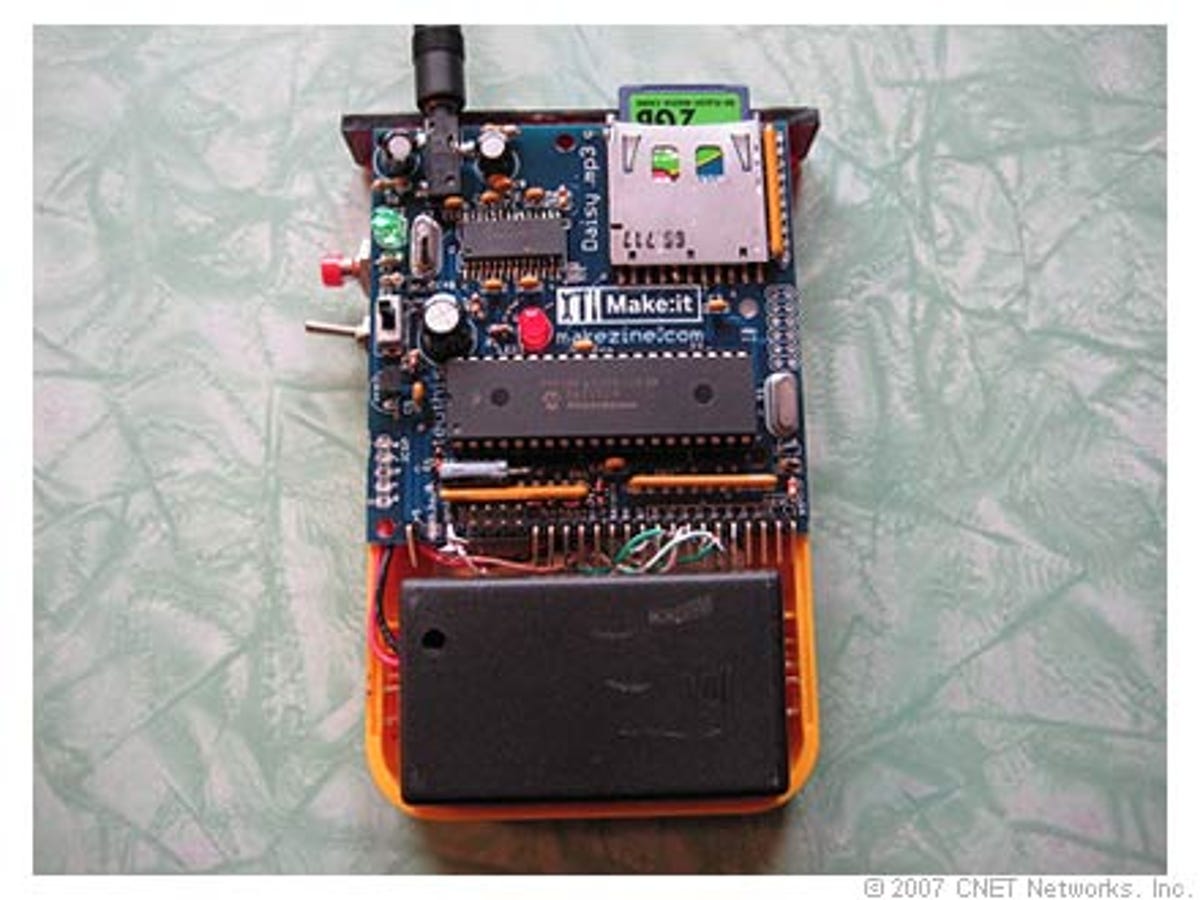
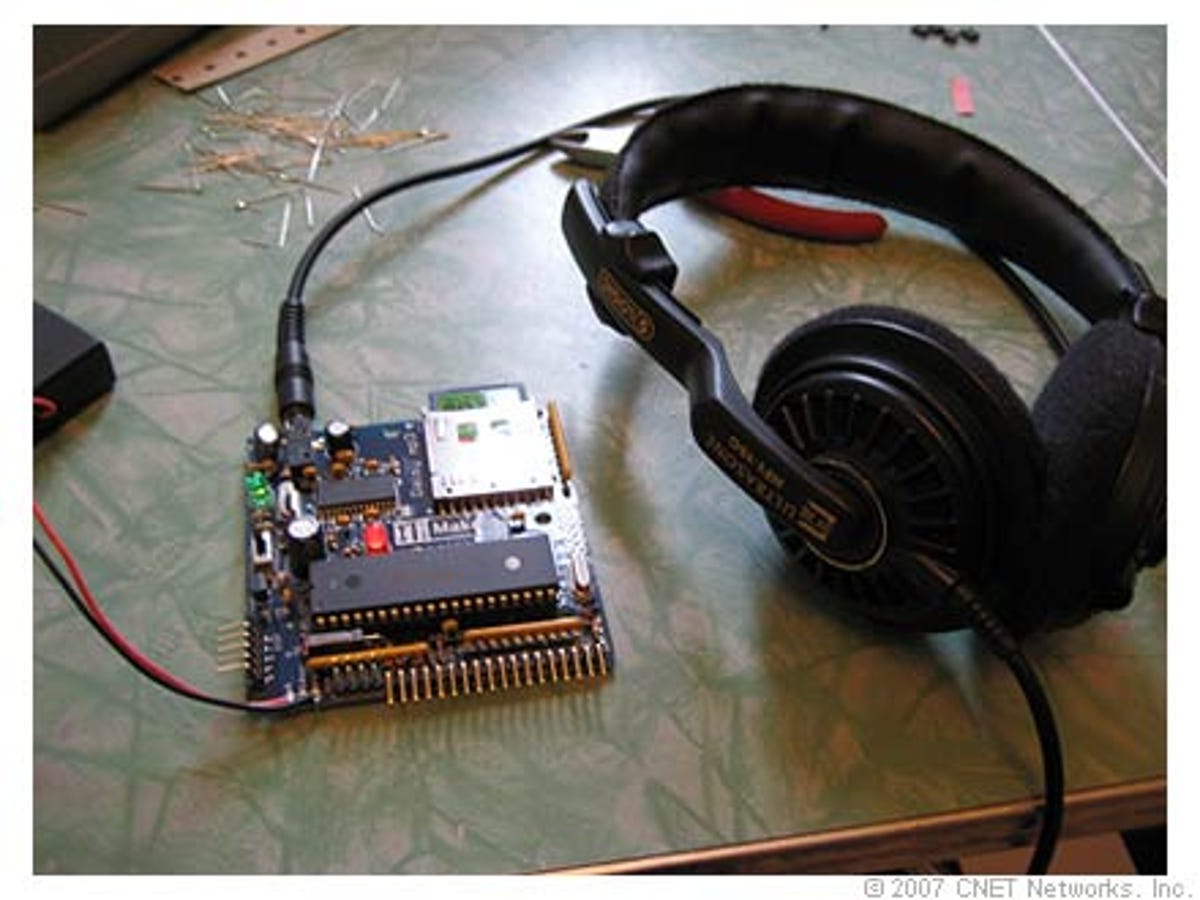
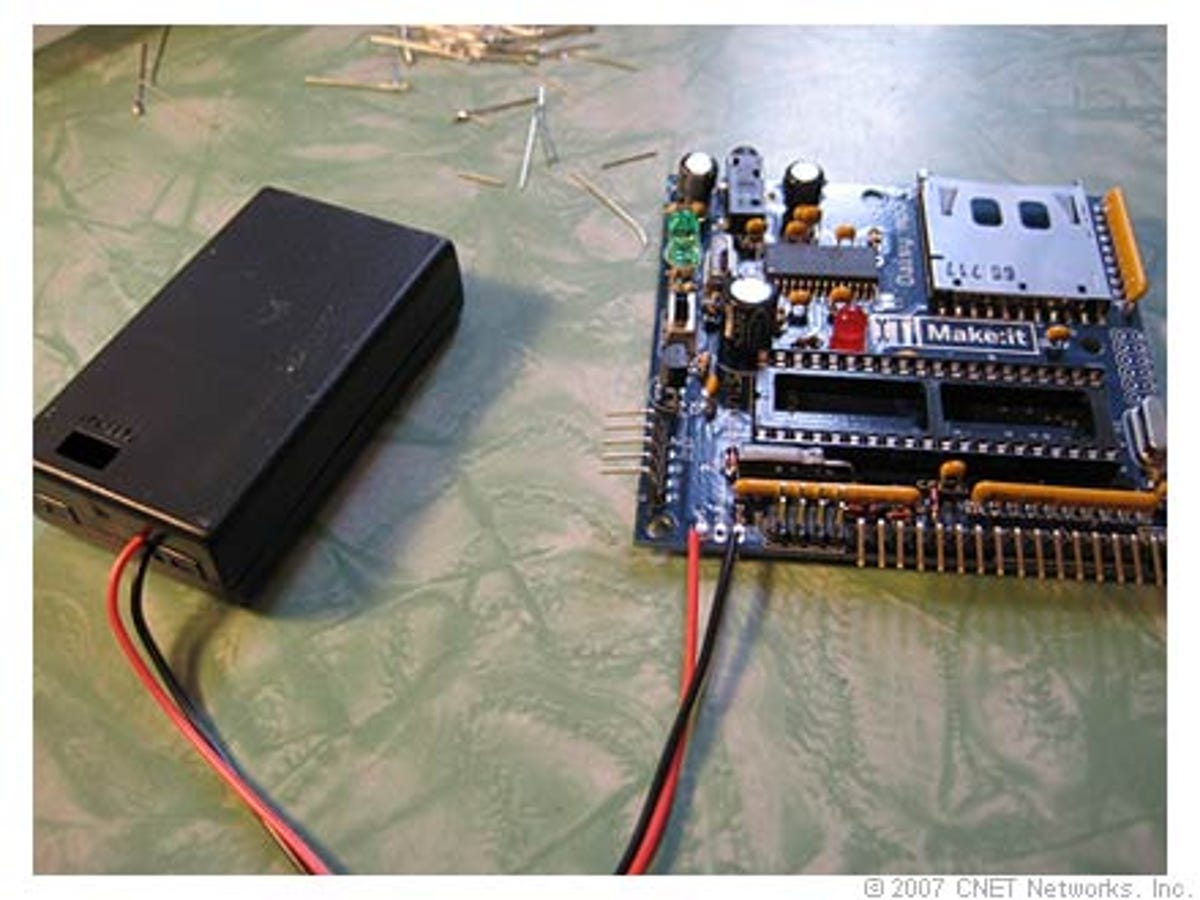
Here's a shot of the Daisy powered up and playing for the first time. The default volume is fairly restrained, though, so to get things cranked up, we'll have to wire some volume controls to the function pins on the bottom of the board.
13 of 16 Donald Bell / CNET Networks
Most commercial electronics use components that are shrunk down to nanosize blobs. This is not the case for the Daisy. Everything is big and beautiful on this board.
14 of 16 Donald Bell / CNET Networks
I popped in some fresh AAA batteries and connected the pack to the board.
15 of 16 Donald Bell / CNET Networks
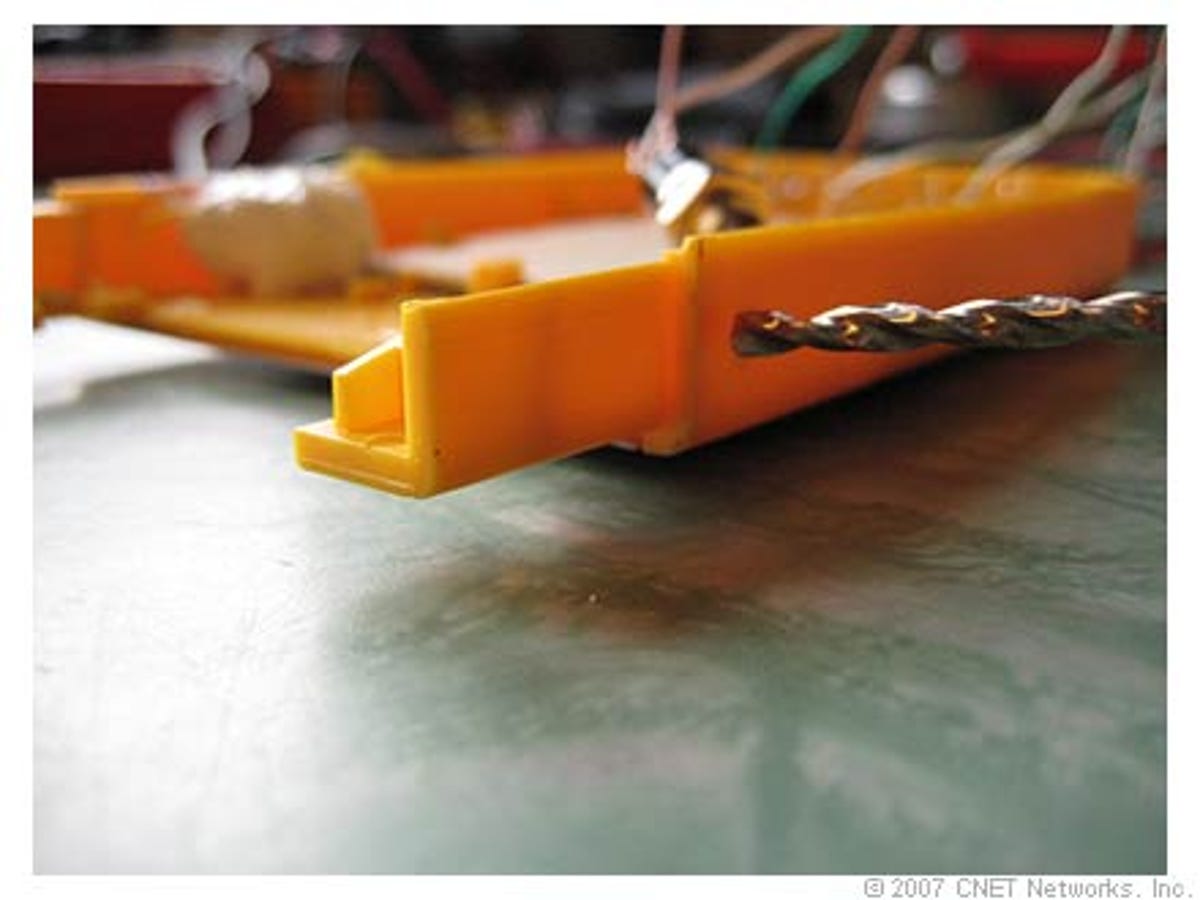
You can customize the Daisy's volume control to be just about anything you want. For the sake of space, I used some switches from my personal stash to create a unique volume control. The red button will increase or decrease volume based on whether the switch is in the up or down position.
16 of 16 Donald Bell / CNET Networks
To get the battery pack to stay put, I used some industrial double-sided tape.