Make a solar light for your tool shed using a soda bottle
Is your tool shed dark and gloomy and you want to install an eco-friendly light? Grab a soda bottle.


Inspired by solar lights used in third-world countries, this light costs less than $5 and uses a 2-liter soda bottle, foil, bleach and a few tools you probably already own. The light puts out around 55 watts of light by magnifying the sunlight and gives off enough light to illuminate a 10 by 10-foot (3 by 3-meter) aluminum shed during the day. No wiring or bulbs required.
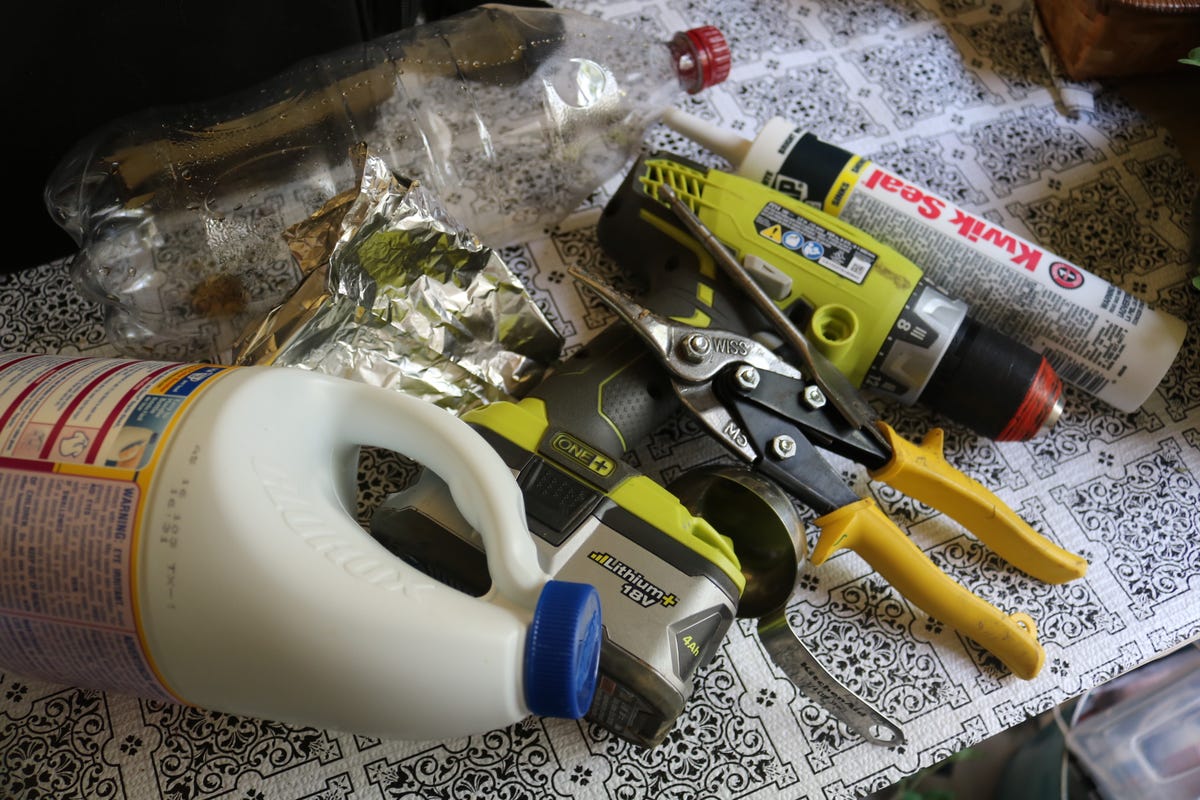
Tools you need
To make and install your solar light you will need a 2 liter clear plastic soda bottle, a drill with a 1-inch drill bit, tin snips, bleach, a square of aluminum foil, a pencil or marker and a measuring cup.
You'll also need weatherproof caulk. We used a caulk gun and a tube of caulk, but you can buy tubes that you can squirt without a gun at your home improvement store. And if you can't reach the top of your shed, you'll need a ladder.
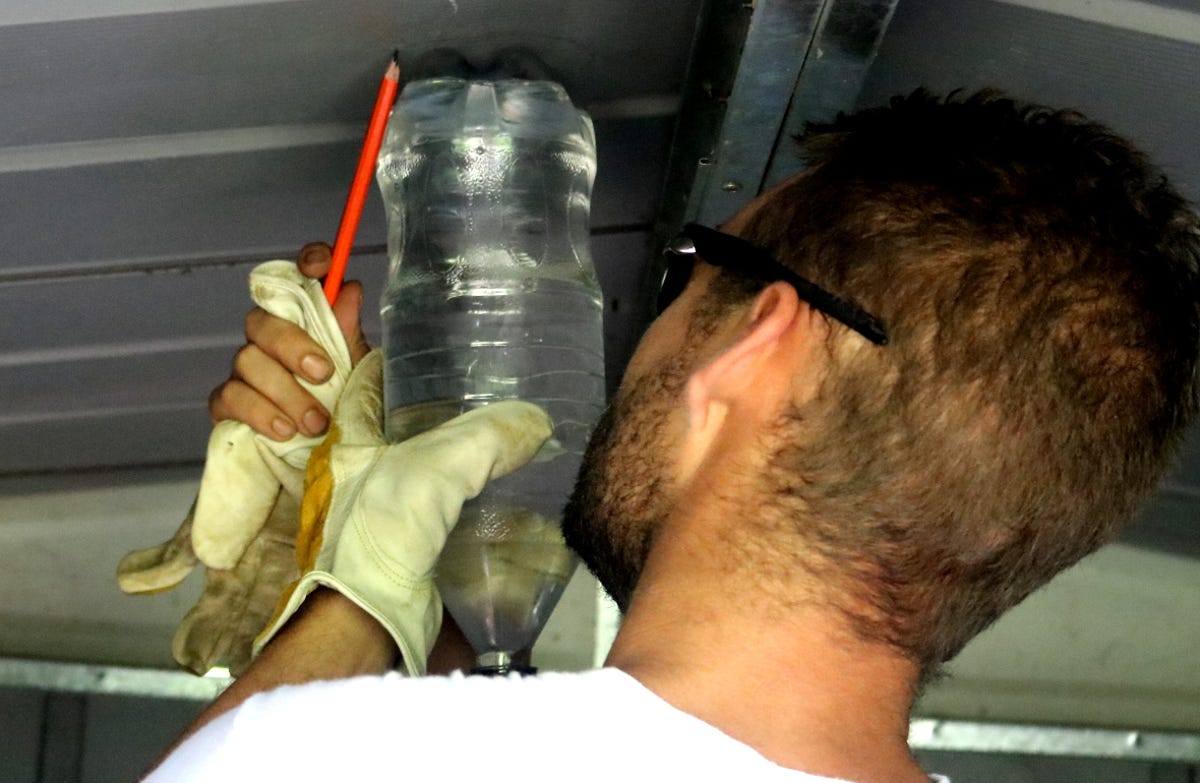
Draw a guideline
First, decide where you want your light. You'll need to place it near the support beam that goes across the ceiling of your shed for extra support. Hold the bottle up to the spot you want your light and trace around it with your pencil or marker.
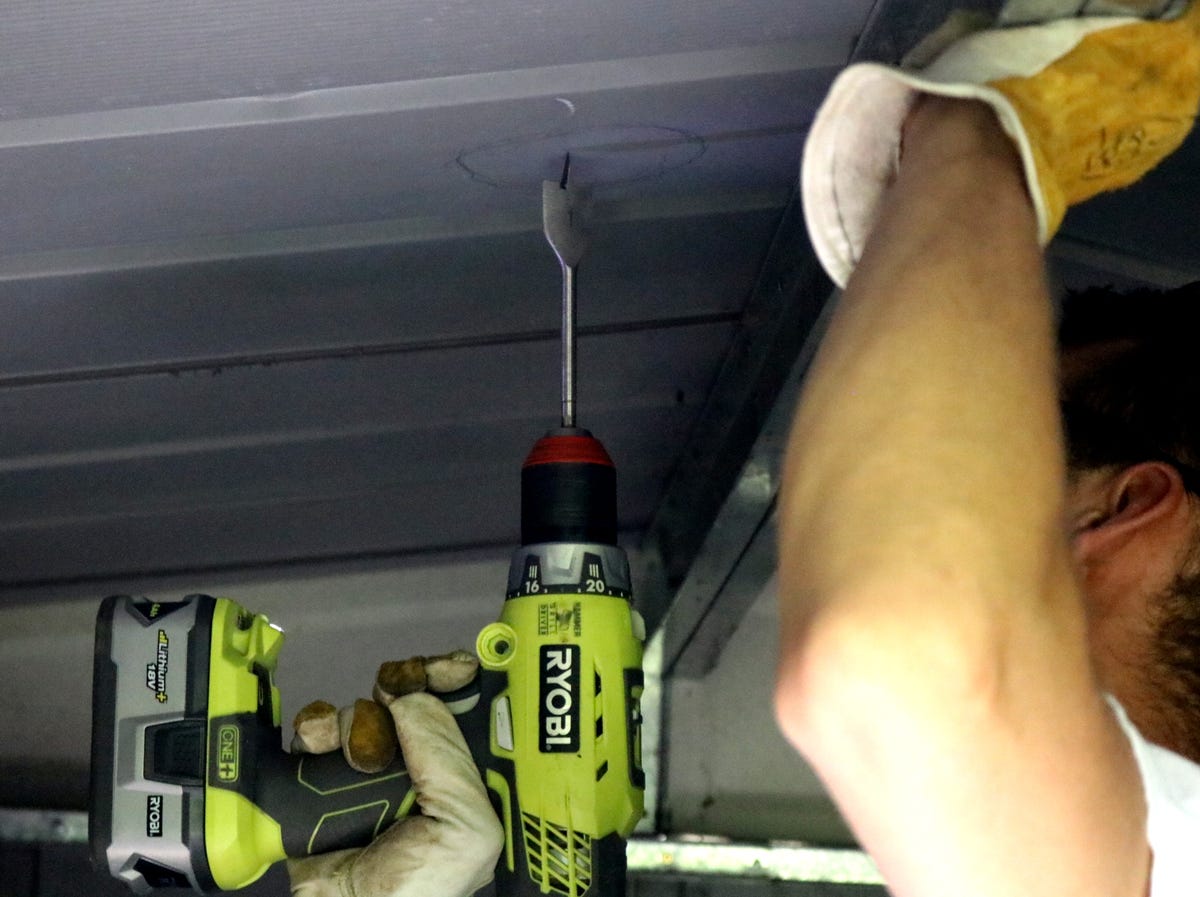
Drill the hole
In the center of the circle you just drew, drill a hole through the roof of the shed.
Cut out the hole
Using the tin snips, cut out the circle you traced, but make sure that the circle you cut is around an eighth of an inch (3mm) smaller than the one you traced. This will give the light a snug fit when you slip it into the hole.
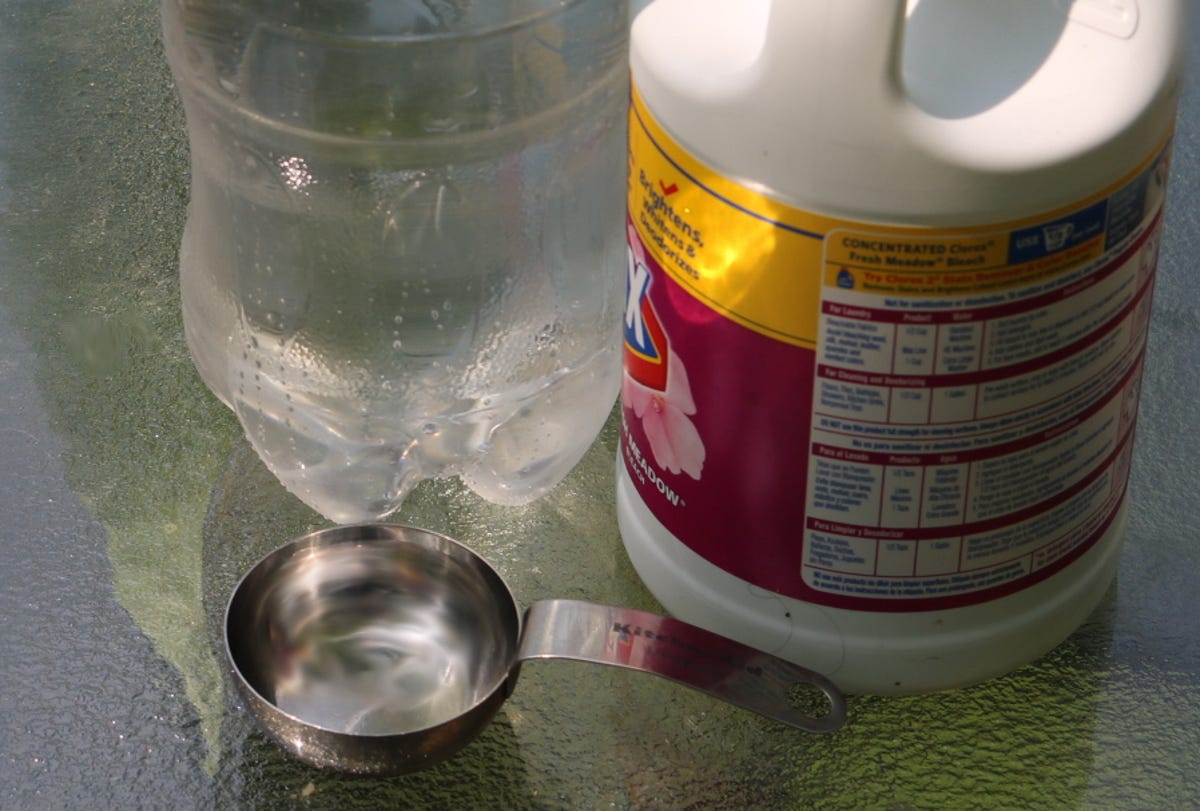
Fill the bottle
Put 1/3 cup of bleach into the soda bottle and fill the rest of the bottle with water. The bleach will prevent bacteria and algae from growing in the water.
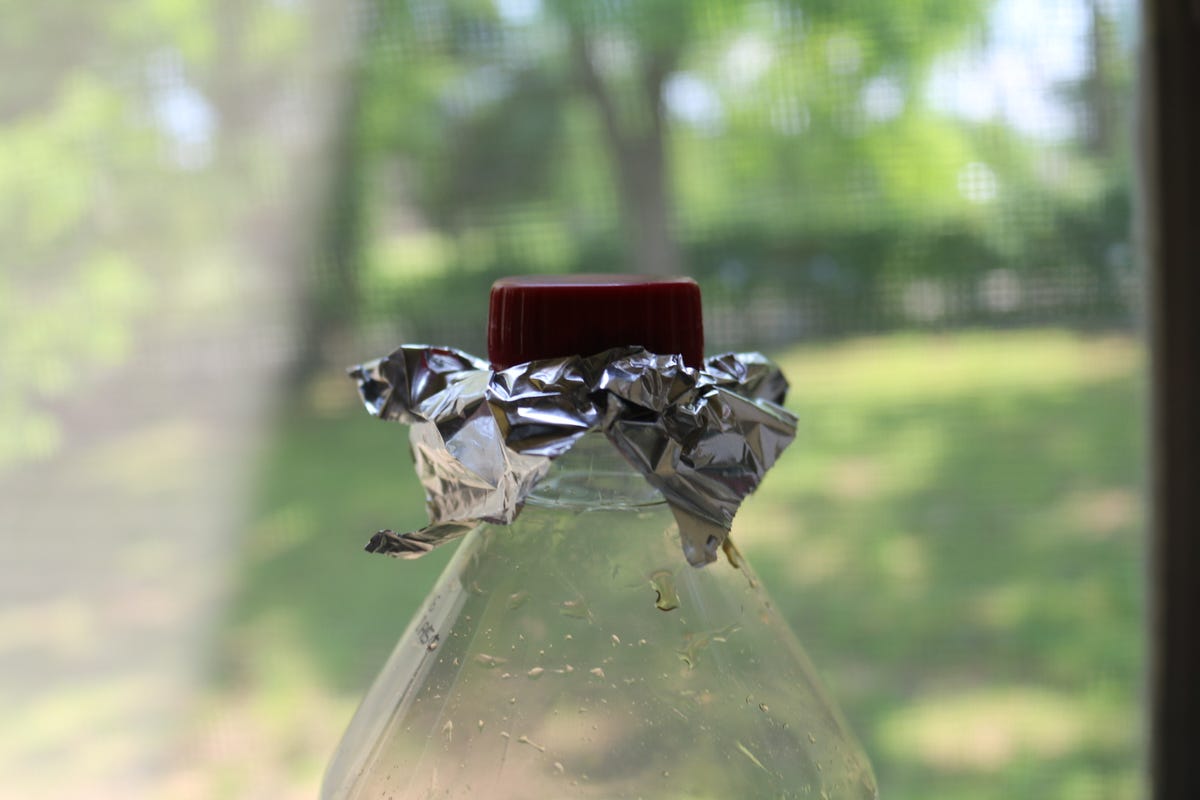
Cover the lid
Tear off a small piece of aluminum foil and use it to cover the top of the bottle. Then screw the lid onto the bottle over the foil. The foil will help to reflect light, making the solar light brighter. You can trim the foil around the edges of the lid or leave it there.
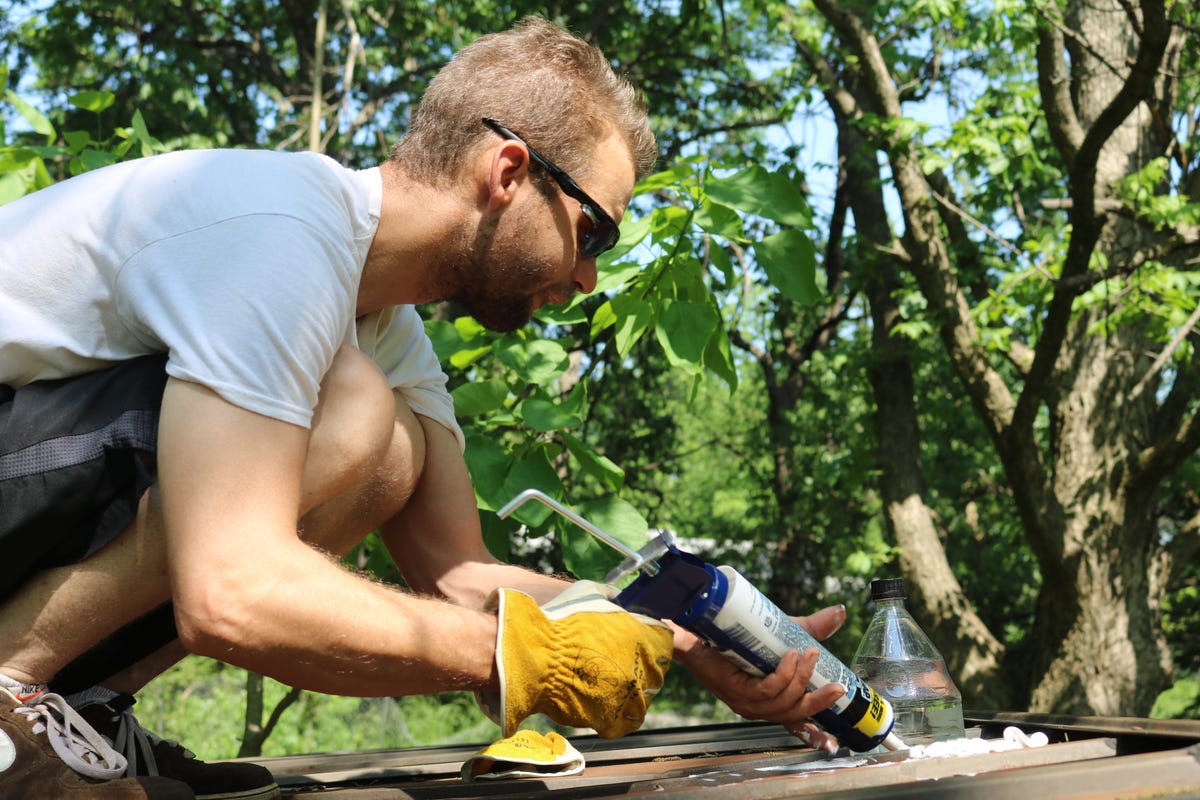
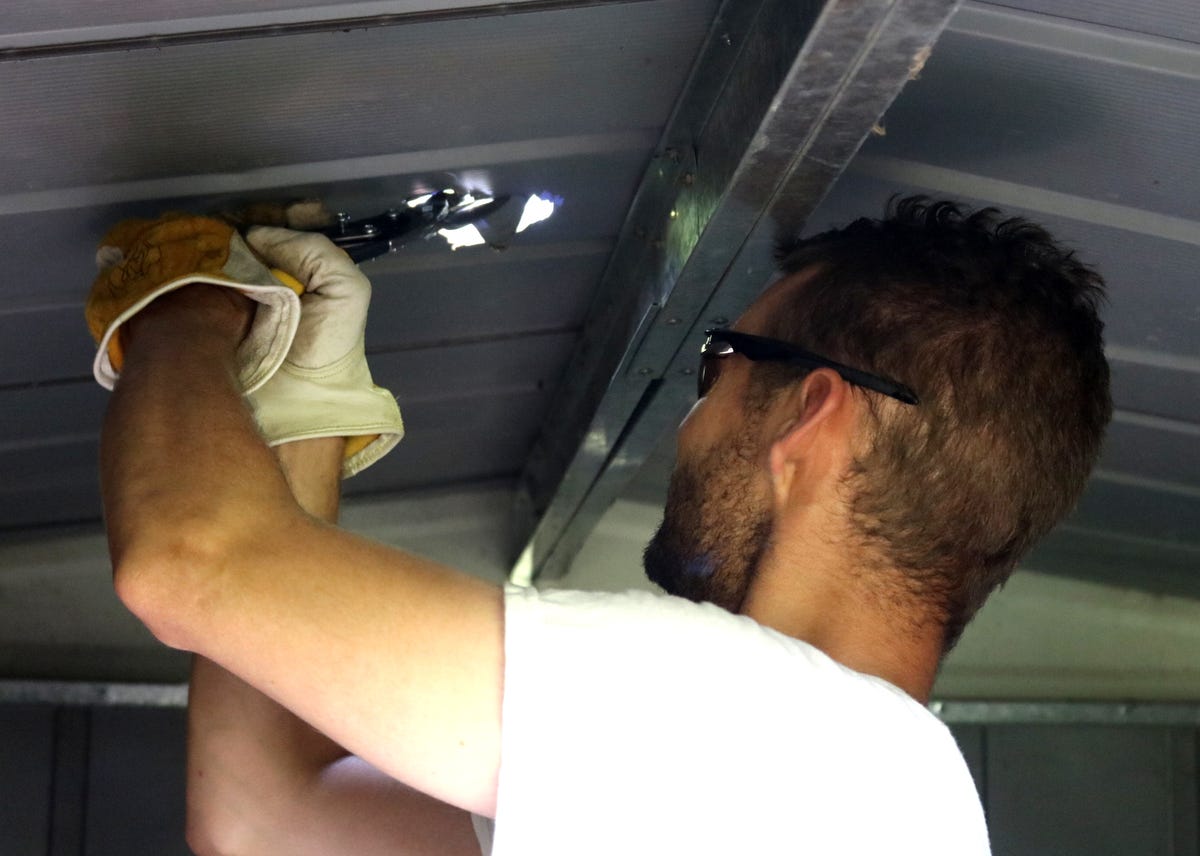
Insert the light
Place the light into the hole in the roof until two-thirds of the bottle is inside of the shed with the lid of the bottle sticking outside the roof. Then caulk around the bottle and the opening to make it waterproof.

Caulking the inside
To finish the light, caulk around the bottle on the inside of the shed. Make sure your light has 36 hours to dry before it's exposed to rain.
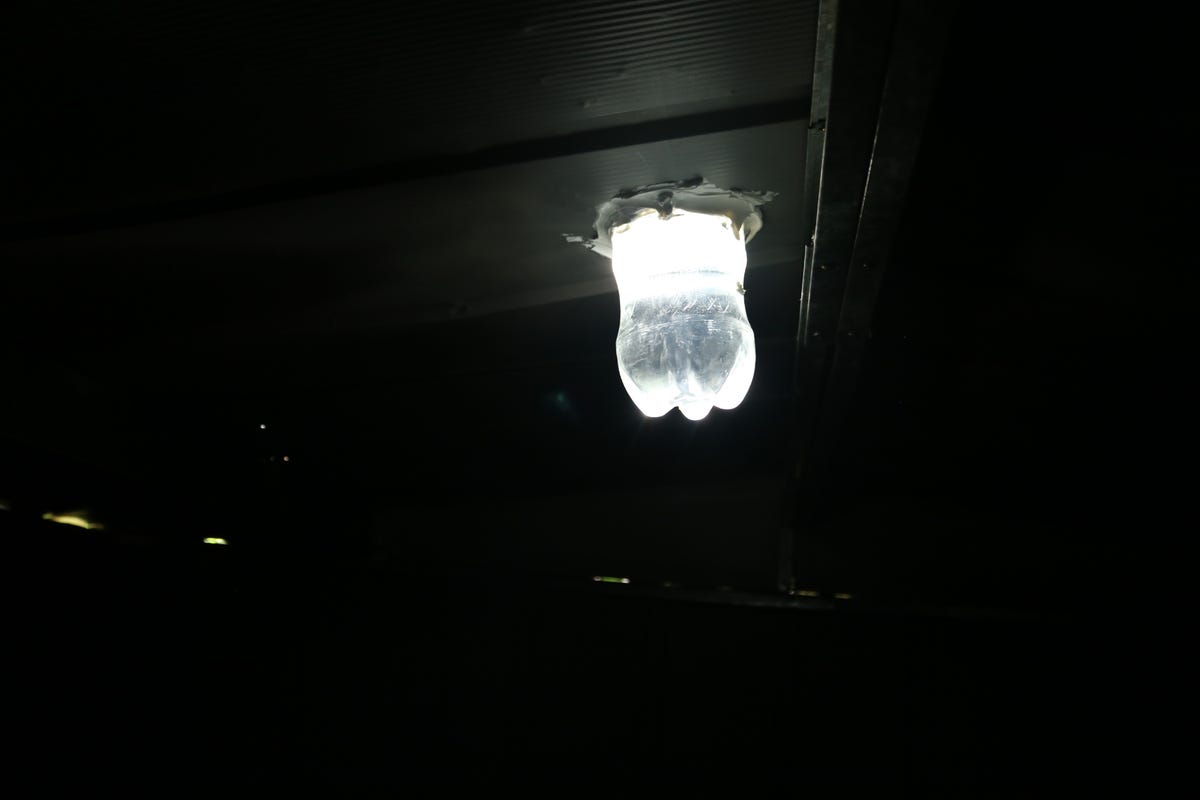
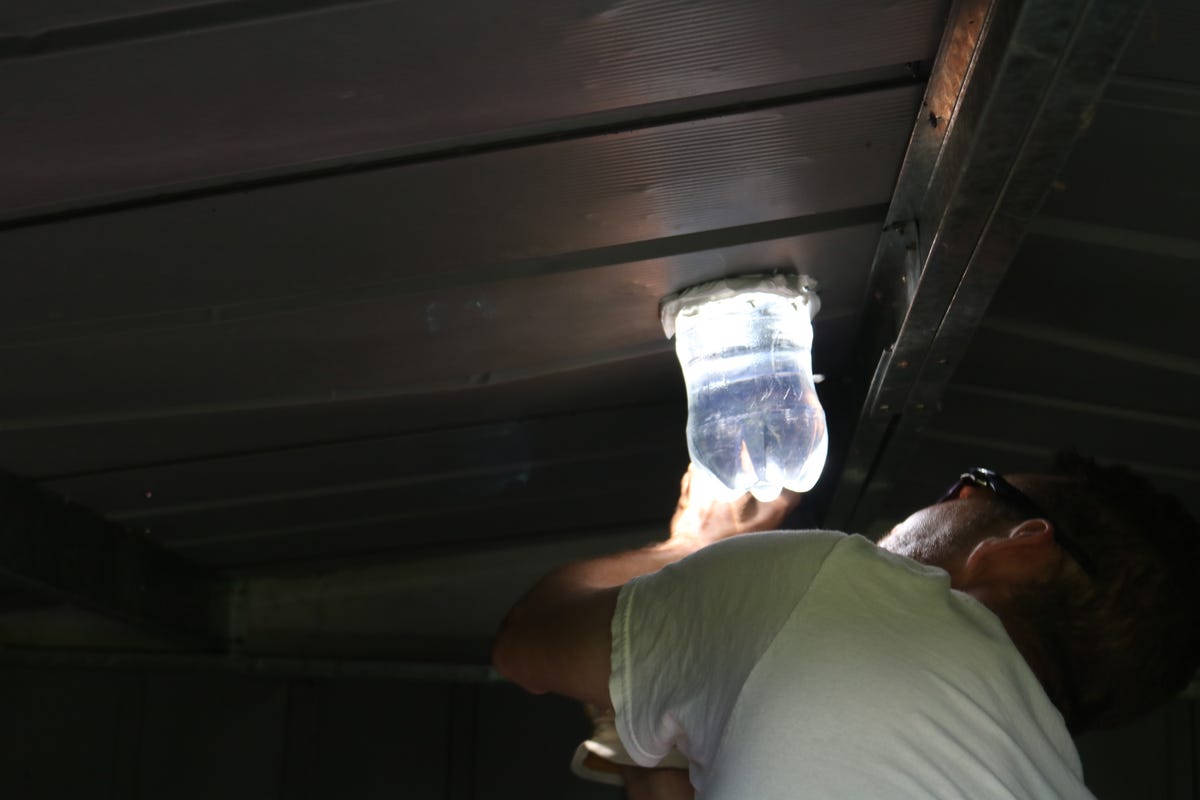
Finished DIY solar light
Now that your solar light is finished, it will last around 5 years or until the plastic turns cloudy from being exposed to the elements. The light also works at night, to a certain extent, as long as there's plenty of moonlight.
More Galleries

My Favorite Shots From the Galaxy S24 Ultra's Camera
20 Photos
Honor's Magic V2 Foldable Is Lighter Than Samsung's Galaxy S24 Ultra
10 Photos
The Samsung Galaxy S24 and S24 Plus Looks Sweet in Aluminum
23 Photos
Samsung's Galaxy S24 Ultra Now Has a Titanium Design
23 Photos
I Took 600+ Photos With the iPhone 15 Pro and Pro Max. Look at My Favorites
34 Photos
