How to use your AV receiver's automatic speaker calibration
You might think your receiver's auto speaker setup and calibration are a no-brainer affair, but it's not. This how-to slideshow is loaded with tips to help improve your sound.
Steve Guttenberg
Ex-movie theater projectionist Steve Guttenberg has also worked as a high-end audio salesman, and as a record producer. Steve currently reviews audio products for CNET and works as a freelance writer for Stereophile.
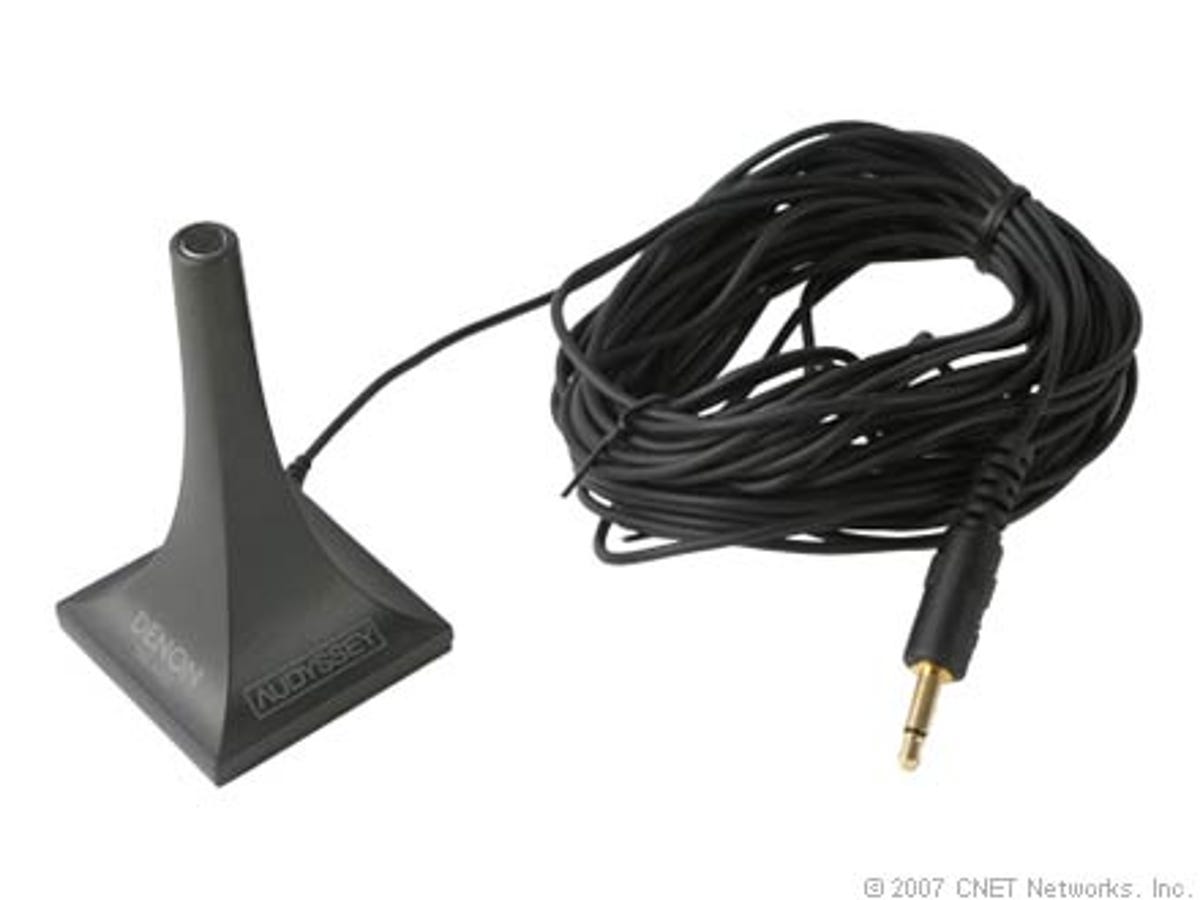
Every receiver with an automatic calibration system includes a microphone, used to "listen" to test tones.
2 of 11 Steve Guttenberg
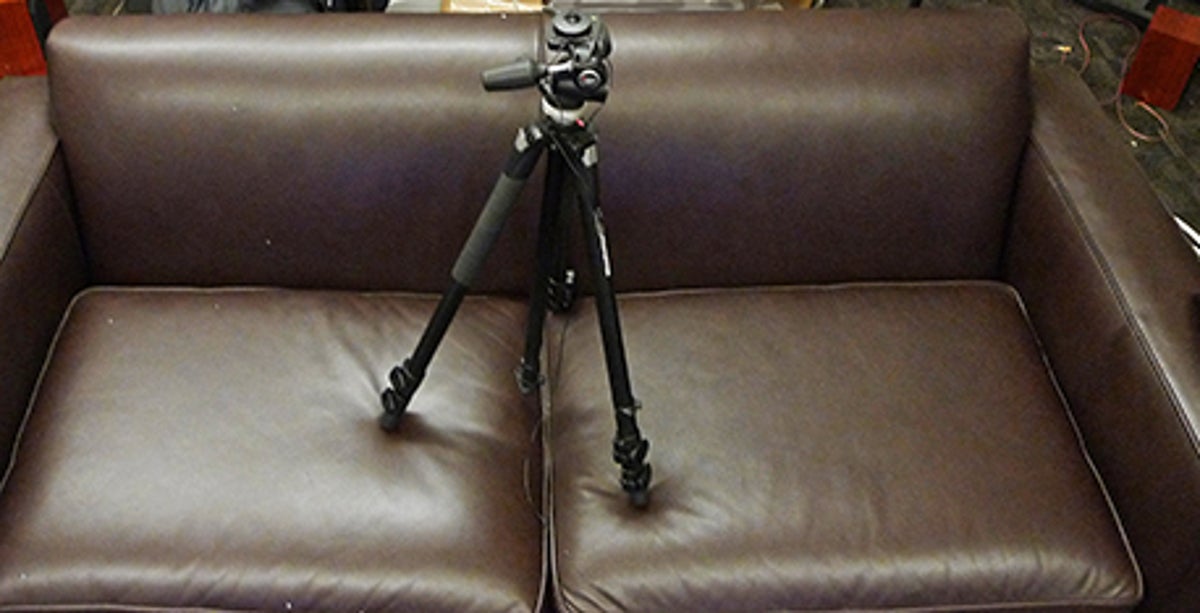
Position the mic using a tripod
If you have a tripod, put the mic on it in the main listening position. If you're really ambitious move your sofa out of the way. If you don't have a tripod, you can put the mic on the back of your sofa; it's not the best solution, but it will do a decent job in many cases.
3 of 11 Steve Guttenberg
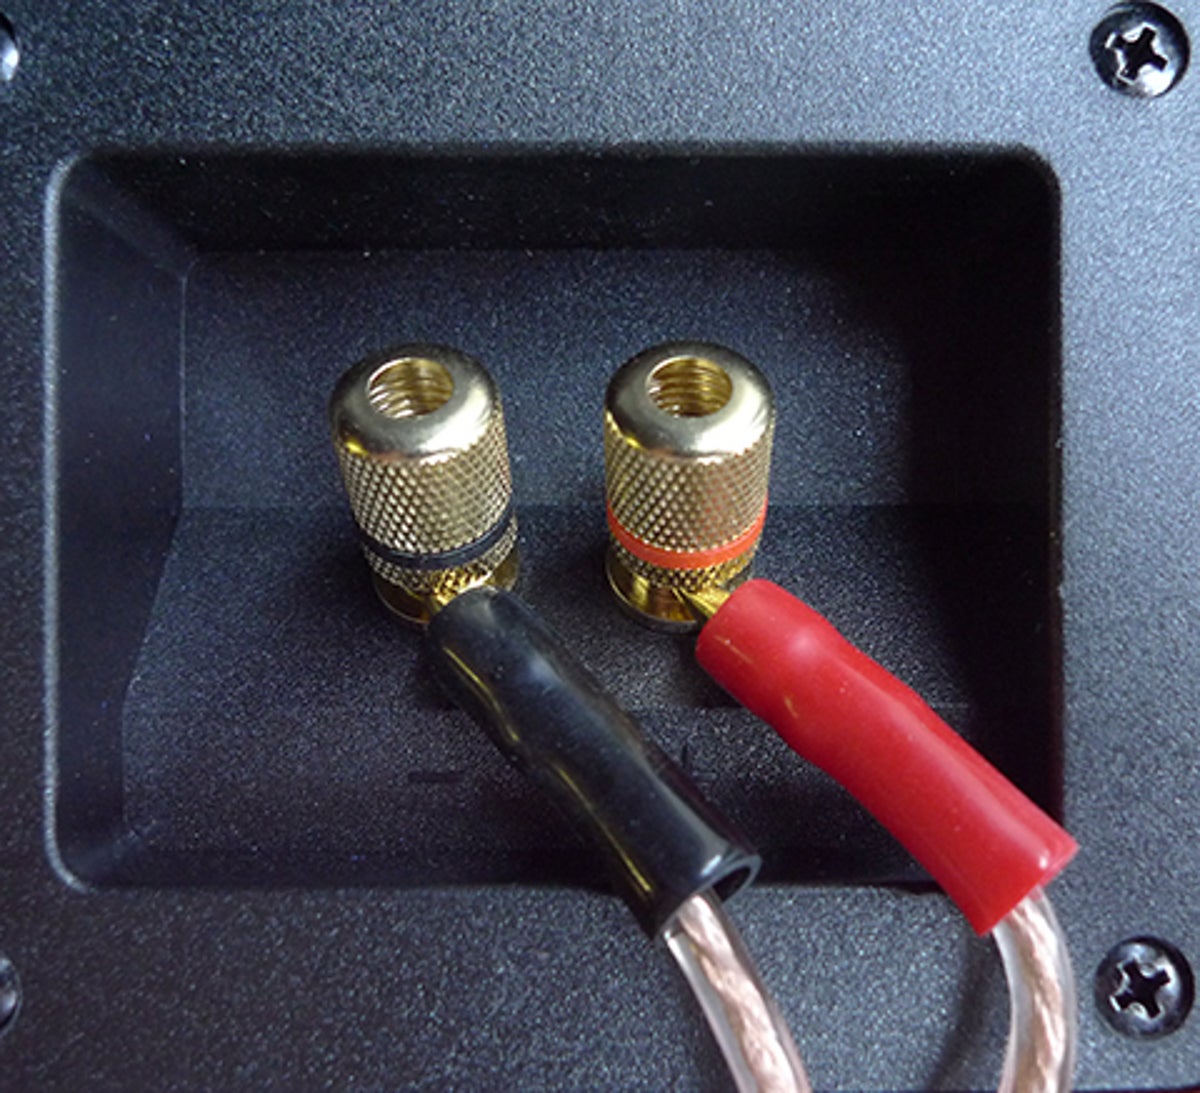
Make sure your speakers are wired correctly
Before you run the auto setup confirm that all of the speakers are correctly wired, red (+) to red (+) at the speaker and...
4 of 11 Steve Guttenberg
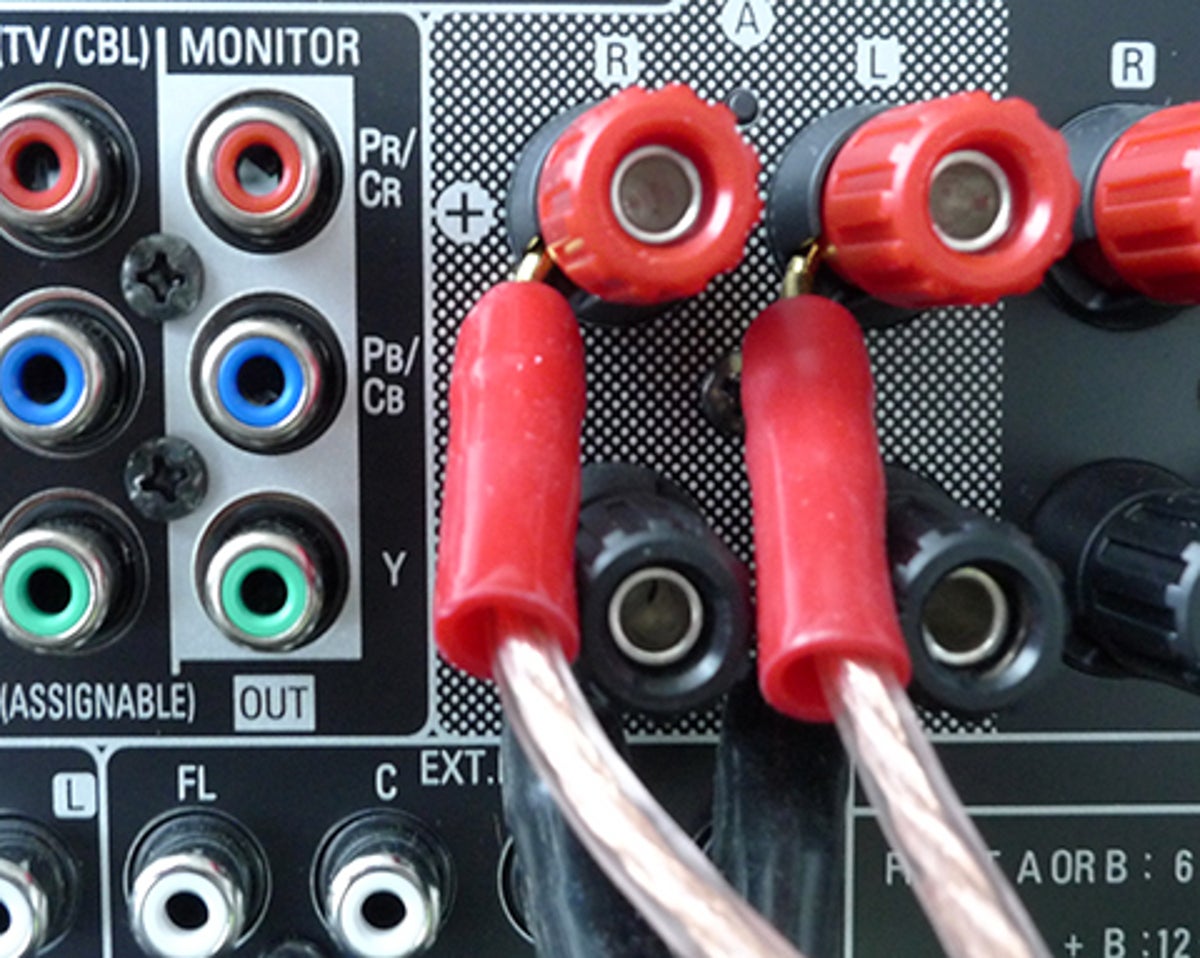
Also check the connection on the AV receiver
And also check all the speaker wires at the receiver end. Most calibration systems will tell if you there's a wiring mistake, but it's a good idea to double check first.
5 of 11 Steve Guttenberg
Connect your subwoofer
If your sub has a LFE or direct input (the bottom left one in this picture), use that connection.
6 of 11 Steve Guttenberg
Start the auto setup program
Plugging in the mic may automatically bring up the first screen on your display. Otherwise, navigate the onscreen display (or the display on your receiver) to start the auto setup program.
7 of 11 Steve Guttenberg
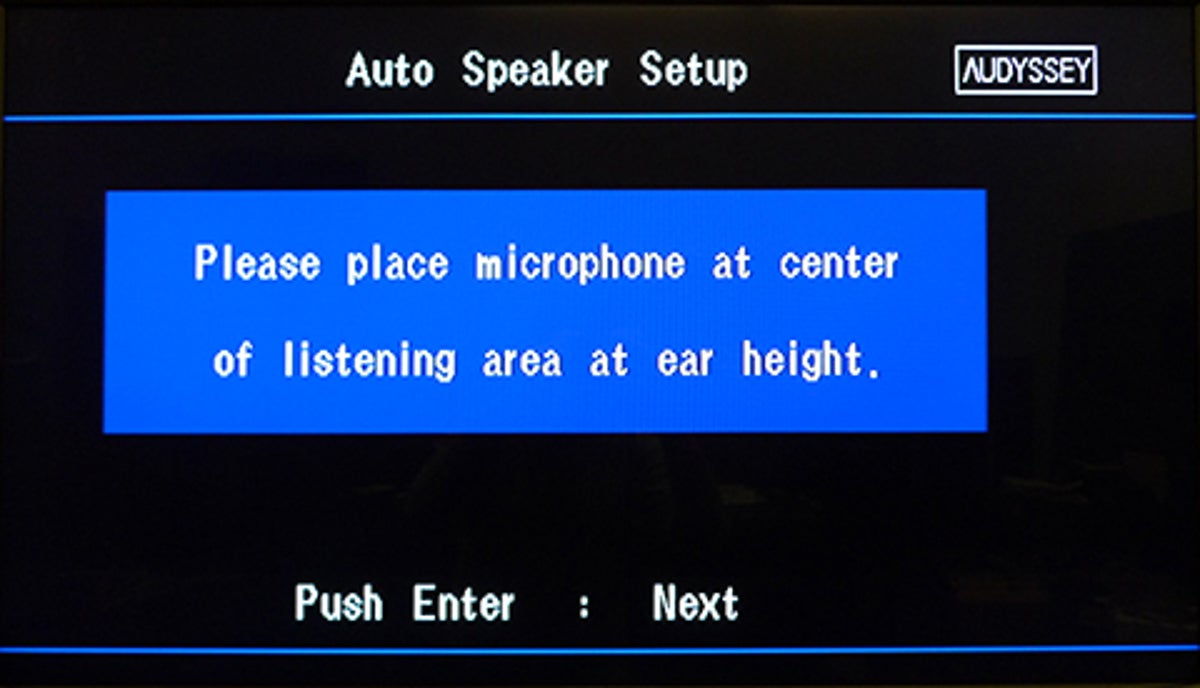
Leave the room
After starting autosetup the screen looks like this. You'll want to leave the room so you don't have to listen to the annoying test tones and so you don't affect the test tones hitting the microphone.
8 of 11 Steve Guttenberg
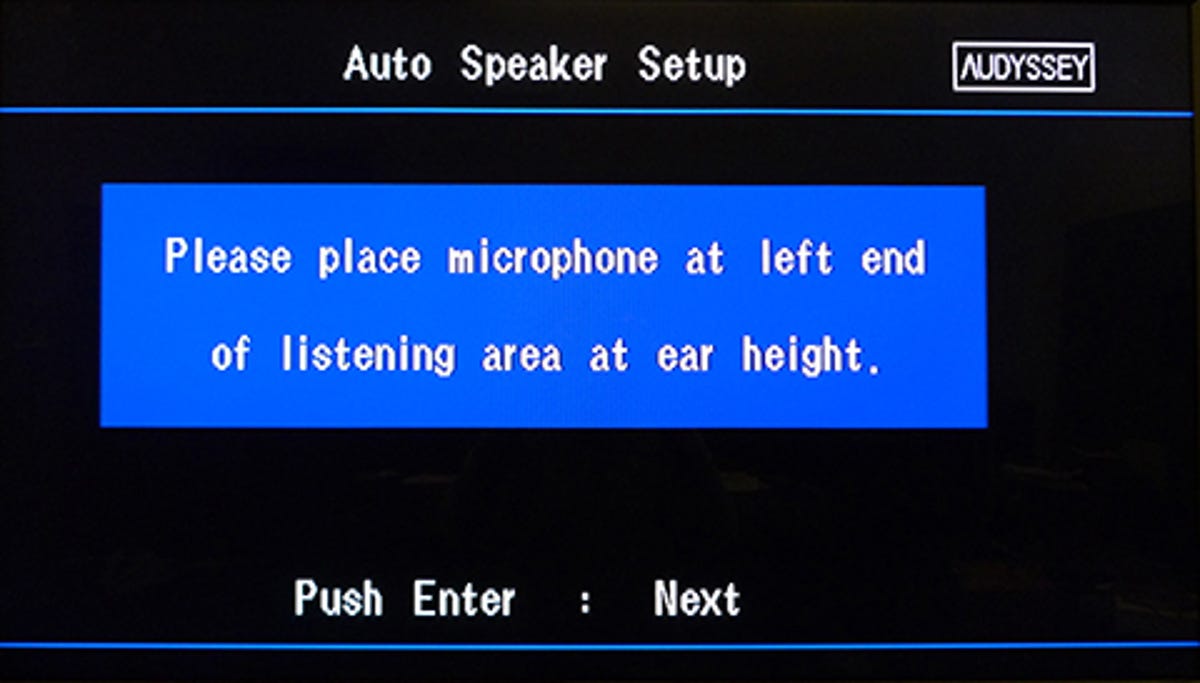
Move the mic and do it again
After the first round of test tones some auto setup systems will ask you to move the mic to additional positions in the room. This is usually to optimize the sound quality for multiple seating positions.
9 of 11 Steve Guttenberg
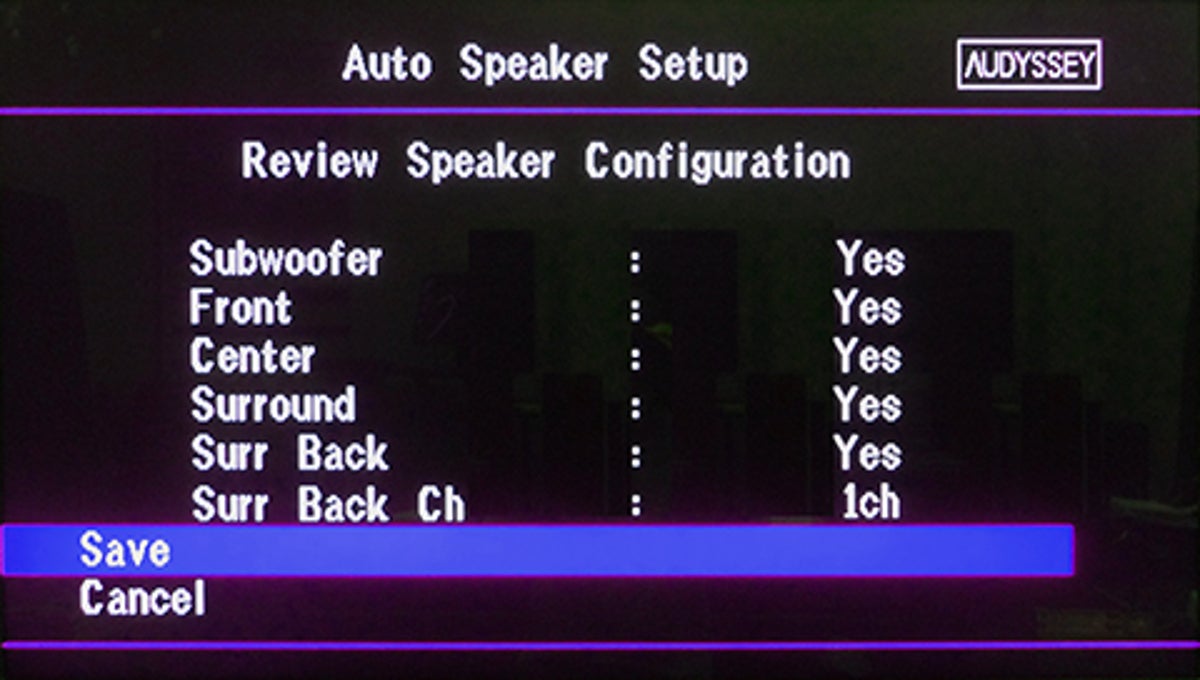
Check the results
After the setup concludes, some receivers will ask you review and confirm the settings. If you've done everything right, this screen should mirror your home theater configuration.
10 of 11 Steve Guttenberg
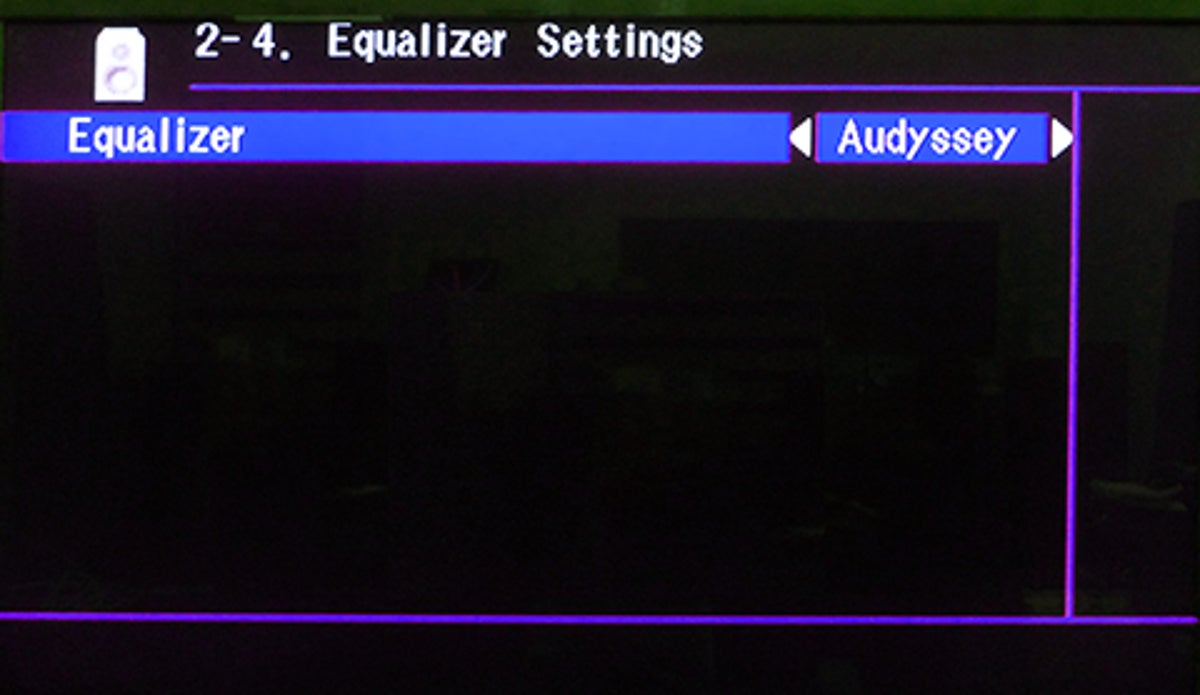
Adjust automatic equalization to your liking
If your receiver offers auto equalization (such as Audyssey), you may have to "turn on" that feature for it to be activated. Auto equalization may or may not actually improve your sound quality, so it's worth experimenting to see what you like better.
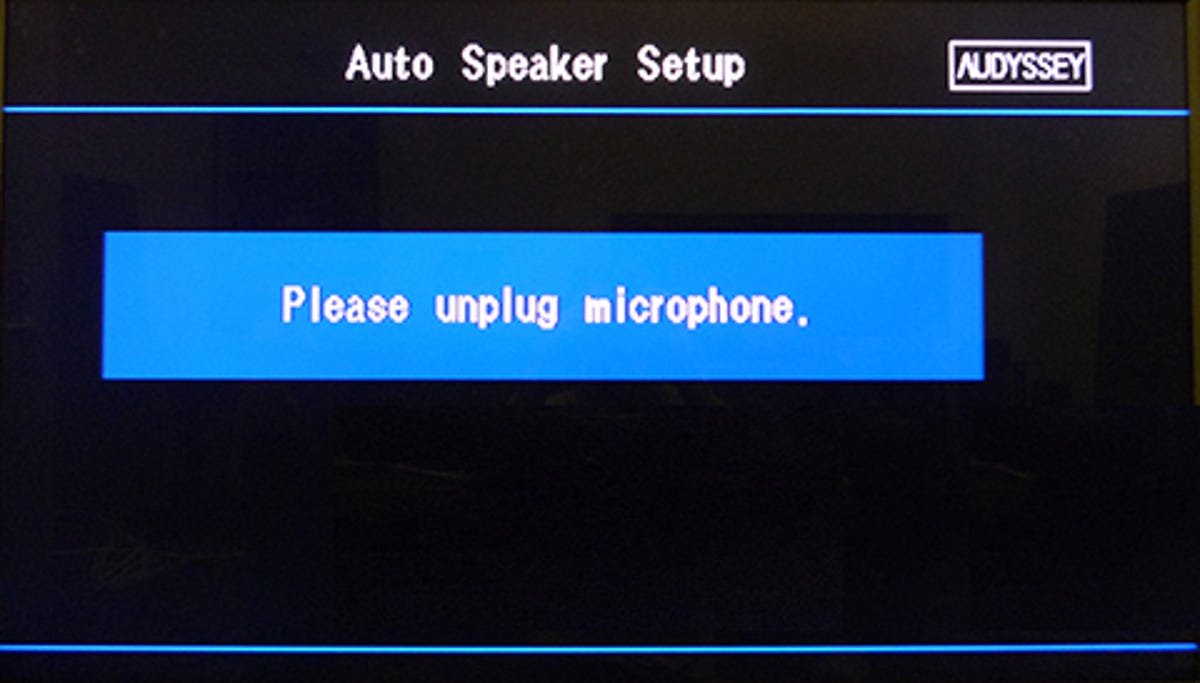
11 of 11 Steve Guttenberg
You're done
When you're done, just unplug the mic. Your receiver should be setup properly for surround sound in your room.
If you're at all technically inclined you might want to forgo the auto setup and tackle manual speaker setup. It's not all that difficult, but you should use a sound pressure level meter, such as a Radio Shack 33-4050. You'll probably do a better job yourself than the auto setup.