Before you install Windows Vista, consider keeping your existing copy of Windows XP. You'll need to purchase third-party software to do this; Windows XP does not include a disk-partitioning feature. We chose Symantec PartitionMagic 8.0. A less expensive choice would be Acronis Disk Director Suite 10. Both software programs will repartition your hard drive without reformatting your drive and losing all your data. Here, we plan to take a a new Dell XPS system with a 200GB hard drive with Windows XP Home installed and create a second partition.
Whenever you attempt to shuffle operating system files, or even the space allotted to them, on your hard drive, it's good to have a rescue disk handy in case of disaster. Take advantage of the option to create a rescue disk while your hard drive is functioning normally. And if you haven't already, it's a good idea to back up your data before you proceed.
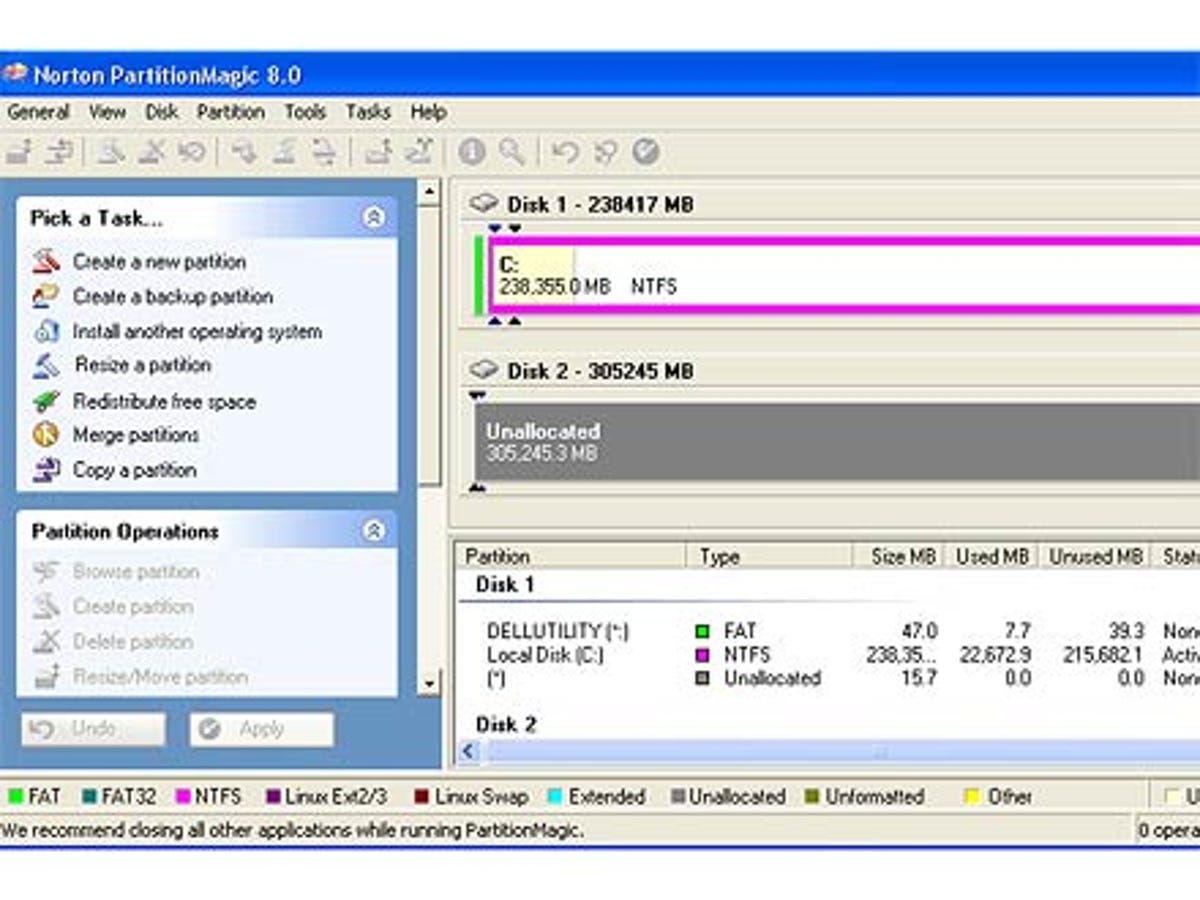
On the main interface of your partitioning software, you'll see the current hard drive configuration. In PartitionMagic 8, choose "Create a new partition" from the menu at the upper left.
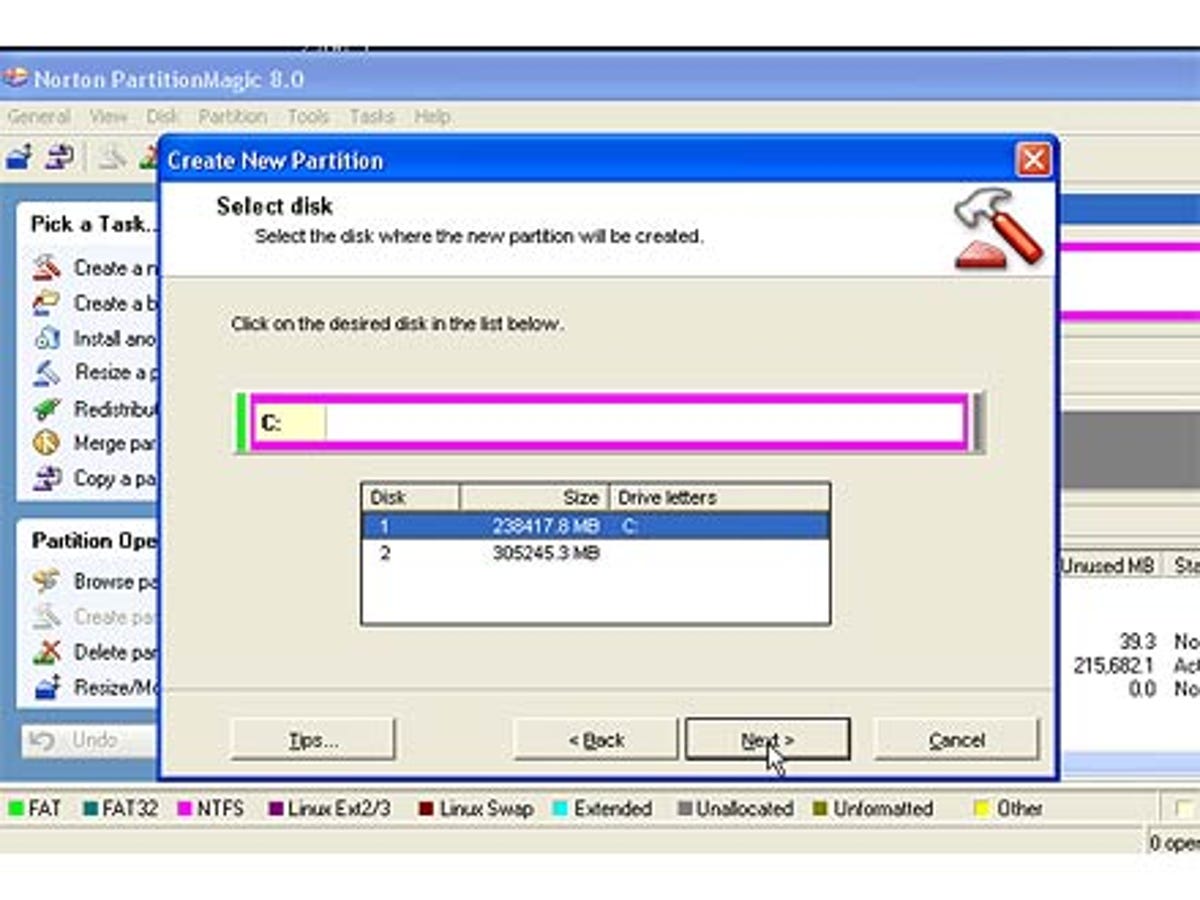
Because our test system has two physical hard drives (the second drive hasn't yet been formatted), we need to identify the drive location where we wish to create the new partition.
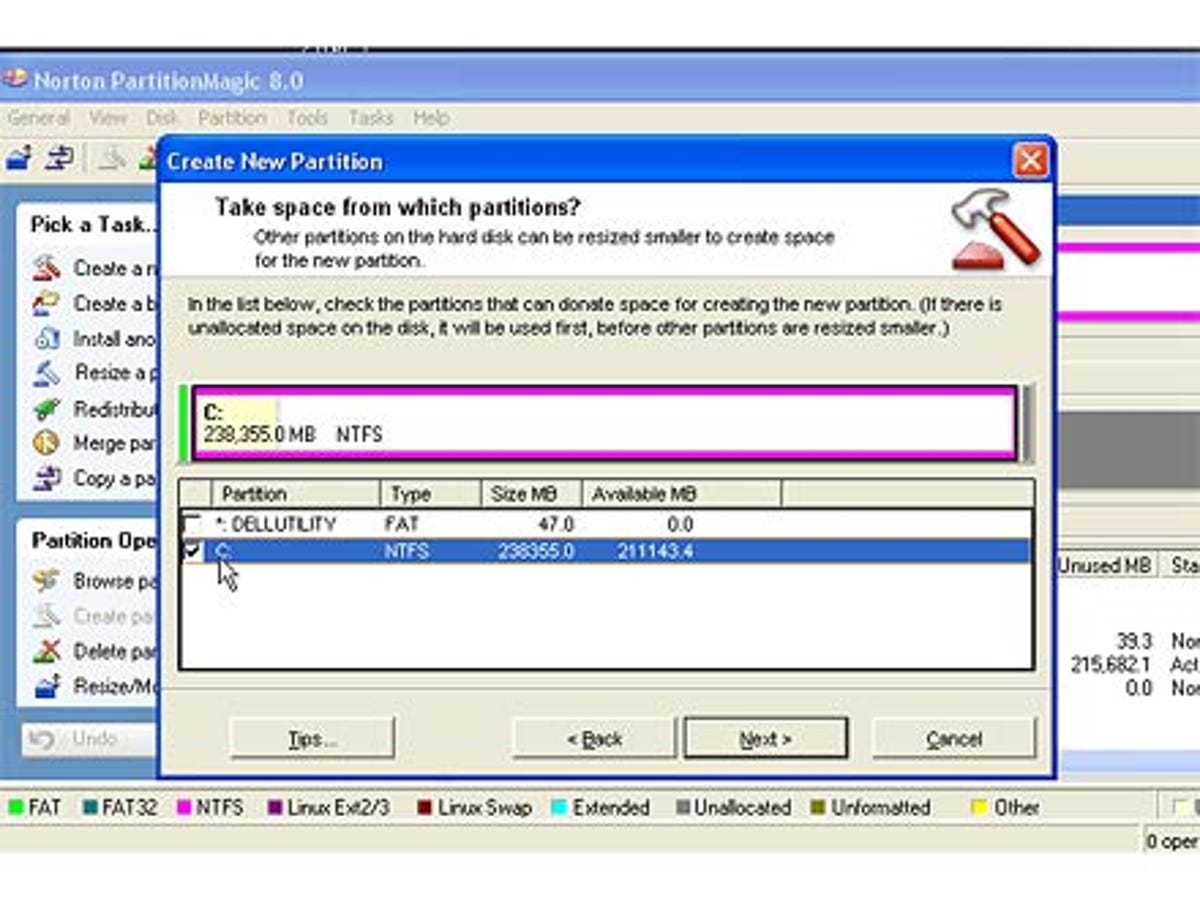
Next, we were asked where to place the new partition. This option allows us to make our new, unused partition the C: drive, but we don't want that. We want to leave our Windows XP as the C: drive and create a new, unused D: drive (or in our case, E:) after it.
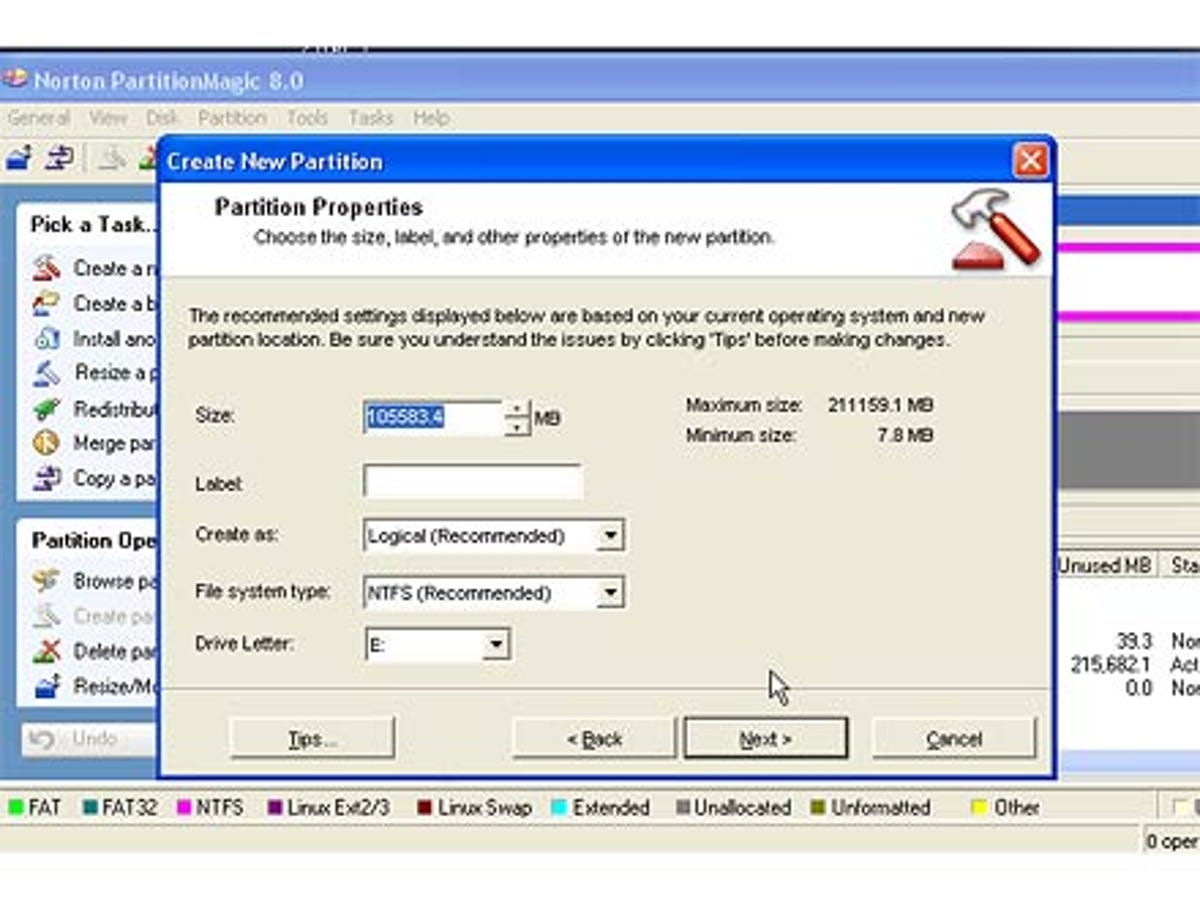
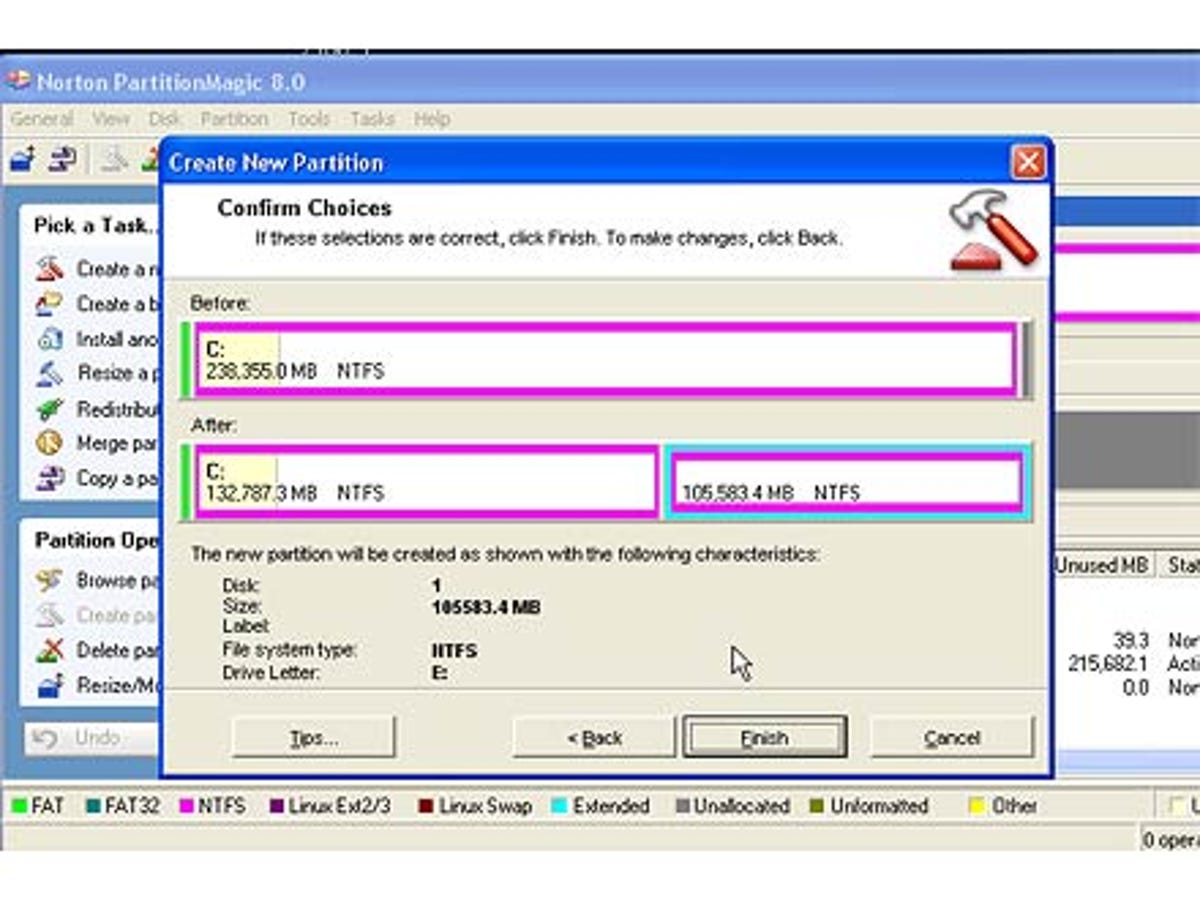
Finally, PartitionMagic suggests properties for our new partition. It has cut our C: drive roughly in half, which is what we wanted. And for Windows Vista, the new E: partition should be formatted for NTFS, not FAT32 (Windows Vista won't install on a FAT32 volume).
Before repartitioning the hard drive, PartitionMagic 8 asks us one more time if everything's correct. Once we confirm, the software will then reallocate the space on our first physical hard drive, keeping our current Windows XP and all of its files and creating a new NTFS drive partition to be used for our clean install of Windows Vista.
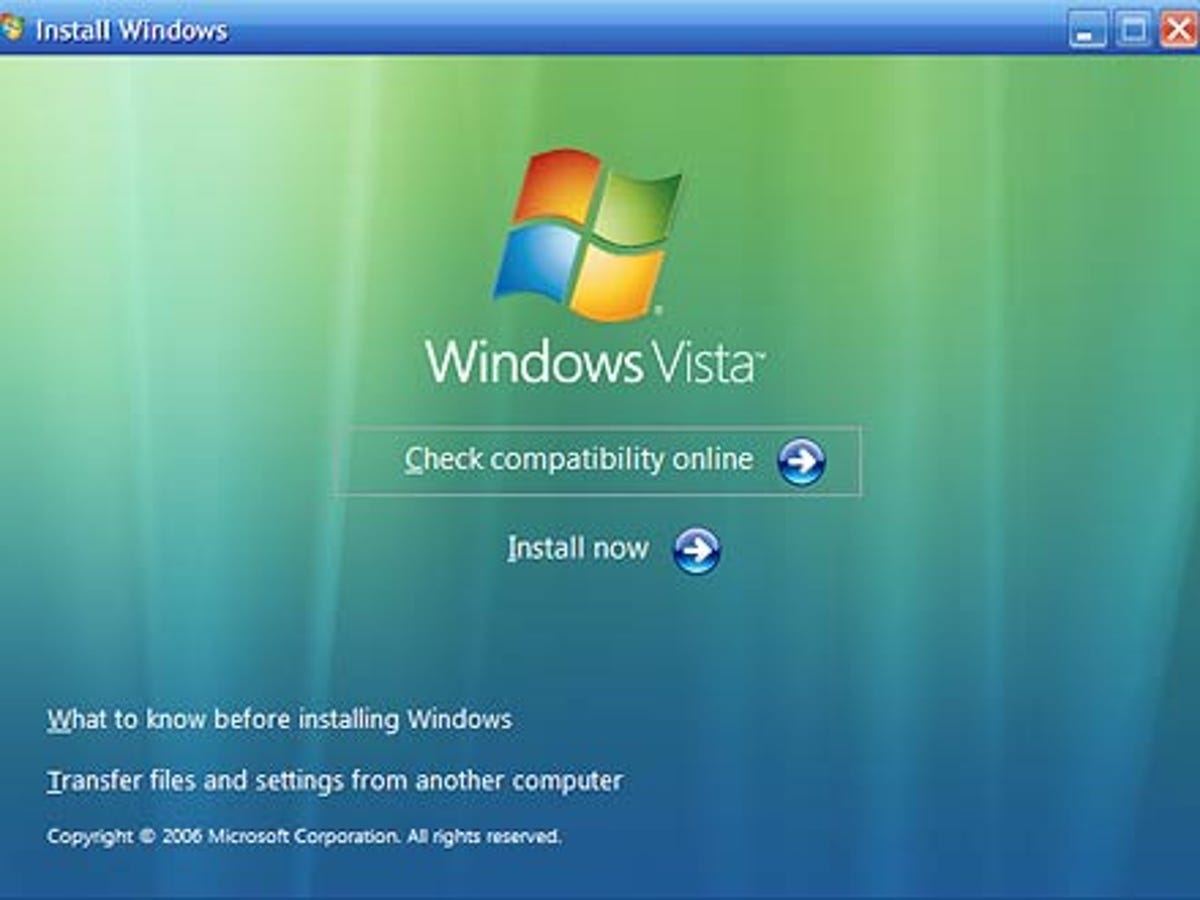
Reboot your computer with the Windows Vista disc already inside the DVD drive. This will cause the Autorun feature to immediately start the Windows Vista installation.
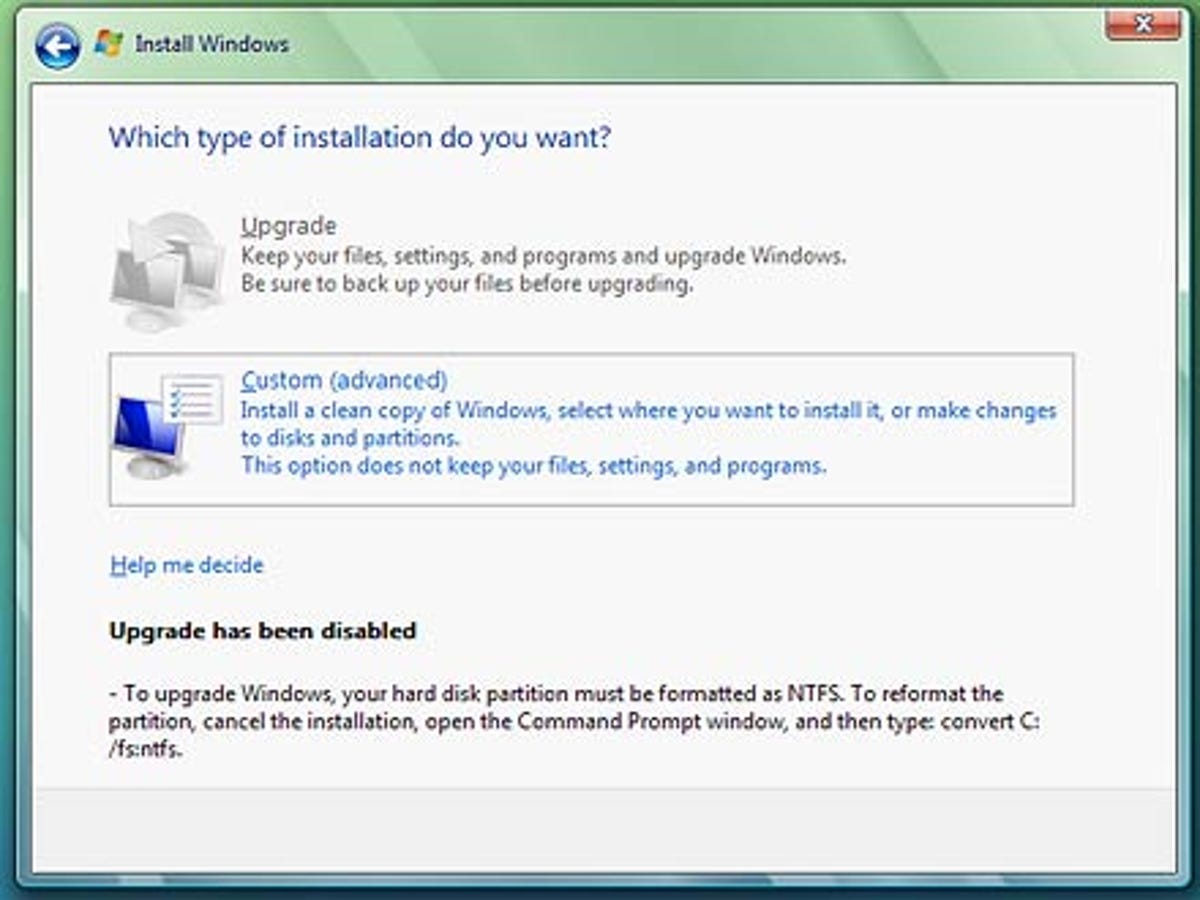
You will be asked to decide on the type of installation you want: an upgrade from an existing version of Windows or a clean install. Select the latter. After choosing a clean install, you will then be asked to choose where you want to install Windows Vista. Choose the new drive; in our case, that was the E: drive. After the installation, whenever you boot your computer, you'll be asked to boot into an earlier version of Windows (Windows XP) or Windows Vista. The default will be Windows Vista. Whichever volume you boot into will be the C: drive, and you'll be able to install your software without reassigning drive letters. Also note that at this time PartitionMagic 8 does not work within Windows Vista, only within Windows XP, so if you want to make further partitions, you'll have to do so from within XP.