 Why You Can Trust CNET
 How to fix broken Xbox One controllers
Buttons stick? Joysticks jam? A few simple instructions can get them moving again.


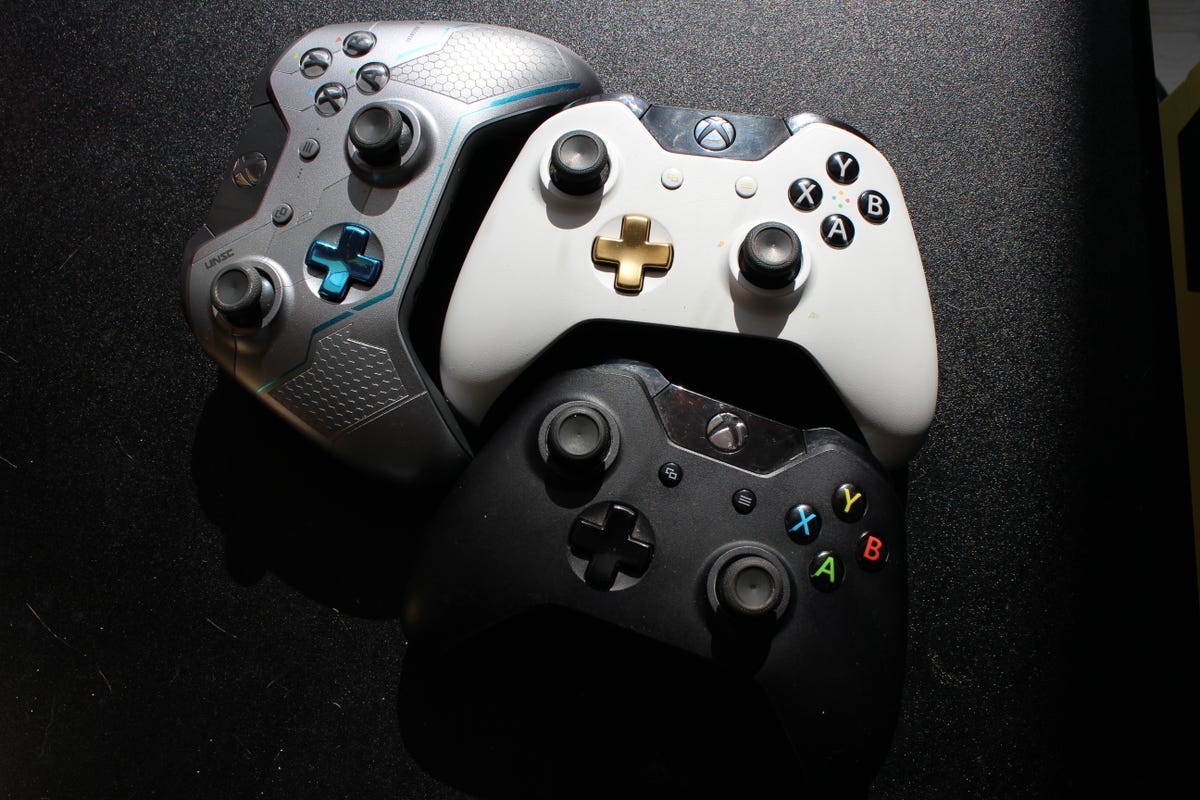
Don't trash them just yet!
Jammed buttons and joysticks that, well, stick are common problems when it comes to Xbox One controllers. If you're ready to throw your wireless controller at the wall and buy a new one, hold up.
You can usually make them work (almost) like new with just about an hour's time and some tiny screwdrivers.
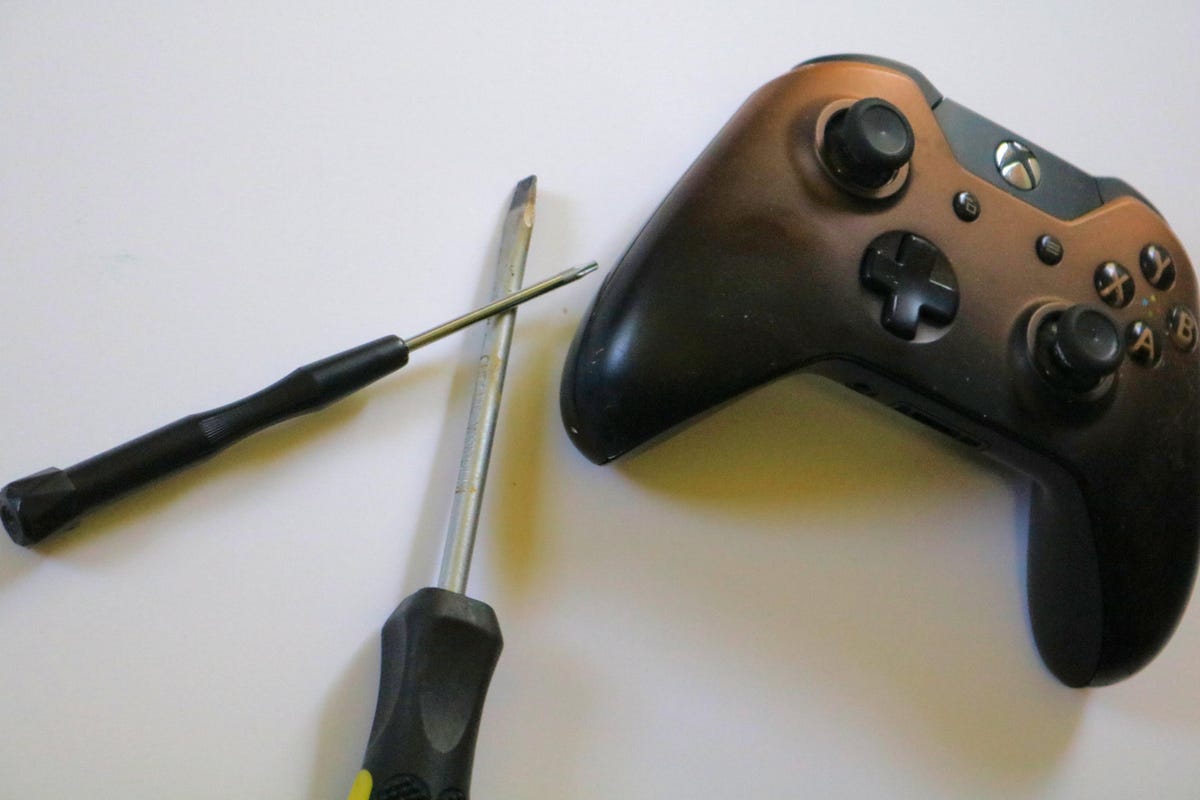
Gather your supplies
The supplies you'll need to get your controller in fighting condition again are a flat-head screwdriver, T8H screwdriver, T6 screwdriver and an Xbox One conductive button pad repair kit. You can purchase all of these items for just a few dollars each online. You'll also need a few damp cotton swabs.
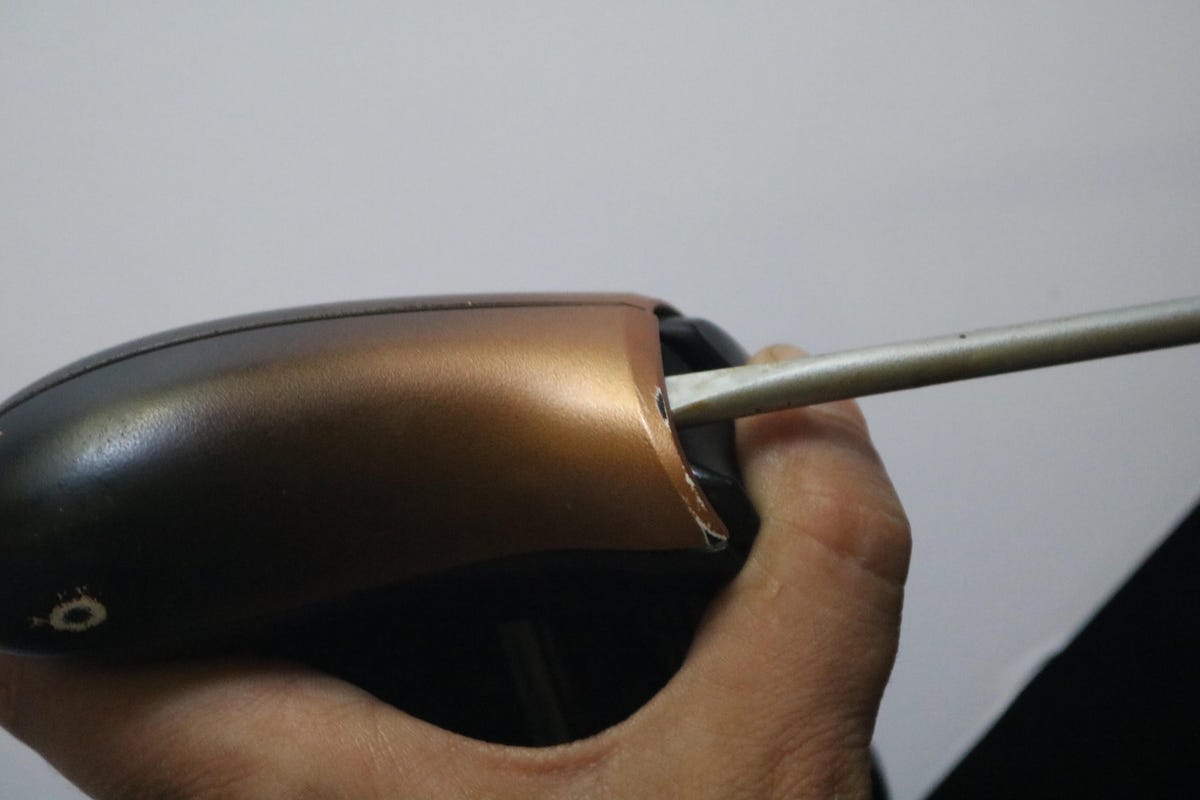
Detach the grip panels
First, remove the battery pack. Then, using the flat-head screwdriver, pry off the plastic panels on the controller's grips by wedging the screwdriver between the triggers and the plastic panels below them. The panels will pop off.
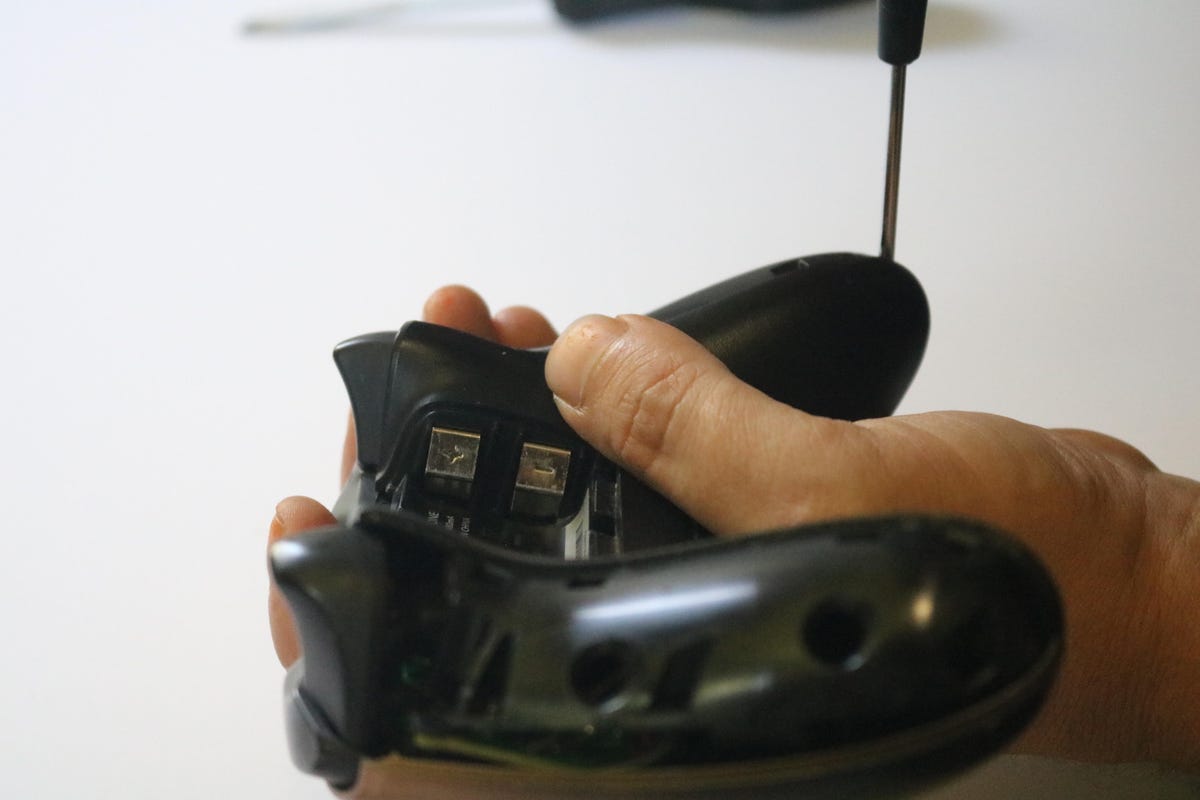
Take out the screws
From here, everything is like a Lego set. All the pieces pop apart once you remove the screws.
After you pry off the grip panels, you'll notice five screws. Use the T8H screwdriver to unscrew them.
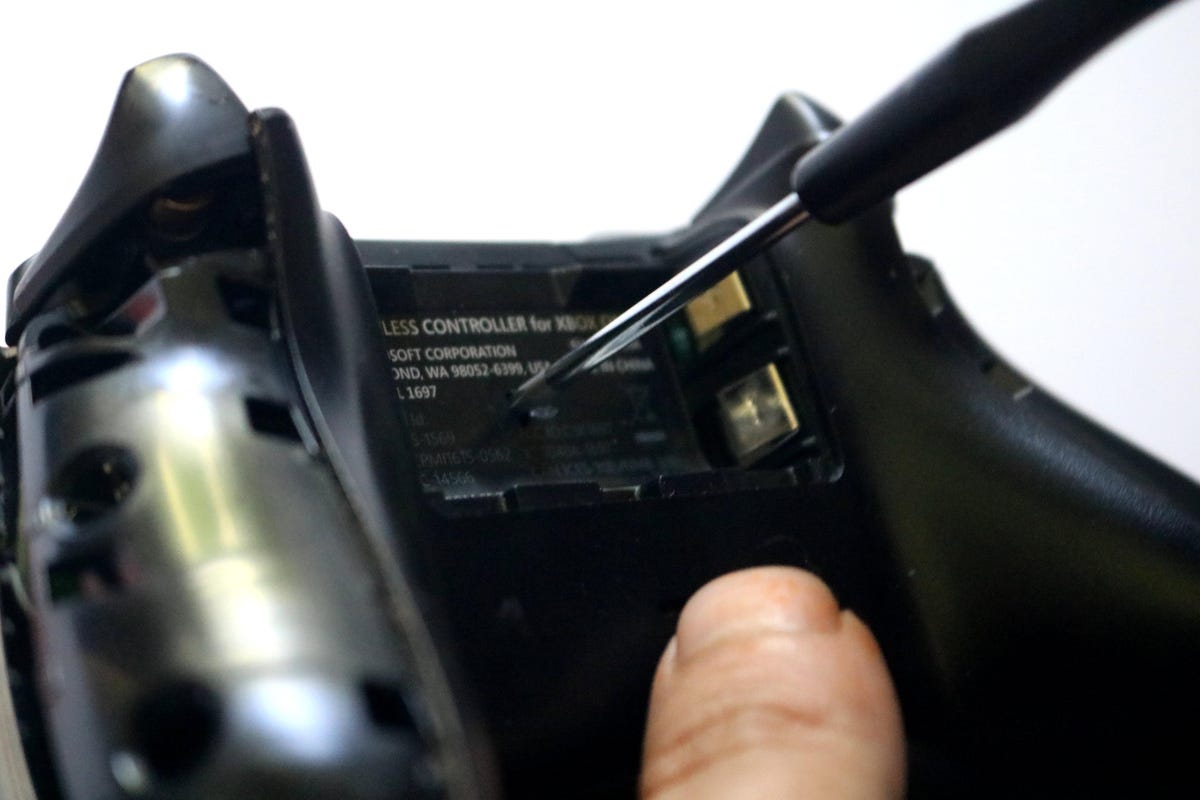
Don't forget this screw
The hardest screw to find is in the center of the controller where the battery goes.
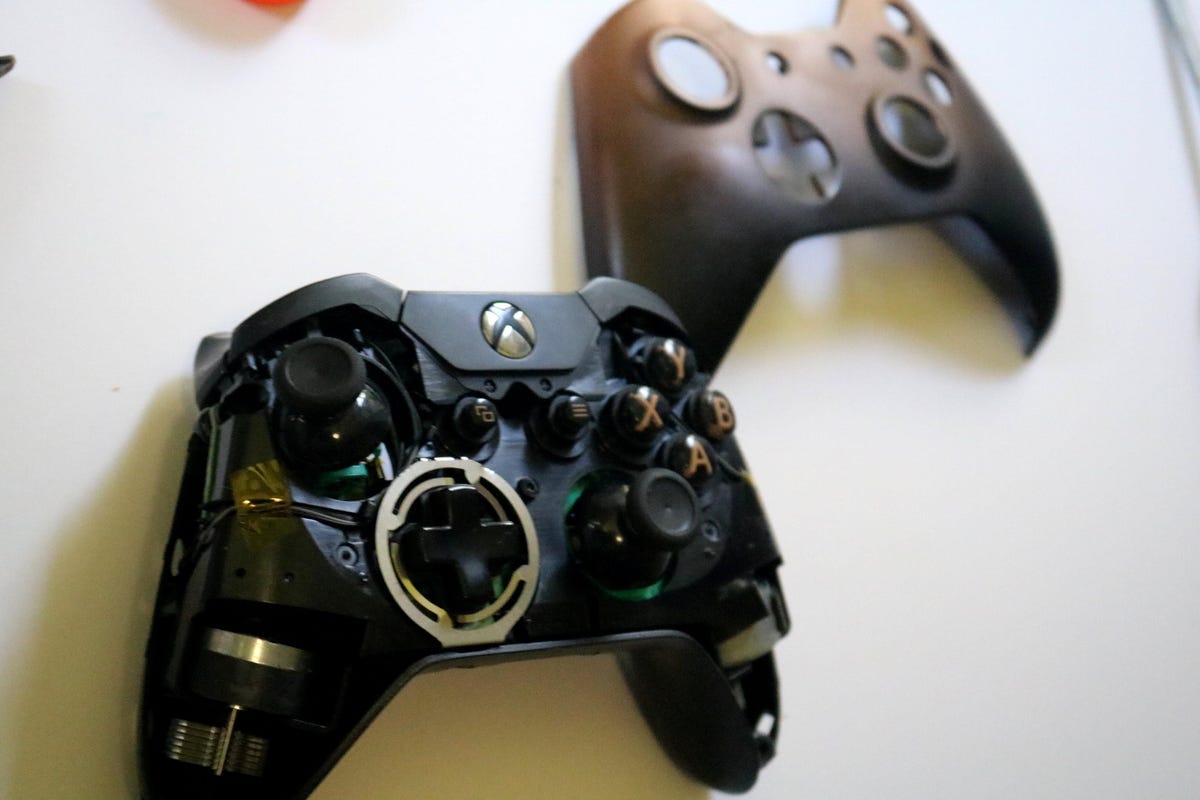
Front casing
The front casing will come off in your hand when the last screw is released. Now your controller will look like this.
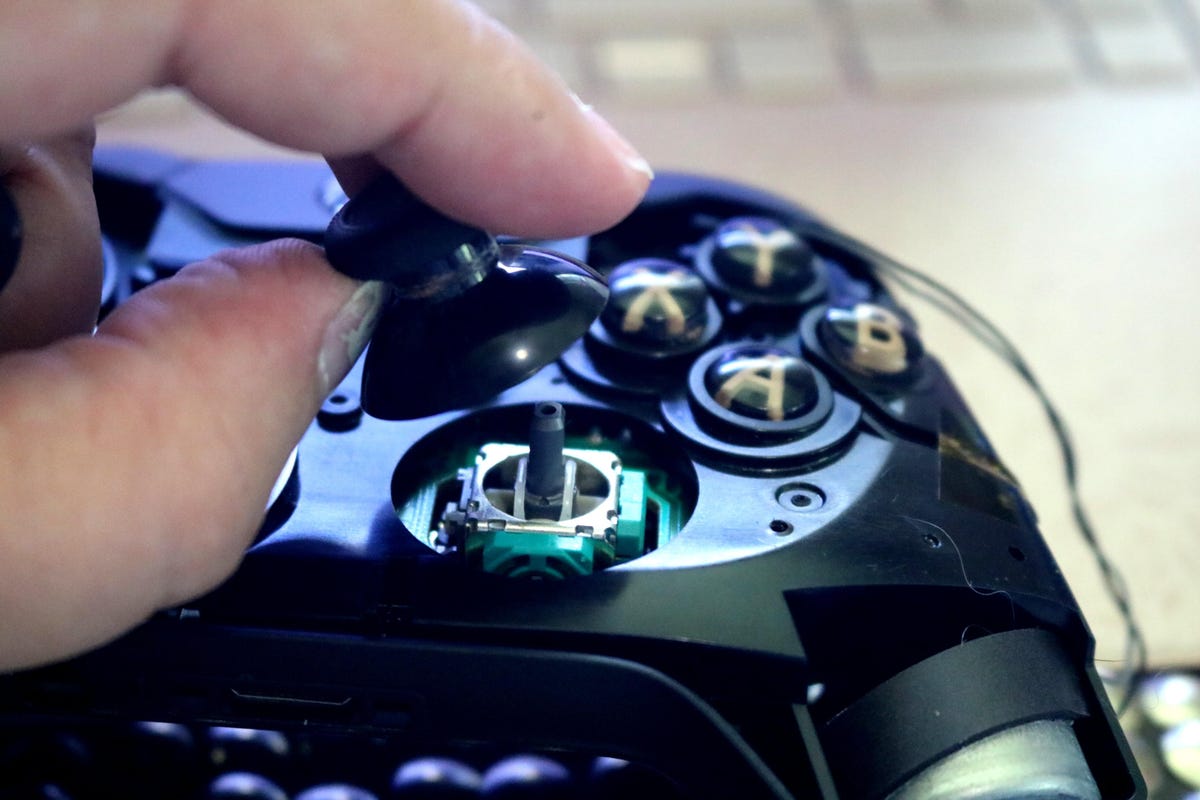
Unstick the joysticks
Remove the rubber joystick covers by popping them off like a Lego brick. Then, wiggle the metal joysticks underneath to loosen them.
If you find that there is literally sticky stuff holding them in place (if your house is like mine, it's Mtn Dew), use a damp cotton swab to clean away the stickiness and let it air dry. Reverse these instructions to put the controller back together.
If you're having button problems, continue to the next step.
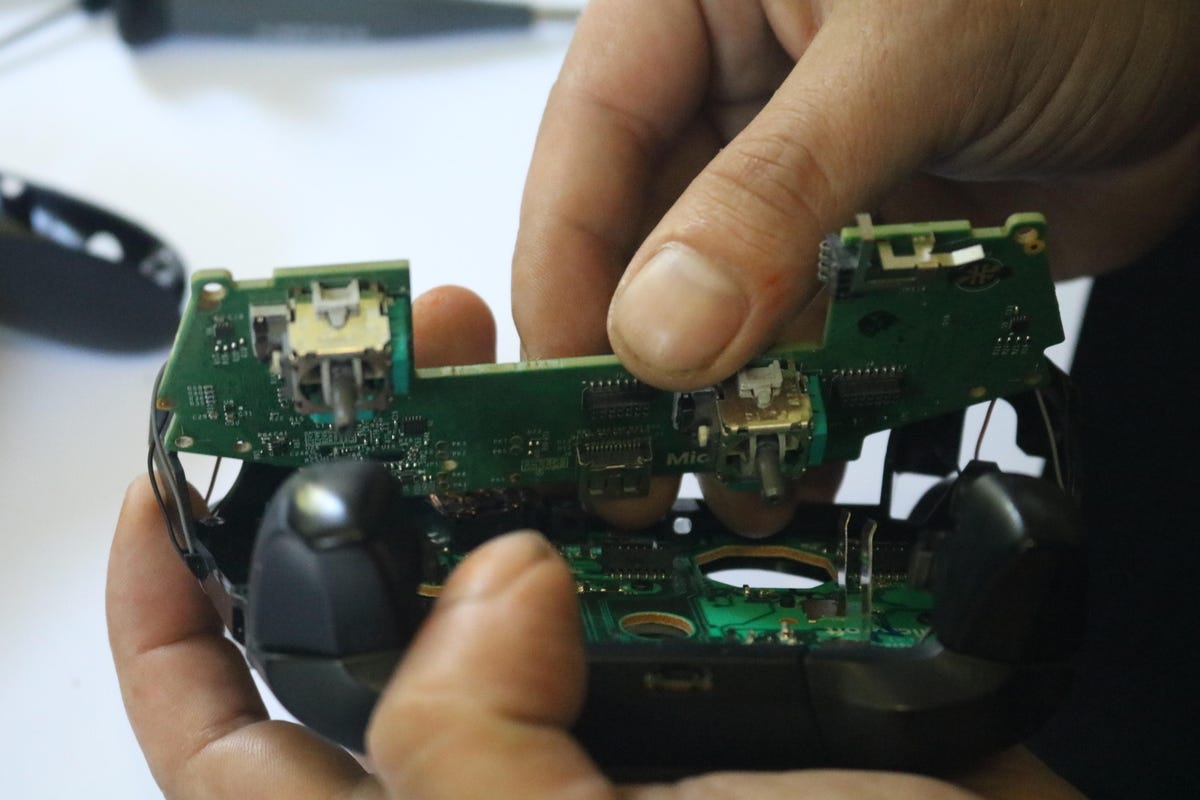
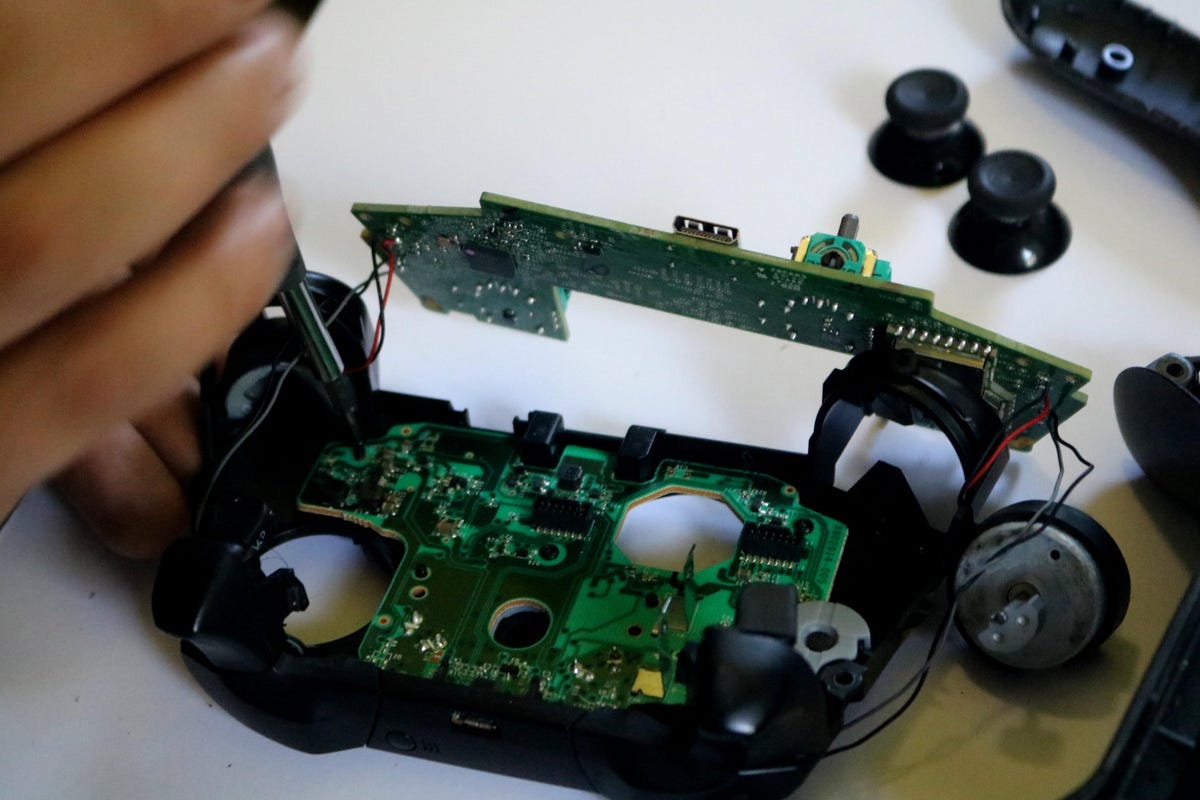
Remove the circuit board
Flip the controller over and use a size T6 screwdriver to remove the four screws holding down the circuit board. Then, gently slide it out, making sure not to disconnect any wires.
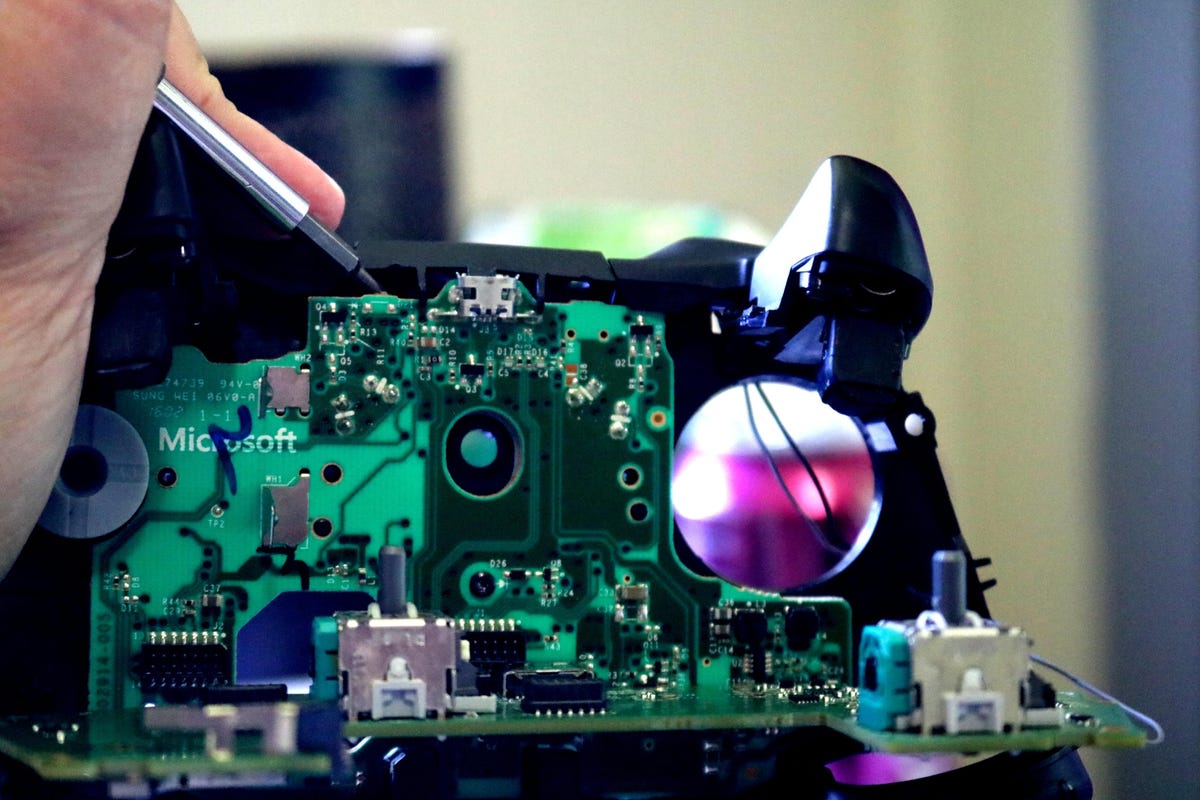
Remove the screws from the second board
Take out the four screws that attach the second circuit board to the plastic with the T6 screwdriver.
Pop it out
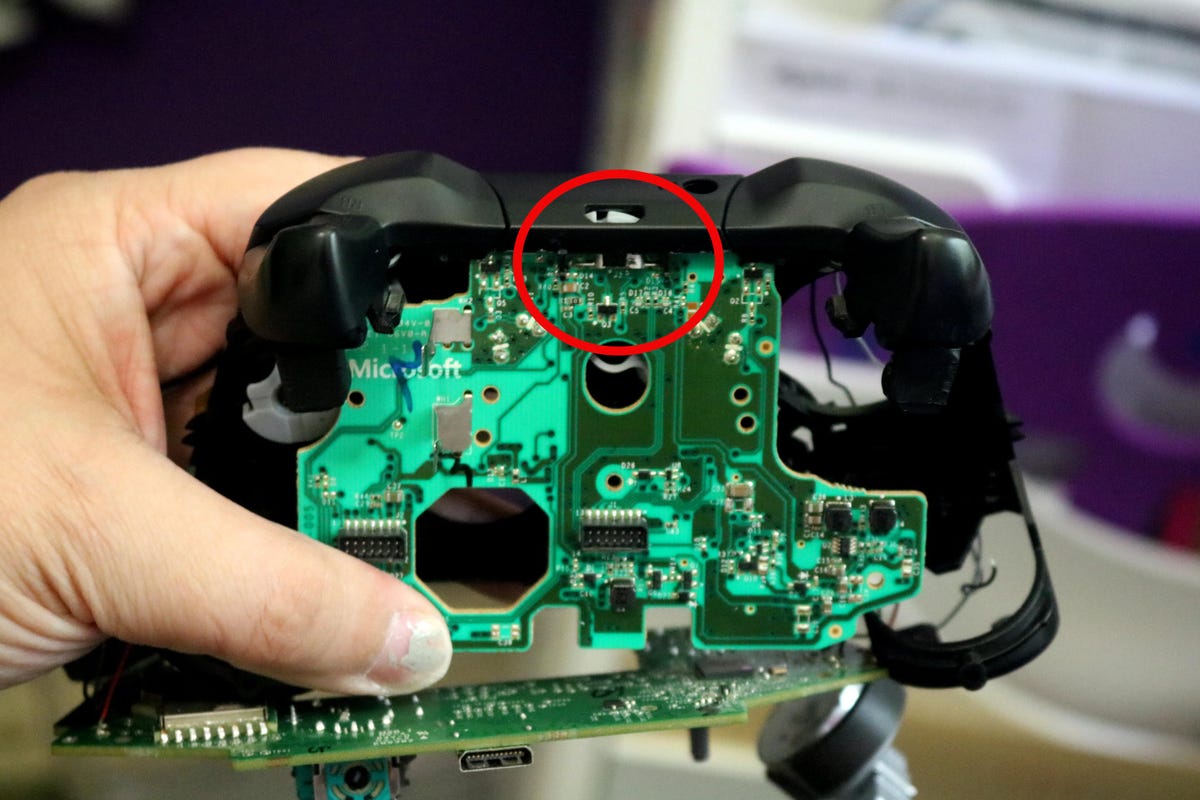
Turn the controller so that you can see the charging port. Place one of the smaller screwdrivers under the plastic around the port and pop out the second board.
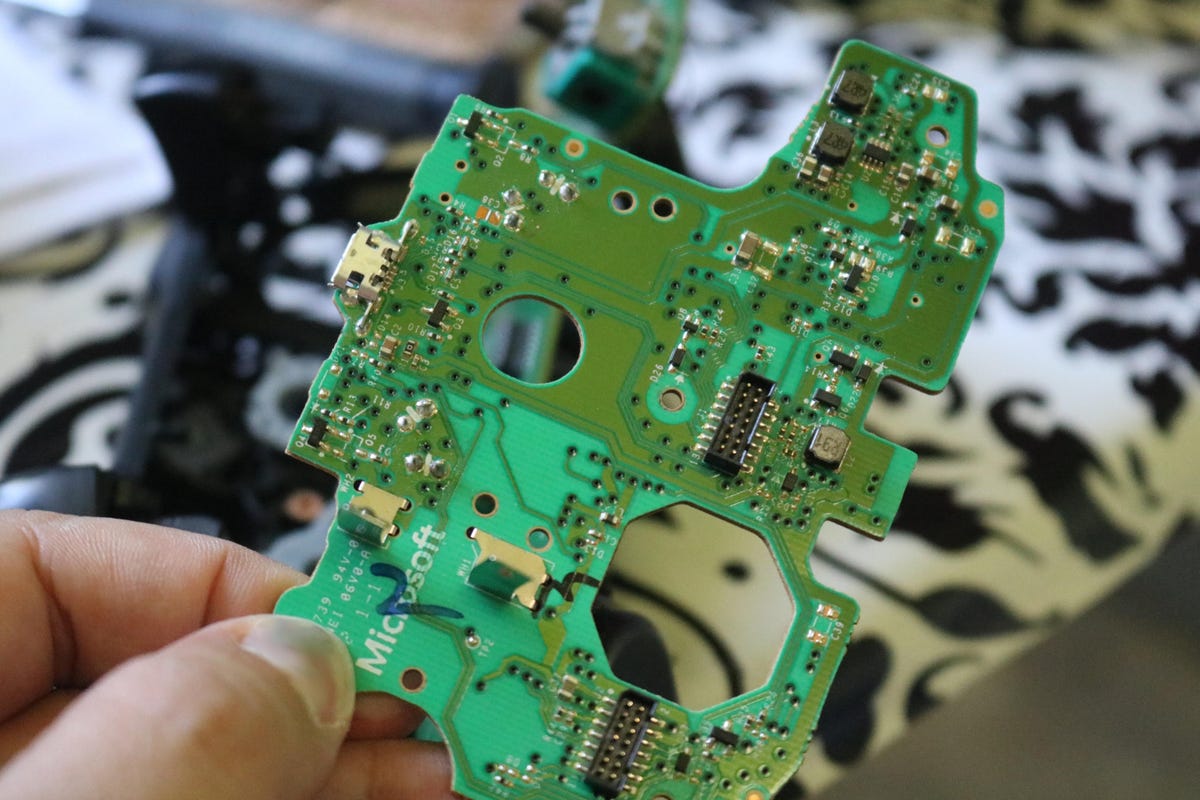
Remove the second board
Pull the second circuit board downward to release it from the plastic panel. Be careful, the buttons will probably pop out, so be sure to catch them.
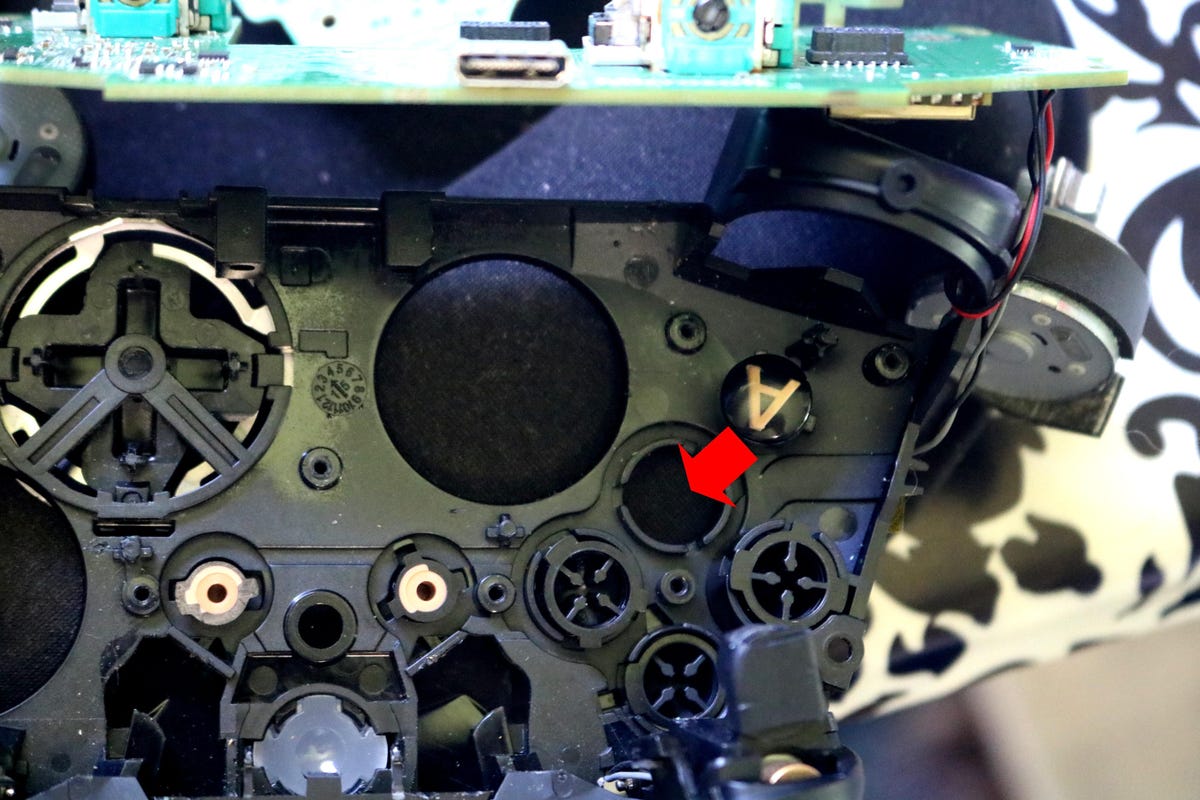
Put it all back
Remove the gray rubber button pad from the plastic shell under the second circuit board.
Then, place each button into its appropriate hole on the controller casing.
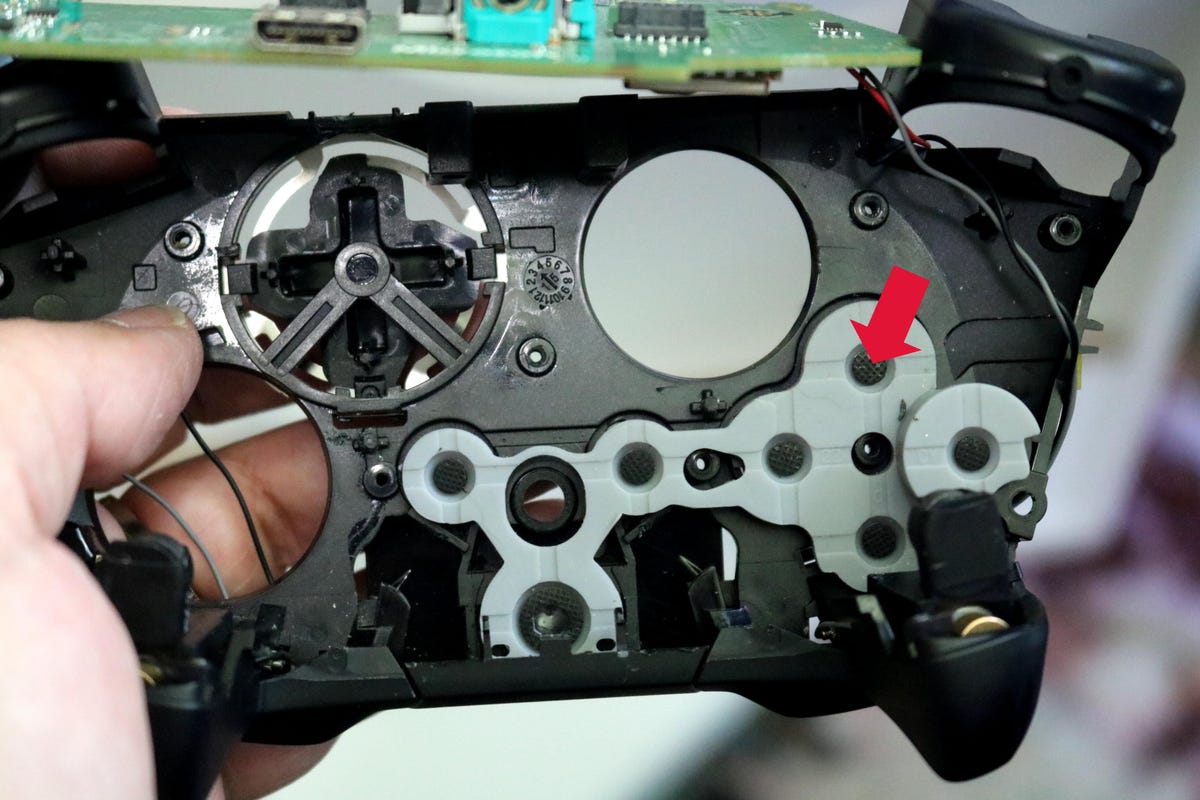
Replace the rubber button pad
Now lay the new rubber button pad from your kit over the buttons where the old one was.
Put it in reverse
Make sure to slide the second board gently into place over the top of the buttons so they don't roll out and into other parts of the casing. Also make sure the board slides under the charging port's plastic prongs.
Now, just put the controller back together in reverse order.
Piecing it together
If you're unsure of how to put the controller back together, just remember to line up the screw holes and use the small screws first and then the larger screws to finish up.
If all of this still doesn't fix your controller issues, it's time to trash it and move on to a new one.
More Galleries

My Favorite Shots From the Galaxy S24 Ultra's Camera
20 Photos
Honor's Magic V2 Foldable Is Lighter Than Samsung's Galaxy S24 Ultra
10 Photos
The Samsung Galaxy S24 and S24 Plus Looks Sweet in Aluminum
23 Photos
Samsung's Galaxy S24 Ultra Now Has a Titanium Design
23 Photos
I Took 600+ Photos With the iPhone 15 Pro and Pro Max. Look at My Favorites
34 Photos
