How to edit photos on iOS 5
In the past iOS users have had to rely on third-party apps to edit their photos on-device. Soon, users will be able to edit photos directly in the Photos app on their iDevice, with no need for most third-party apps. Follow along as we show you how you can plan on editing your photos.


Editing photos in iOS 5
Apple has given iOS users the ability to edit pictures directly in the Photos app on iOS 5.
To get started, open the Photos app on your Apple device, find a picture you want to edit, open it, and tap on Edit in the upper right-hand corner. This is where the fun begins!
Follow along as we show you each editing option, as well as how to use it.

Editing options
Here you can see there are now four options along the bottom bar that can be used for editing the photo. From left to right they are Rotate, Enhance, Reduce Red-Eye, and Crop.

Rotate
Each time you tap on the Rotate icon, the picture you are editing will rotate counter-clockwise 90 degrees. Once you have rotated the picture and are happy with it, press the Save button.
If you have made changes that you want to undo, press Cancel.

Enhance
To enhance a photo, it's pretty straightforward. Tap on the Enhance icon and let your iDevice do its magic. Once it is done, you will be presented with a picture that has had the color, shading, and overall appearance enhanced.
Sometimes enhancing a photo truly makes the photo look better, and other times the original still looks better. If you are happy with the new, enhanced photo, press Save; if not, press Cancel.

Reduce Red-Eye
Red-eye can be, and is, a major distraction in photos. Thankfully, Apple included the ability to reduce red-eye in your photos.
To reduce red-eye, tap on the Red-Eye icon, then tap on each red eye. When you are happy with the results, press Apply.
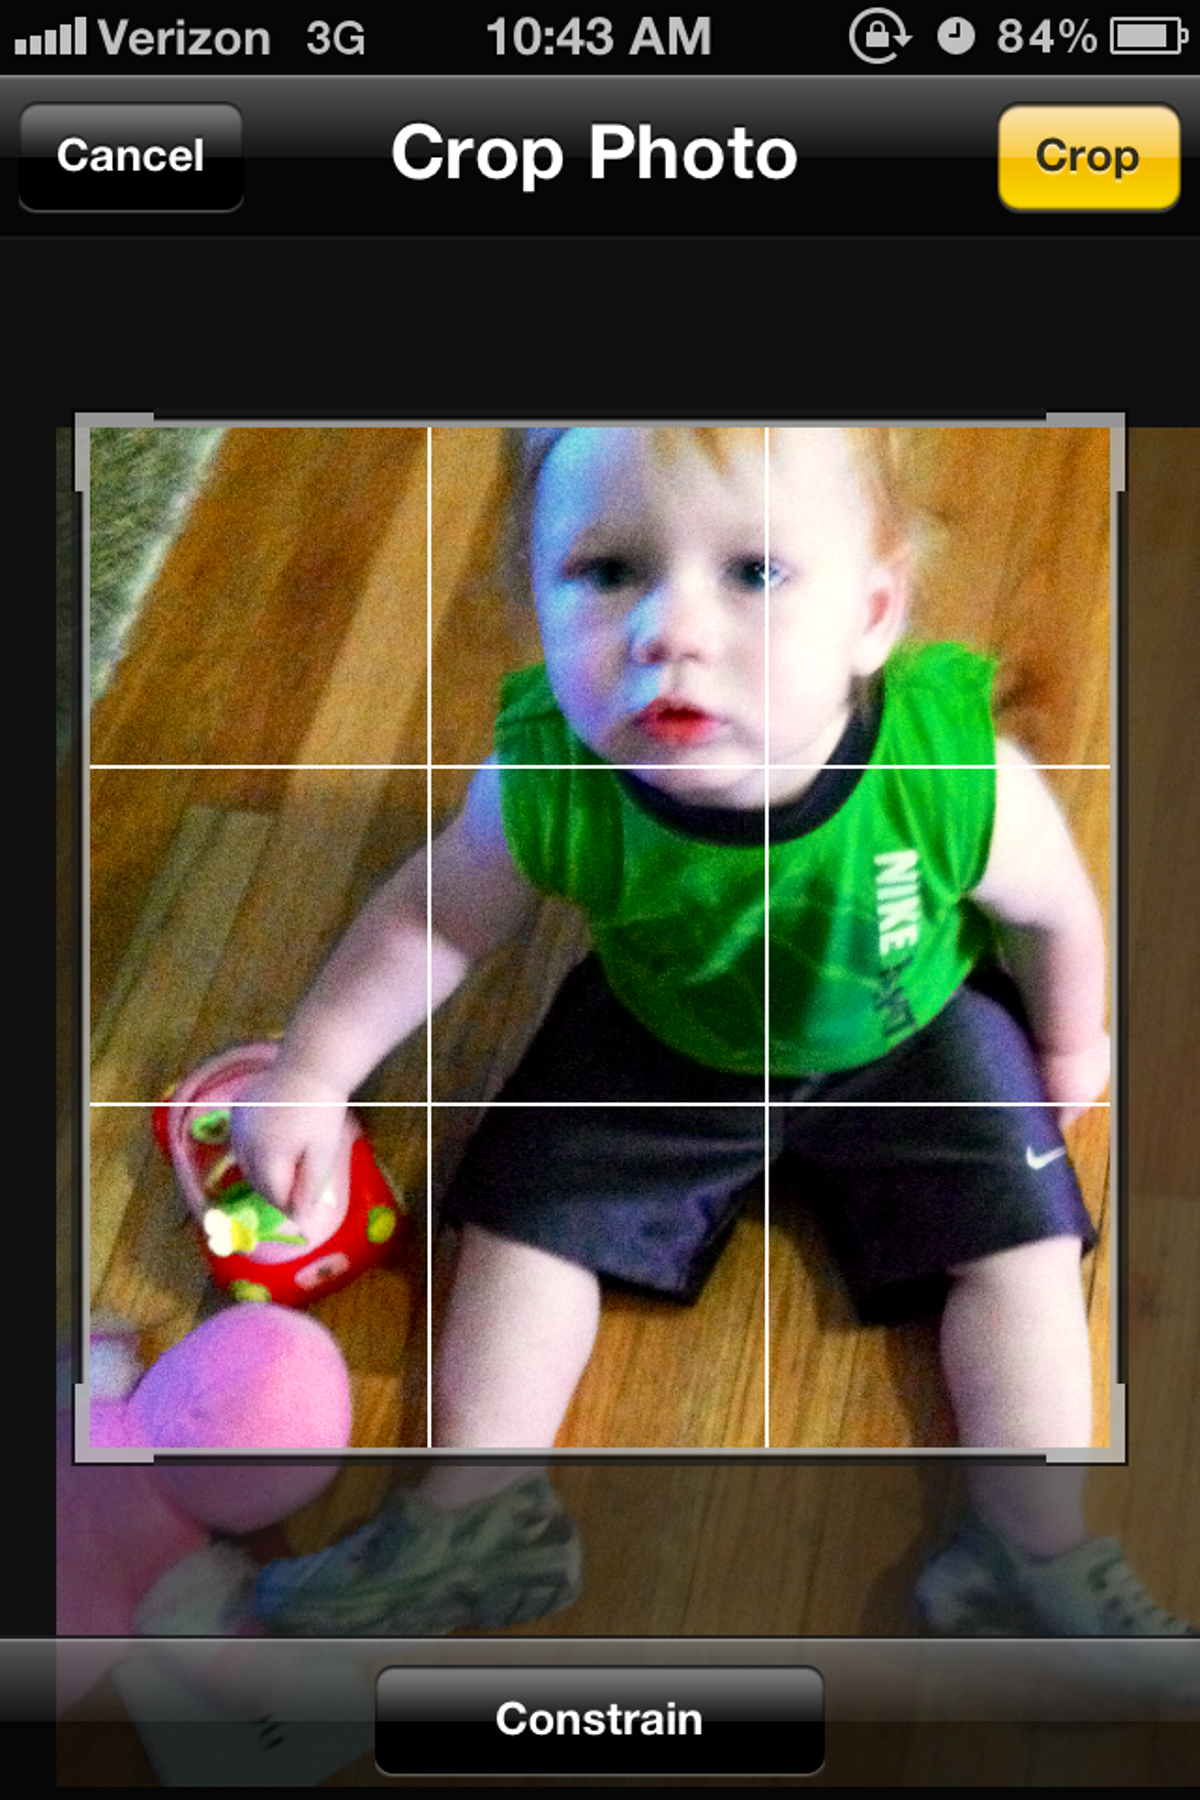
Crop
To crop a picture, tap on the Crop icon, you should then see a grid on top of your picture.
From here you can drag each corner to the area of the picture you would like to keep. If you are looking for a predefined size, tap on the Constrain button on the bottom.
If you aren't going to use the constrain feature, select Crop to save your photo.
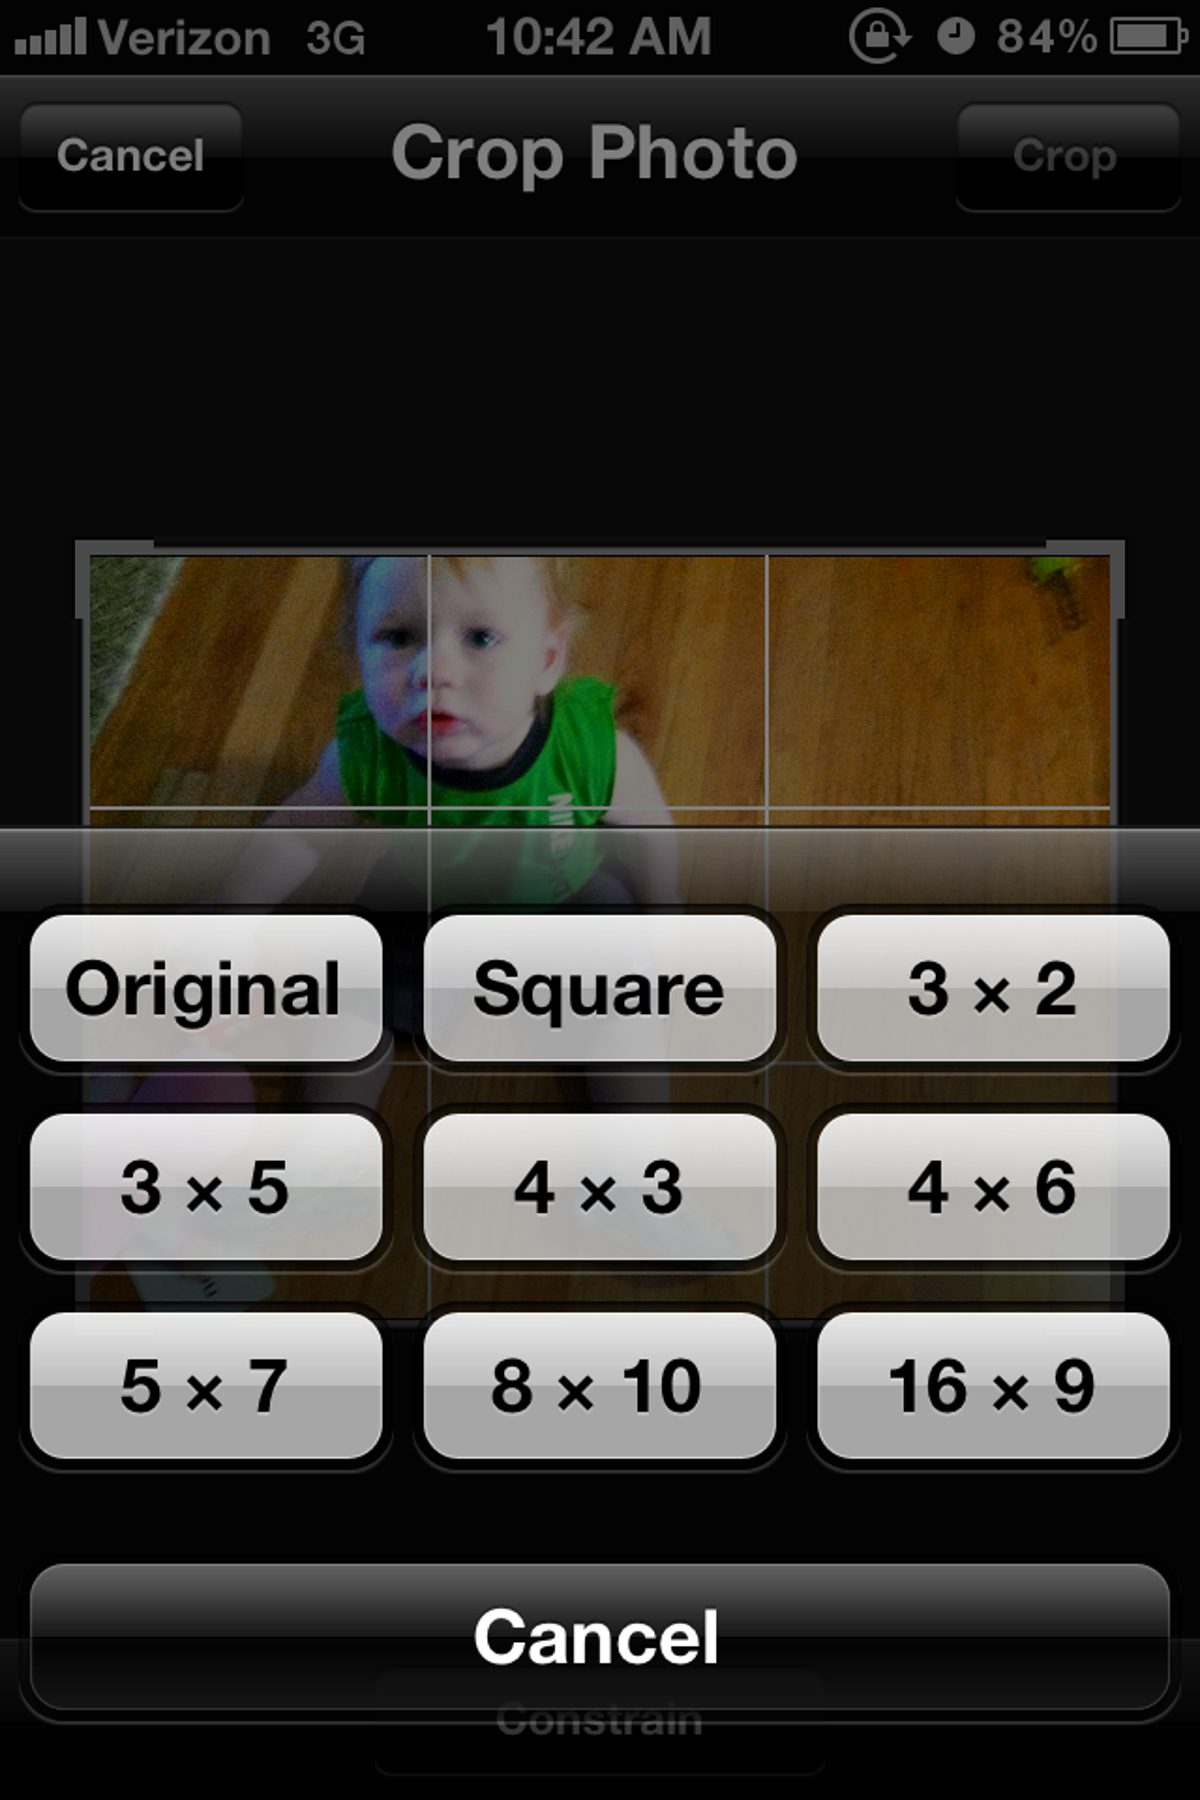
Constrain cropping
Select the size you would like your photo to be, move the grid in place, and press Crop to save your photo.

Save your work
Once you are all done making changes to your photo, make sure to press Save. But be warned, currently there isn't a "save as new" option, meaning your edited picture will take the place of the original. Hopefully this is something Apple will add before iOS 5 is released to the public.

The final product
Here we have the final product: a picture that has been both cropped and enhanced directly on the iPhone. You have to admit, he sure is a handsome little devil.
More Galleries

My Favorite Shots From the Galaxy S24 Ultra's Camera
20 Photos
Honor's Magic V2 Foldable Is Lighter Than Samsung's Galaxy S24 Ultra
10 Photos
The Samsung Galaxy S24 and S24 Plus Looks Sweet in Aluminum
23 Photos
Samsung's Galaxy S24 Ultra Now Has a Titanium Design
23 Photos
I Took 600+ Photos With the iPhone 15 Pro and Pro Max. Look at My Favorites
34 Photos
