CNET Senior Editor Donald Bell retrofits a vintage electro-therapy machine with a ThingamaKIT from Bleep Labs.
Donald Bell
Donald Bell has spent more than five years as a CNET senior editor, reviewing everything from MP3 players to the first three generations of the Apple iPad. He currently devotes his time to producing How To content for CNET, as well as weekly episodes of CNET's Top 5 video series.
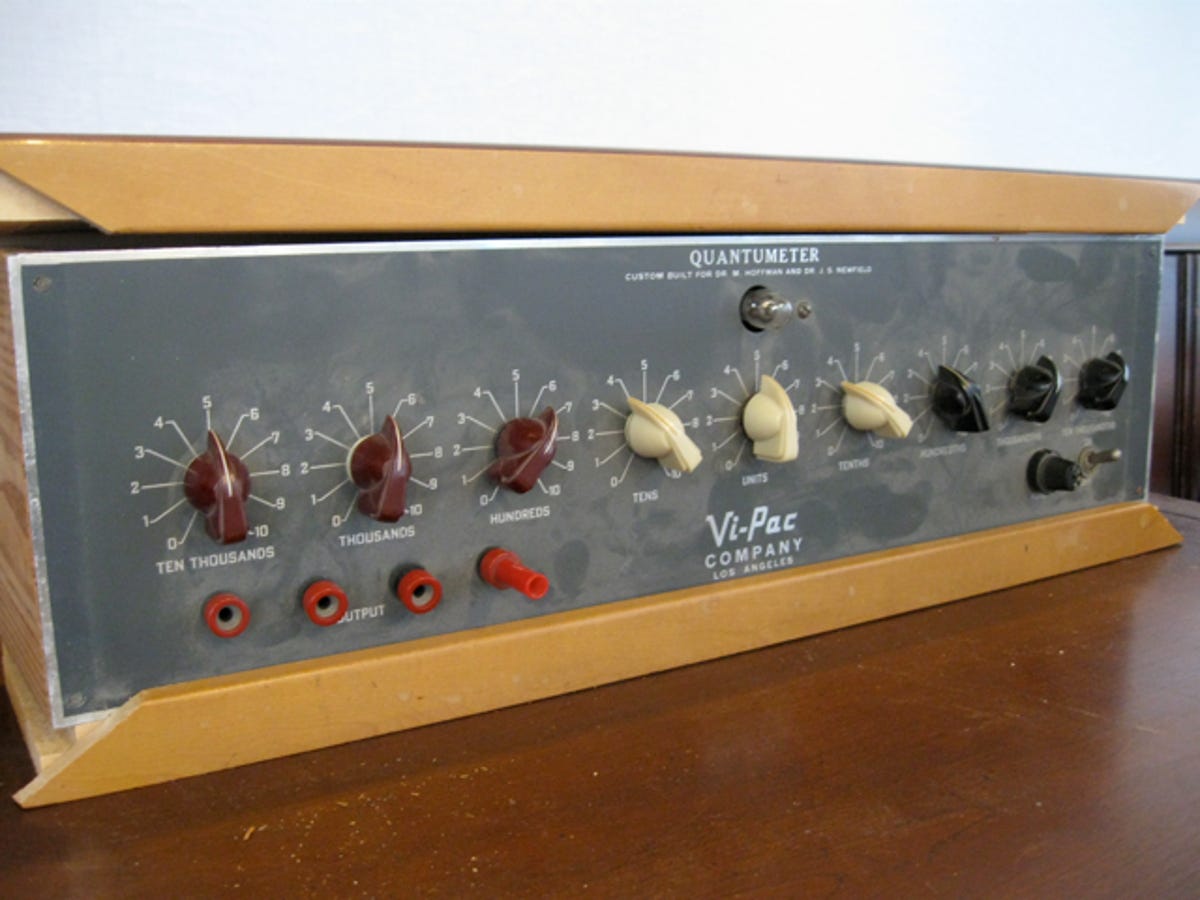
I've been to my fair share of garage sales in my life, but nothing prepared me for the sight of this odd, broken-down box of awesomeness. Nobody at the sale could tell me what this thing was for (in fact, it's till a bit of a mystery) but for $10, what nerd could resist owning a mysterious box with the word "Quantumeter" written on it?
2 of 17 CNET/Donald Bell
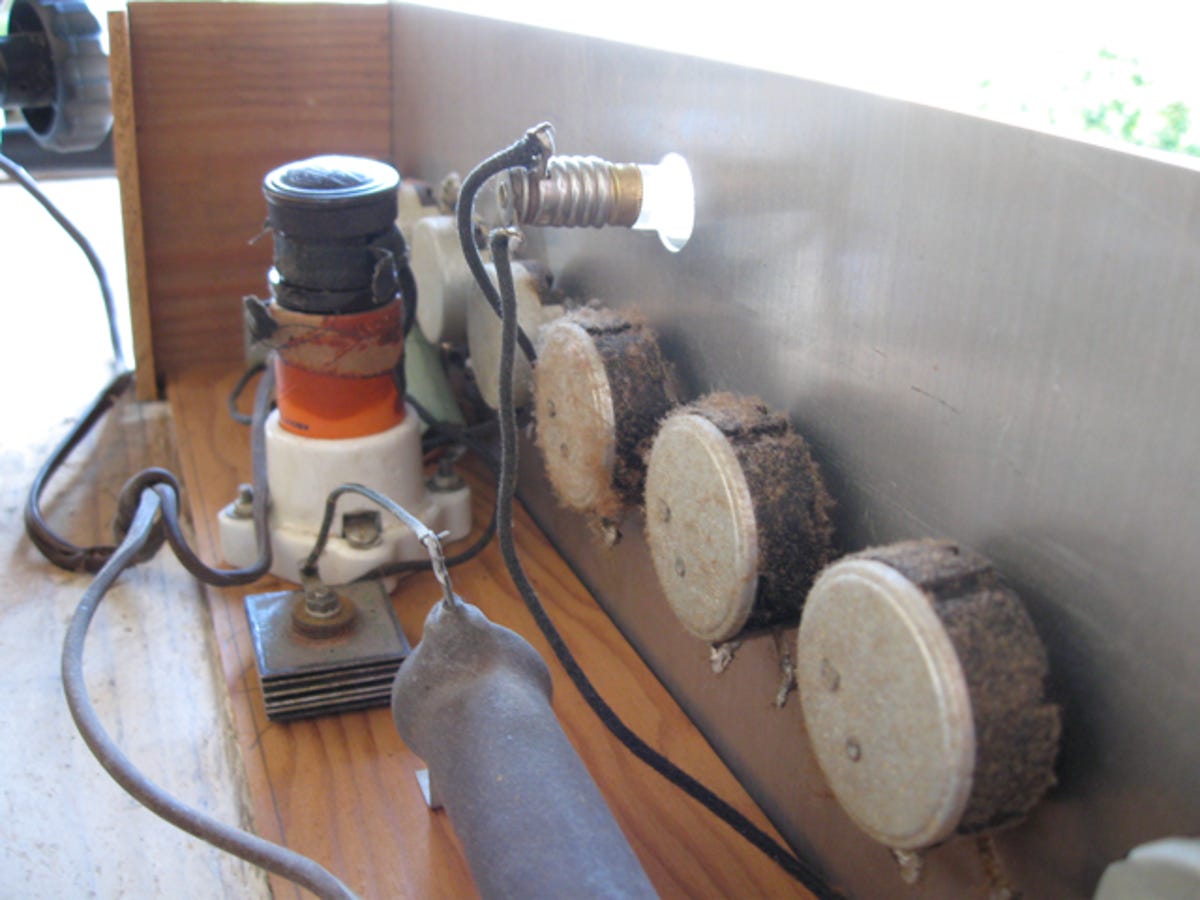
After getting the box home and opening it up, I found a surprising lack of technology inside. The leaky, old transformer and paper-wrapped resistors found within the Quantumeter were about as sophisticated as a middle-school science fair project.
3 of 17 CNET/Donald Bell
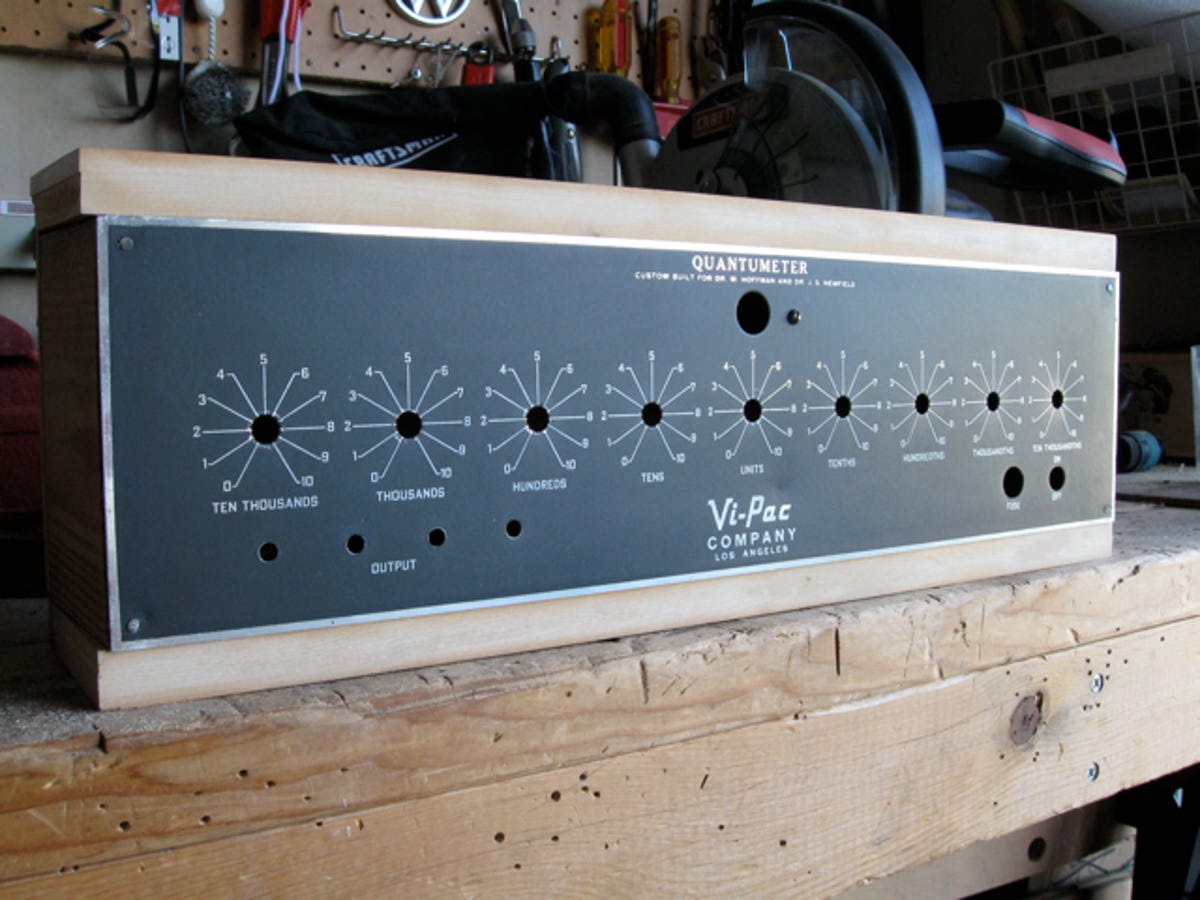
After coming to terms with the fact that the Quantumeter was not the Jules Verne time travel machine I had hoped for, I gave the box a thorough gutting, removed the missing framing, and scrubbed down the front panel.
4 of 17 CNET/Donald Bell
Inspiration struck when I realized that the Bleep Labs ThingamaKIT used just enough knobs and switches to fill up the Quantumeter's front panel. I'd been looking for an excuse to order this kit ever since I played with the Bleep Labs Thingamagoop back in 2007. The kit runs as little as $60, but I spent a little extra for a version with an enclosure (just in case the Quantumeter retrofit didn't work out). If my plan worked out, the Quantumeter would soon be the blinking, bleeping, mad scientist machine I wanted it to be.
5 of 17 CNET/Donald Bell
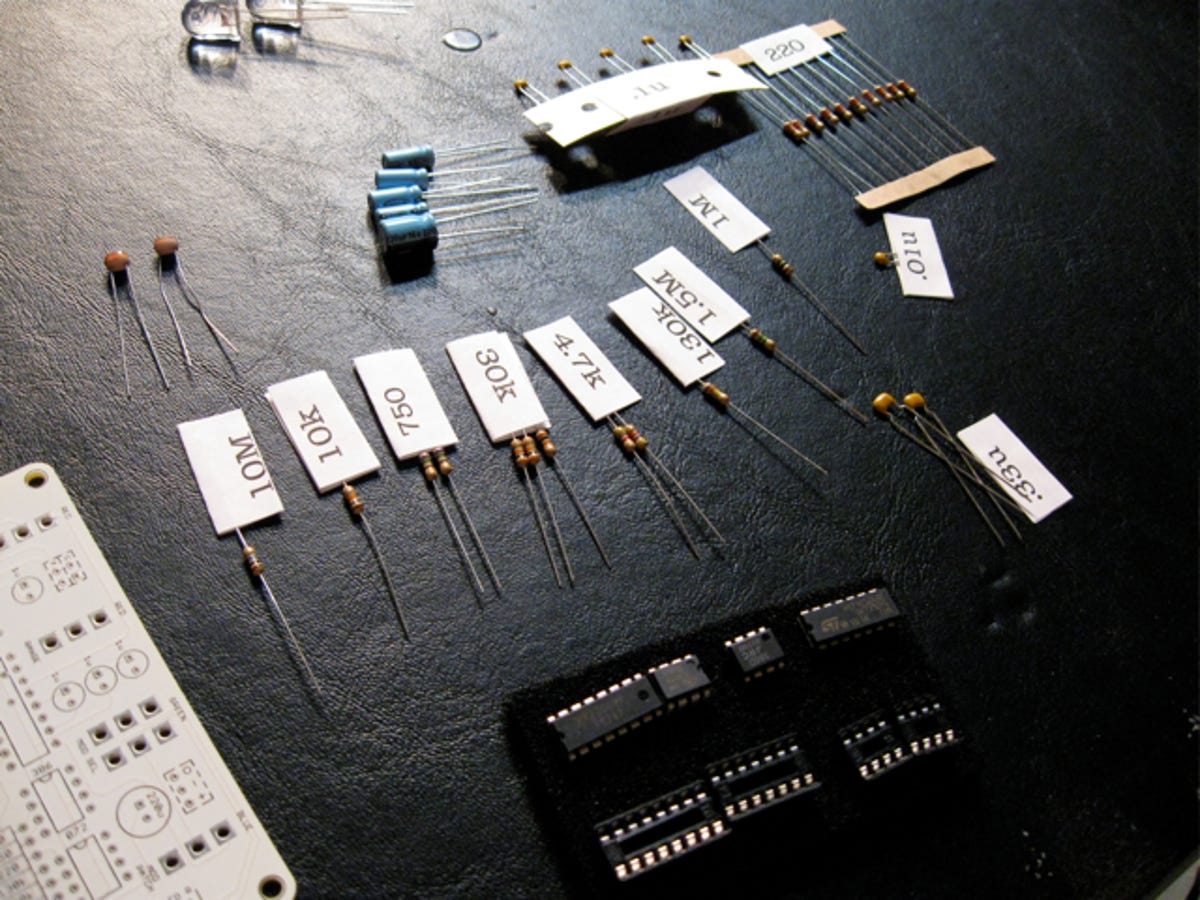
The ThingamaKIT comes as a bag of parts and an unassembled circuit board. Bleep Labs does an excellent job labeling all the components and leaving a little breathing room on the circuit board. Think of it as Paint-by-Numbers with a soldering iron.
6 of 17 CNET/Donald Bell
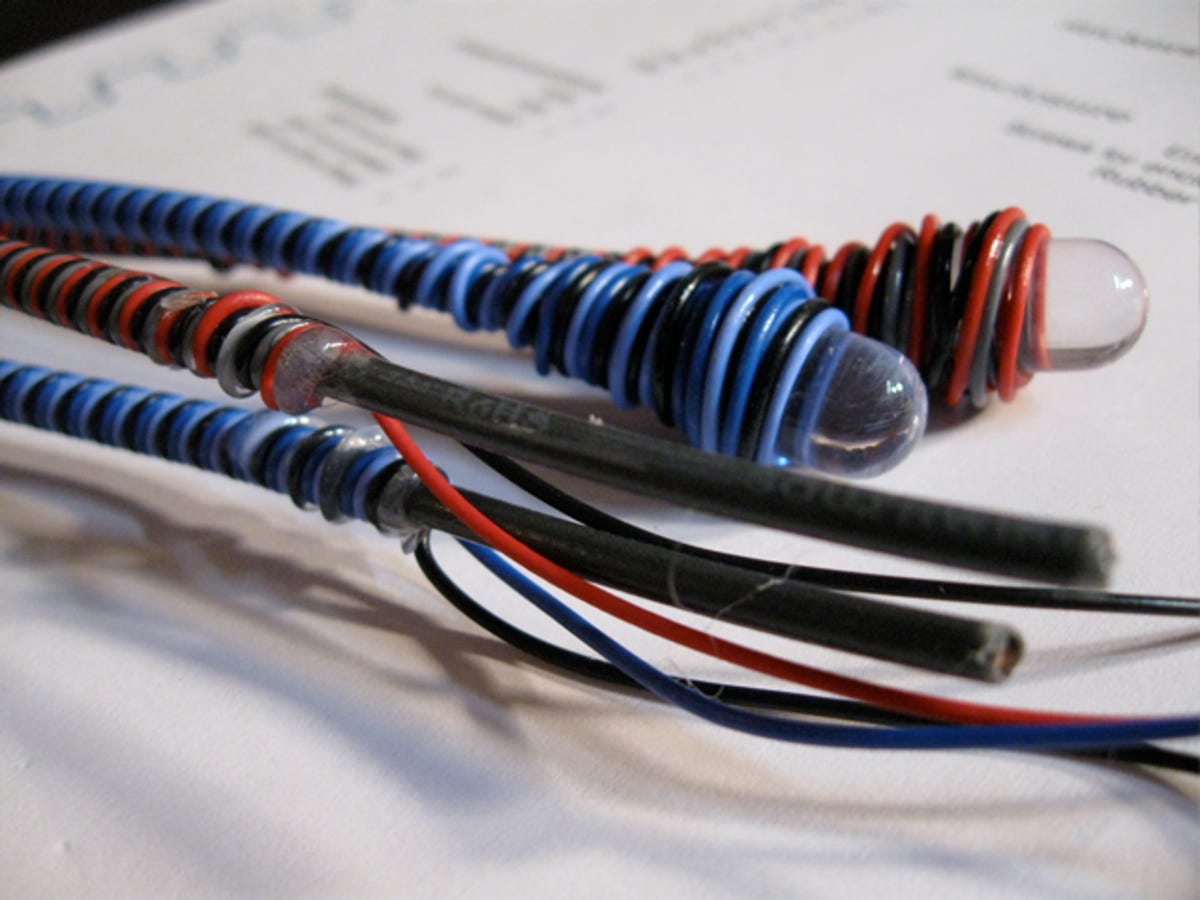
One of the coolest features of the ThingamaKIT are these two, wire-wrapped LED tentacles, which are used to interact with the kit's light-sensitive resistors. Aside from looking like alien antennae, the LEDs can dramatically influence the sound of the Thingamakit, depending on their position.
7 of 17 CNET/Donald Bell
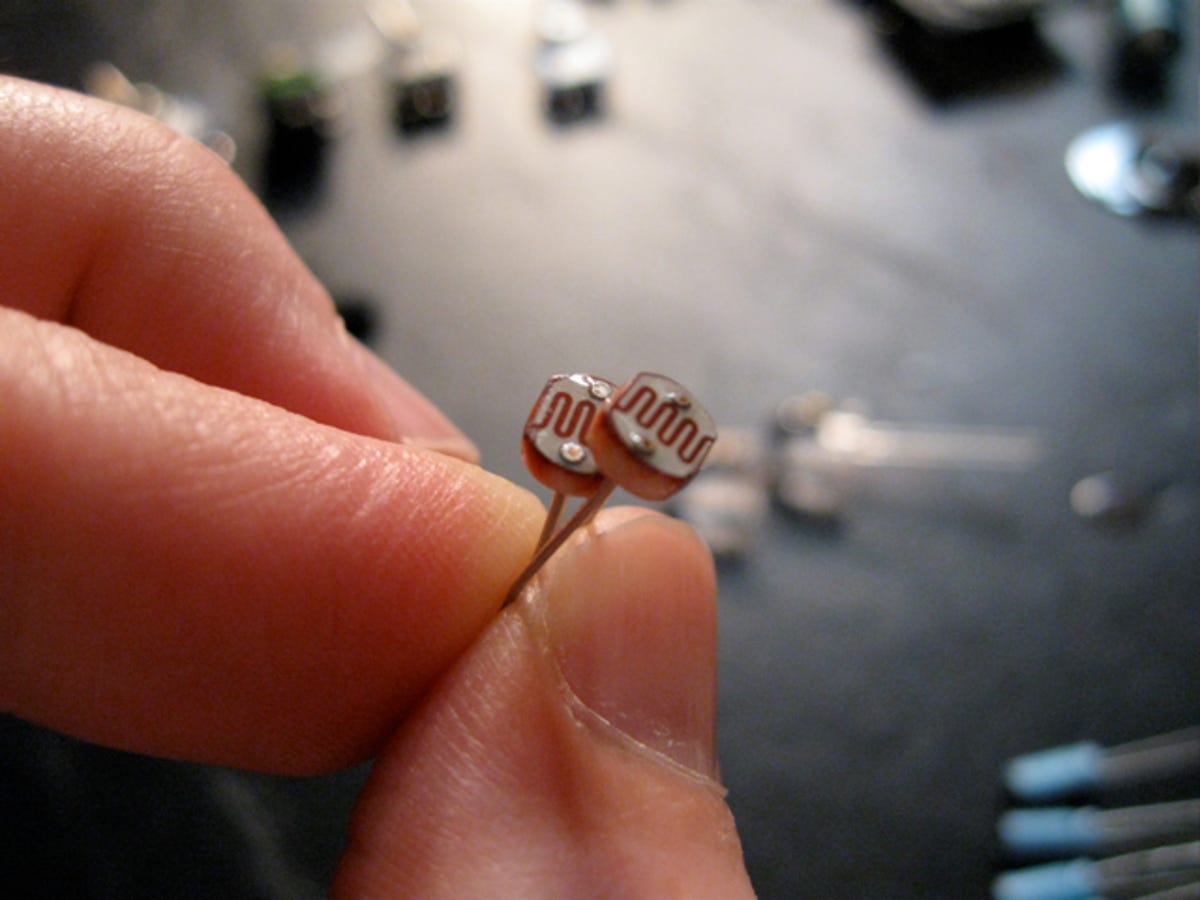
These little doodads are the photo-resistors, which transform light from the ThingamaKIT's LED antennas, and use it to modulate sound. These guys are tiny, but the kit includes metal brackets that hold the photo-resistors in place and allow them to be mounted on the front panel just like a knob or switch.
8 of 17 CNET/Donald Bell
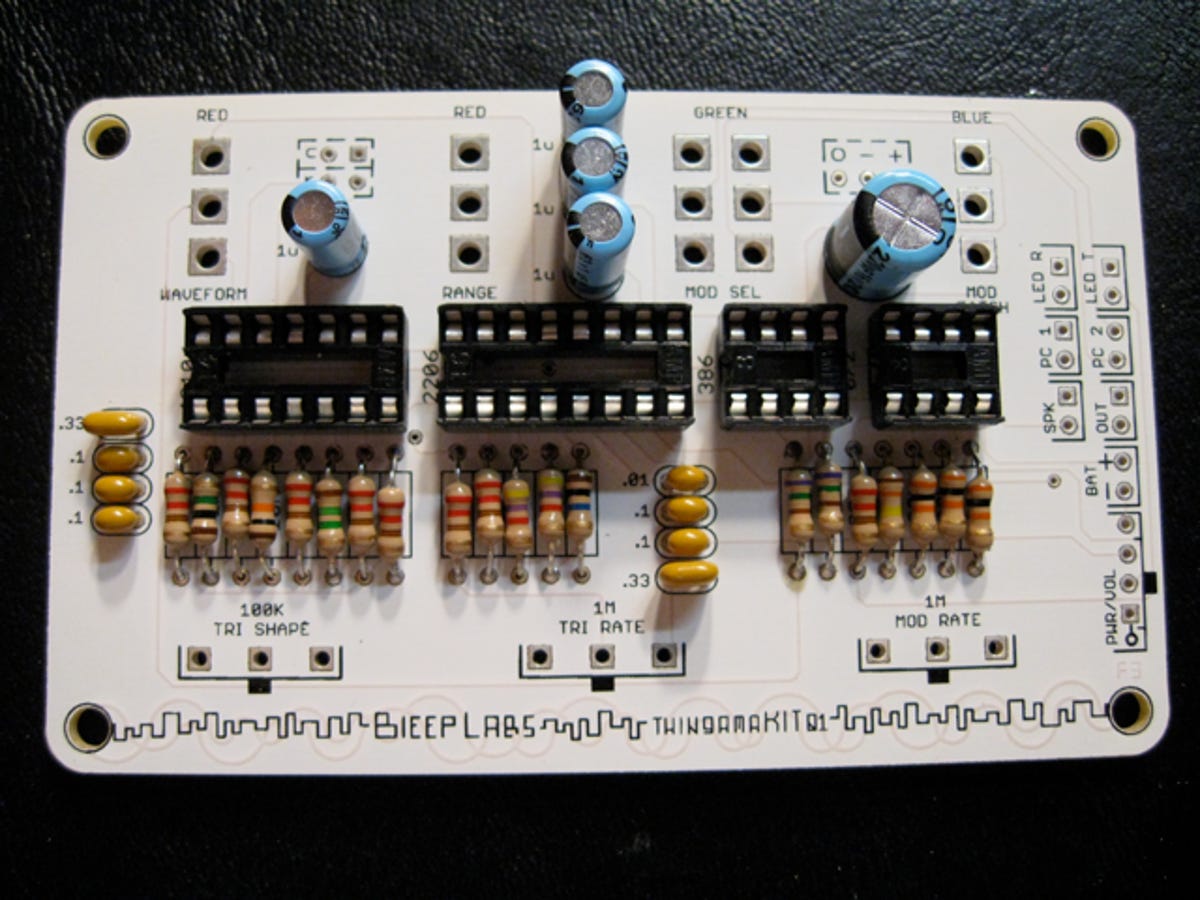
Here's the ThingamaKIT board with all the resistors, capacitors, and IC brackets soldered in place. The empty spaces indicate where all the knobs and switches get connected, as well as the battery, speaker, and audio output connections on the right side of the board. The kit was designed so that the knobs and switches could be mounted directly to the board, but because I needed the components to reach into all the leftover holes in the Quantumeter, I'd have to extend the connections with wires.
9 of 17 CNET/Donald Bell
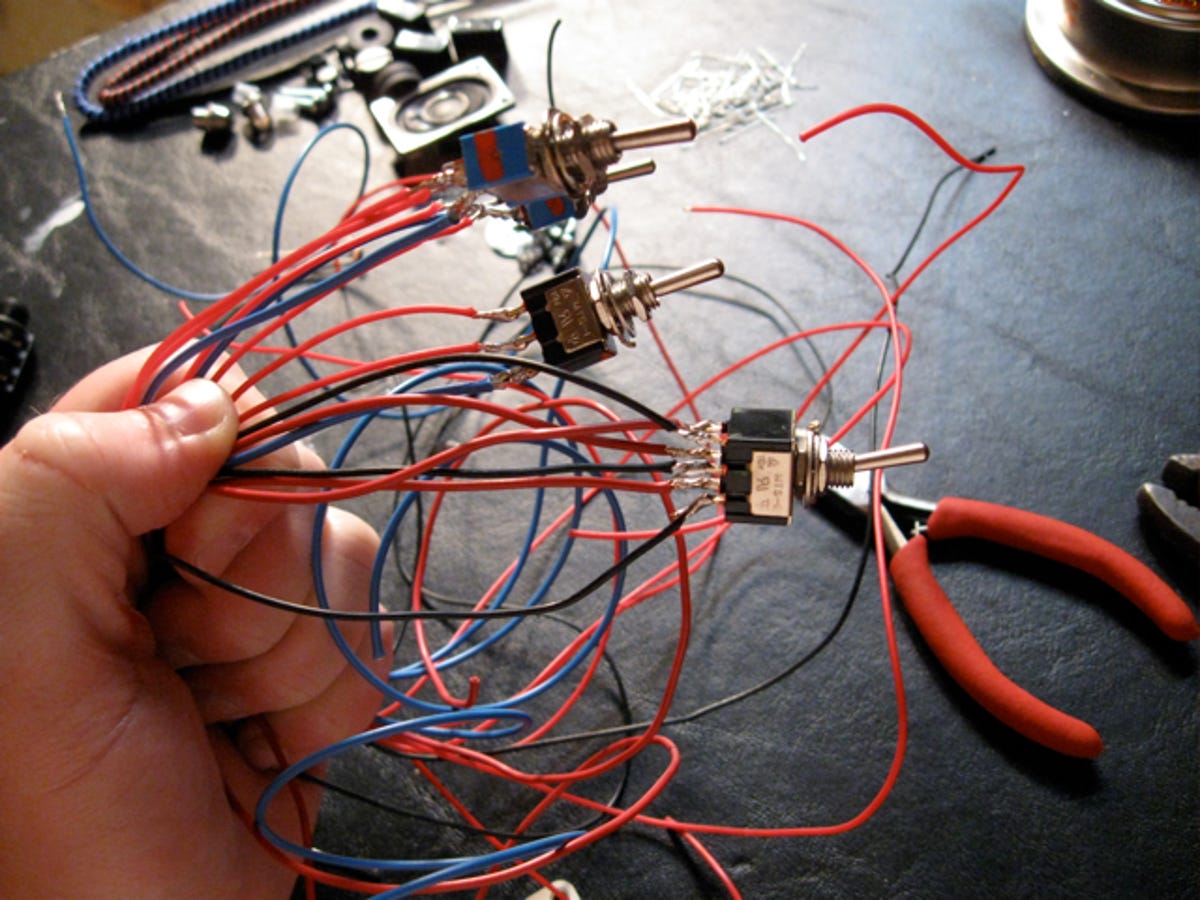
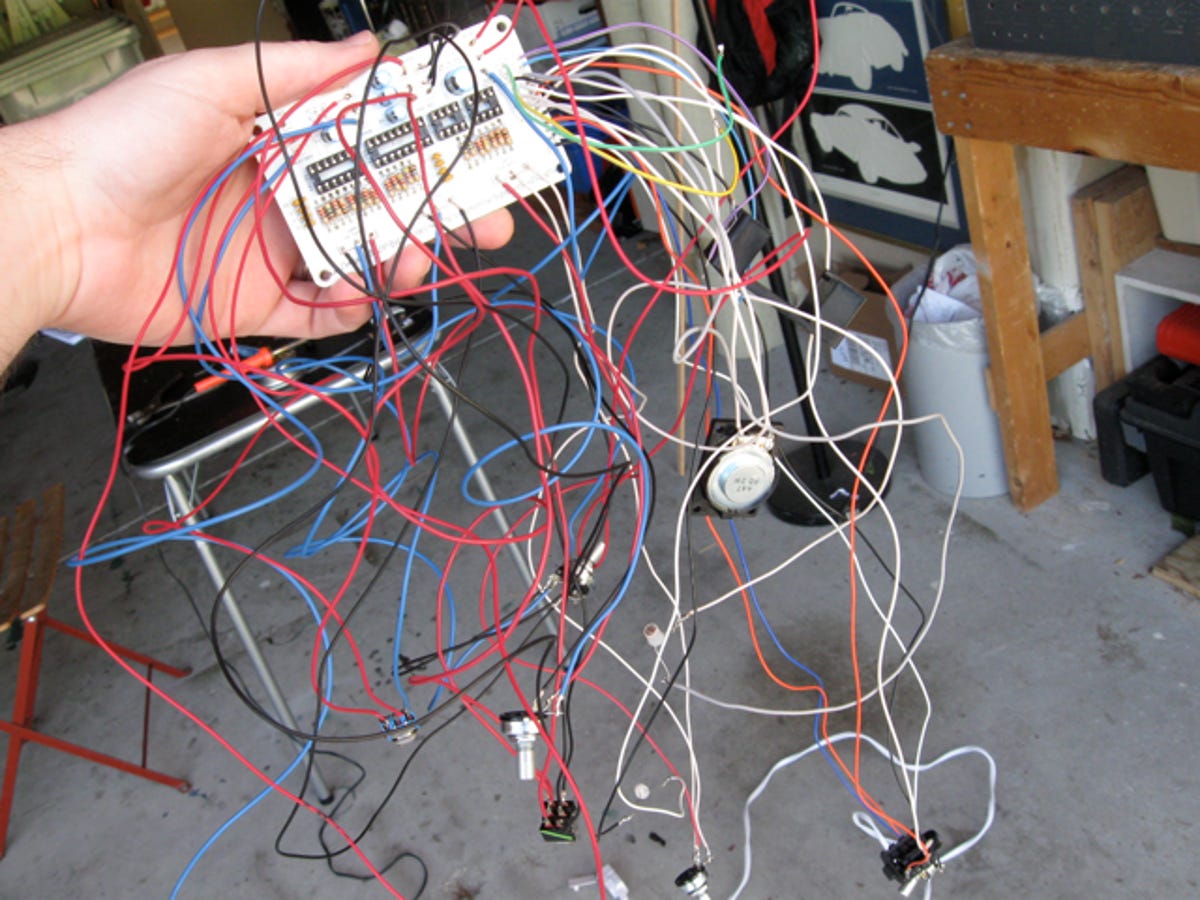
Here's my finished batch of switches for the ThingamaKIT, all of which needed to be extended with wiring so they could reach all the holes in the Quantumeter panel. The different colors of wire aren't meaningful, really, but they help when it comes to remembering which wire goes where on the circuit board.
10 of 17 CNET/Donald Bell
The finished guts of the ThingamaKIT look like a mess after all the wire extensions I soldered to the components. Once the kit is fitted inside the Quantumeter box, all the messiness gets tucked out of sight.
11 of 17 CNET/Donald Bell
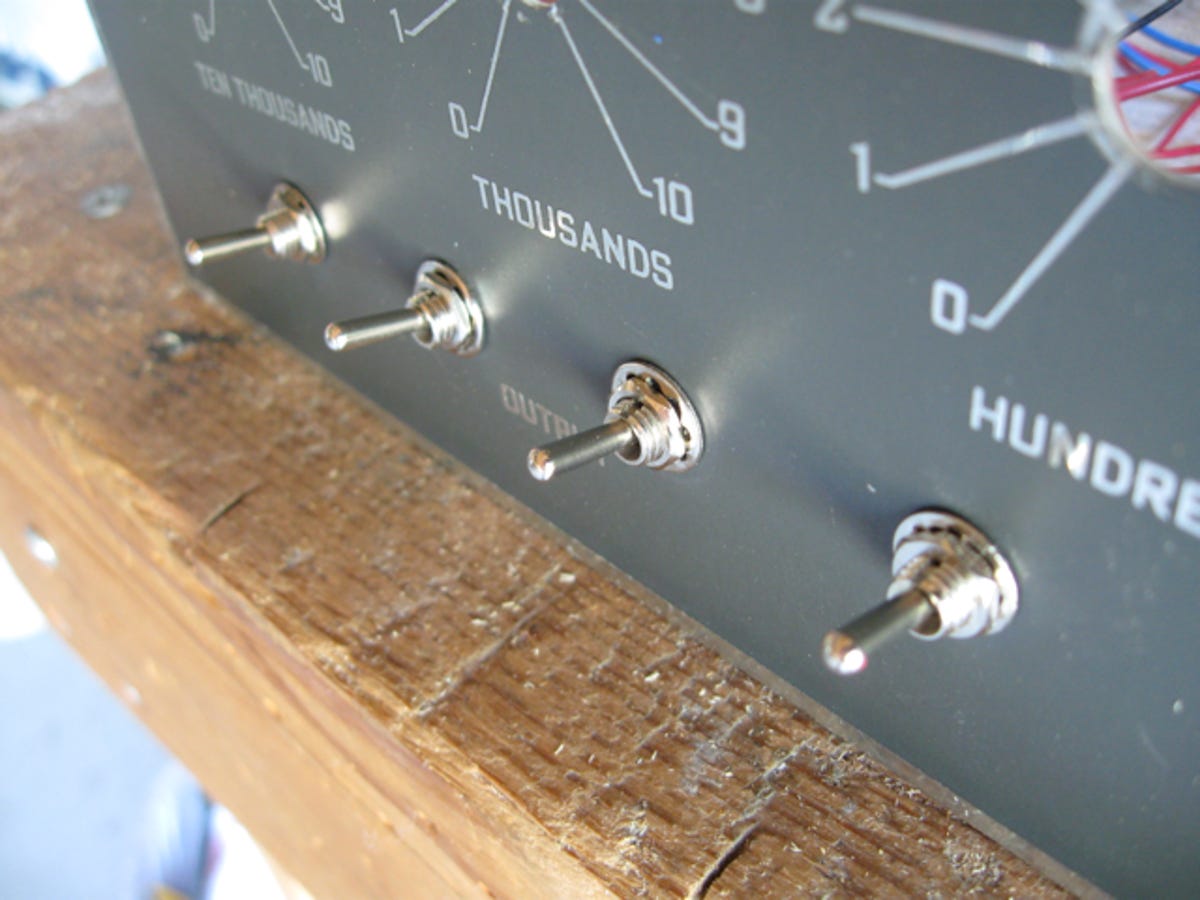
The creative part in all this was figuring out just where to place the ThingamaKIT's components on the old Quantumeter panel. The four switches fit nicely into the cutouts formerly used by the Quantumeter's electrode outputs.
12 of 17 CNET/Donald Bell
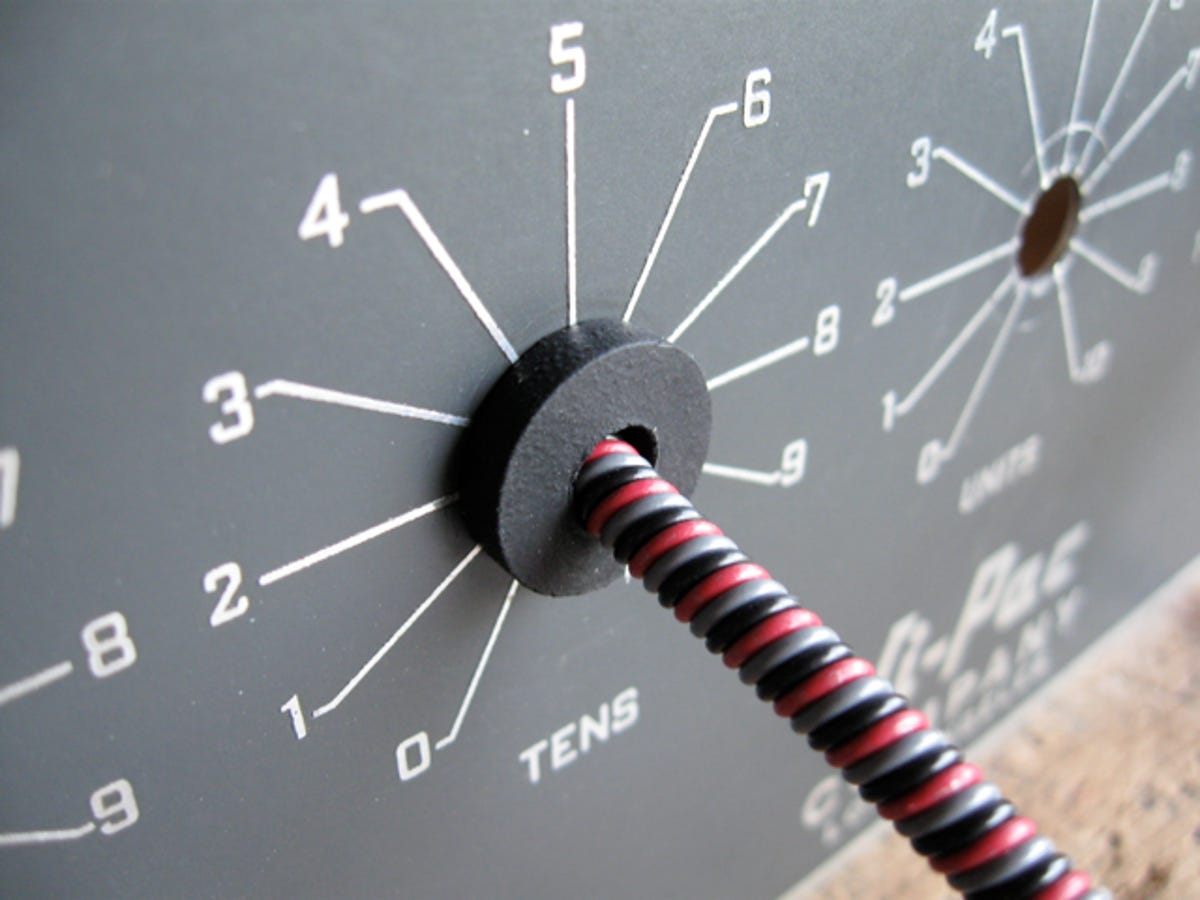
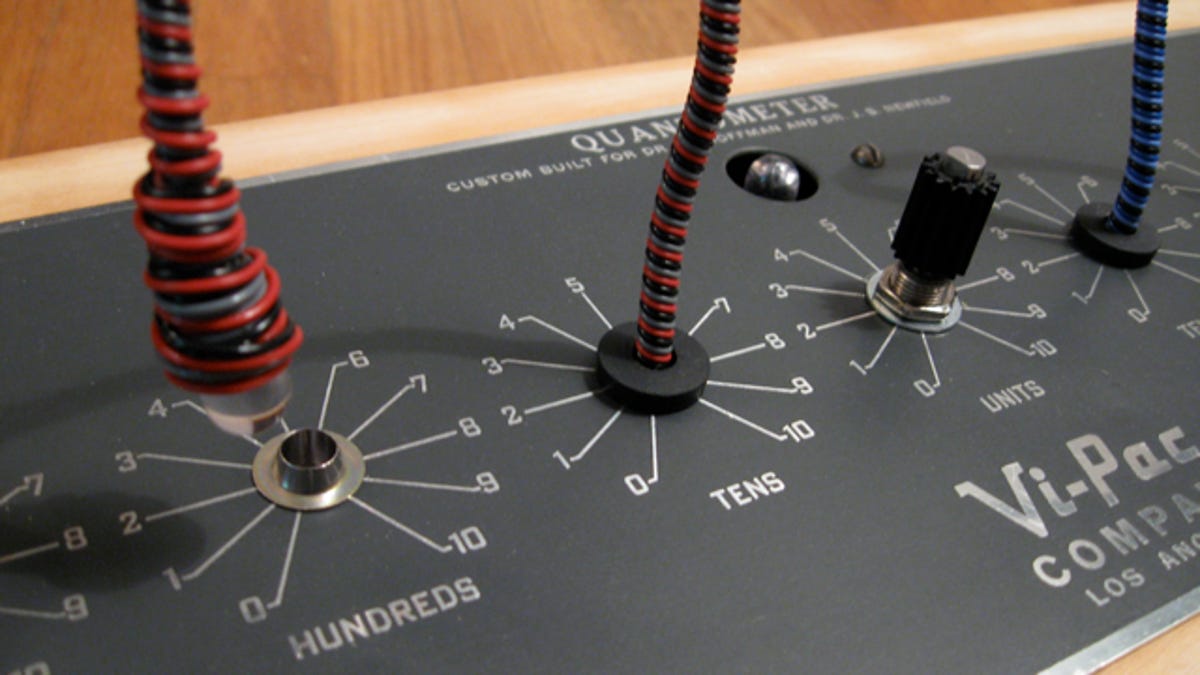
With seven holes left on the panel and only four knobs on the ThingamaKIT, I decided to run the two LED tentacles out from the front instead. Typically, these tentacles are mounted so they shoot out from the top like alien antennae, but I thought it might look a little too much like rabbit ears on an old TV. Anyway, I had holes to fill and it looked cool.
13 of 17 CNET/Donald Bell
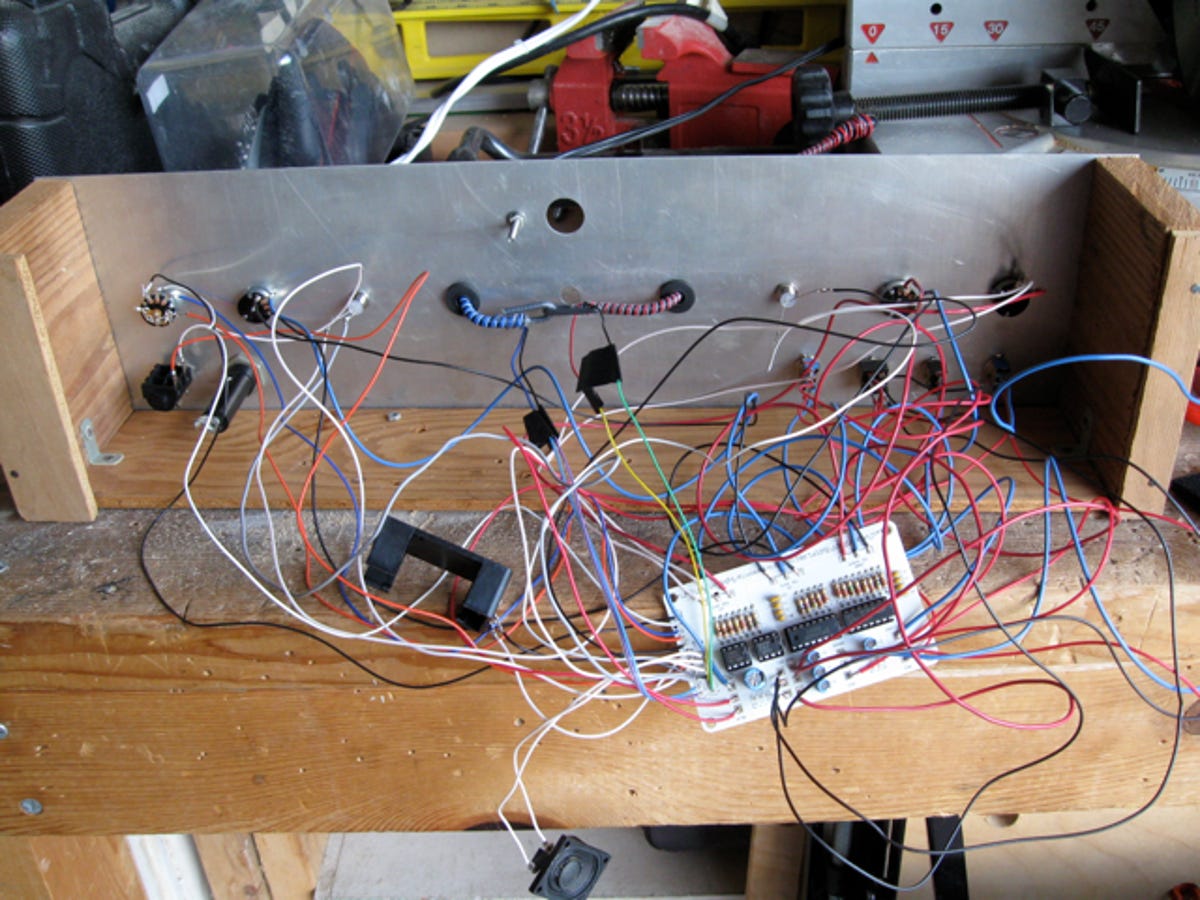
Here's the rear view of the Quantumeter with most of the knobs and switches in place, and the IC chips finally mounted on the circuit board. I still had two holes left to fill on the front panel and needed to figure out where to place the speaker (seen here dangling at the bottom).
14 of 17 CNET/Donald Bell
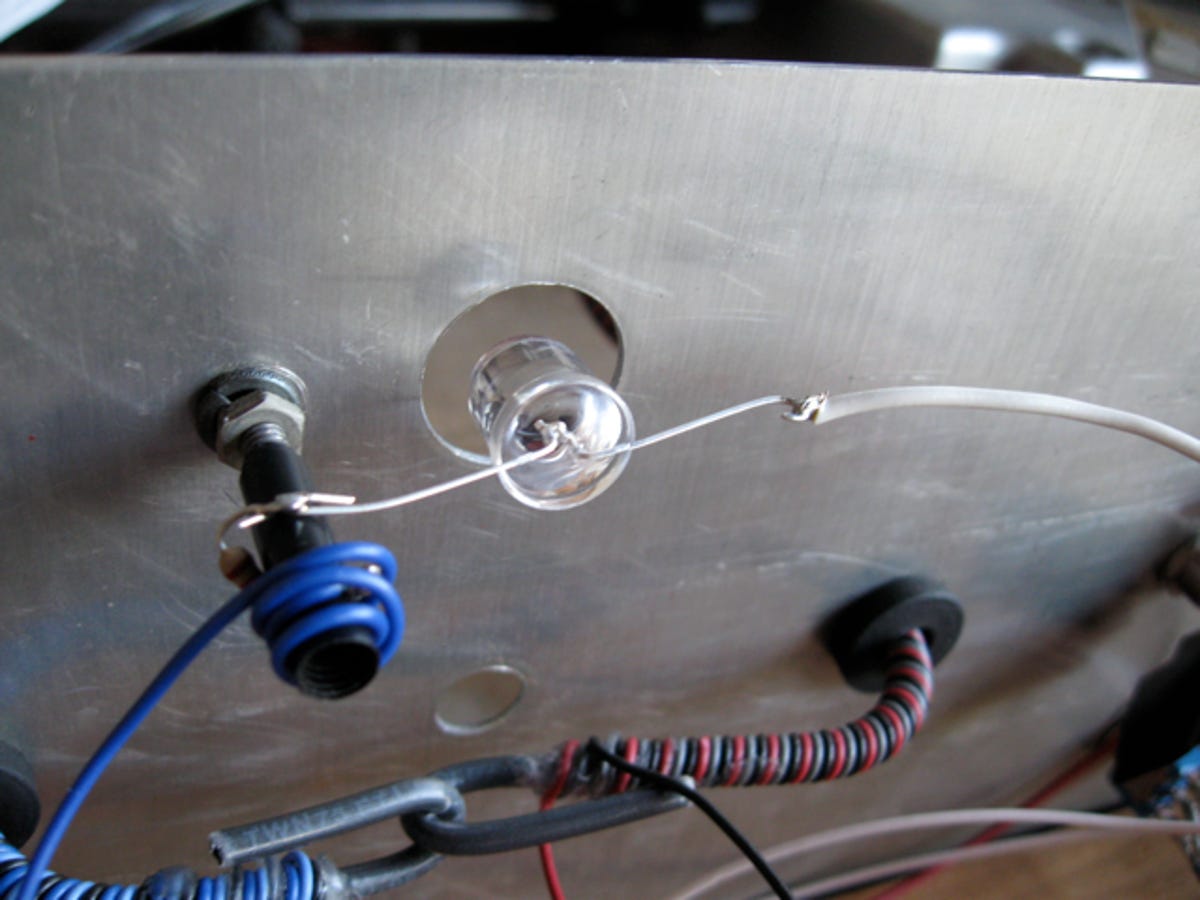
One of the two holes left over was originally used by the Quantumeter for an indicator lamp. To stay faithful to the original, I wired up one of the extra LEDs included with the kit and positioned it to float within the hole just like the original lamp.
15 of 17 CNET/Donald Bell
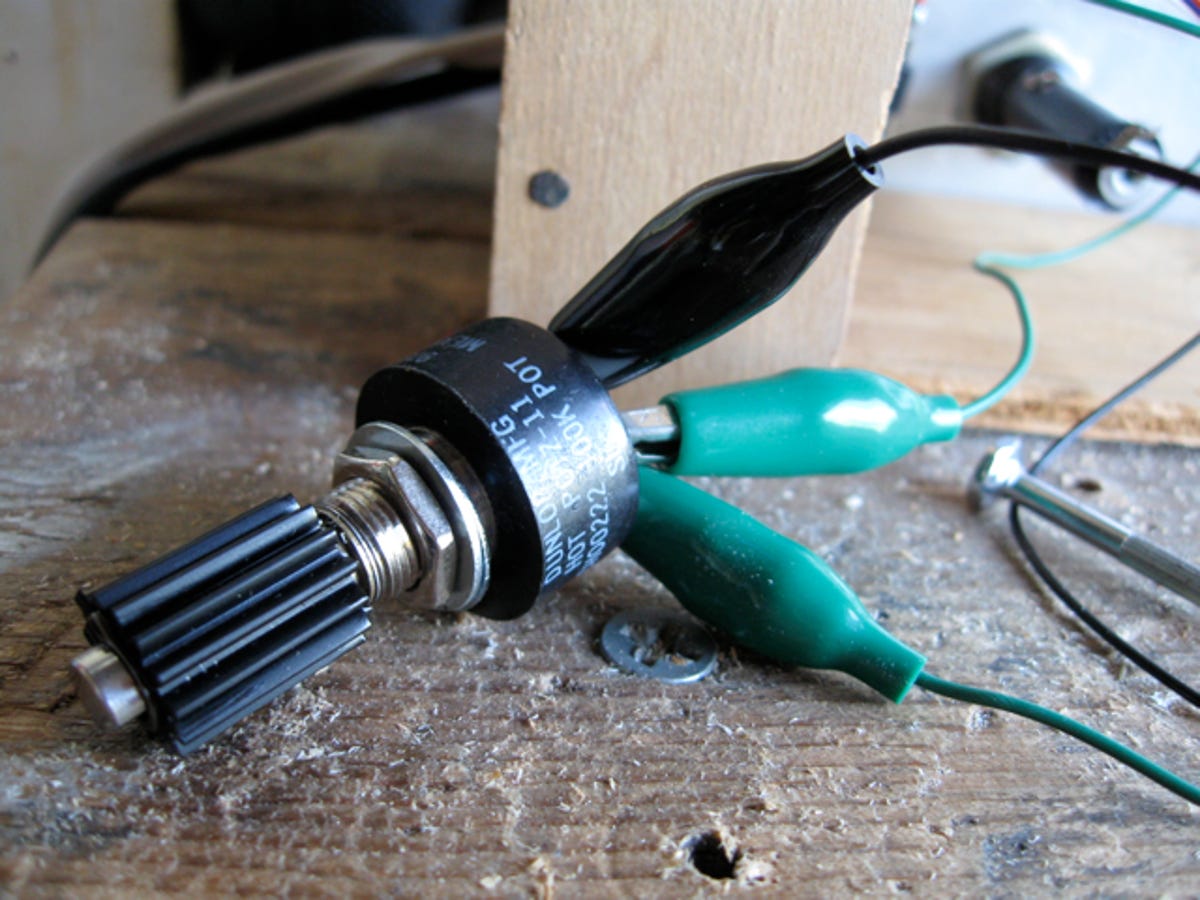
To fill the last hole in the panel, I decided to add a knob of my own. The ThingamaKIT is designed to be tweaked and even includes instructions for suggested modifications. For my modification, I wired a 100k pot to a few alligator clips and poked around the circuit board for unique sounds. I discovered a modification that worked a little like a waveshape control for two of the three oscillators, adding a raspy squeal when the knob was turned. Once I was happy with the result, I took off the clips, soldered it up, and mounted the pot into the center hole.
16 of 17 CNET/Donald Bell
A close-up shot of the remodeled Quantumeter's LED tentacle dangling over the mounted photo-resistor.
17 of 17 CNET/Donald Bell
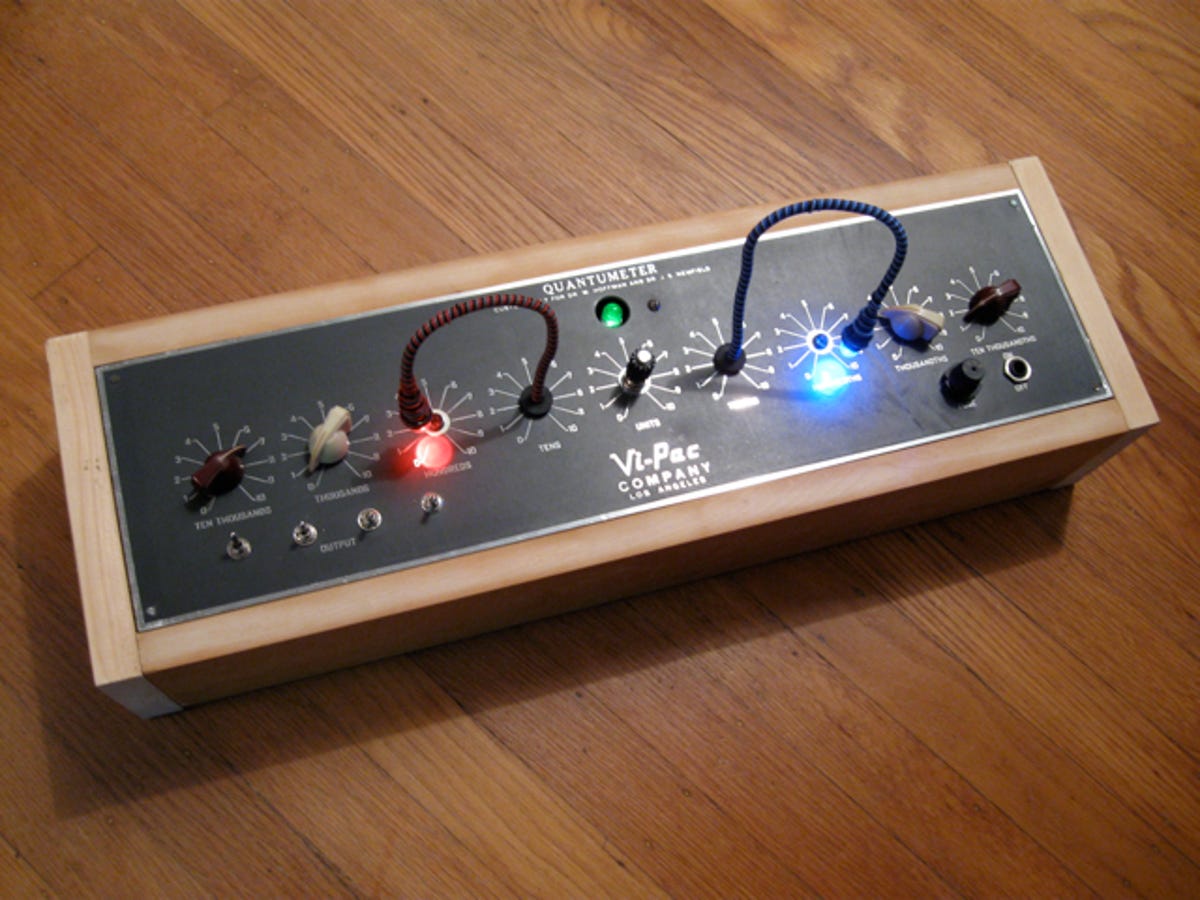
Here it is, the finished Quantumeter in all its blinking, bleeping, tentacled glory. I finished off the sides with some old boards my father in-law had in his garage. Unlike the original Quantumeter, my version runs off batteries and poses no threat of electric shock.
If you're interested, you can see more photos (and a video) of my vintage tech makeover over on Flickr.