We're building our very own 3D printer, to teach ourselves and hopefully teach, or at least entertain, you. Here are the results of Day One.
Rich Brown
Rich was the editorial lead for CNET's Home and Wellness sections, based in Louisville, Kentucky. Before moving to Louisville in 2013, Rich ran CNET's desktop computer review section for 10 years in New York City. He has worked as a tech journalist since 1994, covering everything from 3D printing to Z-Wave smart locks.
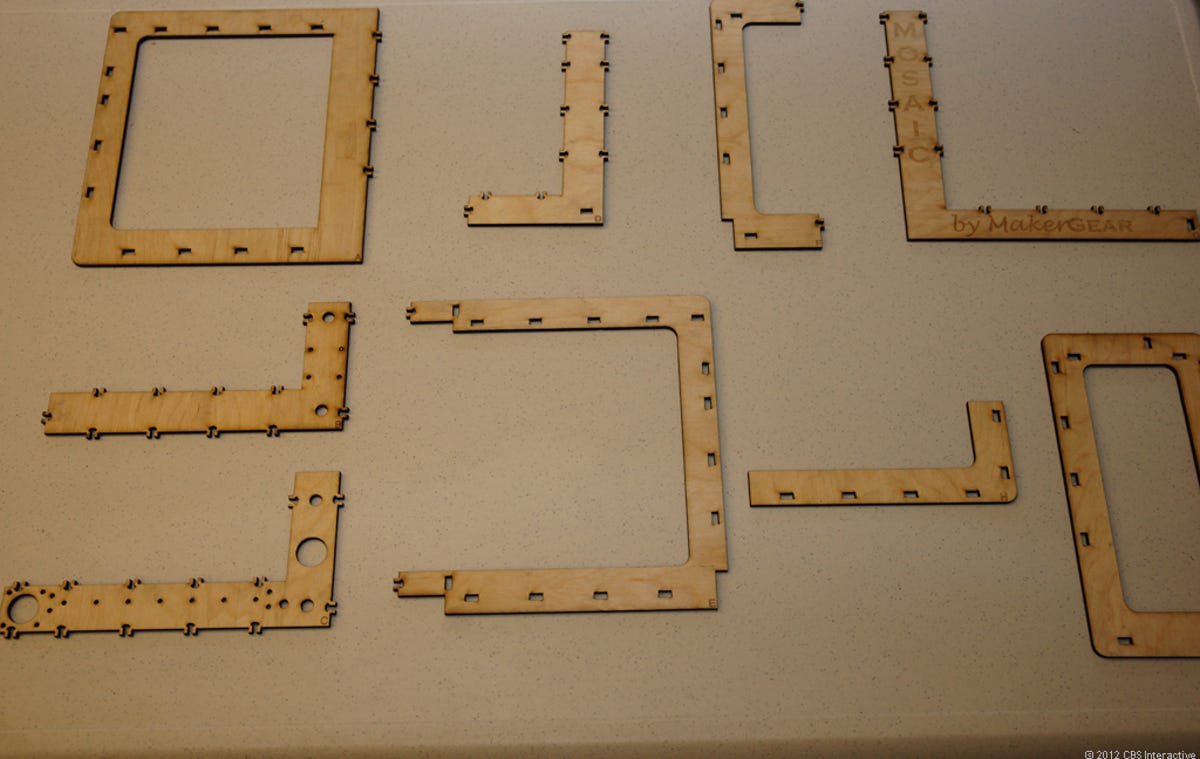
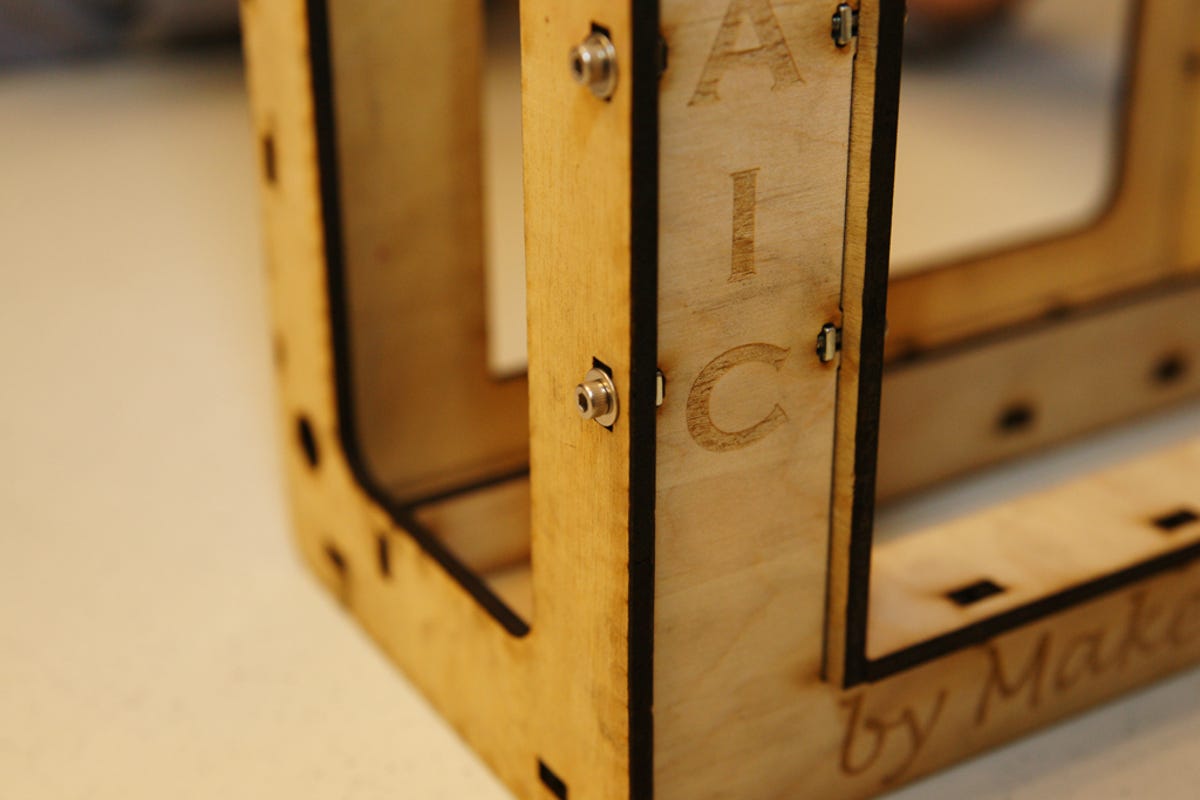
Each piece has a corresponding letter burned into it, making it easy to follow the instructions.
3 of 13 Matthew Fitzgerald/CNET
Steady...
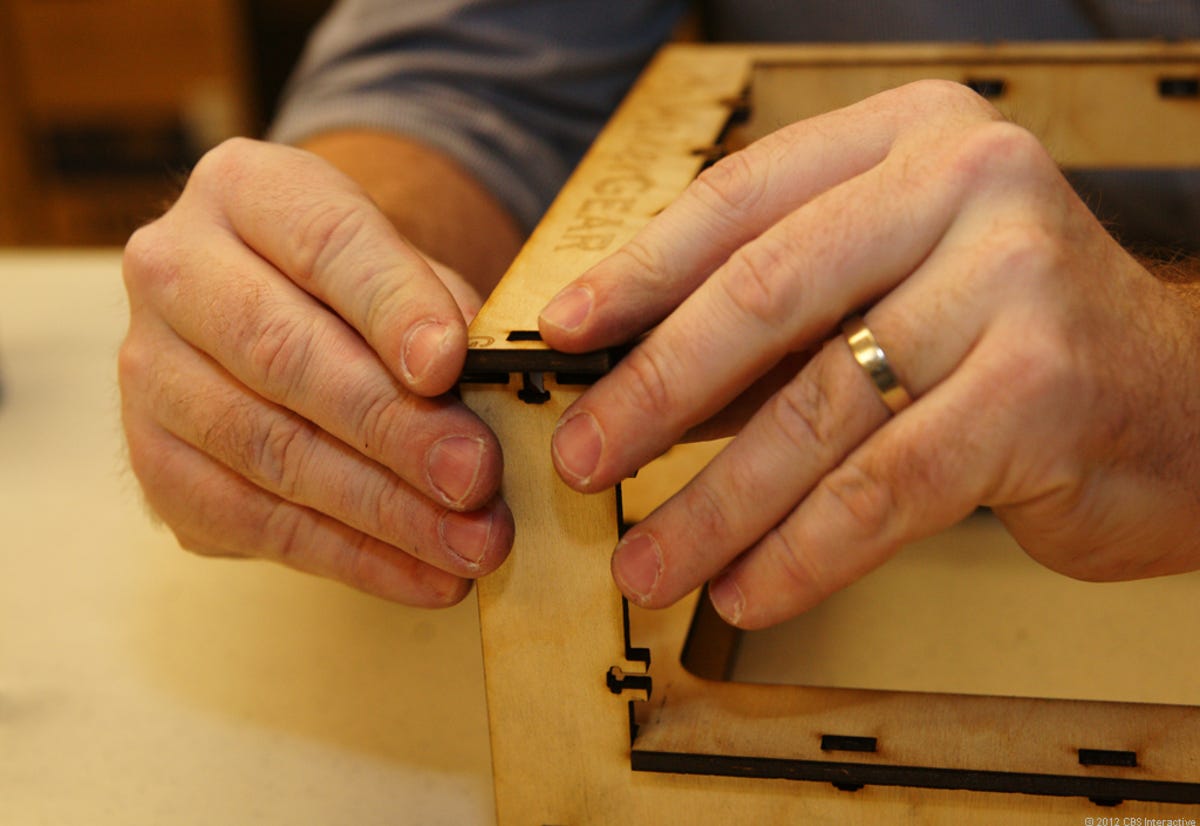
The pieces fit together easily enough. We never had to force anything, and escaped with no broken pins, at least on this step.
4 of 13 Matthew Fitzgerald/CNET
Drama amid the television boxes
Our lab storage room actually hasn't been this organized in over five years.
5 of 13 Matthew Fitzgerald/CNET
Piece by piece
Coming together.
6 of 13 Matthew Fitzgerald/CNET
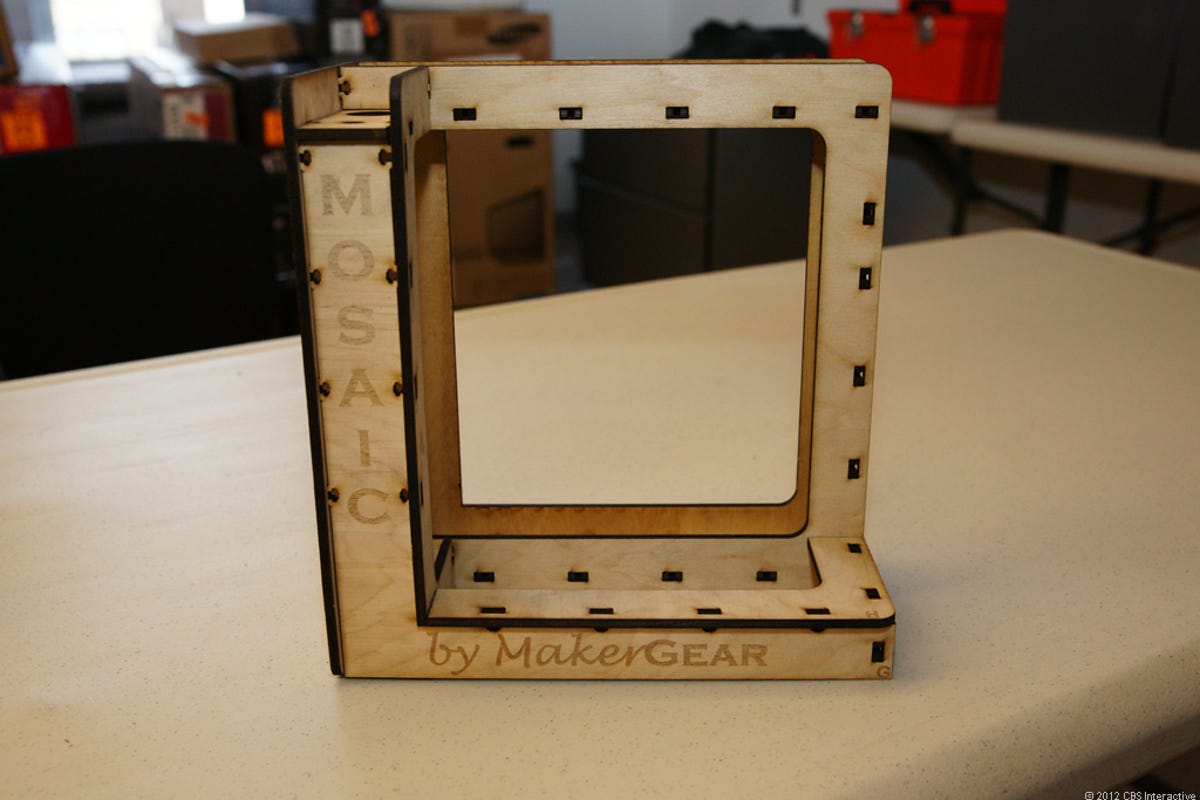
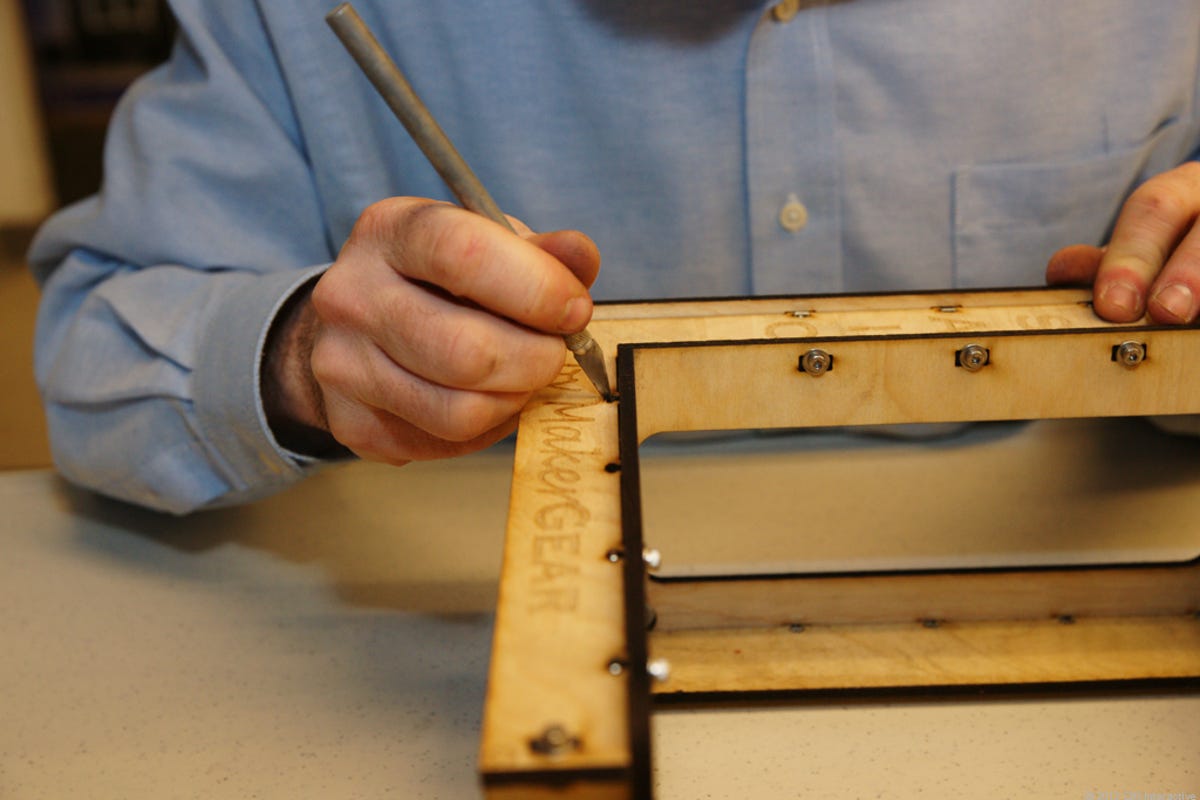
Step one complete
The end result, sans hardware.
7 of 13 Matthew Fitzgerald/CNET
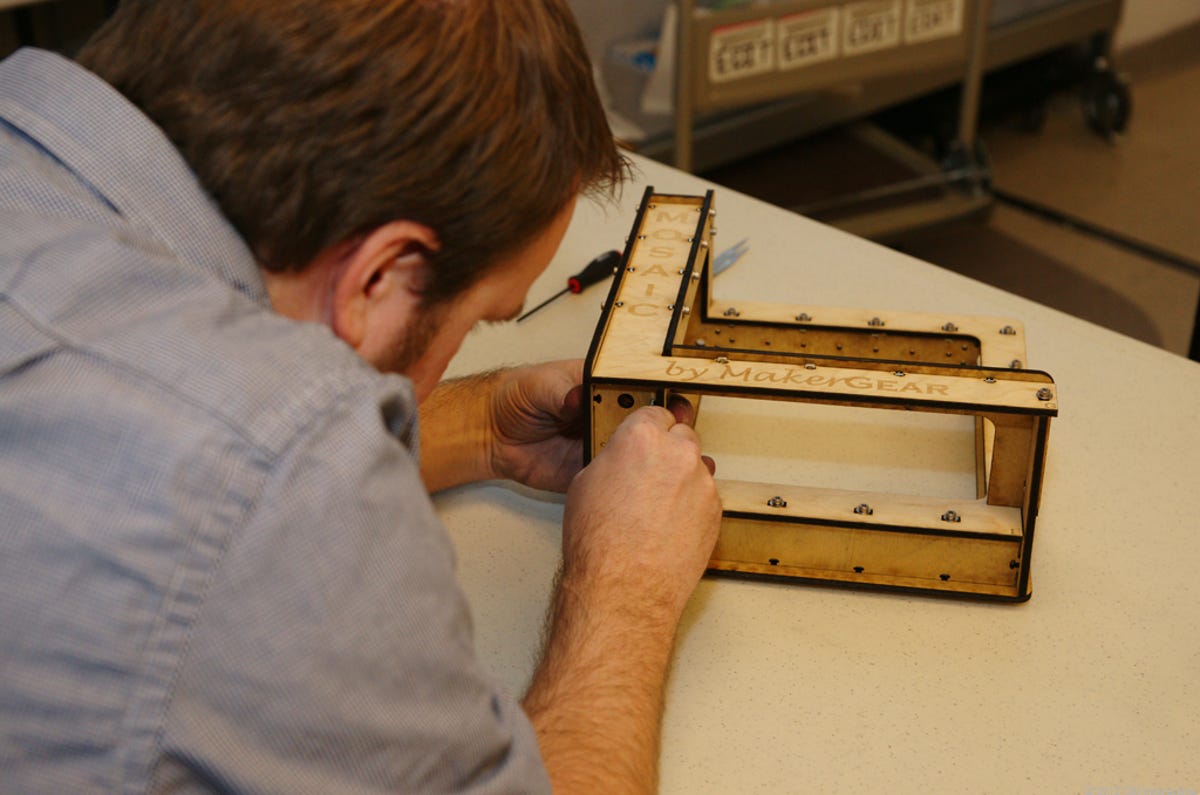
57 screws
The next part called for sliding tiny nuts into the slots on each piece, and then screwing them into place with tiny bolts, 57 times.
8 of 13 Matthew Fitzgerald/CNET
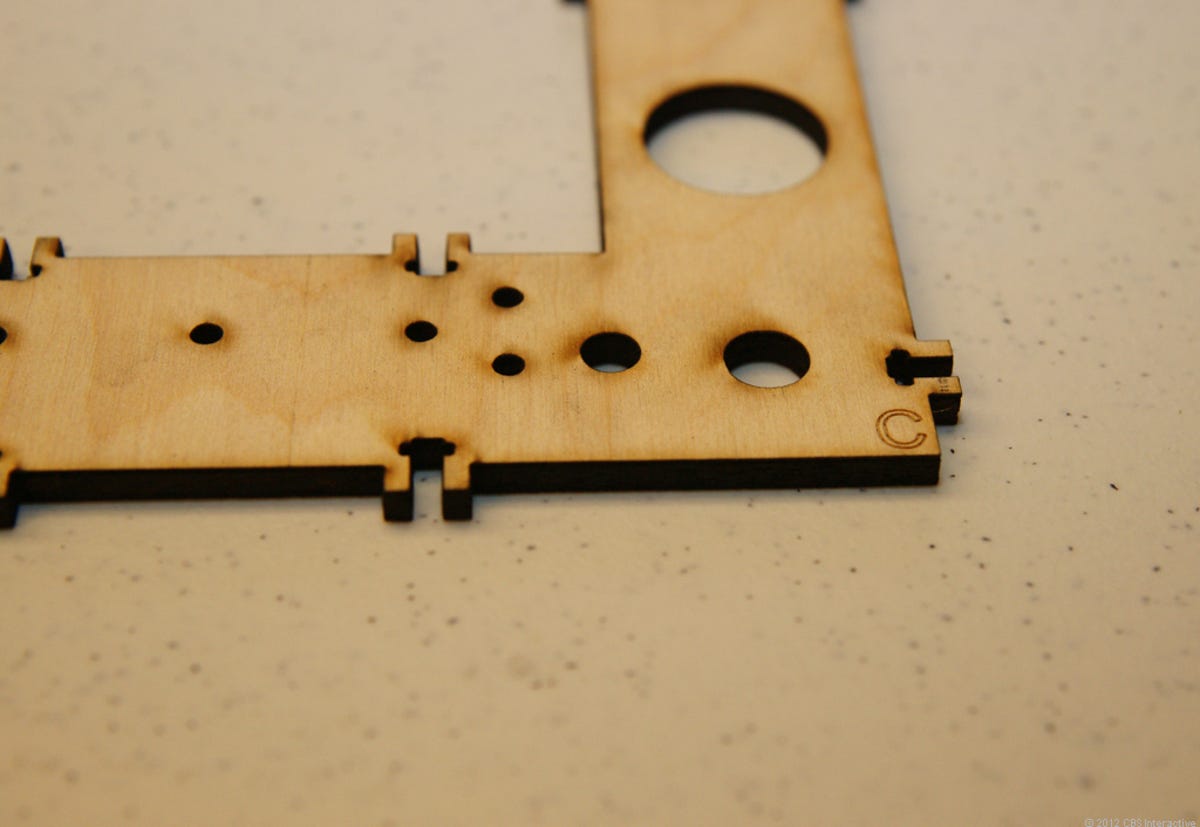
Hardware detail
Close-up of the nut-and-bolt layout. This step was a little tedious and challenging. It's also where any casual consumer might first find frustration. Some of those nuts were hard to put in place.
9 of 13 Matthew Fitzgerald/CNET
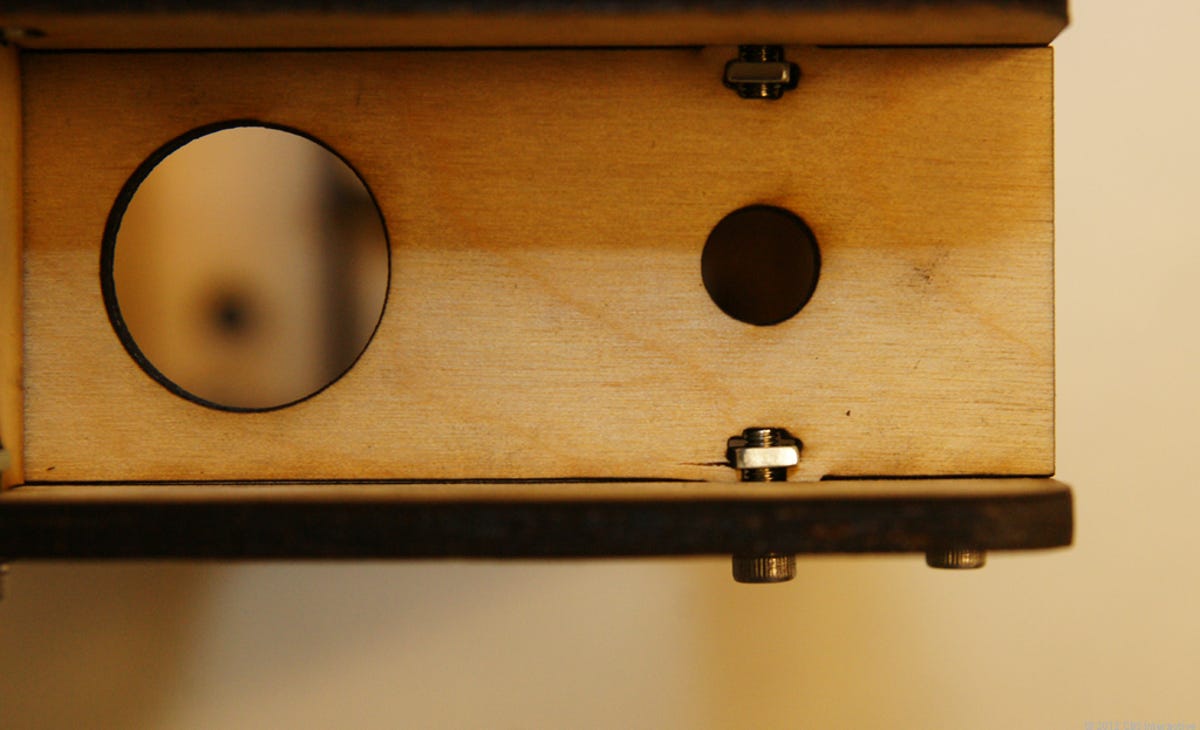
Sturdy, but also fragile
The wooden assembly feels strong enough once it's all together, but you do need to be careful. This cracked pin is our one major casualty so far.
10 of 13 Rich Brown/CNET
Custom fit
Some of the slots for the nuts were such a tight fit that we had to scrap out a bit more clearance. This is the one time during the day where we had to alter the provided pieces.
11 of 13 Matthew Fitzgerald/CNET
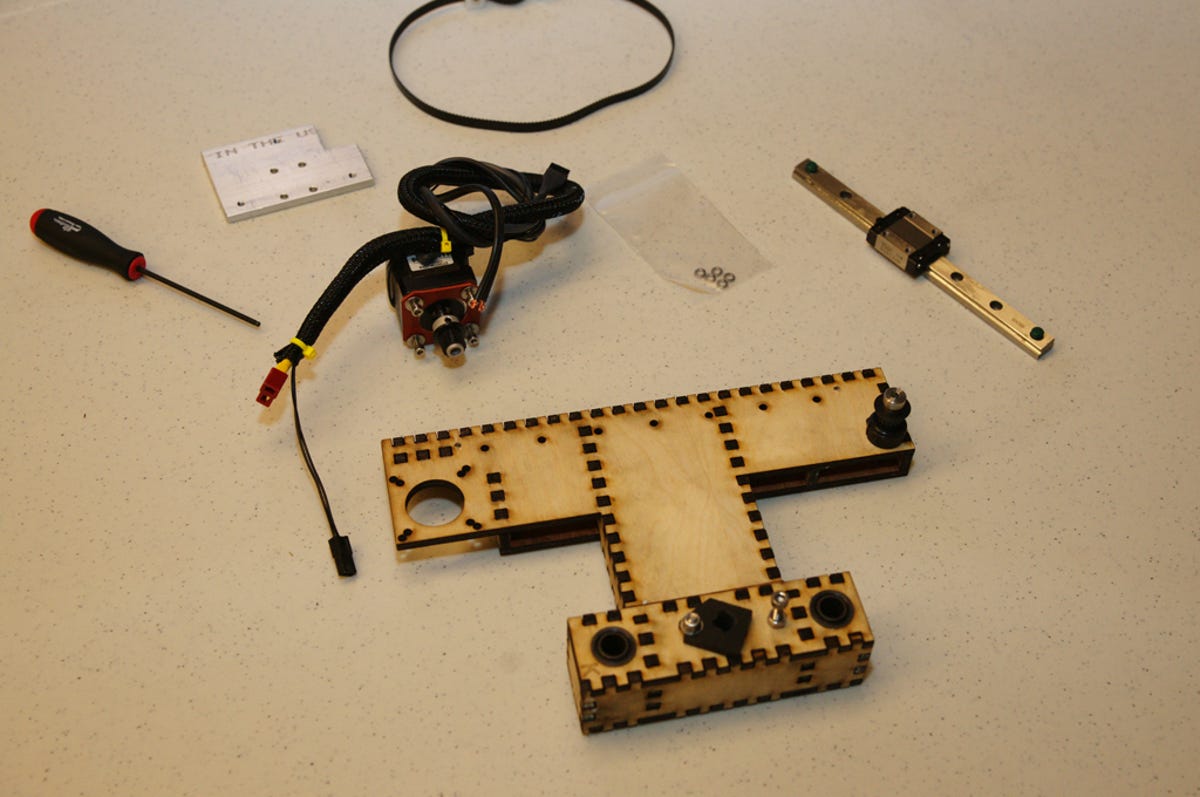
Y-axis assembly
Next step, putting together the Y-axis assembly. The wooden piece here came preassembled. This is the piece that holds the plate onto which we will eventually (hopefully) print our 3D objects.
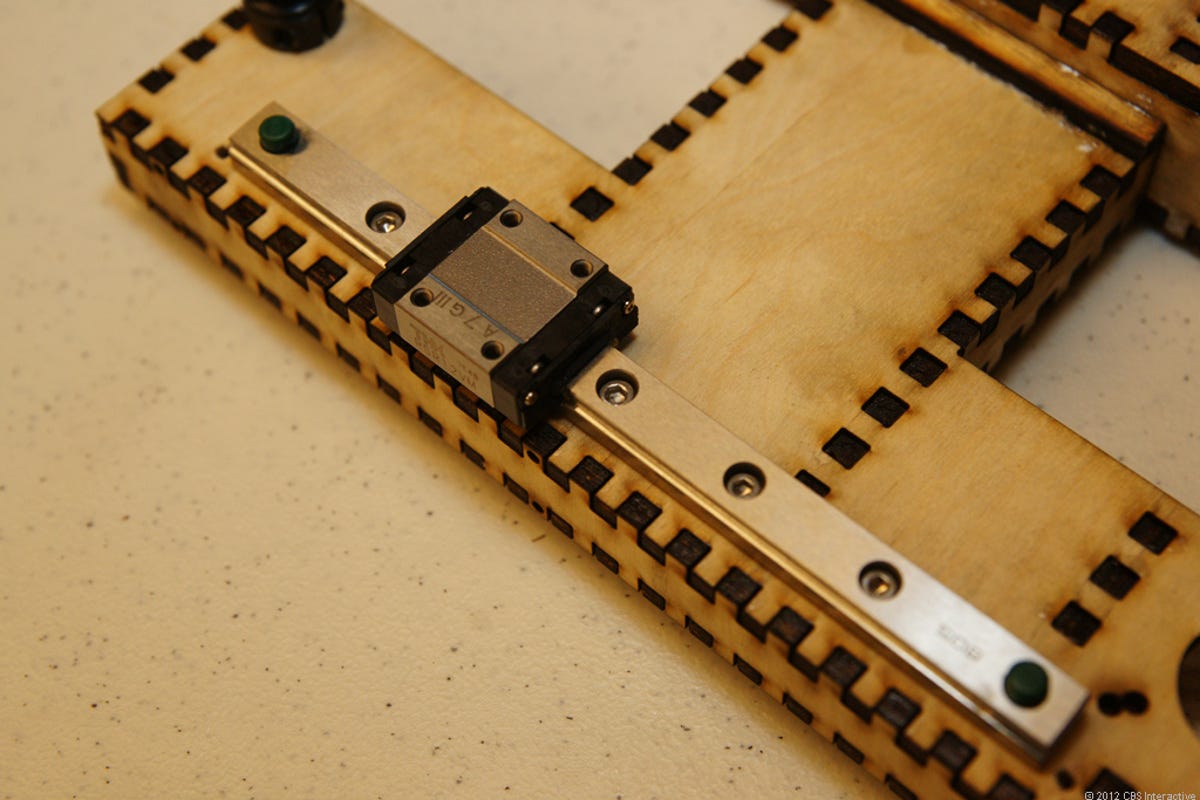
12 of 13 Matthew Fitzgerald/CNET
Linear rail assembly installed
We'll mount a motor and belt system on this rail, which will drive the build platform back and forth inside the main housing.
13 of 13 Matthew Fitzgerald/CNET
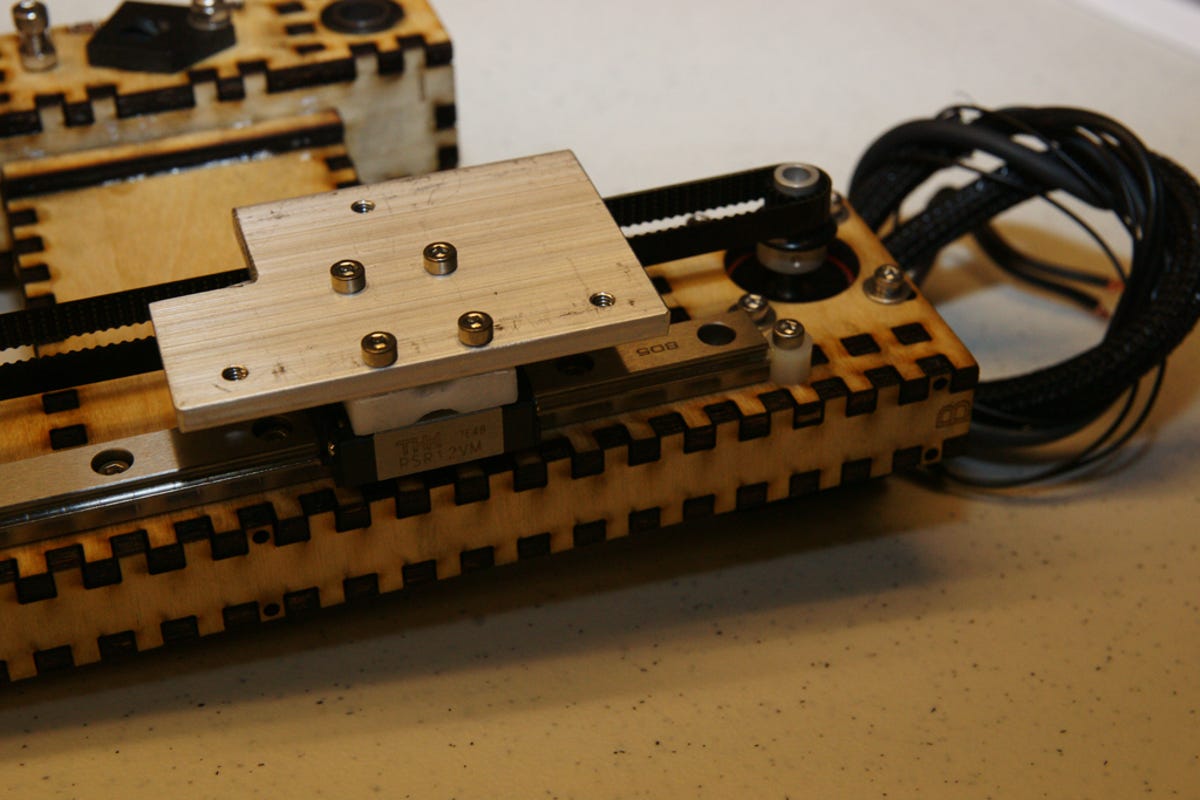
Y-axis complete
The Y-axis is assembled, and eventually we'll attach the build platform to that metal plate.