Tips for Mastering Windows 8.1 on Your 2-in-1 Device
Learn how to activate secret menus, GodMode, shortcuts and more.


Studio 61 for Best Buy
6 min read
For many, an upgrade to a 2-in-1 device means an upgrade to Windows 8.1, an operating system optimized and designed specifically to run on a touch-screen 2-in-1. The new OS has a slight learning curve, but given a little know-how and practice, you'll be up and running in no time. To ease this transition, use the tips and tricks below to learn how to efficiently navigate and customize Windows 8.1 until your heart's content.
The New Start Screen, Explained
Perhaps the most noticeable update to Windows 8.1 is its new look. The classic Start menu has evolved into an entire screen of square "tiles", each representing an application or program installed on your 2-in-1, along with your calendar, the weather, and the latest headlines.
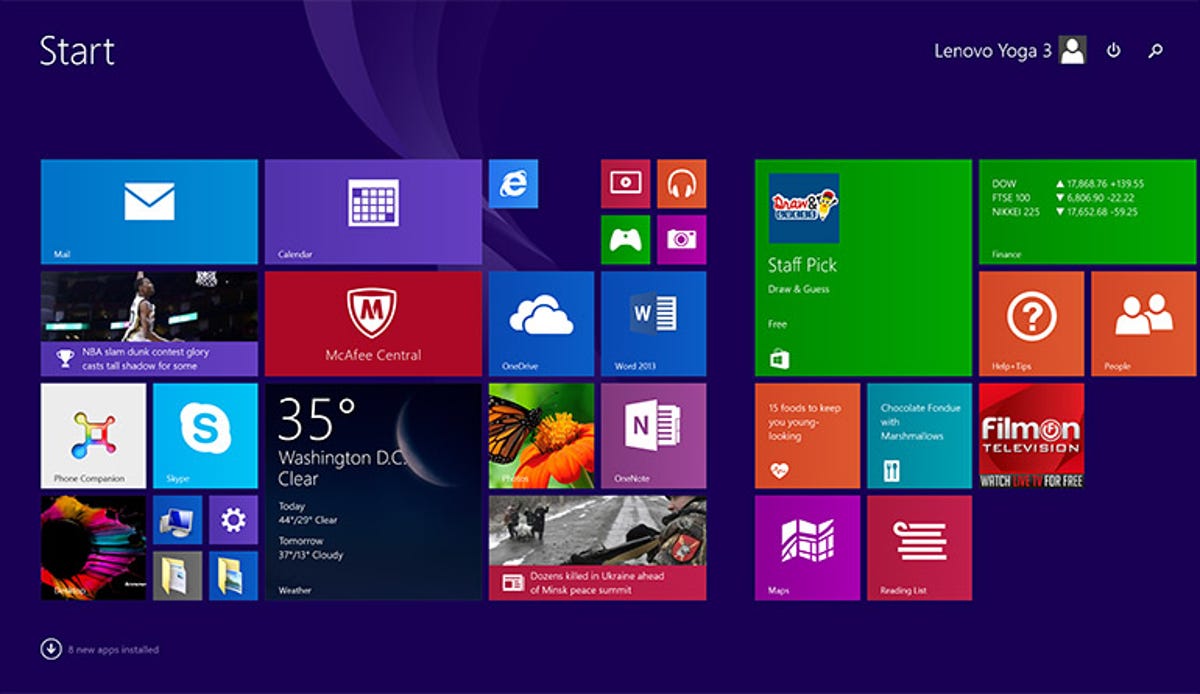
Customizing the Start Screen
You can customize your Start Screen in a few ways allowing you to have quick access to the apps and programs you use most. A few quick adjustments tailored to your liking will help you navigate Windows 8.1 with ease.

- Resizing tiles: Tap and hold the tile want to resize. A bar will appear at the bottom of the screen. Tap "Resize", then choose your preferred size from the options listed.
- Adding tiles: From the start screen, swipe up to reveal the apps installed on your computer. To add an app to your start screen, tap and hold it until the customize bar appears at the bottom of the screen. Tap "Pin to Start".
- Naming tile blocks: Tap and hold a tile until the name bar appears above a block of tiles. Type a name for the block and press enter to save it. From here, you can either move onto naming the next tile block, or tap elsewhere on the screen to exit naming mode.
Traditional Desktop Screen: Hello, Old Friend
If you prefer the old-school look of Windows' past, the traditional Desktop is the screen for you. This screen operates primarily as it did in previous versions of Windows; it's ideal for getting work done and it's the screen you'll access when using Microsoft Office, other productivity programs, and when you need to have multiple browser windows arranged on the screen. The one change in this environment is the "Start Menu" button launches the tile-filled start screen. This is a departure from the old-style menu of Windows' past, but as we discussed earlier, you can still access important apps and programs by customizing the tiles that appear on your Start screen.
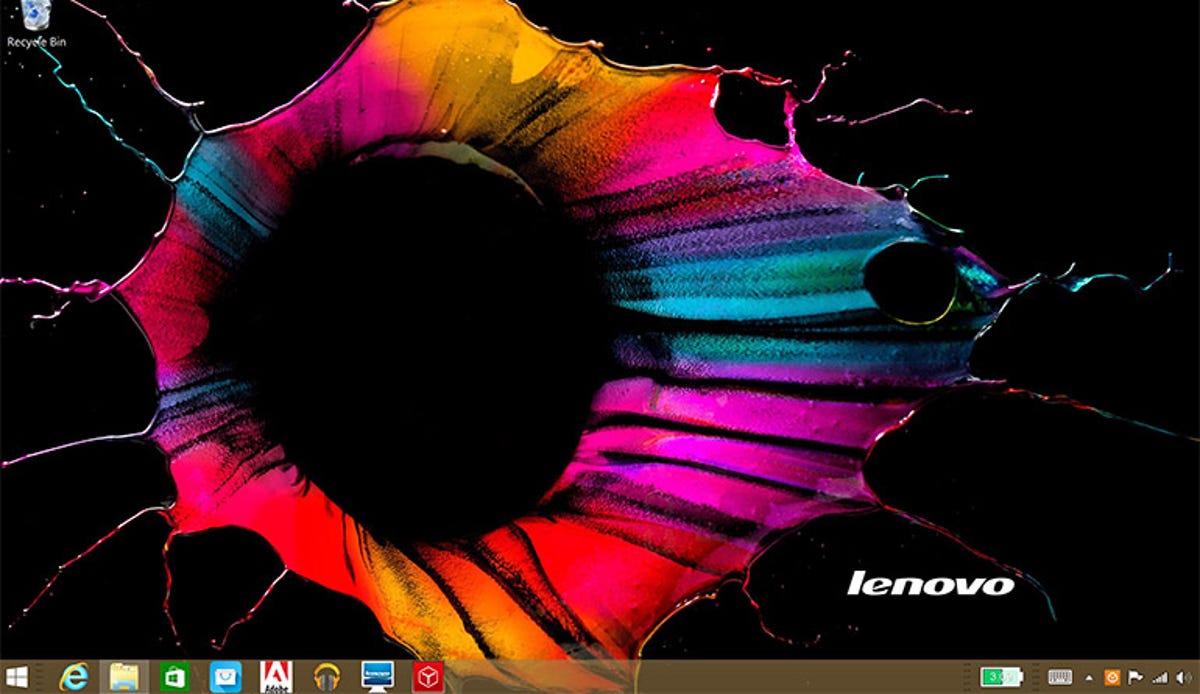
How to Find the Desktop Screen:
It's easy! From the Start screen, you'll see a tile that looks like a miniature version of your Desktop displaying the same background image. Click or tap on it to quickly access the traditional Desktop screen.
Customizing the Taskbar
If you prefer to stay in the Desktop screen as much as possible (and avoid the new Start screen), you'll want to customize the taskbar by pinning your most commonly used apps to the desktop's taskbar.
- Pinning Apps: To pin an app to your taskbar, tap and hold (or right click on) an app in the Start screen or app view until the customize bar appears. Select "Pin to Taskbar".
- Moving the Taskbar: The default location for the Taskbar is at the bottom of the screen. You may relocate it to any edge of the screen you'd like, but first make sure it's not locked into position: right-click on it and deselect "Lock the taskbar". Click and drag the bar to the desired side of the screen.
How to Avoid the Start Screen: For Desktop Lovers
Follow these tips to bypass the Start screen upon sign-In:
- From the Desktop screen, right-click on Taskbar and select "Properties".
- Check the box labeled "When I sign in or close all apps on a screen, go to the desktop instead of Start."
- Click OK.
Don't forget: Pin your favorite programs and apps to the Desktop Taskbar to further avoid needing to access the Start screen. See "Customizing the Taskbar" above.
Meet The Charms Bar

- Search: Tap the magnifying glass icon to search your computer, apps, and the internet for anything you'd like: find an app, a recipe on the web or search within the files on your computer, etc.
- Share: Tap this button and share a link or screenshot of what you're currently viewing via email
- Start: If you're in Desktop mode, tapping this button returns you to the Start screen. If you're in Start screen mode, tapping this icon returns you to the last used app.
- Devices: When tapped, this button reveals the peripheral devices connected to your computer. From here you can choose to print, utilize a second monitor, or even a phone.
- Settings: One tap on this icon gives you access to tweak six major settings on your computer - brightness, Wifi connections, volume, notifications, power, and keyboard/language.
Useful Keyboard Shortcuts to Know in Windows 8.1
- Windows Key: Press this to toggle back and forth between the Start and Desktop screens
- Ctrl + Tab: Displays all apps installed on your computer. This only works in the Start screen.
- Windows + E: Launches the file explorer from both the Desktop and Start screens.
- Windows + X: Launch super-secret productivity menu in any screen. Reveals menu access to many useful tools including Task Manager, Control Panel, Device Manager and more.
- Windows + C: Launch Charms menu from any screen.
- Windows + Print Screen: Takes a screen shot of the entire screen.
- Alt + F4: Closes current application
- Windows + Tab: Quickly view all open windows and apps. Hold down the Windows key and continue pressing tab until you've selected the window you'd like to open.

Enable "GodMode"
Want to feel like a boss? Activate GodMode. Despite it's intimidating name, enabling it is quite simple. GodMode is a hidden control option that allows you to access all of the settings and system options on your computer. From here you can check how much RAM is available on your computer, customize mouse and track pad settings, set up and manage networks and more. Follow the steps below to enable GodMode
1. Launch the Desktop screen, and right click anywhere on the desktop. Select New > New Folder.
2. Rename the folder. Type exactly this: GodMode.{ED7BA470-8E54-465E-825C-99712043E01C}
3. Press enter. A settings icon will replace the folder and the name of the icon will change to "GodMode".
4. Double click on the GodMode icon to launch a treasure trove of control settings that give you complete control of your computer. You're the boss now!
Tips for Extending Battery Life
As with all good things, you can never have too much battery life. Like your phone, there are ways to get the most out of every charge. CNET does a great job of explaining the ways you can make the most of your battery, with some helpful new settings in Windows 8.1. Click here to read more.
For Peak Performance: Update, Update, Update!
One of the best ways to ensure your PC is running at top speed is to make sure you install all Windows updates. Microsoft typically rolls out an update on the second Tuesday of every month, an event dubbed Patch Tuesday. Click here to learn how to set up automatic update installation so you never miss an update again.
----
Do you have a Lenovo Yoga 3 Pro? Click here to learn how to squeeze the most productivity and entertainment out of it.