Three tips for the Camera app on iOS 8
After updating to iOS 8, you'll be happy to know your Camera has learned some new tricks.


It seems a major iOS release just wouldn't be complete without improvements to the Camera app. In iOS 8, users will be able to take advantage of four new features (not including the features exclusive to the iPhone 6 and iPhone 6 Plus ).

Better exposure control
The first feature is the ability to better control focus and exposure. Prior to iOS 8, users were able to separate the focus and exposure boxes when composing a photo, and for the most part it worked. In iOS 8, however, when a user taps on the screen to focus a photo, a small sun icon will show up next to the box. This icon is moveable by dragging your finger either up or down, which in turn adjusts the exposure level up or down. Simply put: Sliding the sun up or down lightens or darkens the brightness of the photo you're about to take.
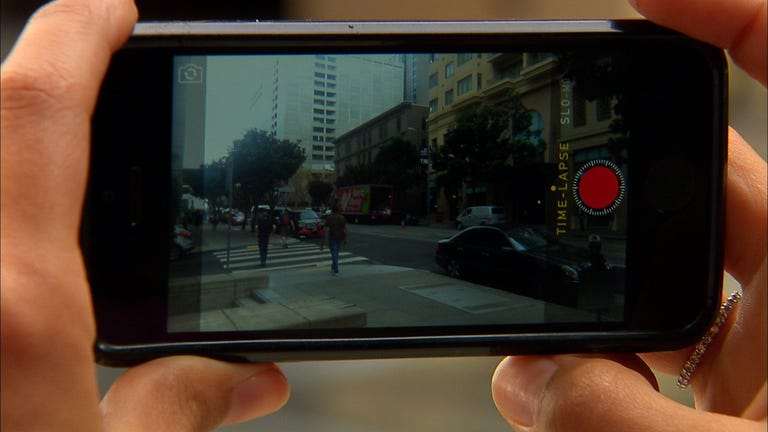
Time lapse is the new slo-mo
Warning: Time lapse videos are about to take over your Facebook News Feed. Not only has Instagram made it easier to make high-speed videos with Hyperlapse, Apple has built a time-lapse feature directly into the iOS 8 Camera app.
Similar to switching between camera modes (photo, square, slo-mo, and so on), you can switch to time-lapse mode within the camera app by swiping from left-to-right until the option is highlighted.
Set your iOS device on a solid surface, free of any vibration or movement with the lens pointed towards whatever you want to record, and tap on the red record button. The device will then begin dynamically capturing photos at an interval of its choosing. When you're finished, tap the red button again and marvel at your masterpiece. Remember, the longer you record, the longer your time-lapse video will be. For more tips on time-lapse videos, be sure to read this time lapse primer by CNET's Nick Statt.
Time-lapse videos have a small icon in the lower-left corner of the thumbnail to help you quickly identify them in the Photos app.
3, 2, 1, say cheese!
A self-timer to help aid in taking group photos has long been a feature of third-party iOS camera apps, yet it was no where to be found in Apple's Camera app.
That's changed in iOS 8, with a timer icon displaying prominently along the top of the screen in the Camera app. (You'll need to be using either Photo or Square mode for it to show up, mind you.) Tapping on the timer icon will reveal two different options: 3 and 10 seconds. Select the countdown time of your preference, then tap on the shutter release. The flash on your device will blink letting you know it's counting down, and when it hits 0, it will capture a burst of 10 photos.
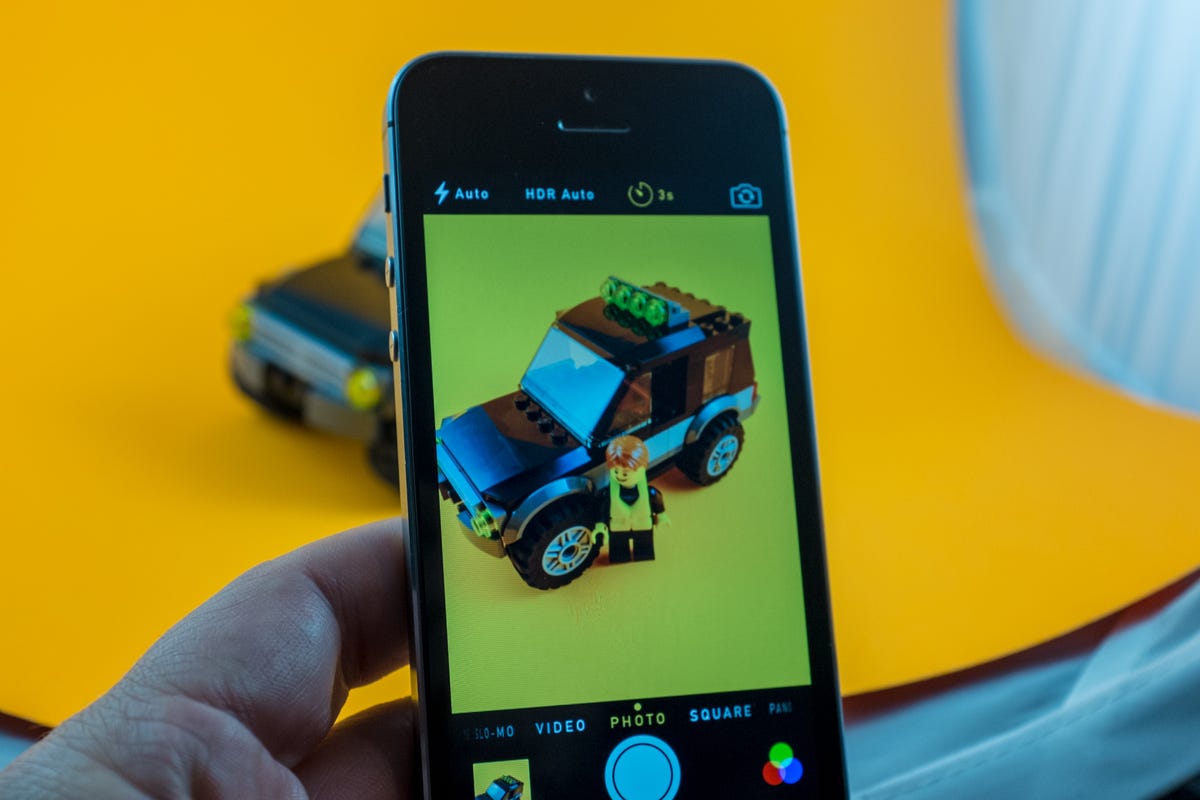
Bonus tip: High Dynamic Range mode isn't new to iOS, with previous versions of the camera app having a simple on or off setting. Now when you tap on HDR, you will see an Auto option. With Auto enabled, you're leaving the device to decide when HDR mode is needed and when it's not.
For more helpful iOS 8 tips, be sure to check out our complete guide to iOS 8.