This easy hack adds wireless charging to Samsung Galaxy S3
With this easy hack, you can salvage parts from the retired Palm Pixi and use them to add wireless charging to your Samsung Galaxy S3.


- Webby Award ("How To, Explainer, and DIY Video"); Folio Changemaker Award, 2020
Although wireless charging is creeping into the market (and already evolving), the technology is still absent in some of the most popular phones, including the Samsung Galaxy S3.
Initially, Samsung did mention a wireless charging kit that would be released following the launch of its flagship phone. But promises, promises -- Samsung's aftermarket kit never came to fruition.
Alas, the Internet has moved on, tech blogs are abuzz with rumors of wireless charging coming for the much-anticipated Galaxy S4.
Well, if you have an S3, and you're tired of waiting for the unicorn charging kit, there is a decent and probably much cheaper alternative for you, ready to be snatched up.
With just a few supplies, and about 10 minutes, you can add wireless charging to your S3 for an easy $25. The hack is thanks to a member of the XDA Developers forums and Palm's wireless charging kit for the now-retired Palm Pixi.


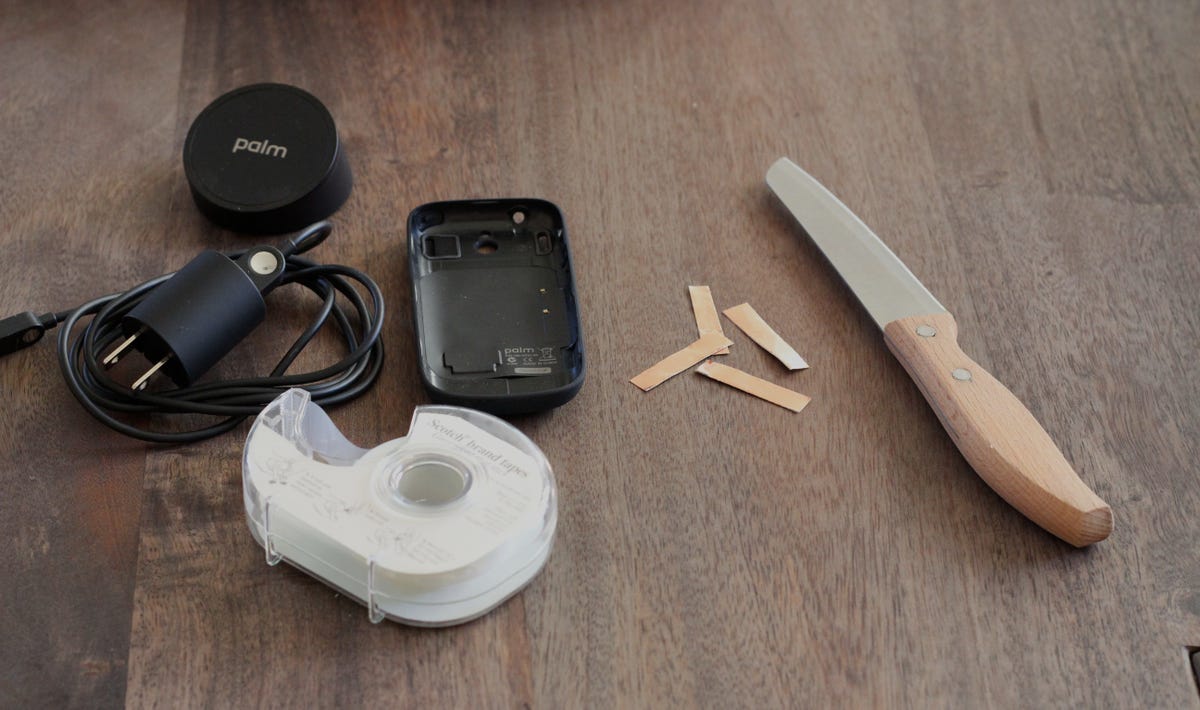
Supplies:
- Palm Touchstone charging dock
- Palm Pixi Touchstone back cover
- Palm Pre wall adapter and USB cable (This is a must -- do not use a third-party adapter)
- Copper tape (available at any hardware store)
- Scotch tape
Tools:
- Scissors
- Small knife
Step 1: Disassemble the Palm Pixi back cover
Start by peeling the black lining off the Palm Pixi case. You should be able to do this easily with just your fingers. Then, remove the silver adhesive. Save both of these items -- you'll use them later.
Then, before you remove anything else, grab a small piece of paper (translucent wax paper works here), lay it on top of the circuitry, and carefully plot where each component is. Be sure to include the coil and the four metal discs. Set the template aside -- you'll refer to it again in a bit.
Grab a small knife and carefully remove the circuit board and the copper coil. These are the parts that allow your phone's battery to receive a wireless charge. Finally, remove the metal discs and set them aside.
Step 2: Add wireless charging components to the S3's backplate

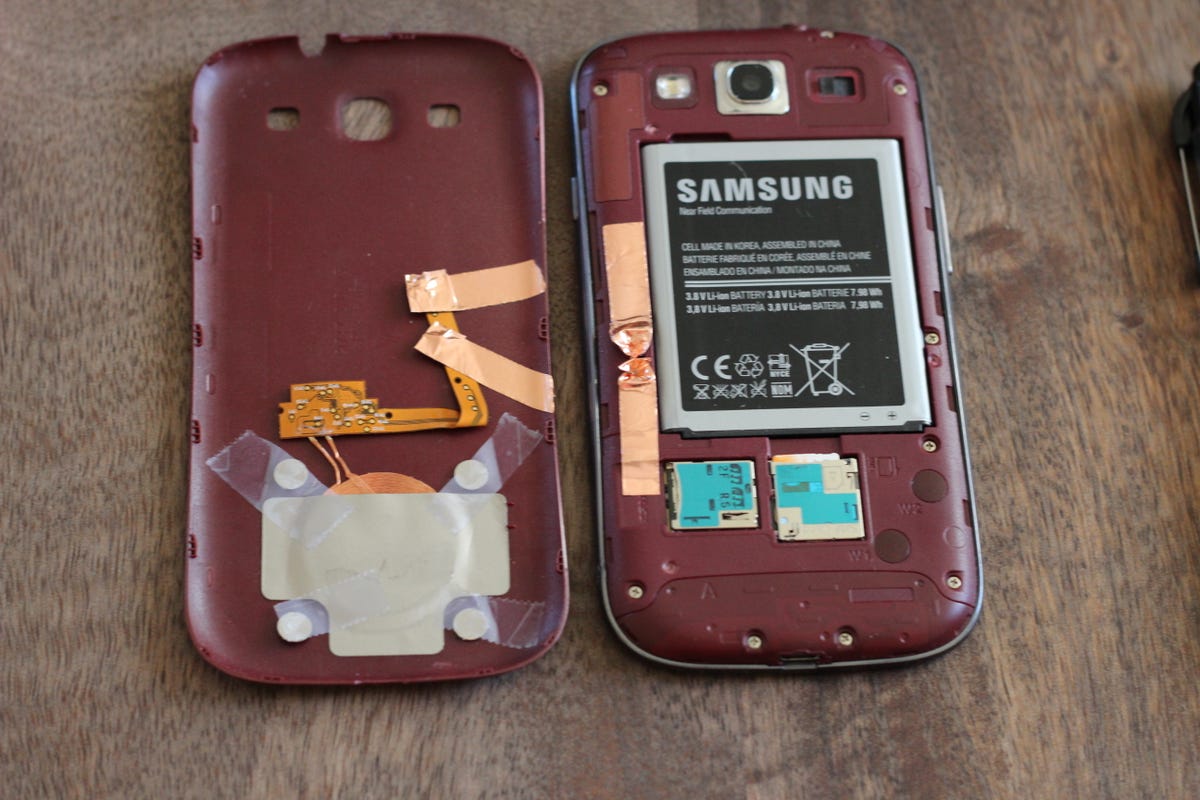
Remove the backplate from your S3. Place the coil upside down onto the inside of the backplate, with the copper coil about 1/4" from the bottom edge of the cover. Then, bend the L-shaped circuit board up. This puts it in a position that allows it to make contact with the phone.
Next, replace the metallic adhesive over the coil, using tape if it doesn't adhere. Then, using the template you made in the first step, place the metal discs around the copper coil. These will keep your phone attached to the touchstone. Once everything is positioned, tape it down with scotch tape.
Step 3: Complete the connection
The final step is to bridge these parts with your S3's battery. For that, you'll need to grab the copper tape. To make this process easier, prepare four 1/8"Wx1"L strips of copper tape.
On the L-shaped part of the circuit board, you'll see two raised power terminals. Grab a strip of copper tape, and fold over about 1/8" of one end. Place the folded-over end on the top power terminal, sticking the rest of the tap down so that it reaches the edge of the backplace. It should basically be parallel with the bottom edge of the backplate.
Then, take another strip of copper tape and fold it over the same way, placing the folded-over edge on top of the bottom power terminal, but this time, stick the tape down diagonally toward the edge of the backplate. Make sure both folded-over ends are pressed well against the power terminals, even if they don't necessarily adhere.
Finally, grab your phone. To the left of the battery, you'll see two power terminals. Take the last two pieces of copper tape, and, repeating the method from the last step, fold over one end. Place the folded-over end in to the top terminal, and repeat the same thing with the bottom terminal.
With a pencil, push the folded-over ends of copper tape into the terminals just a bit, so there's a good connection with the circuitry.
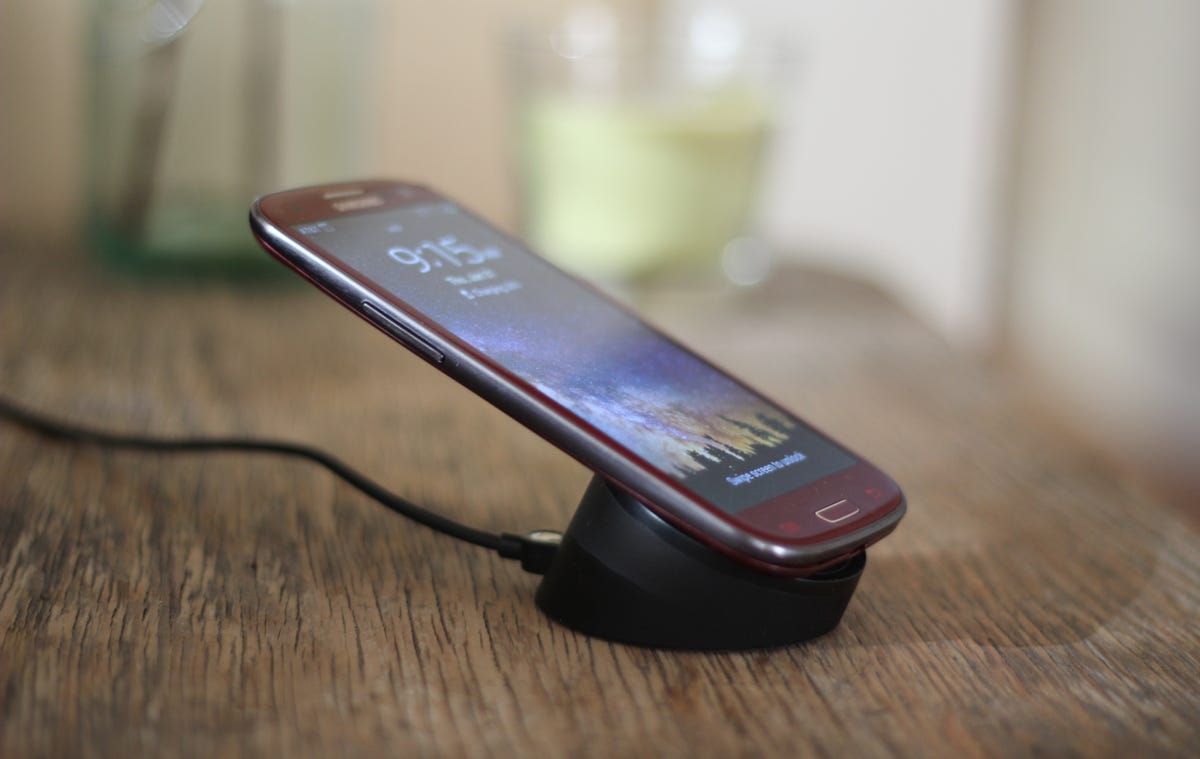
Reassemble your S3, and place it on the Touchstone -- you should get a notification letting you know your device is charging. Congrats!
At this point, you can place the black adhesive lining over the components, or some other thin material (like black duct tape) to clean up the look.

If your phone does not begin to charge wirelessly, there are a few reasons:
- There is a weak connection between the copper tape and the terminals. Make sure to push the tape into the battery terminals, using a pencil if need be.
- A piece of copper tape on the inside of the backplate is in contact with the opposite tape next to the battery terminals. Make sure the tape is narrow enough so that it's not touching both pieces of copper tape near the battery terminals.
- The components in the backplate are not aligned properly. Use the template you created in the first step to make sure the coil is placed properly. Then, once you've laid the copper tape over the power terminals on the wireless chip, use a multimeter to check the voltage -- you should be getting 5.5 to 5.6 volts.
You're done! With your phone charging wirelessly on the Touchstone, it will charge a slightly faster rate than if it was plugged in via USB.