You can prevent mounted network shares from showing up for other accounts in OS X.
Topher KesslerMacFixIt Editor
Topher, an avid Mac user for the past 15 years, has been a contributing author to MacFixIt since the spring of 2008. One of his passions is troubleshooting Mac problems and making the best use of Macs and Apple hardware at home and in the workplace.
In order to mount a shared network folder in OS X, in general you first open a Finder window, where you will see a list of systems that are broadcasting network services, and upon clicking them you can provide authentication information to connect and mount their available shares.
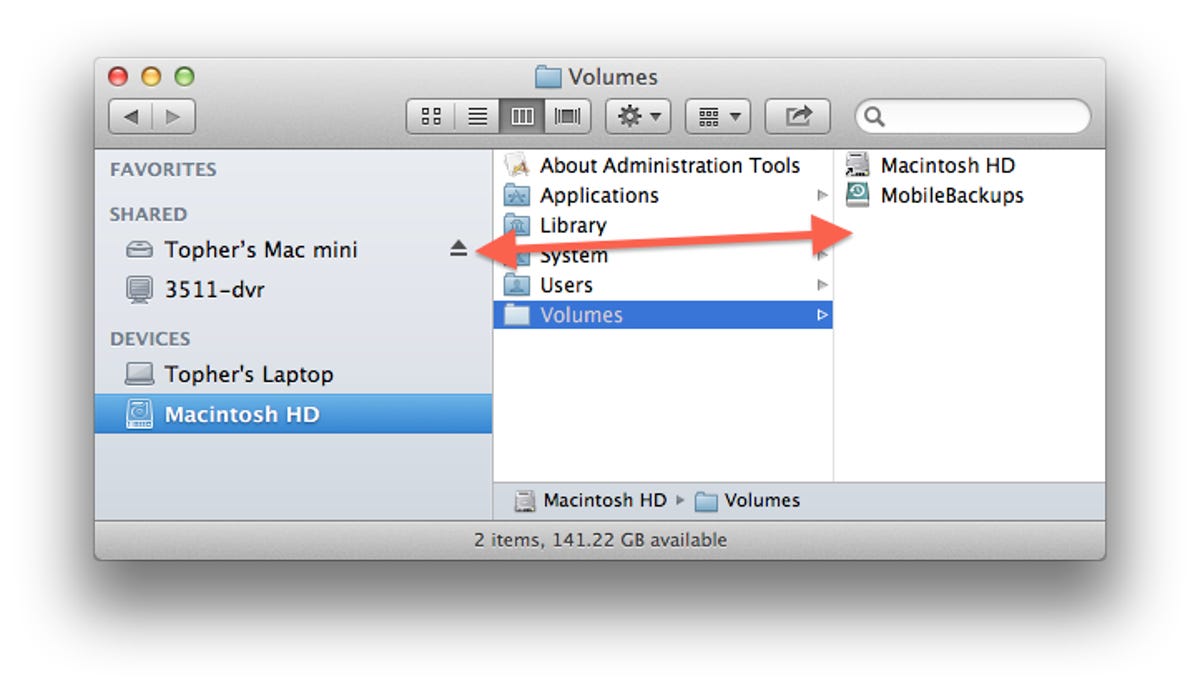
When you mount a shared folder in this manner, the system uses a global mount point (within the hidden /Volumes directory at the root of the boot drive) to access the shared folder. This mount point can be seen by selecting Go to Folder from the Finder's Go menu and then typing in "/Volumes" to reveal the hidden Volumes directory. In here you should see internal hard-drive volumes such as those for your OS X installation and perhaps Boot Camp, and any other mounted volumes on locally attached drives (i.e., those on USB or FireWire drives).
The use of this mount point is convenient, but it does have one potential drawback in that mounted shares will at least be visible if not readable to any account on the system. Therefore, if you have two users logged into a system and you mount a network share in your account, then the share will show as being mounted in the second account. Luckily most permissions setups prevent the second user from accessing the share simultaneously, but despite this, the user can unmount the share from the system.
The computer and network share names can be found by selecting them in the Finder sidebar; however, mounting them directly will make them visible in all local accounts.Screenshot by Topher Kessler/CNET
To prevent such access or even have the mounted network drive be detected by another user on the system, you can mount the share privately by using a mount point within your user account instead of a global one that is accessible by all accounts. To do this, you will first have to create a mount location in a convenient place, and then instruct the system to use that for mounting your network share.
Get the server and share name
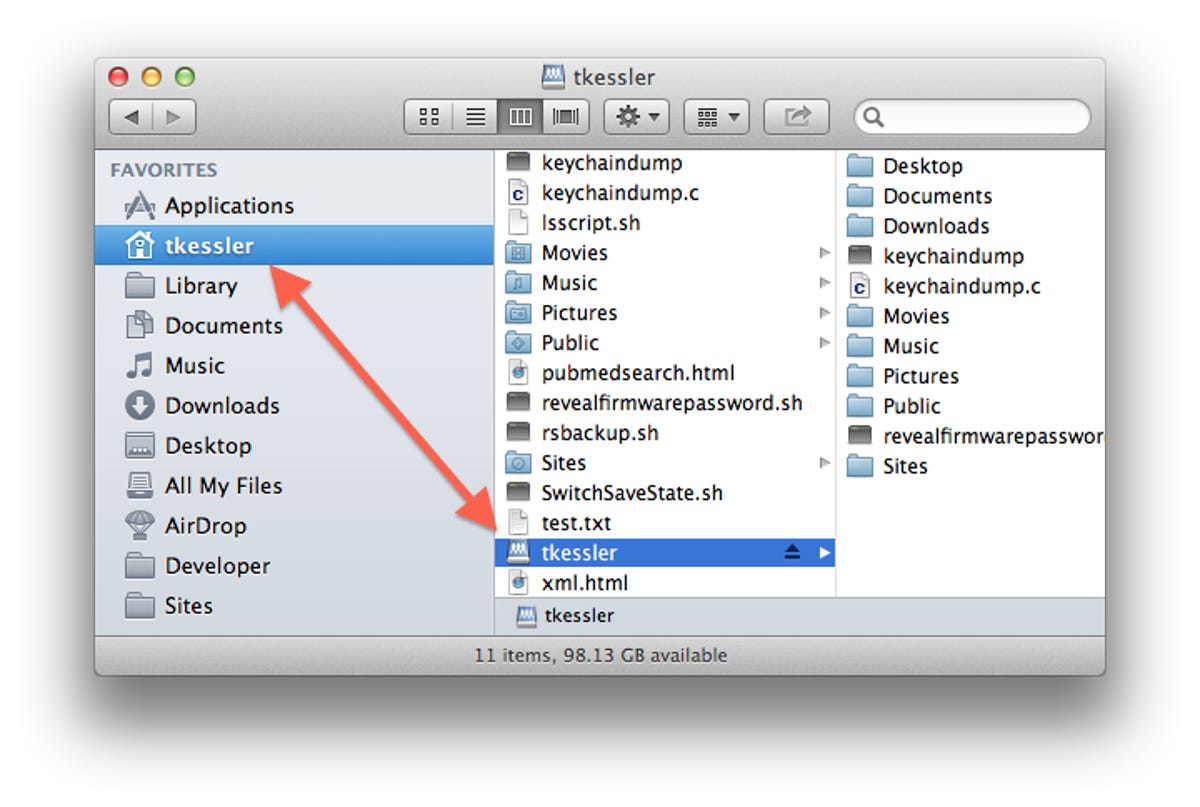
To mount a share privately, you will first need to know the server name or IP address, and then the name of the shared folder you are trying to mount. In addition, you will need to know if it is a Windows machine or a Mac that you are connecting to. The name of the server can usually be the name seen in the Finder's sidebar, after making a couple of modifications to the name. First take the name and remove any punctuation, followed by replacing spaces with dashes, and finally appending the word ".local" to the end of it. For example, one of my Macs is called "Topher's Mac Mini," so the name to use for accessing it on the network would be "tophers-mac-mini.local."
Running the assembled command will mount the shared folder at the specified mount point.Screenshot by Topher Kessler/CNET
In this case, the server is a small Mac Mini running OS X 10.7, and I am trying to connect to my personal home folder on this system.
Create a mount point
The next step is to create a mount point to use. You can create a mount point anywhere on the system for which you have access, but I prefer to use a mount point in the user home folder, so go to the Finder and create a folder called "mount" at the base of your home directory.
Mount the share
The last step is to mount the shared folder at the newly created mount point, which will need to be done via the Terminal by running one of the following commands:
For OS X shared folders:
mount_afp -i afp://user@server/share mountpoint
For Windows shared folders:
mount_smbfs smb://user@server/share mountpoint
When mounted the share will not show up in the global "Volumes" directory, and therefore will not be noticeable to other accounts.Screenshot by Topher Kessler/CNET
In these commands, replace "user" with your username that you use to log into the systems, and then replace the "server" and "share" with the respective names determined in step 1 above. For the mountpoint, you can use "~/mount" to target the mount point we created in step 2, but you can use any other folder as a mount point by typing a space after the share name and then dragging the folder to the Terminal window (this will enter the full path to the folder).
When finished the command should look something like the following:
The mounted share will be available at the location of the mount point, which in this case was a folder called "mount" in my home directory. The folder name is replaced with that of the mounted share.Screenshot by Topher Kessler/CNET
Upon executing the command and providing the log-in password when prompted, the remote folder "tkessler" (my home folder on the Mac Mini) will be mounted in the newly created "mount" folder in my local home directory. From here I can access it as I would any other mounted network share, but it will only show up for my account.