How to use OS X Lion Versions
Ever overwritten a crucial document with something inane? Us too. But fear no more -- Mac Lion's Versions feature lets you step back in time through a document's various incarnations.


When Apple shipped OS X 10.5 Leopard, it included a fairly radical backup tool called Time Machine. This took all the responsibility for backing up your files out of your hands. All you had to do was attach a hard drive and tell Time Machine where it was. Thereafter, a small icon on the menu bar monitored the software's progress and let you step back in time through your files.
Time Machine is still going strong -- so strong, in fact, that OS X 10.7 Lion expands on the idea, bringing with it an application-level equivalent called Versions.
Versions applications
Currently, Versions is supported by TextEdit, which is installed as part of OS X, and, once you've applied some patches through Software Update, by Pages, Keynote and Numbers. The update also adds support for Lion's new full-screen mode, auto-save and Resume feature, which will make a note of which files you have open when you quit each application and thus open them again the next time it runs.
These features are also starting to appear in third-party applications, such as distraction-free word processor Byword, and, over time, we would expect them to become the norm.
Saving versions
Like Time Machine, Versions is entirely transparent. To start using it, simply save a new document in any supported application. In the example below, we're using Pages. Now hover your pointer over the title bar, and you'll see a small arrow appear beside the document name. Click it to call up the Versions menu. When you've made several changes to your document, you'll be able to access its previous states through this menu.
Now start editing your document. As you do, the application will save a new version every hour, whether or not you ask it to. Each version is a snapshot of the document's current condition. Previous snapshots are hidden in the background. It's very similar to Word's Track Changes feature, which lets you accept and reject changes, rolling back your document to its original state, regardless of any subsequent amendments.
Now that we've added some content to our document, we're going to create our first version. Click 'file' and then 'save a version', or use the keyboard shortcut Command+S.
Stepping back in time
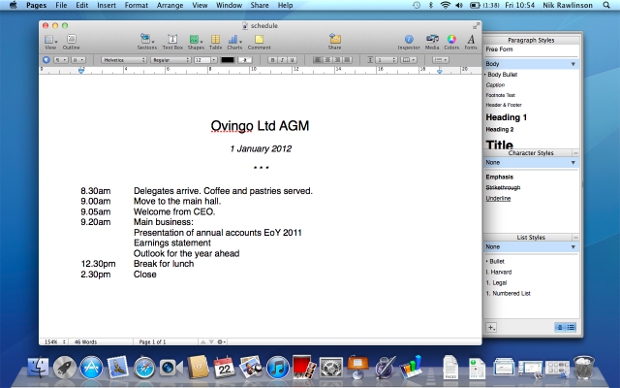
Keep working on your document. Every time you save it, Lion will create a new version regardless of whether or not an hour has passed. Below, we've applied some formatting to our document and also changed the running order of our meeting agenda.

Unfortunately, we've also lost the details of the main business of the day, so we'll step back through our saved versions to retrieve that data.
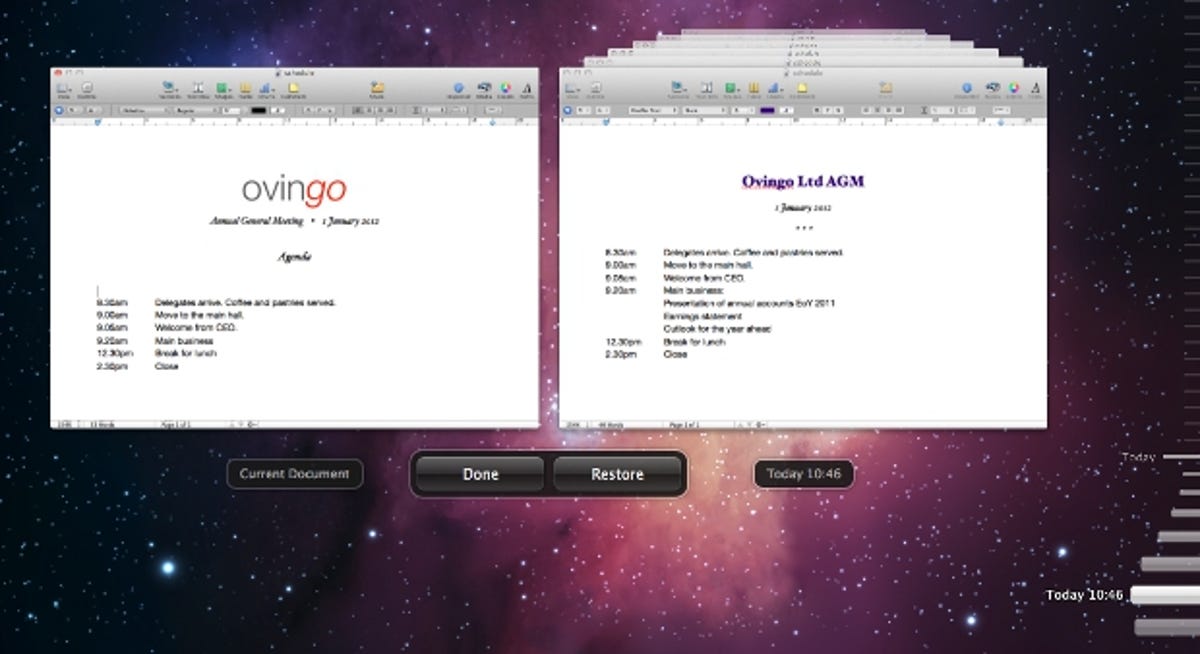
Click the title bar's Versions menu and pick 'browse all versions'. The OS X interface slides off the bottom of the screen to show the familiar Time Machine environment, with your current document state on the left and a receding parade of previous versions on the right.

We don't want to revert to the earliest version of the file -- we just want to get back that missing part of the schedule, so we'll scroll back through the archive, by either clicking the documents further down the stack or selecting a bar on the timeline running down the right-hand edge of the screen, until we find one that contains the information we need.
Each of the documents in this stack of versions remains live, so we'll now click within the one that we've settled on and select the missing data.
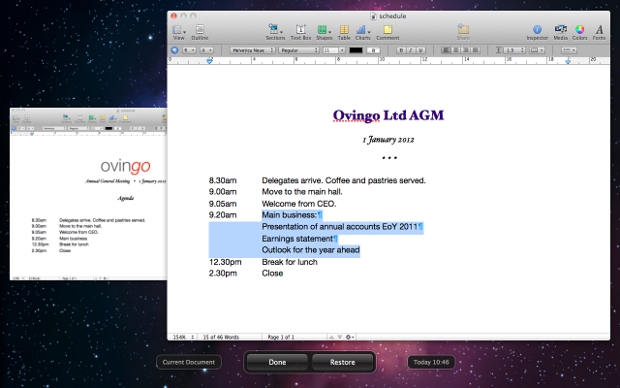
Then we'll copy and paste it into the current document state on the left.
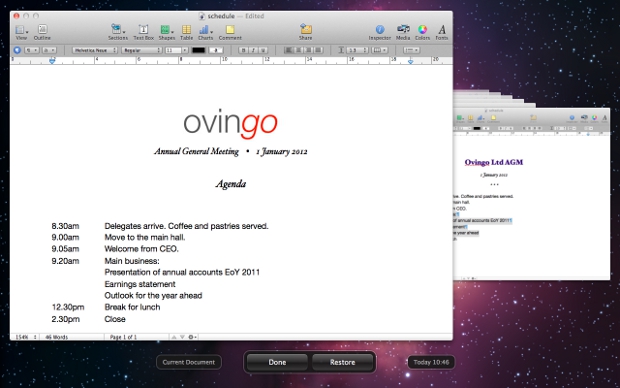
We can now click 'done' to return to the regular editing environment, with the restored lines in place.

A wholesale change
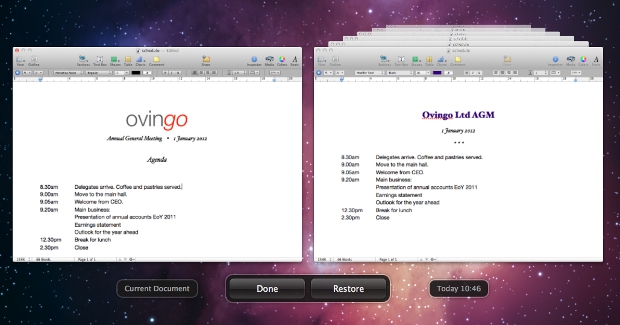
Let's imagine we've had a change of heart about that logo, and we want to reinstate the original typed heading. In this instance, we may as well swap out the current document for an earlier one altogether. To do this, step back into the Versions environment and, once again, go back through your snapshots until you find the one that you want.
This time, instead of copying a selection of text, click 'restore' to swap your current version for the earlier one currently shown at the top of the stack.
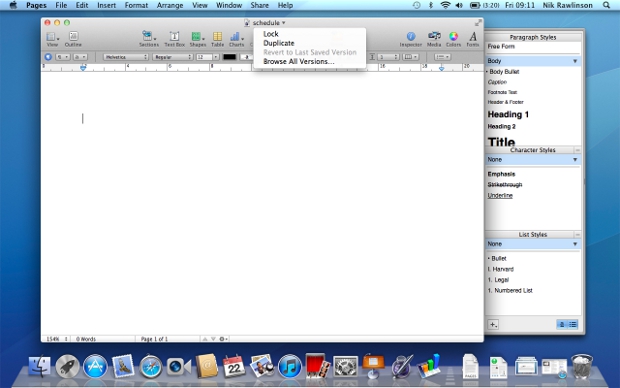
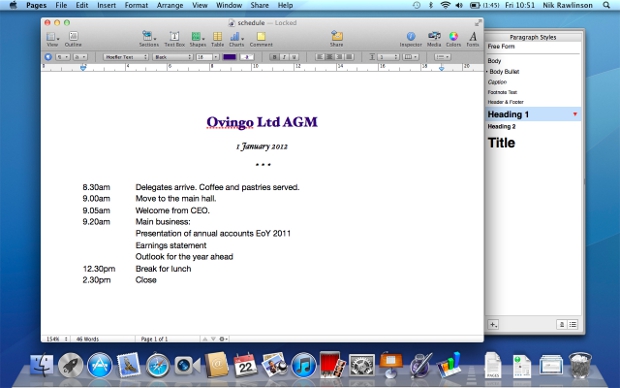
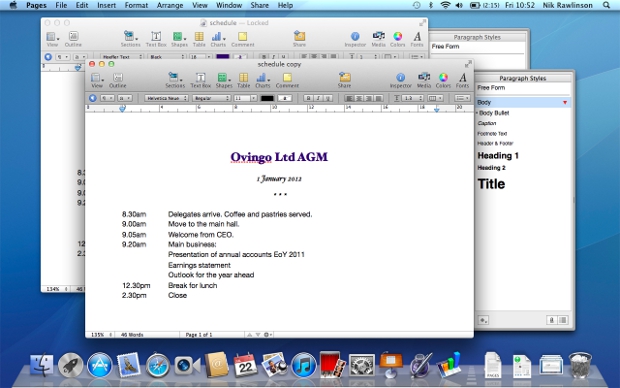
Locking files
Once you've perfected your document, you can use Versions to lock its current state and prevent any accidental edits. The lock command is found on the Versions title bar menu and, when used, appends the filename with '– Locked'.
Locking a file in this way shouldn't be considered a particularly effective security measure. You needn't supply a password to either lock or unlock it, so anyone else who comes to work with the file can make changes simply by clicking the 'unlock' button on the dialogue box that pops up when they try to make their first edit.
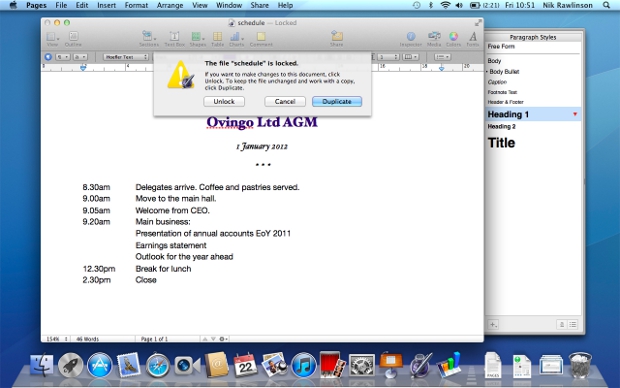
Locking is, therefore, merely a simple versioning tool, allowing you to create a branch within the archive by clicking 'duplicate'. Doing so spins off a new, unlocked version of the file, taking with it none of the snapshots involved in its creation.
Versions visibility
Creating duplicates in this manner before sharing them, publishing them online or storing them on a shared drive is a good habit to get into, as it will prevent anyone else who opens them from seeing your workings, amendments and earlier content.
But, if you are sharing by email, iChat or AirDrop, then Apple already has this covered, as documents containing Versions data will have it stripped out automatically as part of the sharing process.