How to use Evernote's new Web Clipper for Chrome
The updated browser extension adds a wealth of new features to the clipping process. Here's how to use the best of them.


On paper, Evernote sounds fairly mundane. An information organizer, woo-hoo. Then, after you use it for a while, you cannot imagine how you functioned without it.
For example, I use the service to preserve and organize things like recipes, instruction manuals, home-repair records, and receipts for major purchases. Most of these items were "clipped" from Web pages using the Evernote plug-in for my browser, though that process has always been a little clunky. The Evernote "clipper" basically just sucked up whatever page I was viewing, giving me few options besides adding tags.
The new Evernote Web Clipper for Google Chrome transforms the clipping experience with a new design and loads of useful features. Here's a rundown of what you can expect.
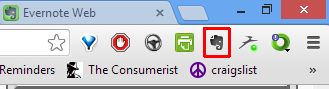

If you haven't already, install the Evernote Web Clipper in Chrome (using the link above). Once that's done, you should see a small elephant-head icon in your toolbar:
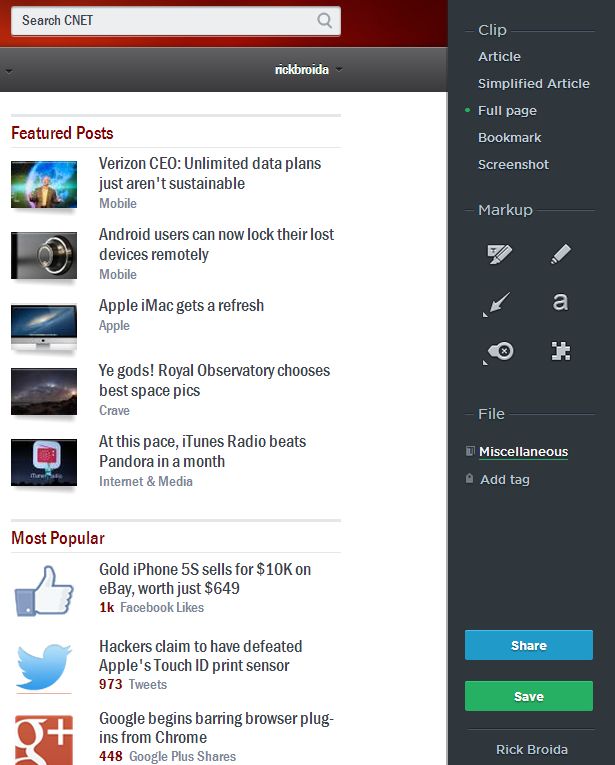
When you click that elephant, you'll see the new Web Clipper sidebar slide out from the right. (You may need to sign into your Evernote account first.) Do this on whatever page you want to preserve.
The sidebar is divided into three main sections: Clip, Markup, and File. By default, Evernote will clip the full page: ads, photos, and everything. But you can click Article to get just the body, or Simplified Article for an even more stripped-down version (text and embedded images only). Alternately, click Bookmark or Screenshot if that's all you want from the page. (Unfortunately, the latter captures only the visible portion of the page, not the entire thing.)


The Markup section will change slightly depending on what kind of clip you choose. For example, if you opt for a full page or article, you'll see an HTML Highlighter you can use to mark specific words or passages. But if you're grabbing a screenshot, that tools becomes an Image Highlighter, which is more like a paint tool.
This section also lets you add arrows, stamps, and text; just click the tool you want, then click inside the clipped page to insert the desired item. There's also a Pixelator tool you can use to blur (well, pixelate) certain areas, though works solely with the screenshot option. Depending on the Markup tool you've selected, you may also see Color and Zoom buttons.
The File section is where you choose the notebook you want to use to store the clip (you'll see your default notebook listed; click it if you want to choose a different) and add any tags you might want.
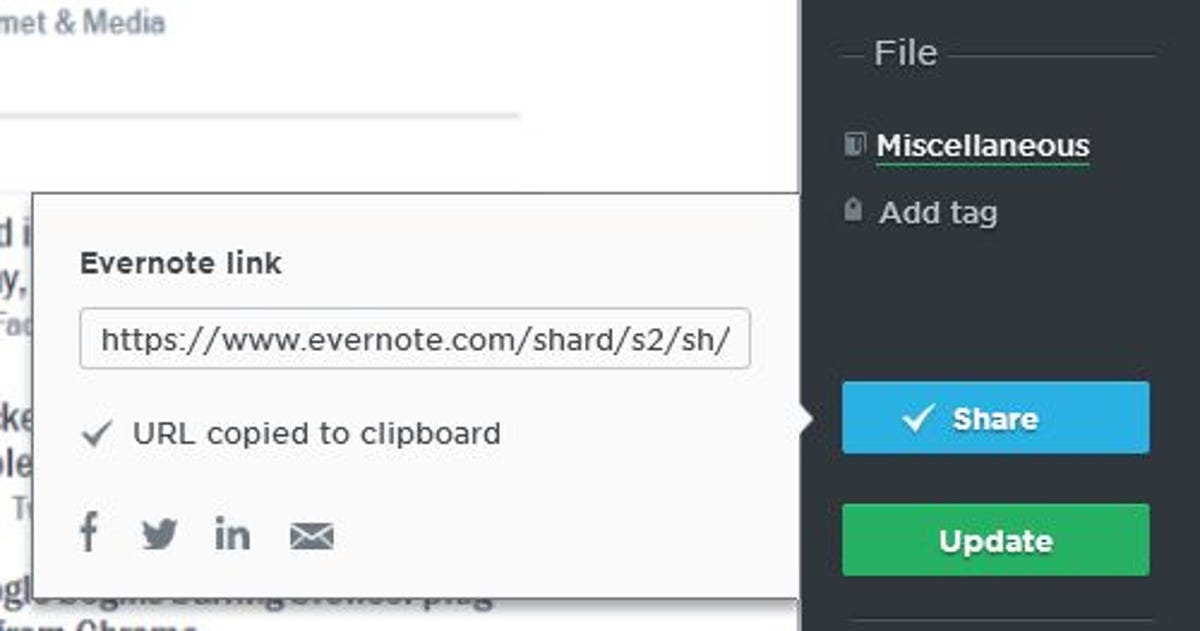

Finally, click Share if you want to instantly distribute your clip via Facebook, LinkedIn, Twitter, or e-mail. The clipper will also generate a URL and copy it right to your clipboard. Click Save if you'd rather just add the clip to your Evernote account. When that's done, you'll see a little alarm-clock icon you can click to add a reminder to your note.
If you're not an Evernote user, you should be. And if you're not a Chrome user, this add-on alone may be worth making the switch.