How to root your Google Nexus 7
If you're brave and like to tinker, rooting your Google Nexus 7 could unleash the potential of this powerful Android tablet. Here's how.


The Google Nexus 7 is a powerful little tablet, and as you get more into using it, you might come across apps that require 'root'. So what is root? Put simply, Android is just like any other operating system -- every action that tinkers with its inner workings requires a permission. Having root level permission is the ultimate security clearance, and in this guide I'll show you how to get it.
Once you've rooted your Nexus 7, you can do things like mount USB sticks with StickMount (you'll have to find a USB host cable), install custom ROMs, explore the full Linux file system (such as ES File Explorer), use Titanium Backup, tune your CPU for performance or battery life (such as with CPU tuner), and even block ads.
A word of warning -- the following procedure will void your warranty, and if done incorrectly, it could damage your device. CNET UK and I do not accept responsibility for bricking your Nexus 7. On the bright side, your device can be revived back to factory specifications -- these changes aren't permanent.
Preparation
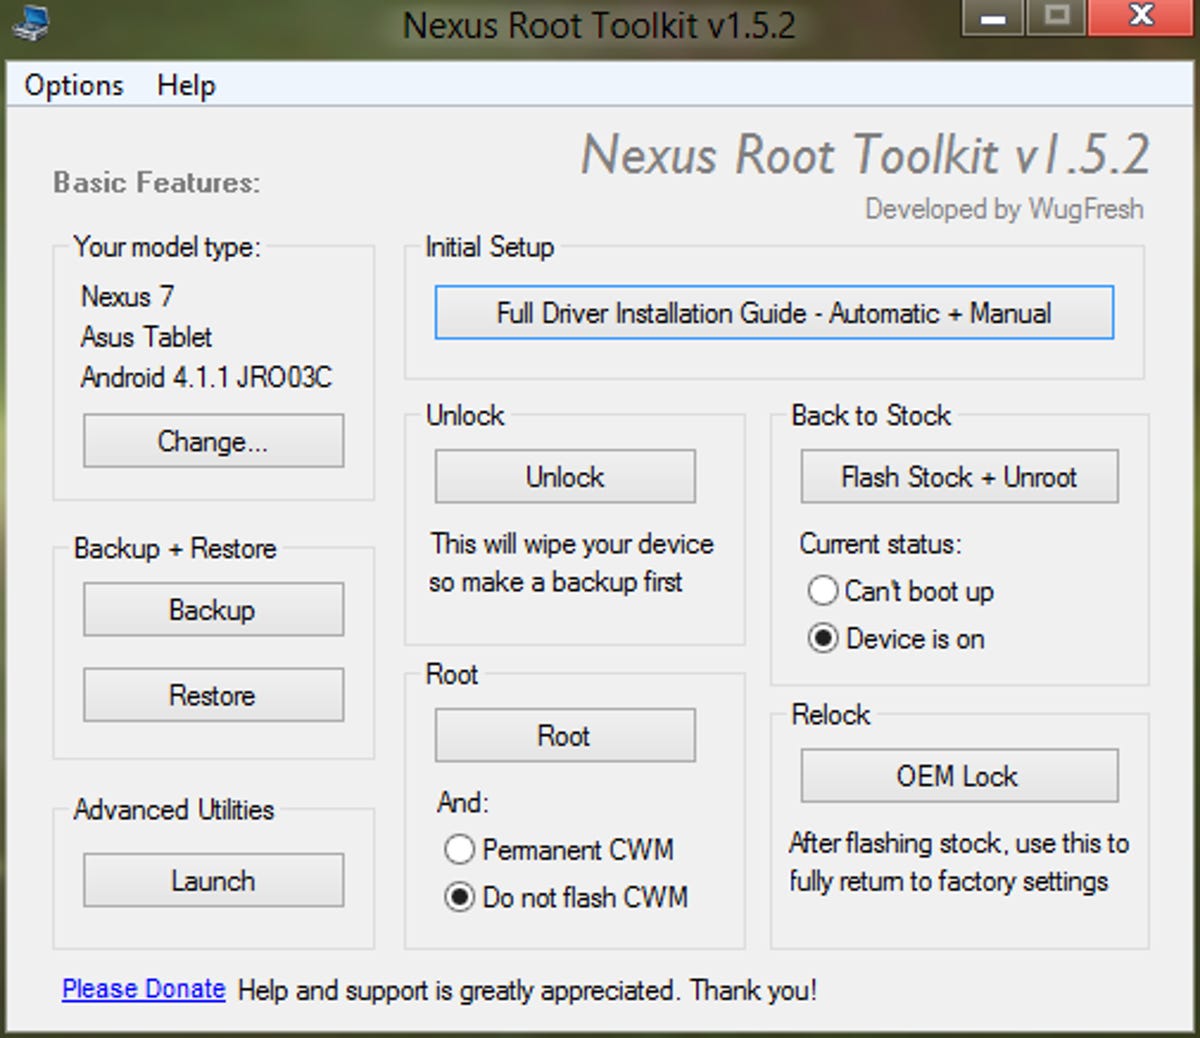
You'll need a Windows PC. Connect your Nexus 7 using the USB cable it came with (don't use just any old USB cable). Then install the Nexus Root Toolkit (NRT). This application will allow you to root any Nexus-branded Android device. Use the 'Your Model type' setting (top left in NRT) to set Nexus 7 as your device.
Backing up
Unlocking the Nexus 7's bootloader will cause all of your data and apps to be erased, so it's worth using the 'Backup + Restore' feature provided in NRT. If you find your tablet has slowed down since you bought it, with all the apps and widgets clogging up its processes, this is a good opportunity to let everything go and start from scratch -- you'll find it runs much faster after this process is complete.
Ensure Android Debug Bridge is running
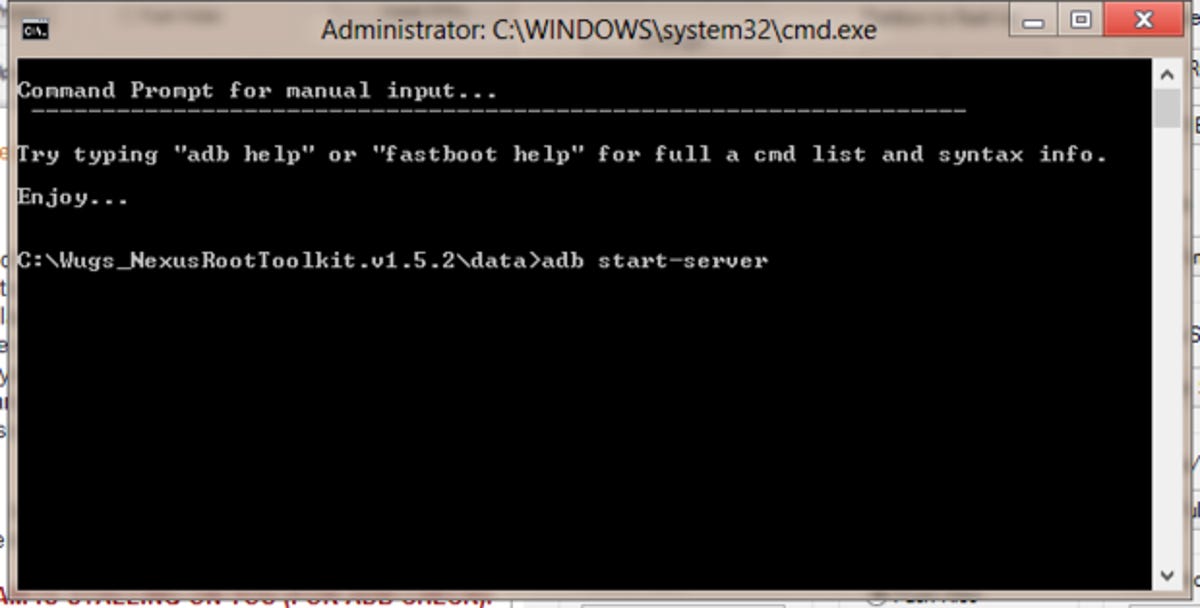
Android Debug Bridge (ADB) is a tool that lets your computer communicate with an Android-powered device. To make sure it's running, click on the Launch button in the 'Advanced utilities' section in NRT. In the bottom-left corner of the next window, click the 'Launch CMD prompt' button. In the command window that appears, type "adb start-server", and close both windows and return to NRT.
Configure drivers
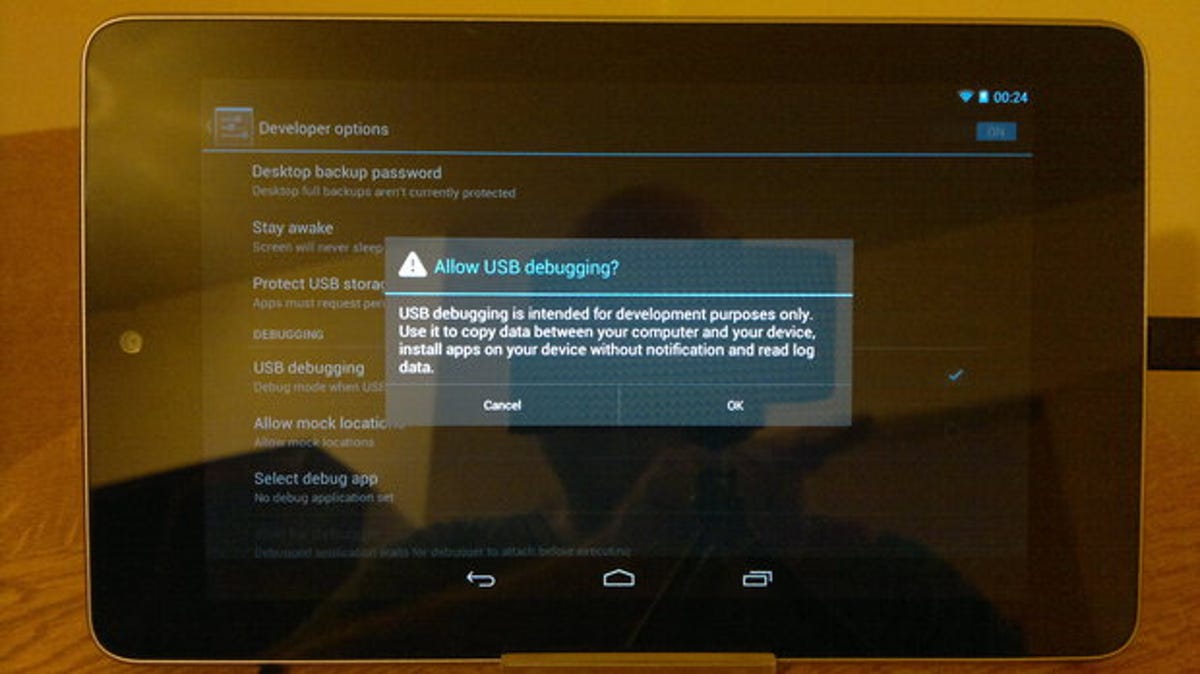
First, make sure 'USB debugging' is enabled on your tablet. Open the Settings application and tap on 'Developer options', then check the 'USB debugging' box. Next, you need to install drivers that will allow NRT to communicate properly with your tablet. Even though the Nexus 7 is an Asus device, the drivers are by Samsung. Click the large 'Full Driver Installation Guide -- Automatic + Manual' button in the top-right corner of NRT.
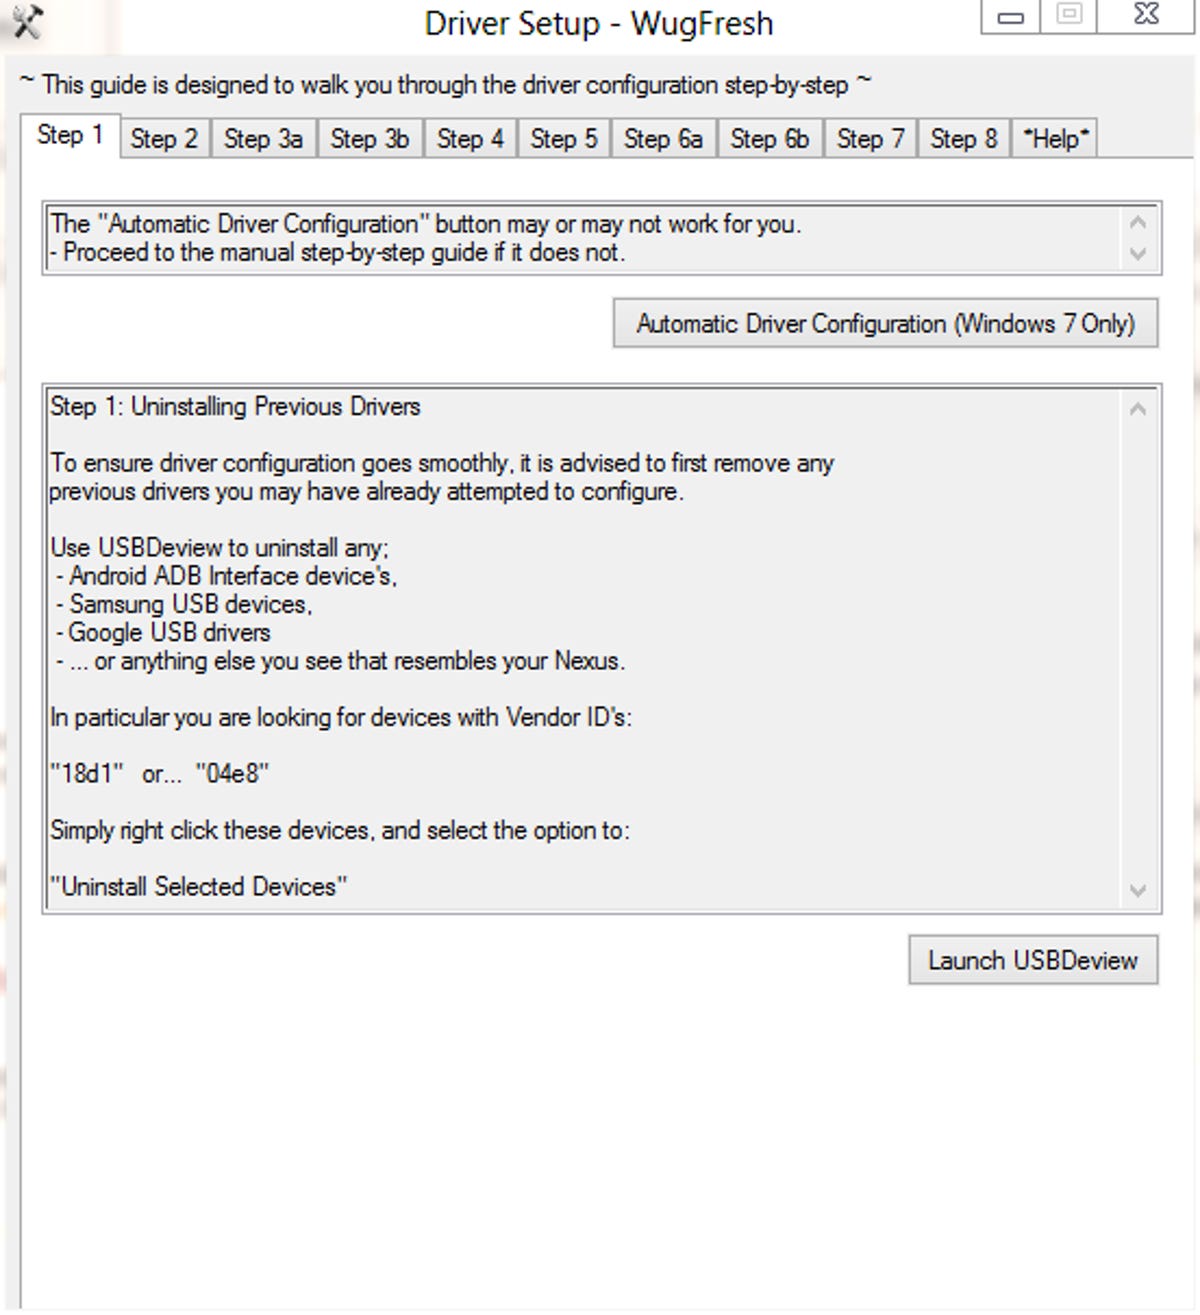
You can choose whether to use the automatic driver setup or to do things manually. Fortunately, NRT is furnished with detailed instructions for each step -- all you have to do is read them carefully. For the sake of brevity, I'll outline the manual configuration steps to give you a better idea of their purpose.
The first two steps require you to have the right drivers for your device. This entails removing any drivers you may have installed previously, and then installing the Samsung drivers supplied in NRT.

Driver configuration steps 3 and 4 involve setting up your tablet with the Samsung drivers. This is the same process as updating drivers for any other Windows hardware. If you've done everything correctly, the Reboot button in step 5 will reboot your tablet.
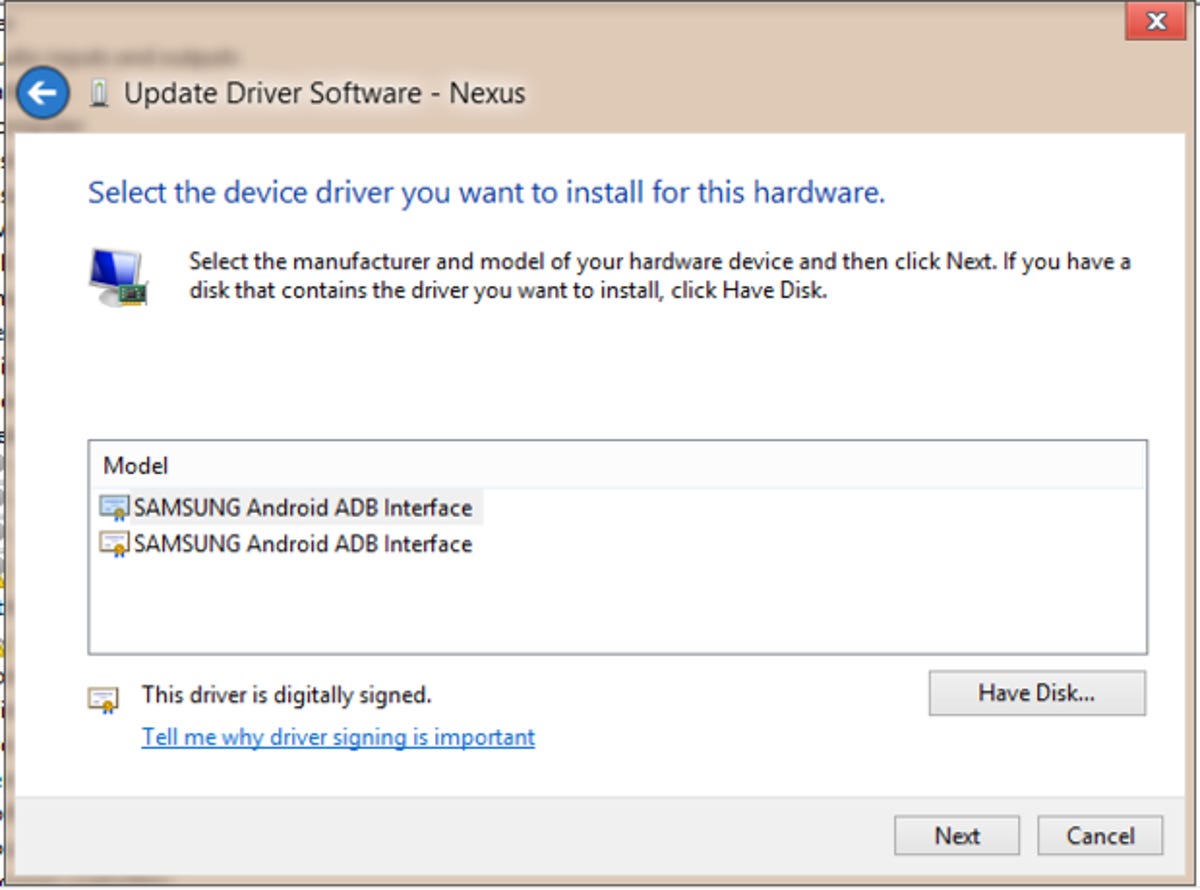
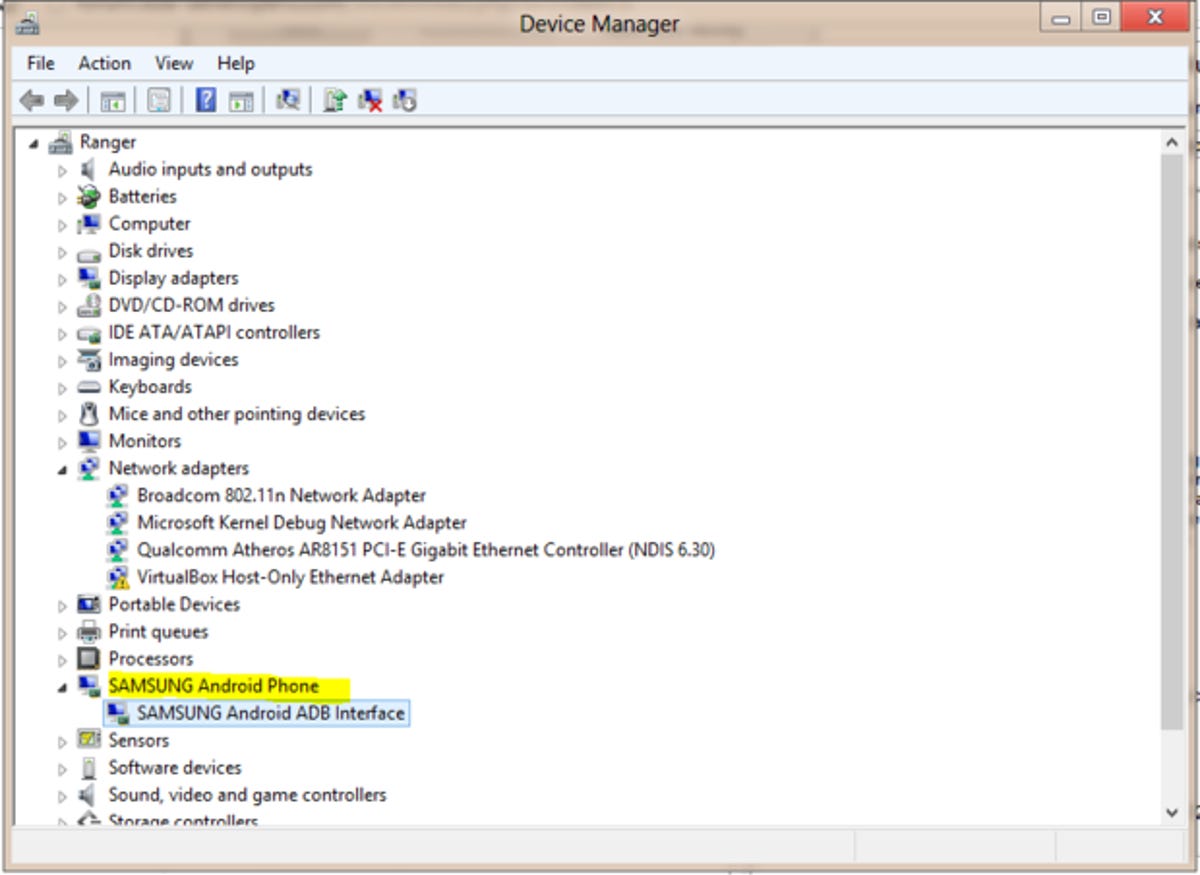
The above image shows you configuring your Nexus 7 to be recognised as a 'Samsung Android ADB interface' device.
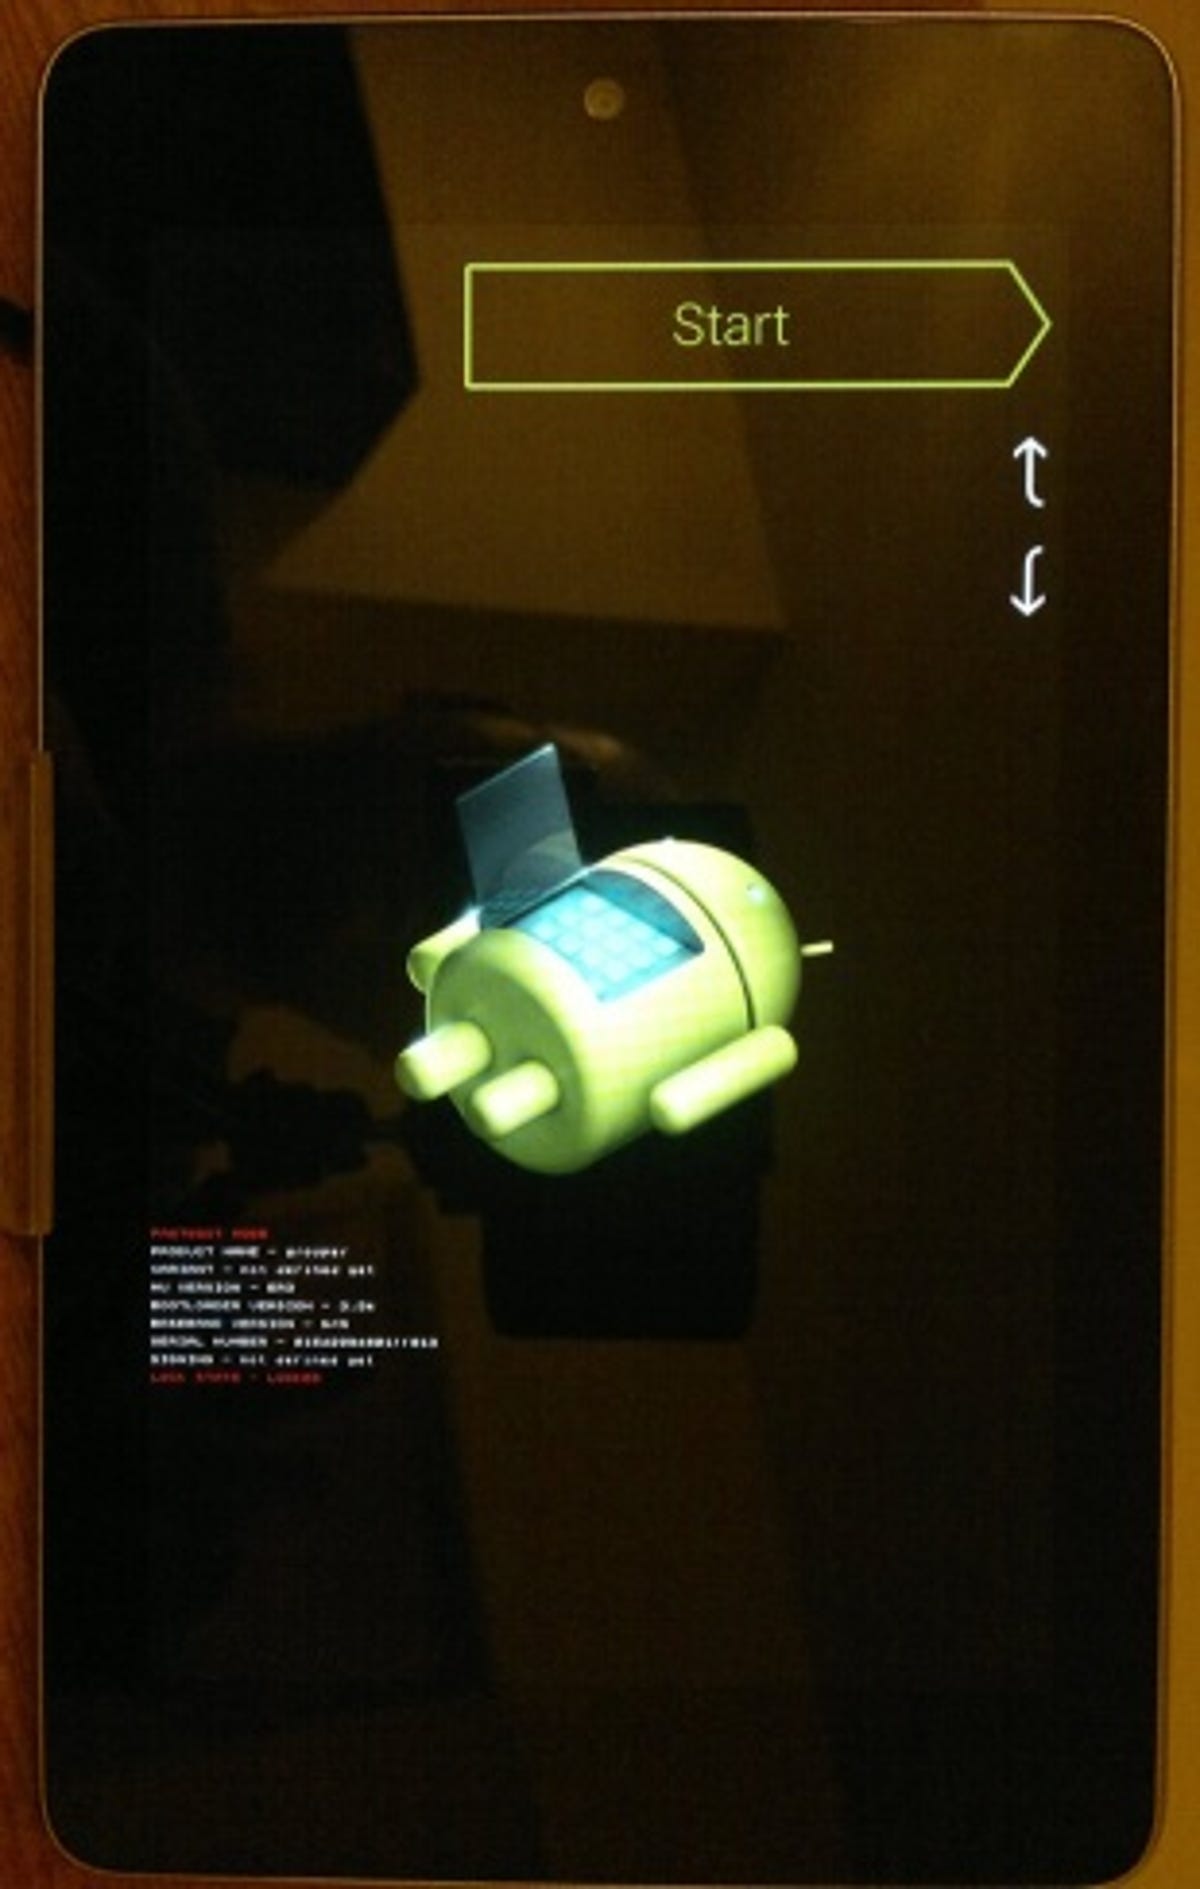
The rest of the steps are concerned with another set of drivers called Fastboot. Your PC requires these drivers to enable it to flash the firmware of an Android device. As you follow the configuration in step 6 through to 8, you'll install the Fastboot drivers for the Nexus 7 and then reboot it into 'Recovery mode' as a test (see image below).
Unlock the boot loader
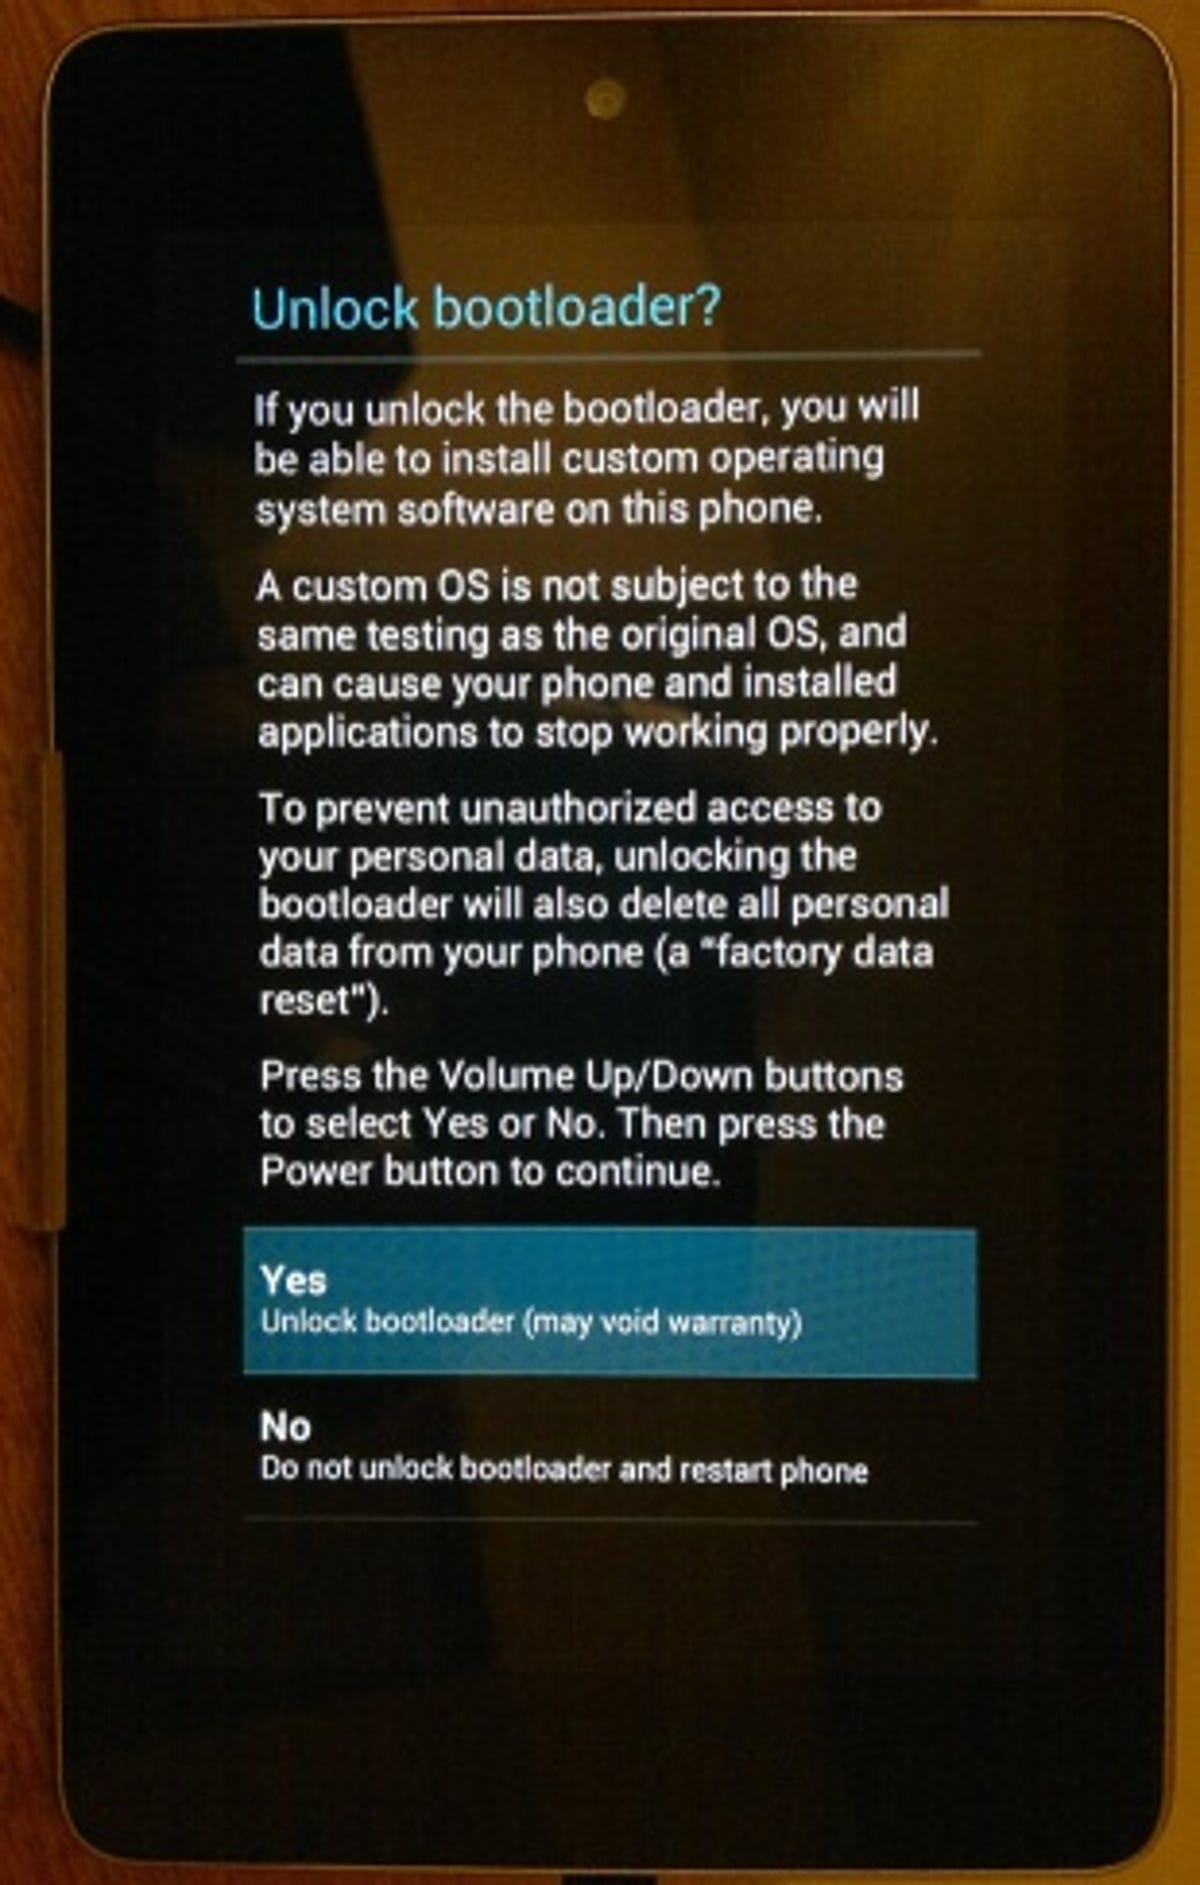
Just as with a PC, the Nexus 7's boot loader is a program that tells the tablet how to wake up and load its operating system. It doubles as a gatekeeper, setting a limit on the level of permissions that can be granted to the user. Because we're dealing with a Nexus device, we won't need to replace the boot loader or exploit a security hole. Instead, clicking the Unlock button in NRT will send a command to the boot loader instructing it to boot to the 'Unlock boot loader?' screen, as shown below.
After unlocking, the Nexus 7 may take a long time to boot, or boot a few times -- don't worry, this is normal. Once it has booted properly, be sure to enable 'USB debugging' mode again.
Root the Nexus 7
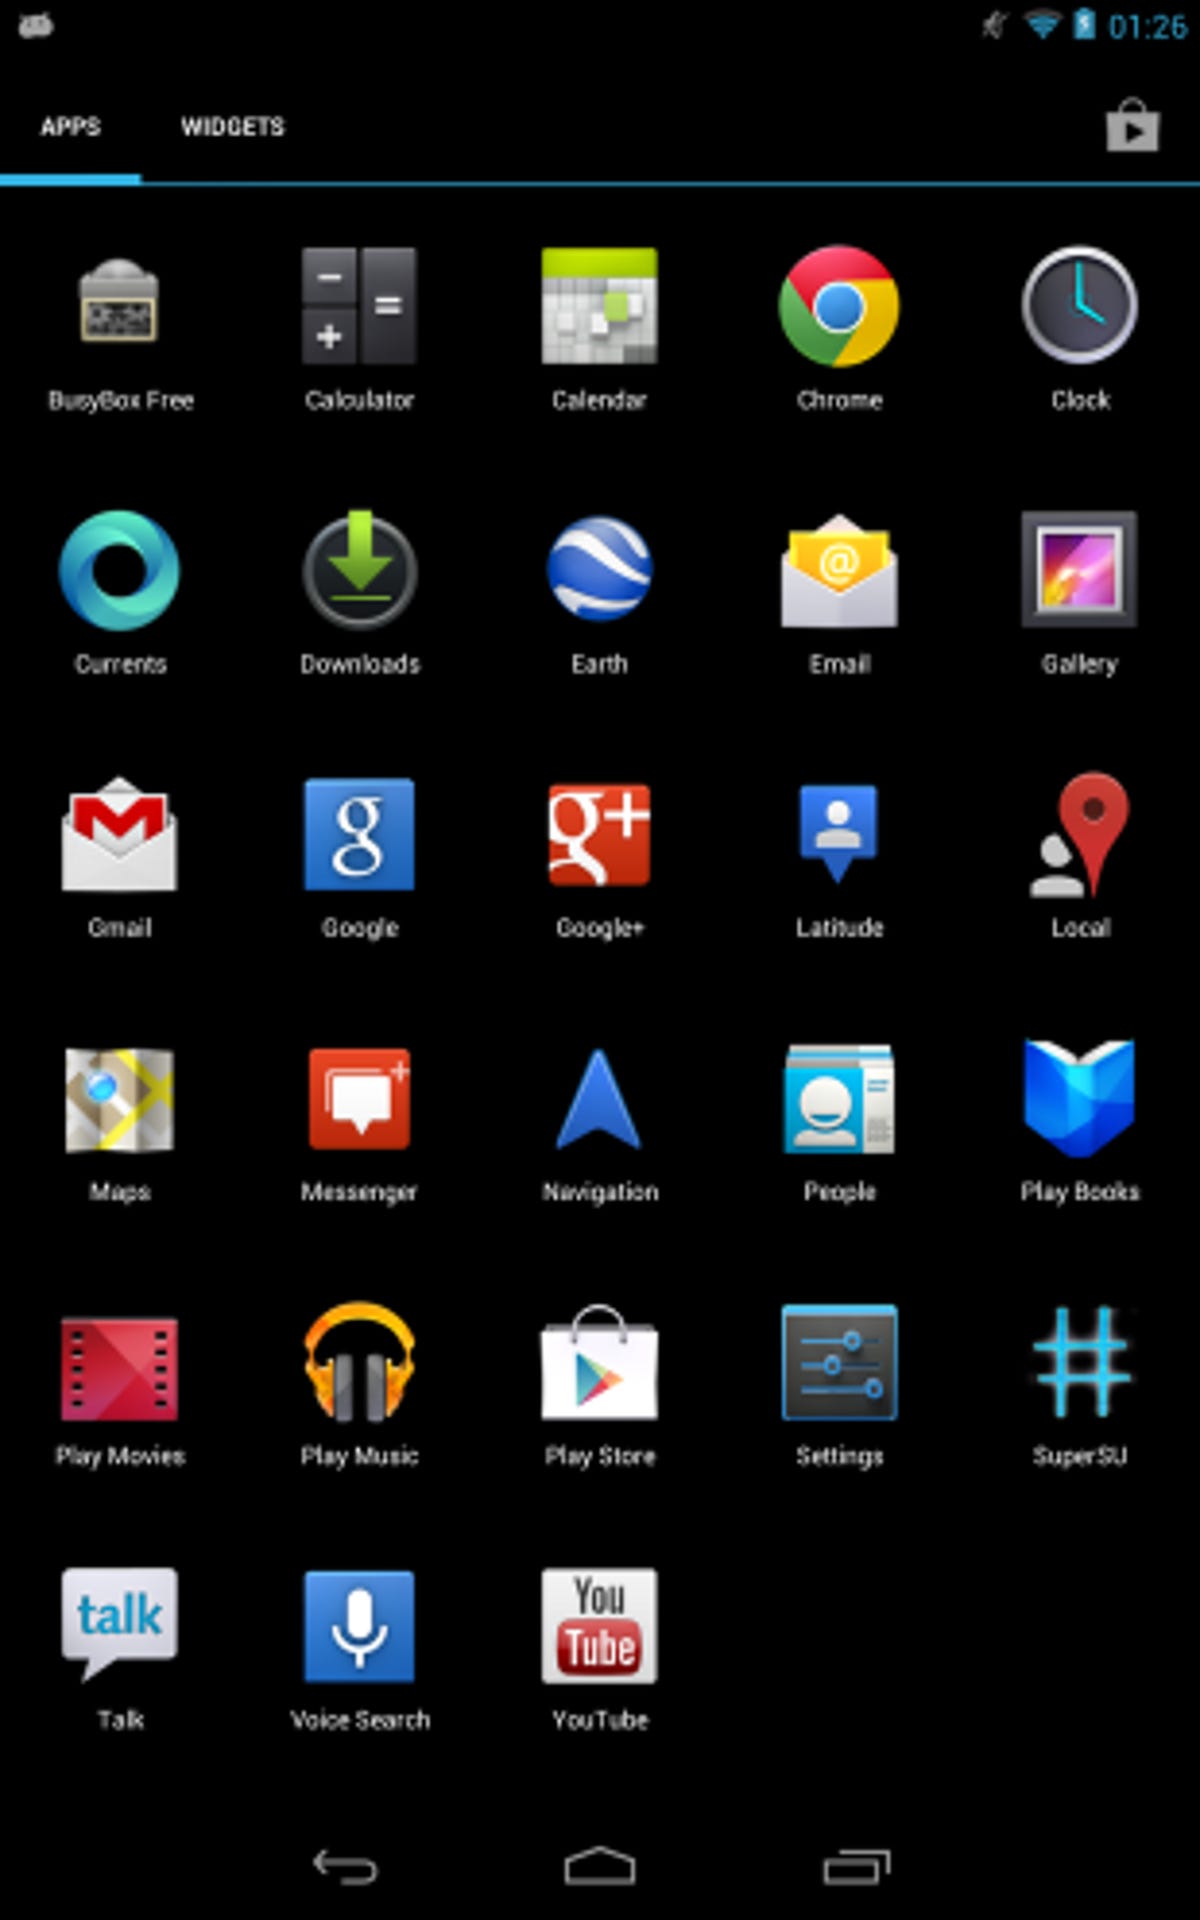
Once unlocked, clicking the 'Root' button will push the SuperSU application to your Nexus 7. Whenever you run an application that requires root permissions, SuperSU will pop up asking if it may grant root permissions to the application.

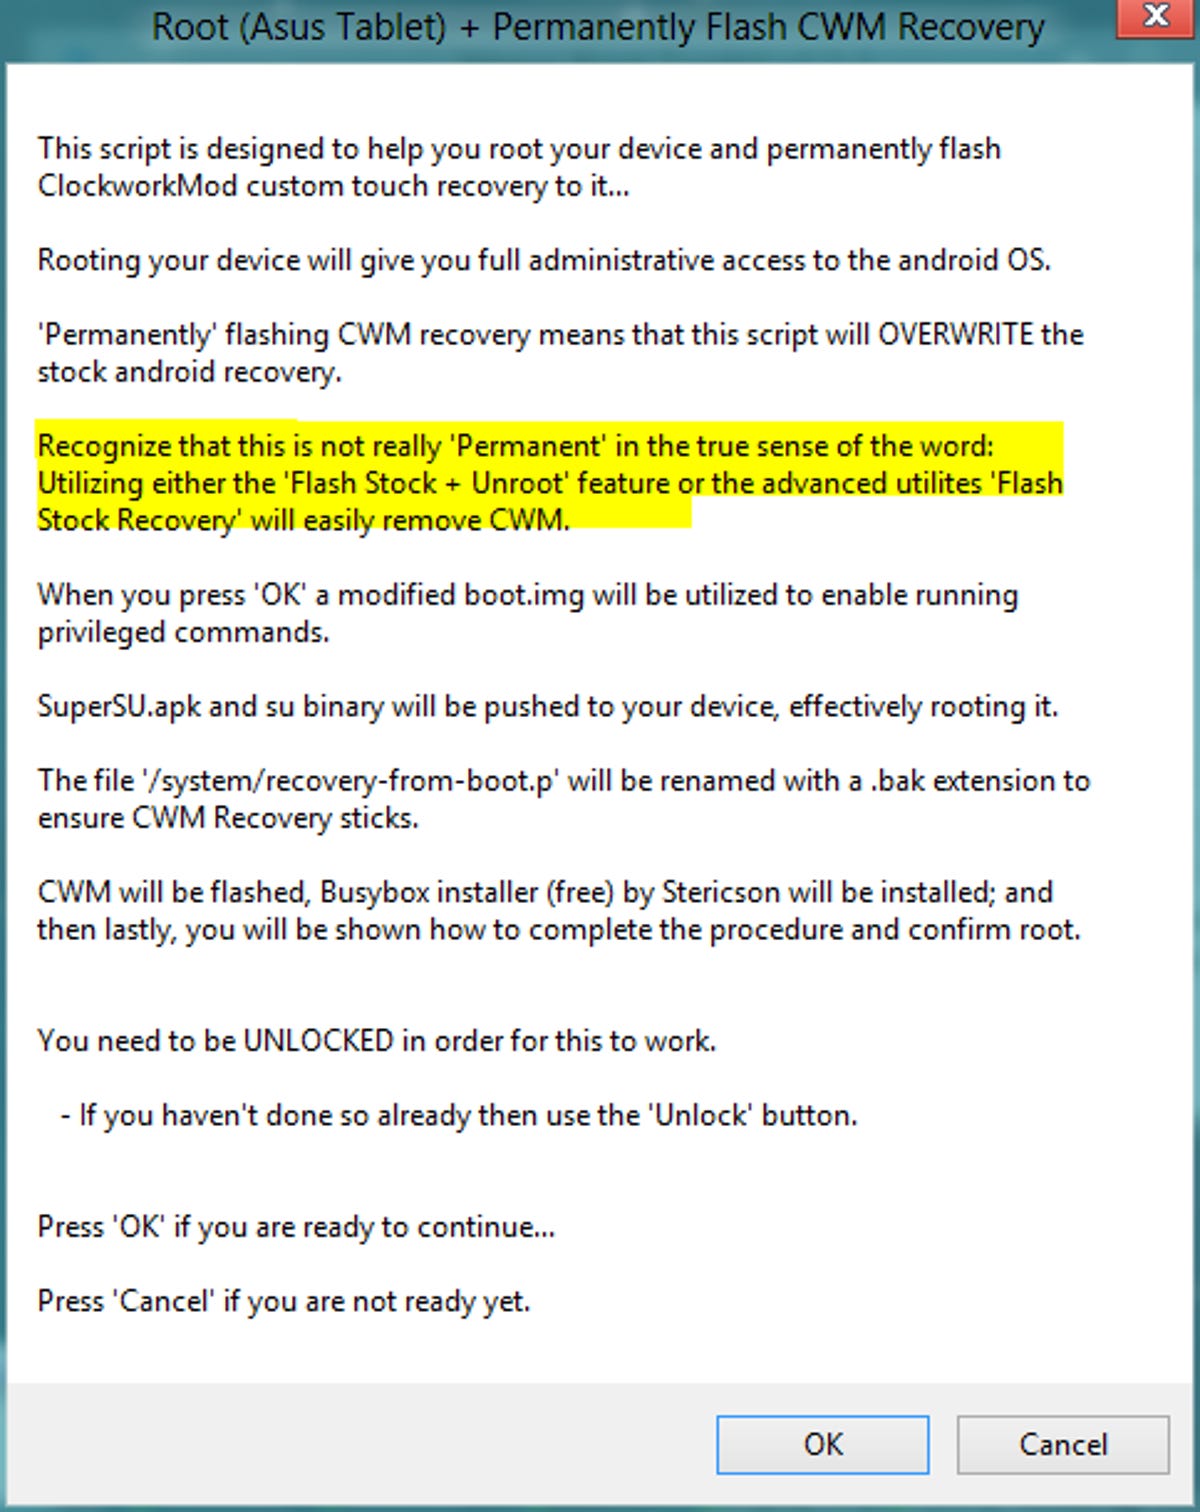
Beneath the NRT Root button, you'll see radio button options for flashing 'Clockwork Mod' (CWM) or not. This is an alternate recovery mode program -- replacing the cute 'Android on its back' recovery mode. If you intend to flash your Nexus 7 with alternative ROMs, then I recommend flashing CWM. If not, then you don't need CWM. Note, even though the option says 'Permanent', returning to factory conditions will remove CWM.
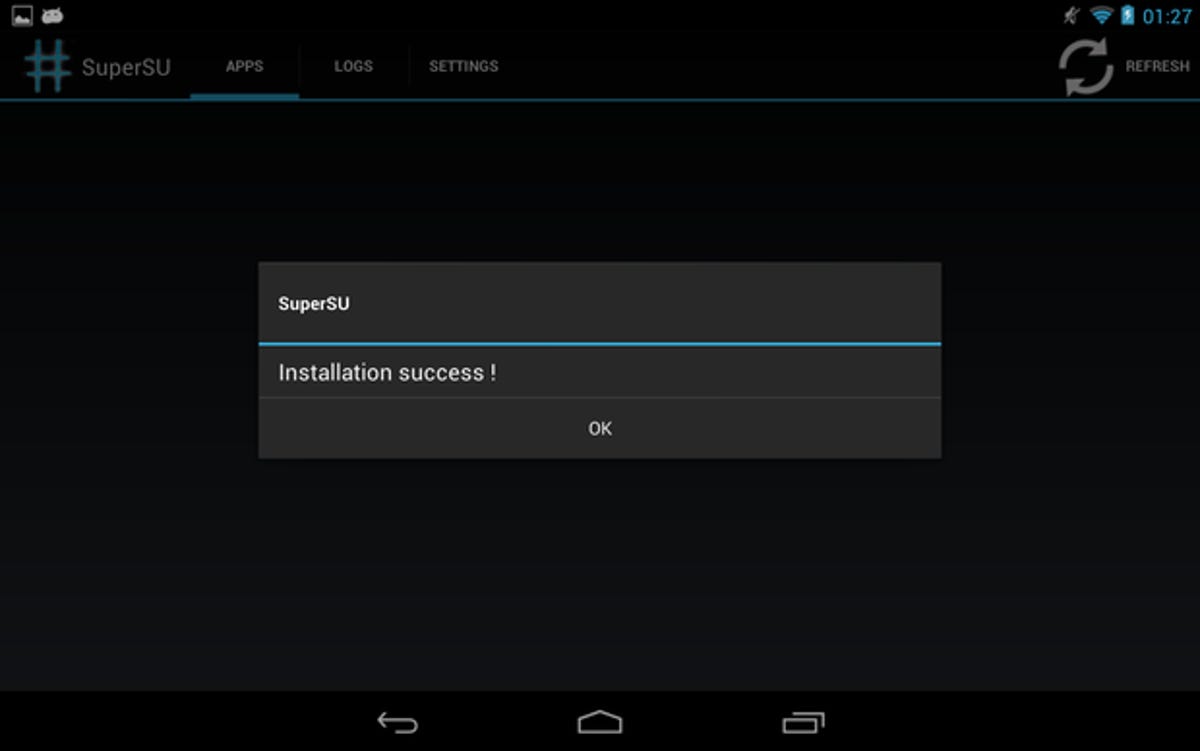
You'll need to run the SuperSU application once so that it can complete its installation.
You'll also see another new application, 'Busy Box'. This provides alternate versions of Linux tools that other applications may use with root permissions. It will need root permissions too.
Undo!
You're all done. If you find you want to undo everything and go back to factory specifications, you can undo all of the above using NRT. This YouTube video has useful, easy to follow instructions.
- If you want to get the most out of your Google Nexus 7, check out our 25 top tips.
- Read this guide if you'd like to squeeze more battery life out of your Google Nexus 7.