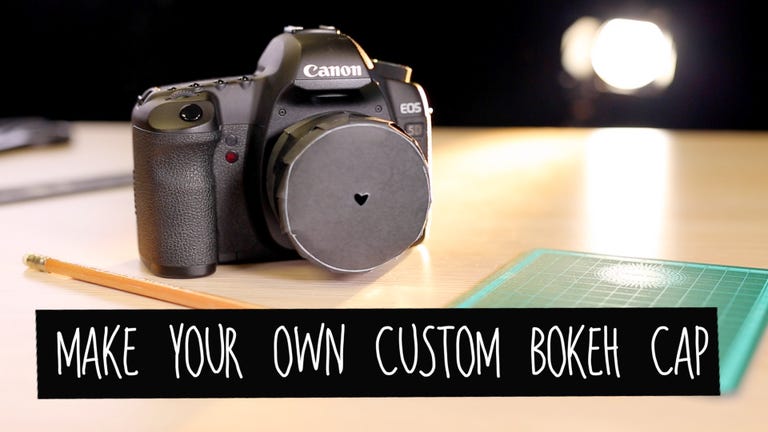
How to make your own custom bokeh
Learn how to turn out of focus areas in photos into fun custom shapes.


- Webby Award honoree, 2x Gold Telly Award winner
Bokeh is a word to describe the quality and appearance of the out of focus areas in a photograph.
In this tutorial I'll show you how to change the shape of the bokeh in your photographs by making a lens cap.
There are several custom bokeh options you can buy ready made, and there's even a Lensbaby kit. But where's the fun in buying when you can DIY?
What you need:
- Digital SLR and lens (ideally with a wide maximum aperture such as f/1.8)
- Black cardboard
- X-acto or safety knife
- Black duct tape
Step one: Cut a long strip of black cardboard that will fit around your lens. Tape it together to form a cylinder that sits snugly around the lens barrel.
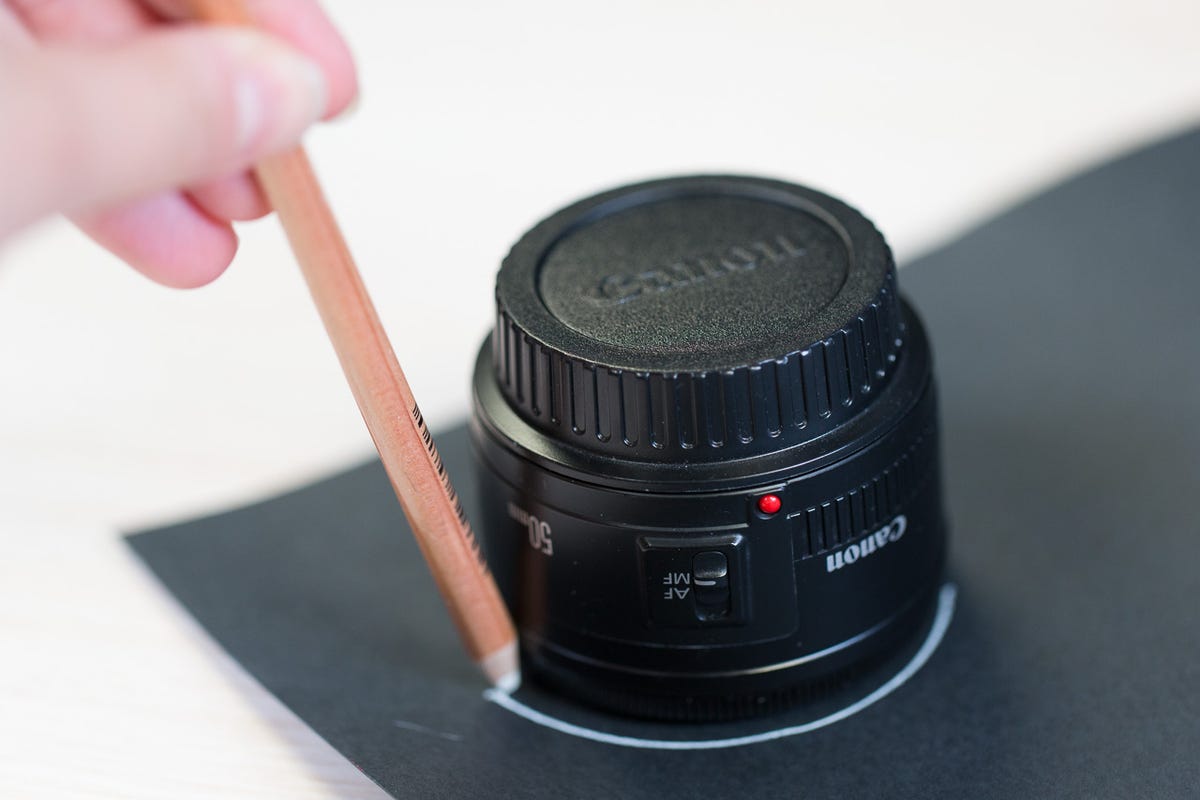
Step two: Trace the outline of your lens on another piece of black cardboard. Draw a slightly larger circle (about 0.5-inch) around this.
Step three: In the centre of the smallest circle, draw a shape for your custom bokeh. It can be a heart, spiral, lightning bolt or whatever else you please.
Cut out this shape carefully using the blade. You can also use a shaped hole punch to get a cleaner look. Repeat steps two and three as many times as you like to create different shapes.
Step four: Cut around the larger circle to remove it from the surrounding cardboard. Then, cut in from the larger circle to the inner circle to create tabs.
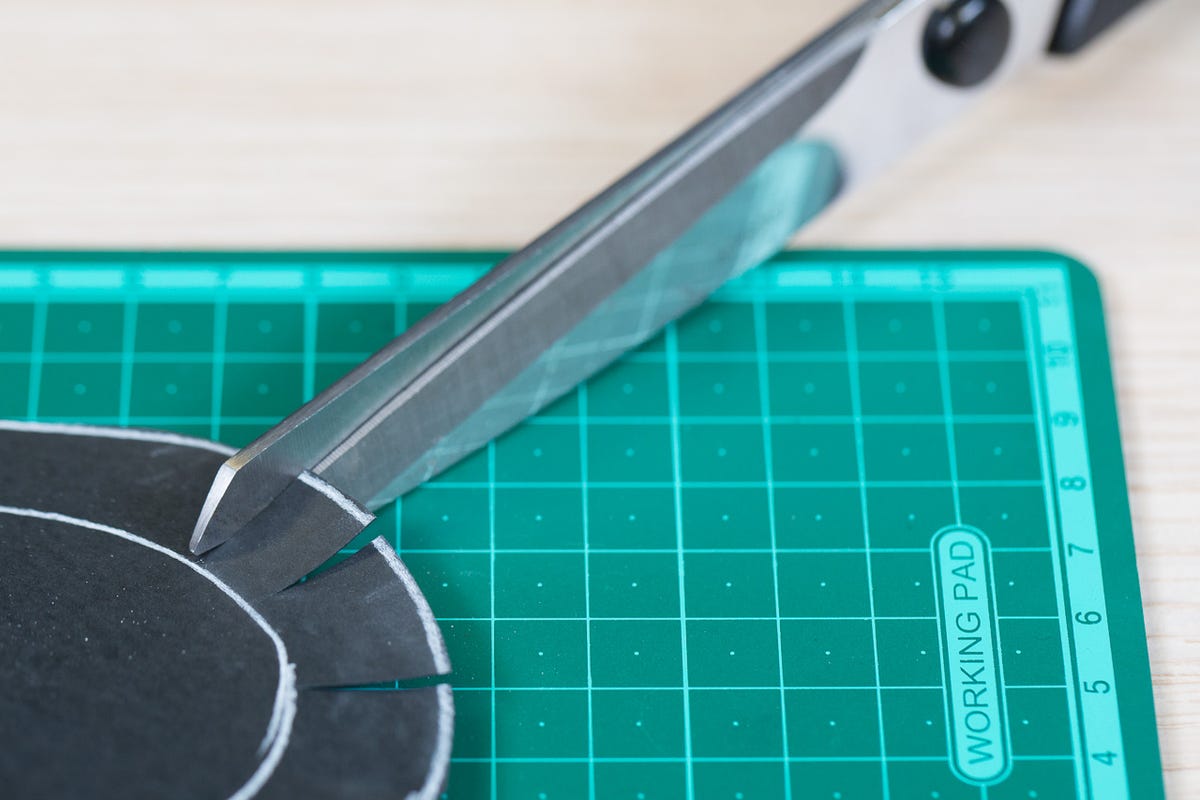
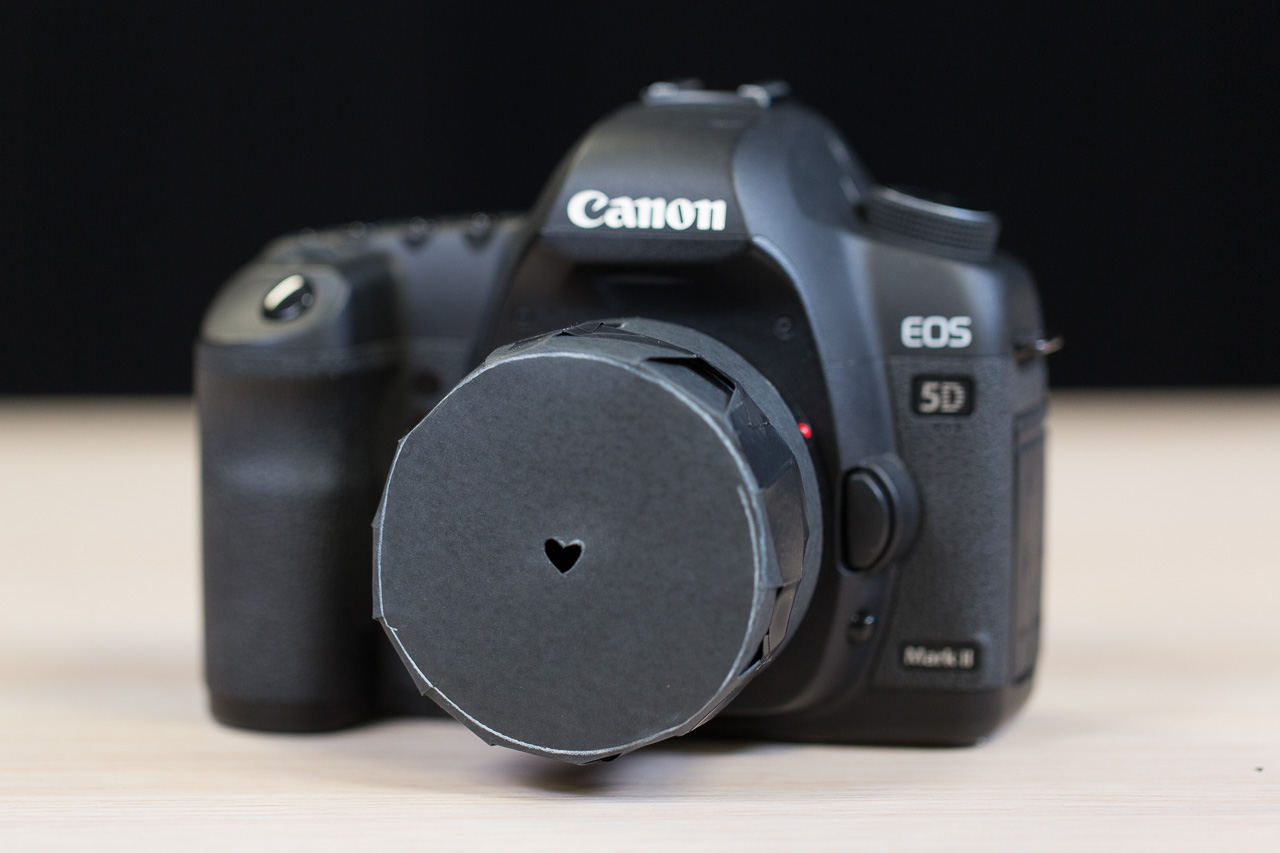
Fold the tabs back. Use tape to gently fold and stick the tabs to the outside of the cylinder you made in step one. Make sure to use enough tape to prevent light leaks.
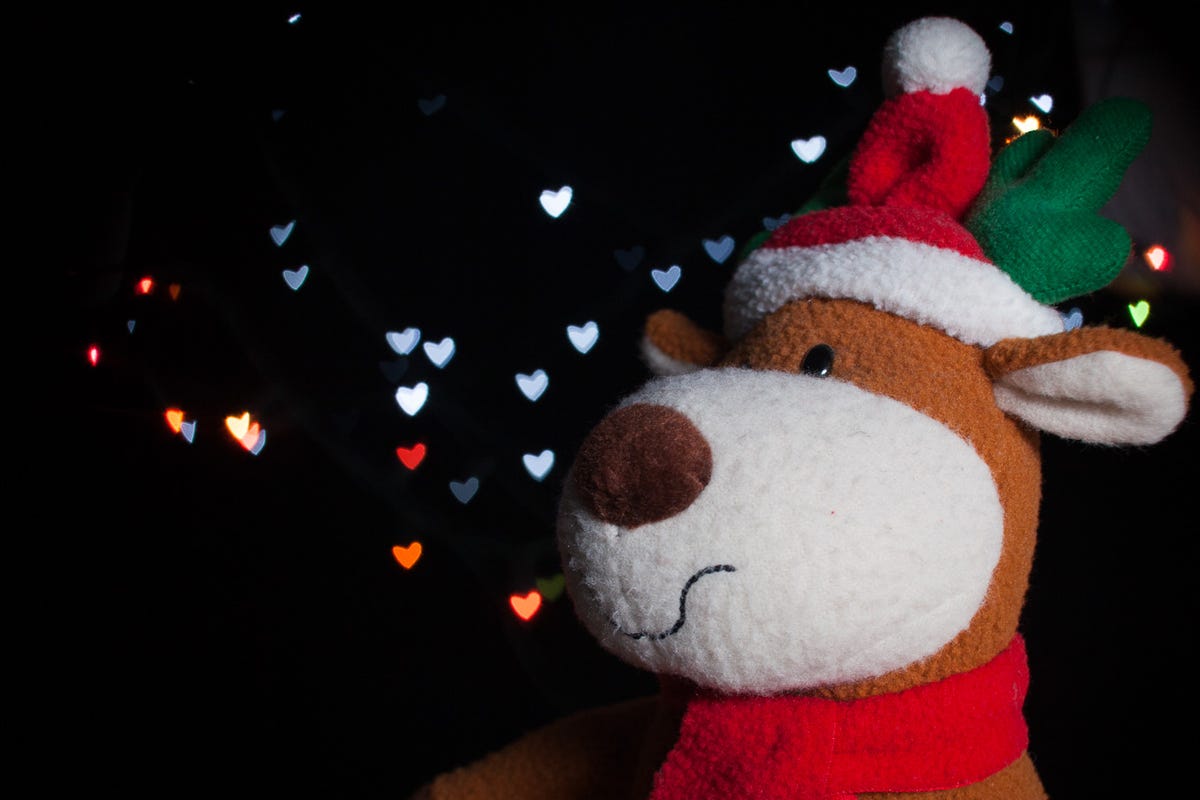
Step five: Once the cover is complete, all that's left to do is take some fun photographs! Find a situation where there are multiple light sources. Night cityscapes work well, otherwise you can grab some Christmas lights and photograph those.
In aperture priority mode or manual mode, open up your aperture to the maximum value your lens accommodates. This is a small f/ number. For example, a 50mm lens may have a maximum aperture of f/1.8 which you will want to use to let in the most light.
Set your focus on a foreground subject without the bokeh hood on the lens. Then, place the hood on the lens and adjust your exposure accordingly.