How to install the Ring Video Doorbell 2
You can install Ring's latest buzzer with minimal effort. Here's how.


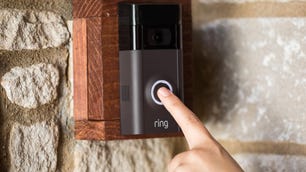
Installing a doorbell is so much easier than you'd think. Like Ring's original Video Doorbell, the Ring Video Doorbell 2 can be either hardwired, or powered by the included rechargeable battery. Here's how to replace your existing buzzer with the Ring Video Doorbell 2 in no time.
Step 1: Charge and install the included battery
Even if you hardwire this doorbell, you still need to install its rechargeable battery as a backup. Unlike the first-gen Ring buzzer, this model has a removable, rechargeable battery. That feature makes it incredibly simple to charge -- even after you've mounted the doorbell to the wall.
Simply connect the battery to the included power adapter. When the red status light disappears, the battery is fully charged.
Step 2: Download the Ring app on your phone
Download the Ring app on your iPhone or Android device. The app will be your main point of access for your Video Doorbell 2. It's where you'll receive alerts and be able to talk with visitors via the live video screen.
But before you can do all that, you have to connect your new doorbell to the app. Fortunately, Ring makes this process very easy -- just open the app, create an account and follow the steps.

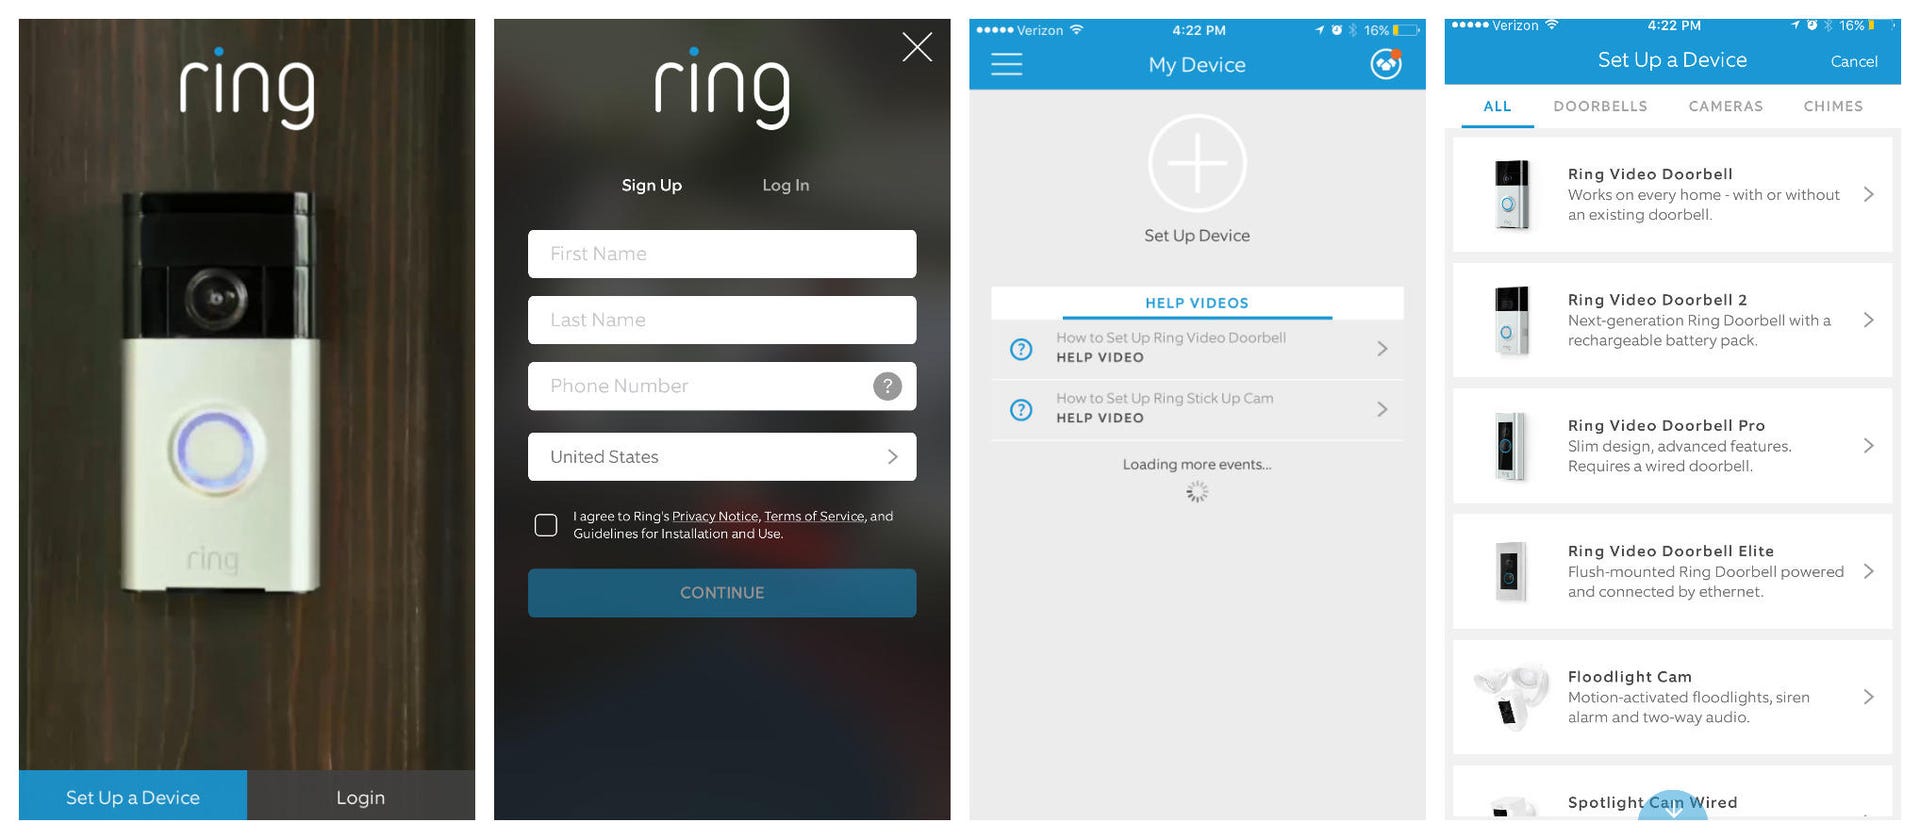
Inside the Ring app.
Step 3: Install the battery and complete the app setup
Attach the battery to the doorbell and wait for it to power on. Note: If one of the included faceplates is already attached, remove it before inserting the battery by pulling down and away from the doorbell.
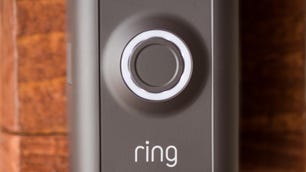
Press the button on the upper right corner of the Video Doorbell 2 and select the Ring Wi-Fi network in your phone's settings. Return to the Ring app, select your local Wi-Fi network and enter the password to connect. Now your Ring Video Doorbell 2 is online.
Step 4: Turn off power to your current doorbell
Before removing your existing wired doorbell, make sure you've turned off power at the circuit breaker. At this point, you can uninstall your old doorbell and set it aside.
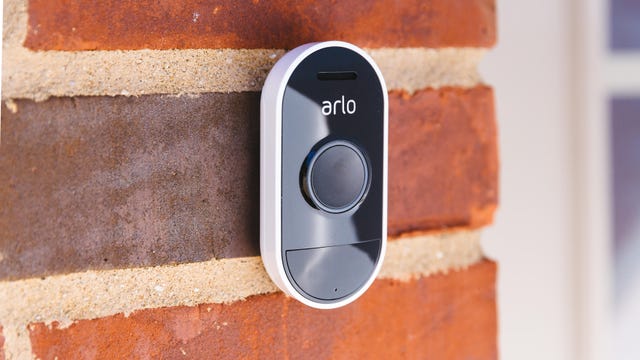
Note: Not sold on the Ring Video Doorbell 2? Here's an overview of Ring's complete DIY doorbell lineup:
Comparing Ring's Video Doorbells
| Ring Video Doorbell 2 | Ring Video Doorbell Pro | Ring Video Doorbell | |
| Price | $199 | $249 | $100 |
| Color finish | Satin nickel, venetian (both finishes included with purchase) | Satin nickel, venetian, satin black, pearl white (all finishes included with purchase) | Satin nickel, polished brass, venetian bronze, antique brass |
| Power source | Hardwired or removable, rechargeable battery | Hardwired | Hardwired or rechargeable battery |
| Resolution | 1,920x1,080-pixel HD | 1,920x1,080-pixel HD | 1,280x720-pixel HD |
| Field of view | 160 degrees | 160 degrees | 180 degrees |
| Live streaming | Yes | Yes | Yes |
| Cloud storage | Yes, 60-day storage for $3 per month. | Yes, 60-day storage for $3 per month. | Yes, 60-day storage for $3 per month. |
| Mobile app | Yes, 60-day storage for $3 per month. | Android and iPhone | Android and iPhone |
| Web app | Yes | Yes | Yes |
| Night vision | Yes | Yes | Yes |
| Alerts | Motion | Motion | Motion |
| Activity zones | Yes | Yes | Yes |
| Dimensions (HxWxD) | 5.1x2.5x1.1 inches | 4.5x1.9x0.8 inches | 5x2.4x0.9 inches |
| Third-party integrations | Alexa; Google Assistant; IFTTT; Wink | Alexa; Google Assistant; IFTTT; Wink | Alexa; Google Assistant; IFTTT; Wink |
| Operating temperature range | -5 to 120 degrees F (-20 to 48 degrees C) | -5 to 120 degrees F (-20 to 48 degrees C) | -5 to 120 degrees F (-20 to 48 degrees C) |
Step 5: Prep the wall for installation
Your existing drill holes might not line up with the four screws needed to mount the Video Doorbell 2. Hold the doorbell up to the wall/doorframe and mark the spots that need to be drilled. Use an electric drill to create the holes. When in doubt, hire a professional or ask an experienced friend to help.
Step 6: Attach the doorbell wires
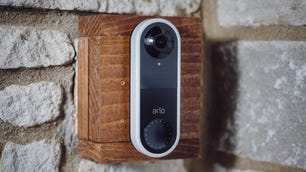
Connect the two doorbell wires to the two screws on the back of the Video Doorbell 2. It doesn't matter which wire connects to which screw. If the wires are too short, use the wire extenders provided by Ring. Make sure they're connected and mount the doorbell using the included screws. Note: Use wall anchors if you're installing the buzzer on brick, stucco or concrete.
Attach a faceplate to complete your hardware installation. Ring includes both a satin nickel and a venetian (antique bronze) faceplate with your purchase. You can use them interchangeably, depending on the style you want to achieve.
Step 7: Turn power on at your circuit breaker
Go back to your breaker panel and switch power back on to your doorbell wiring. That's it -- you've just installed your Ring Video Doorbell 2.
Note: If you aren't wiring this doorbell, follow all of these steps except the ones dealing with wires.
Want more information about how this doorbell compares to other smart buzzers? Start here.
Related: The best home security systems