How to hack apps into multi-window mode on Galaxy Note 2
The Note 2's brilliant split-screen capability lets you use two apps at once, but it doesn't support many. Here's how to get more.
Even better than the S Pen, and all its genius trickery, the option to have more than one app open at once on the Samsung Galaxy Note 2's gorgeous massive screen is the reason I can't go back to smaller phones. Having a video open while catching up on Twitter is a multi-tasker's dream, but Samsung has an annoyingly tight grip on what apps can support splitting the screen in two, and largely it's a selection of first-party apps I barely use and the bigger third-party ones like Facebook and Twitter.
But what if you want more? What if you want to mix Angry Birds with Netflix? Or Skype with New Star Soccer? You could wait for Samsung to offer wider support, or you could take the law into your own hands. I'm going to show you how in today's guide.
First thing's first: this requires a rooted Note 2. As this involves custom apps outside of Google Play, suffice it to say you follow us on this journey at your own risk. CNET takes no responsibility for any loss, damage or distress caused by following these instructions.
One more mild word of caution -- although I've discovered many apps work quite happily in split-screen mode, there may be a very good reason Samsung has decided to not white-list some, and obviously I can't test every app on the store. What I can guarantee is that with this mod you'll be able to do your own experiments, and at least have the option of finding out which ones play ball and which ones refuse.
Not put you off? Excellent. Let's get started!
(Note: numbers in brackets like this [4] indicate the relevant screenshot.)
1. Getting ready
Now, just as there's more than one way to skin a cat -- and no doubt a whole load of guides available online -- there's more than one way to persuade the Note 2 to let you push more apps into multi-window mode. I'm going to work with the 'Xposed Method', purely because it doesn't require flashing and will in theory work on any custom ROM you have loaded, but if you want to try a different method, be my guest.
You'll need to download two files:
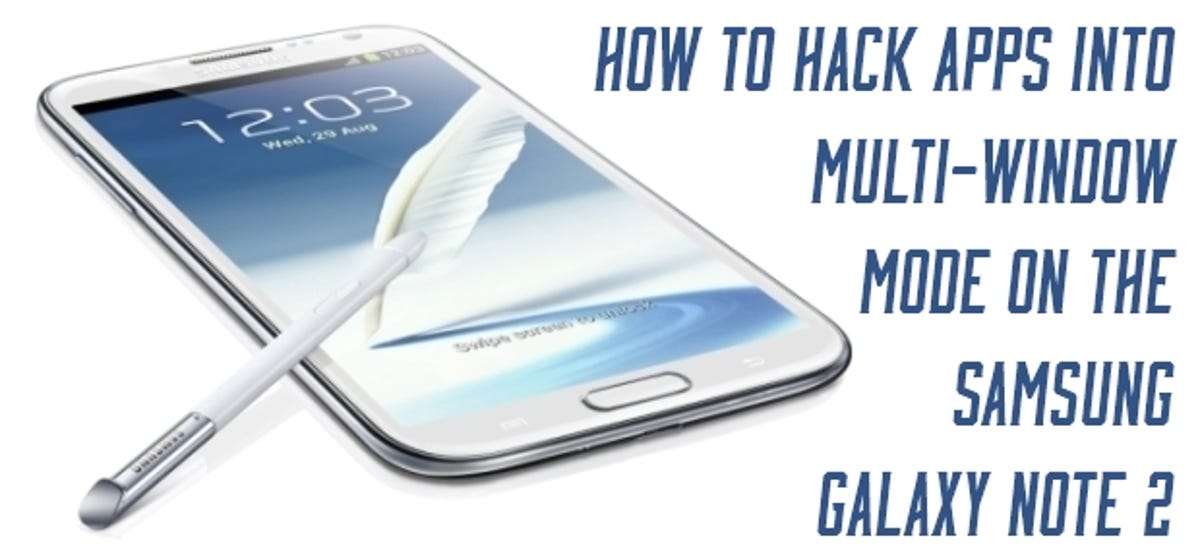
Both are tiny, pint-sized files which won't take a very long time to download, but while you're waiting, make sure your phone is set up to install non-Google Play apps, such as the one we're about to install. As a quick refresher, the option is found in Settings > Security, where you scroll down to Device administration. It's a simple tickbox labeled Unknown sources. Just make sure it's ticked. [1]
2. Getting the files on the Note 2, and installing them
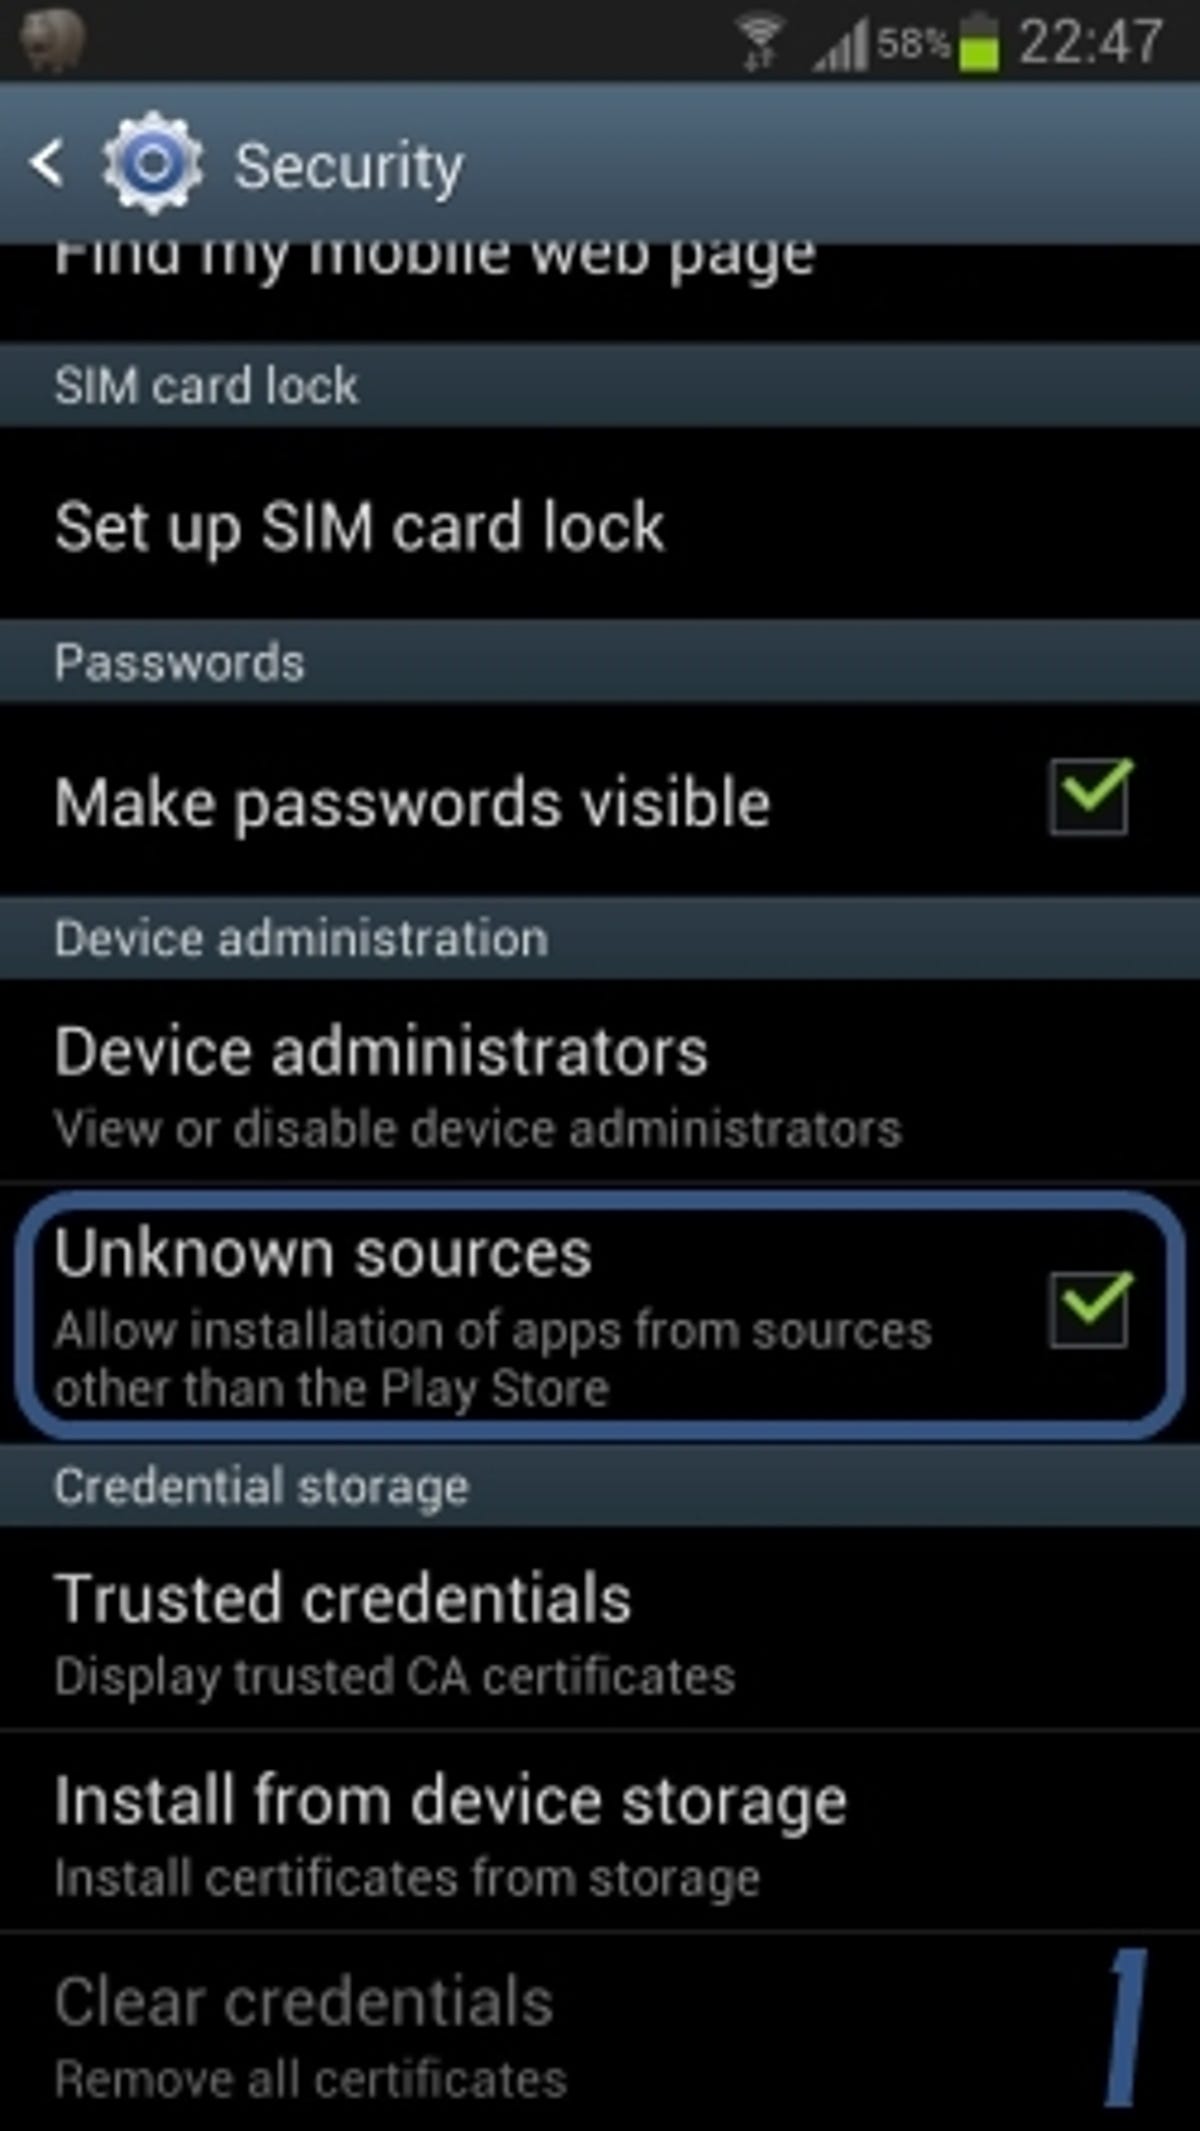
Connect your Note 2 to your computer with the USB cable, and locate the two files you downloaded. Drag and drop them onto your phone's memory card as you would with an MP3 or a photo. No need to wake Odin from its slumber today, this is flashing-free! [2]
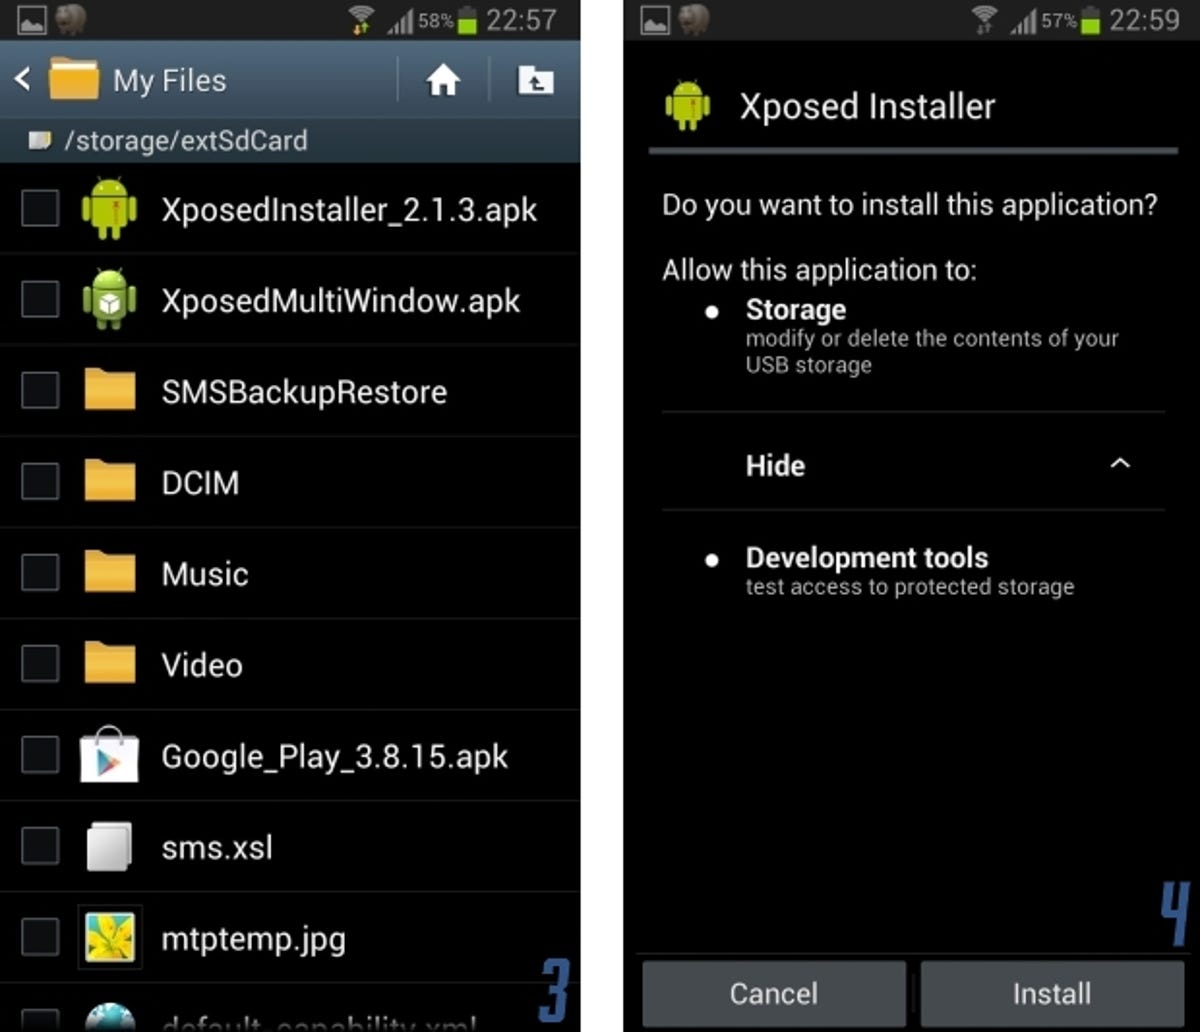
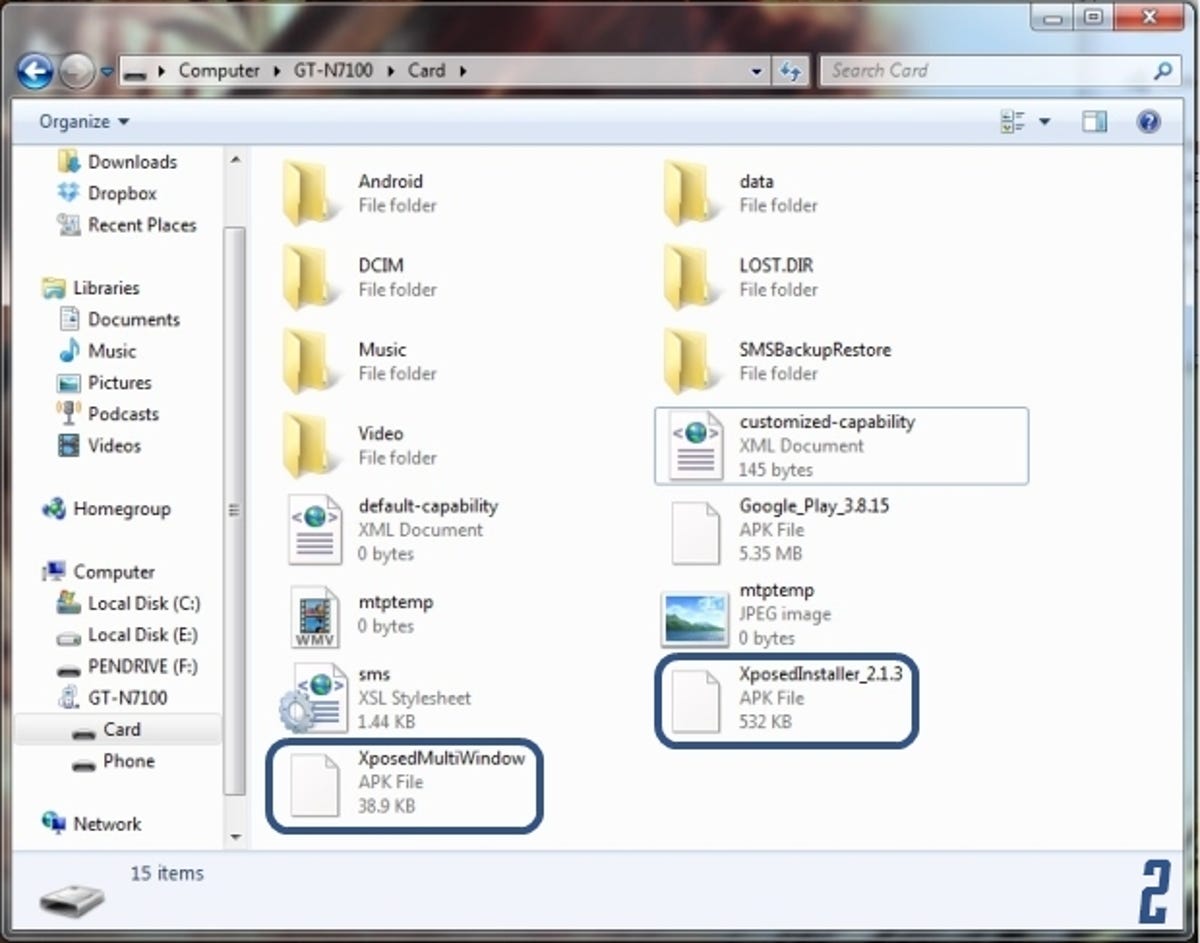
Now open up My Files in the app menu, and navigate to the files you've just dropped onto the phone. In my case it was All Files > extSdCard, but it all depends on where you dropped them onto your phone (mine are on the root of the SD Card). [3] Now tap XposedInstaller_2.1.3.apk and Android will ask if you want to install it. Yes, yes you do, so press Install. [4] Tap Done when it's finished (a matter of seconds) and do the same for XposedMultiWindow.apk. [5, 6]

Go ahead and reboot your phone by holding down the power button, and tapping Restart, just in case you'd forgotten.
3. Setting up the Xposed Framework

Once your Note 2 is up and running again, open the App Drawer and find Xposed Installer at the end of your App List. [7] Load it up, and tap the Install button to have the framework installed on your Note 2. [8] At this point, you'll get a pop-up asking if it should get root privileges -- you'll want to say yes, or nothing will happen. [9] This will take a few seconds, and then it'll tell you it's done. Go ahead and press the Reboot button to let the changes take affect.
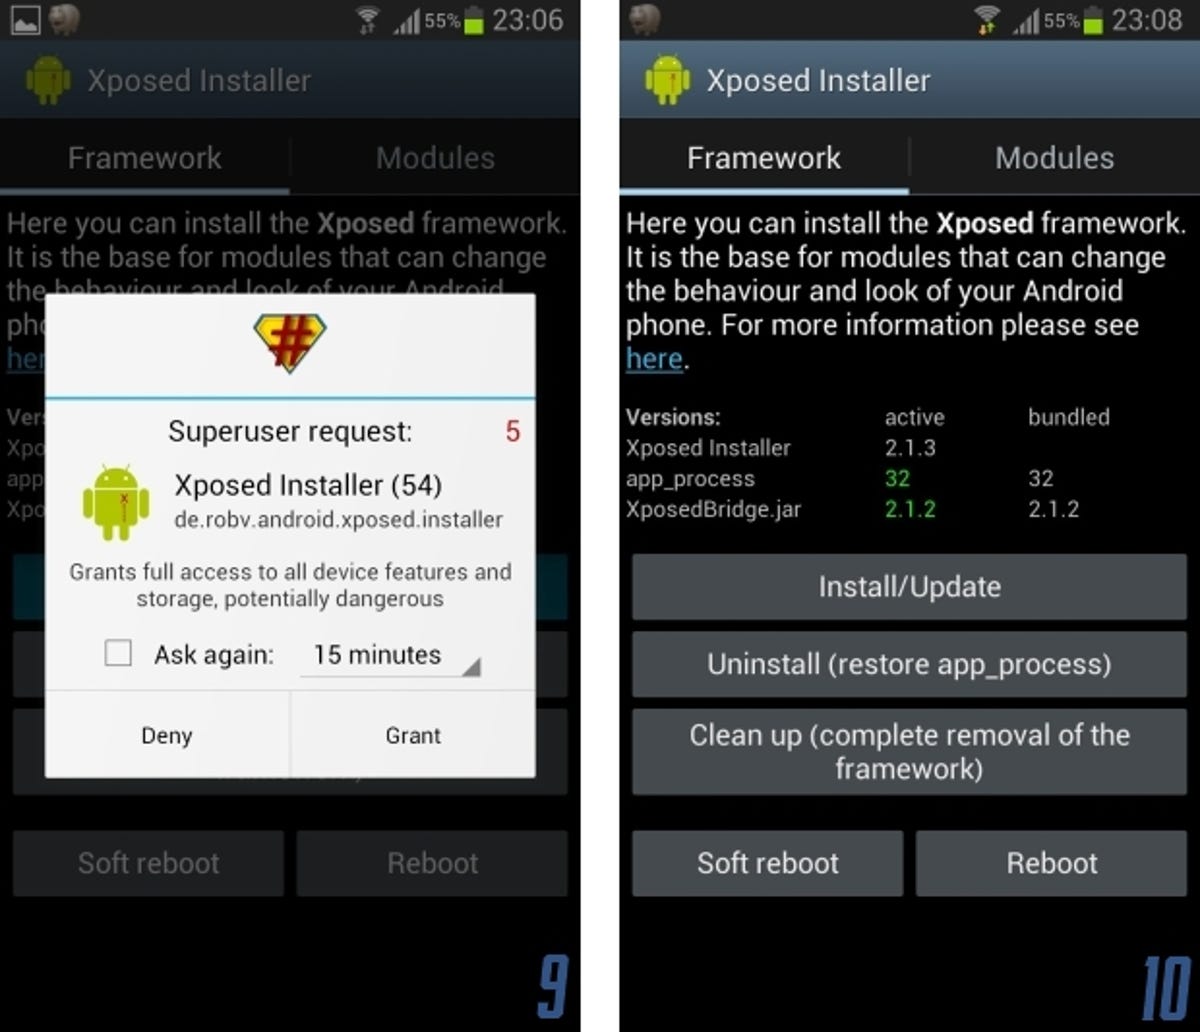
Load up Xposed Installer again and you should see it now boasts that it's installed in the table on screen, with some green numbers in the Active column. [10] Now tap Modules along the top of the header. On the next screen, assuming you installed both files correctly in the last step, you'll see one item in the list: xMulti Window Mod [1.3]. Go ahead and tick the box next to it to activate it. Reboot the Note 2 one more time, and then get ready to test!
4. Let the great experiment begin!
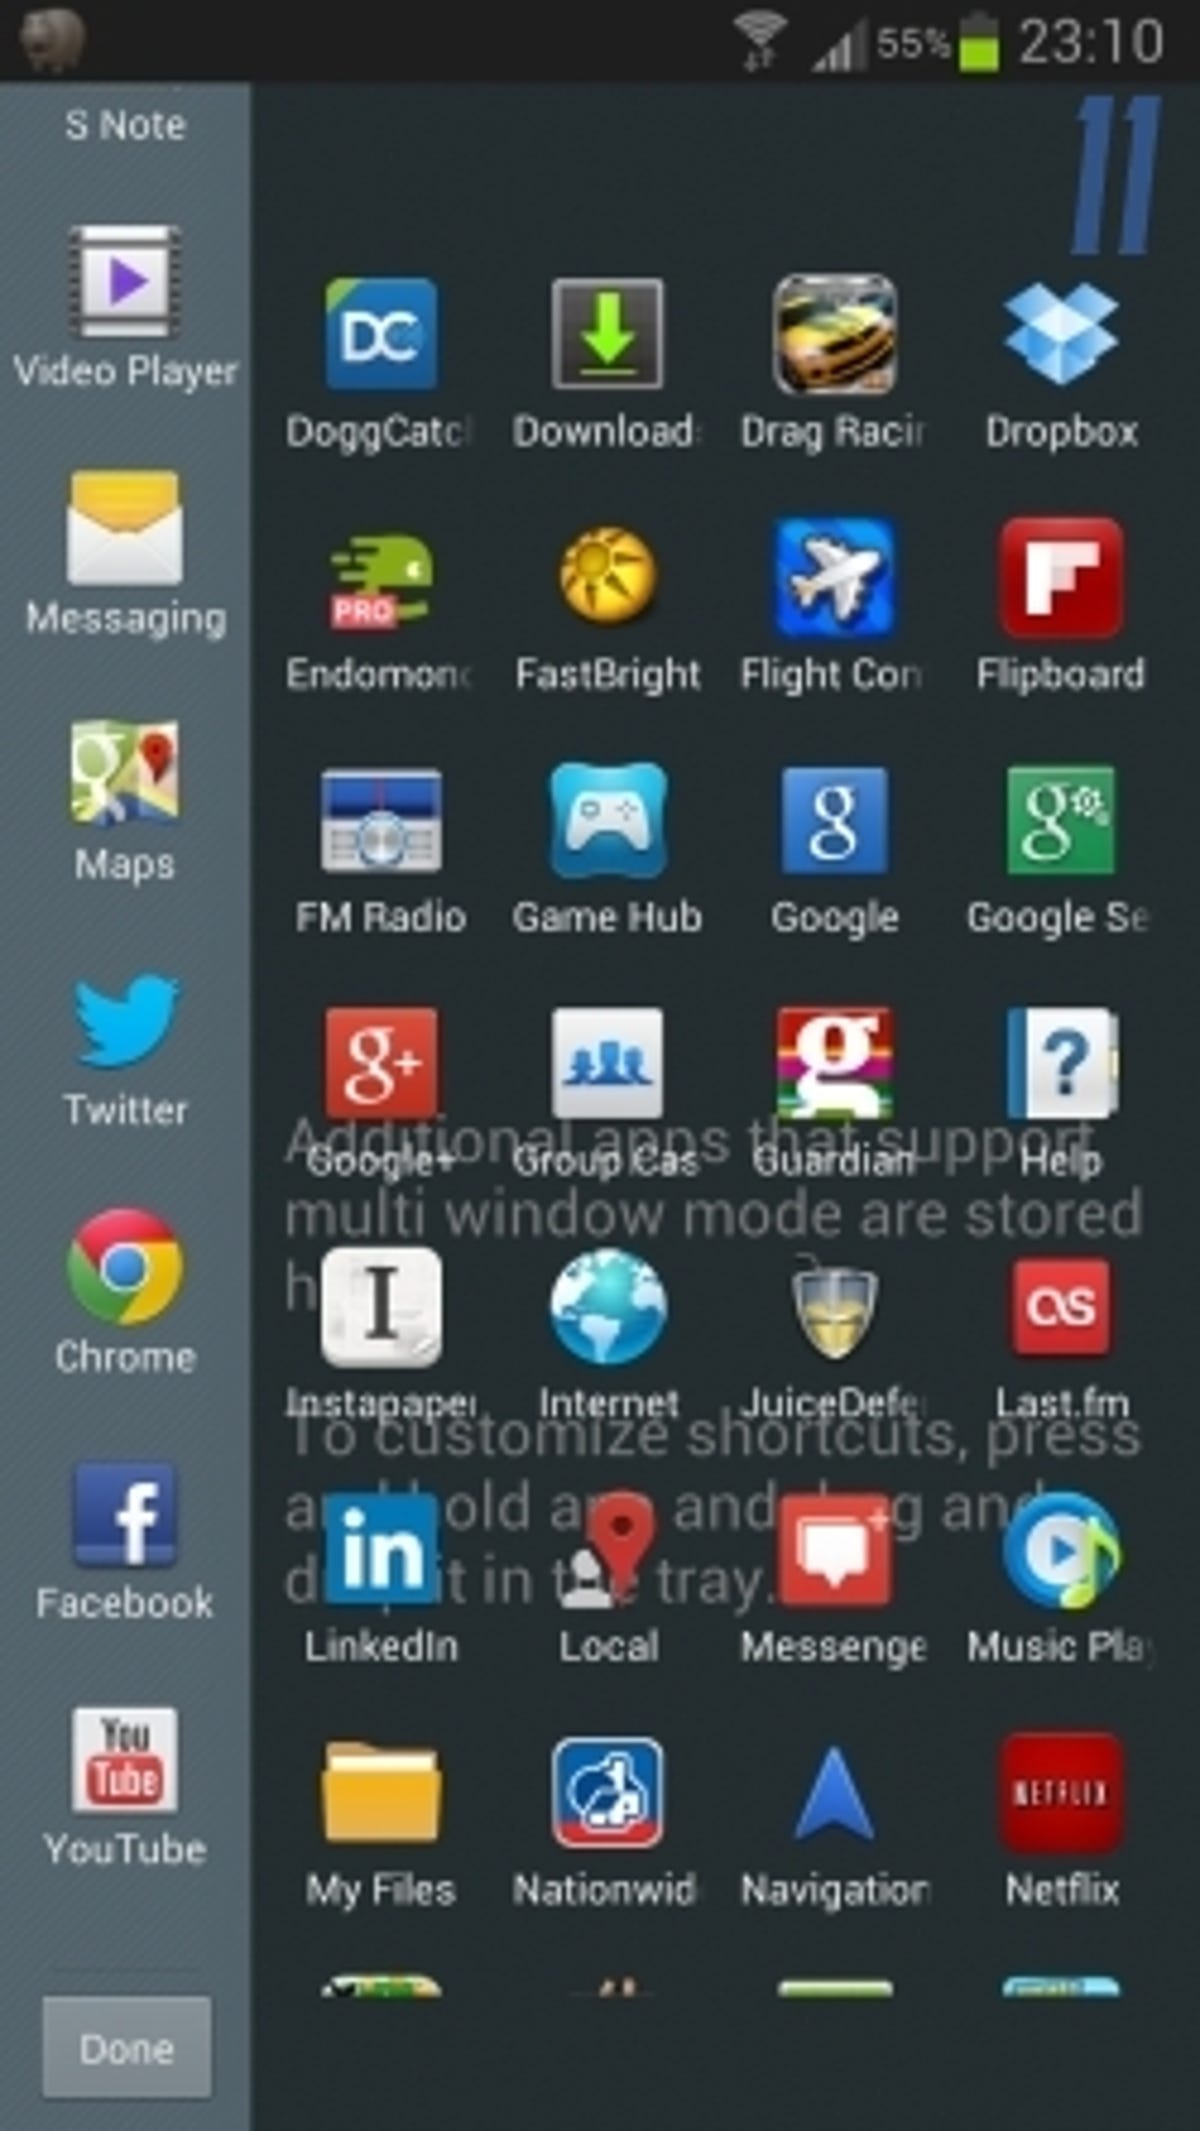
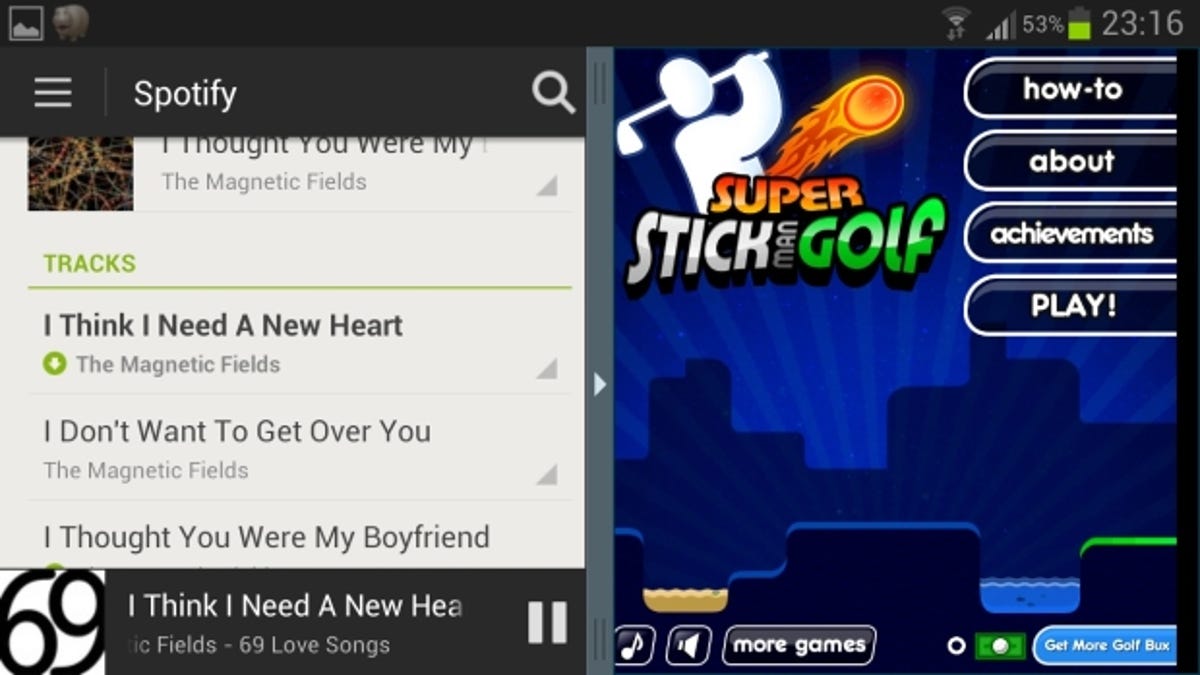
Once rebooted, load up the multi-window interface in the usual way, by holding down on the back button, and pulling out the side panel. Now press Edit at the bottom of the hundrum list of apps currently available, and you'll be presented with every damned one on your Note 2! [11] Drag as many as you like onto the side panel, and mix and match to your heart's content. See the screenshots below for some of our experiments...
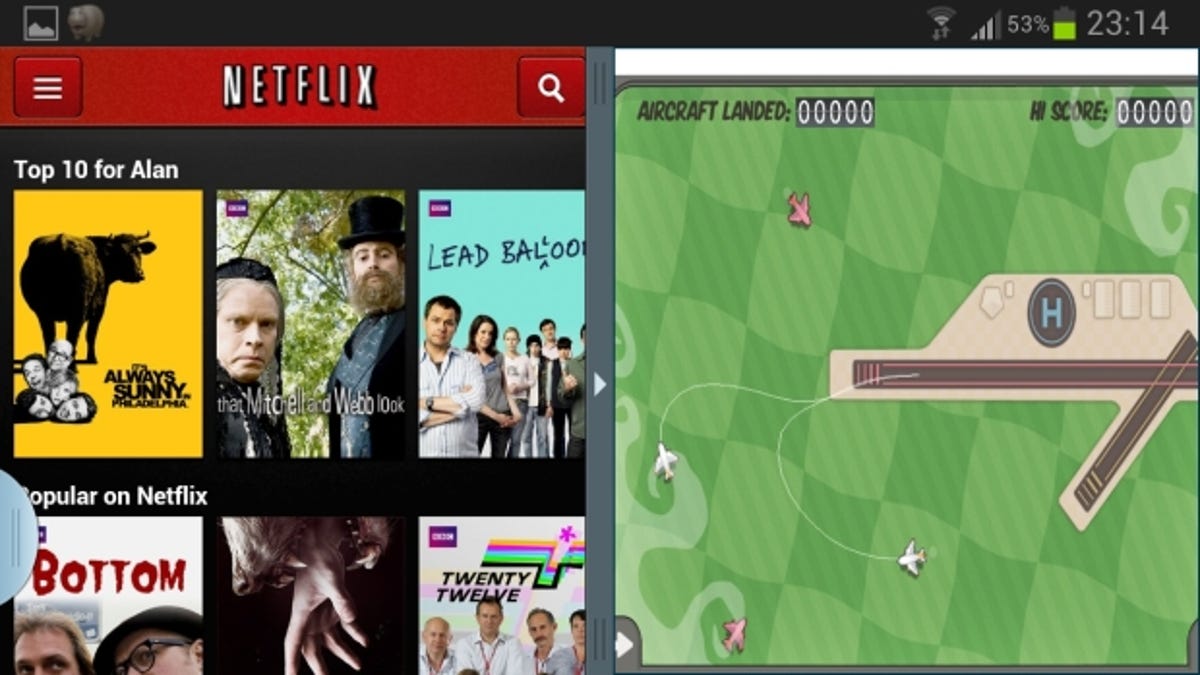
As mentioned before, it can be a little flaky, especially with apps that prefer to play in landscape mode, but if it doesn't work, just remove it from the list and find one that does.
And that's about it. Keep an eye on CNET How To for more handy Android hints in future, and be sure to let us know what apps work best in split screen for you in the comments, or on our side-splitting Facebook page.