How to back up your iPhoto library
Even if you are a regular Time Machine practitioner, it's still a good idea to back up your iPhoto library (or at least parts of it) to a drive or a disc.


A computer crash can be devastating, especially when you lose all of your photos. I trust that if you are a Mac user, you are performing regular Time Machine backups, which saves a snapshot of your entire hard drive and stores it on an external drive. For the extra cautious, you can also save a copy of your iPhoto library to an external hard drive or a disc (because who knows--your Time Machine drive might fail one day). Here's how in iPhoto '11:
Back up to external hard drive
Connect your external hard drive to your Mac and open it. A Finder window will open, showing its contents. Then, open a new Finder window and open your Pictures folder, which contains a file called iPhoto library. Then, drag the iPhoto library file to your external hard drive's folder. If an older copy exists on the hard drive, you'll be asked if you want to replace it. Click Replace and you can sleep easy, knowing you have a recent backup of all of your photos.
Back up to disc
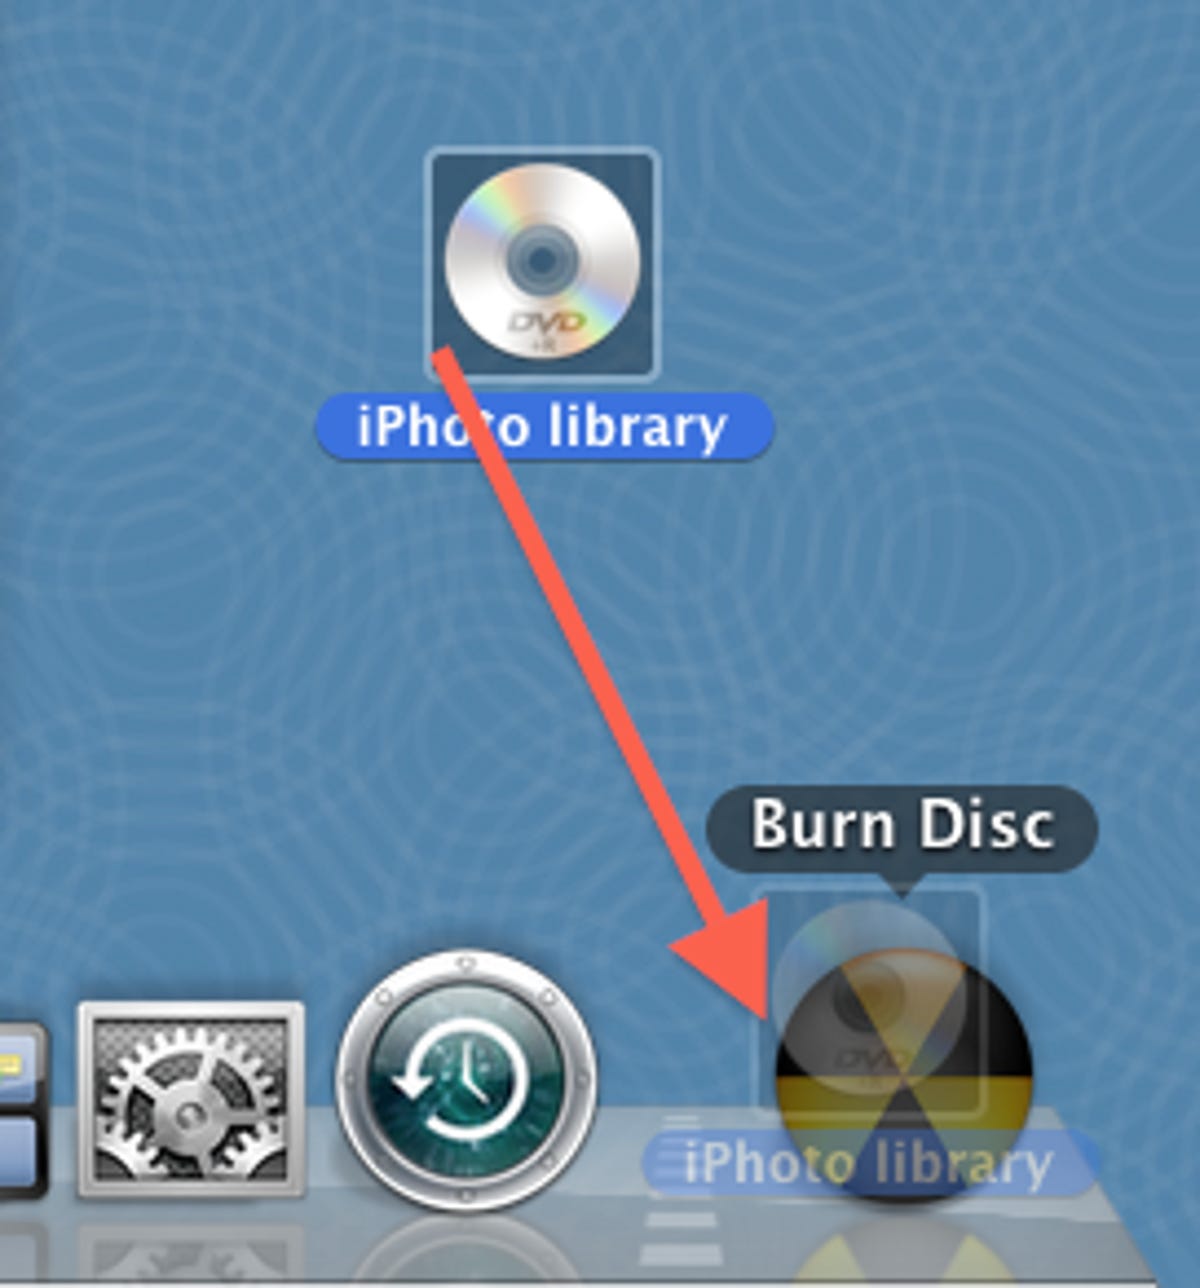
For smaller iPhoto libraries, it's roughly the same process to back up to disc. Insert a CD or a DVD and then drag your iPhoto library from your Pictures folder to the disc's icon on your desktop. Then drag the icon toward the trash, which, when you start dragging the disc icon, morphs into a Burn Disc app. Give the disc a name and click Burn.
If your iPhoto library is too large to fit on a disc, you could just burn parts of it. From the iPhoto app itself, highlight the photos you'd like to copy, and then choose Share > Burn from the menu bar. This is a good method for creating disc backups of, say, your flagged photos, recent events, or latest albums.
For exported slideshows, use Finder to locate those in your Pictures folder and drag them to the DVD folder.
If you want to create a disc of photos that can be viewed on a PC, you must first export the photos to a folder your desktop (File > Export), and then drag that folder to the DVD.
