How to animate Halloween decorations
Learn how to bring your Halloween decorations to life with custom automation provided by a low-cost prop controller called a keybanger.


As someone who likes any excuse to tinker and build stuff, Halloween is my favorite time of the year.
Last year I had some fun creating a custom spooky sound effects board, and showed you how to add some cheap portable speakers to your decorations. This year I'm stepping things up with a basic tutorial on "keybanging."
Don't worry, keybanging isn't as gross or violent as it sounds. The term was introduced to me in volume 30 of Make Magazine. A "keybanger" is a rudimentary prop controller that can be used to automatically switch things on and off using a programmable push-button interface.
Want to make a talking skeleton prop switch on automatically when someone steps on your doormat? Or maybe you just want to be able to wire up a couple strobe lights and a thunder sound effect so they can be triggered using one button. With a keybanger, you can accomplish these types of scenarios quickly and relatively cheaply.

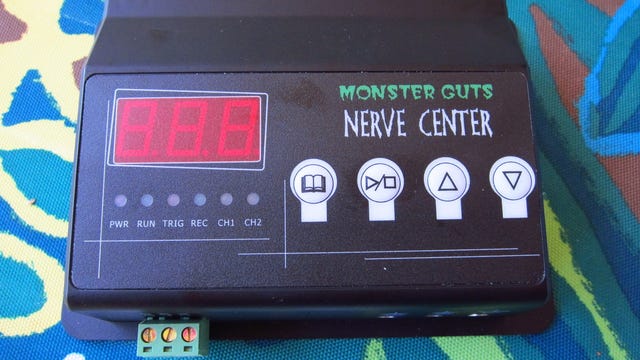
There are a number of keybanger products on the market. For the video above, I went with the same Nerve Center controller ($70) demonstrated in the piece from Make Magazine. The manufacturer (Monster Guts) has since removed the product from its site, but offers a more advanced option called the Raw Brain 2 ($130). For a comparably basic option, check out the PicoBoo AC Kit by Fright Ideas, which requires no cable slicing, but comes at a heftier $140 price and lacks some other features offered by the Nerve Center.
Relay setup
When you boil them down, these keybangers are simply a microcomputer attached to one or more relay switches that can power your connected gadgets on and off. In the case of the Nerve Center, there are two relay switches on the back that can be automated independently. They're labeled COM1 an COM2.
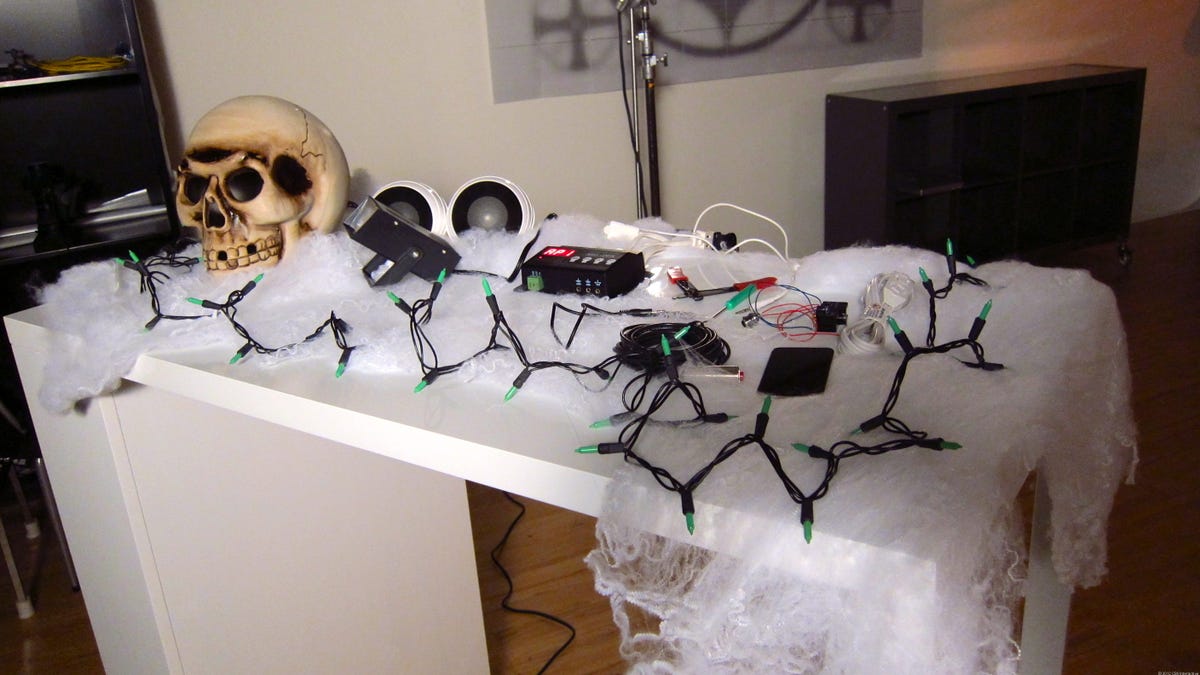
To use them you first have to splice a conventional power socket or extension cable to each relay block. The slideshow below shows the step-by-step process I went through to accomplish this.


Once you have your sockets attached to your relays, you can then think about which types of props or decorations you'd like to control. This can be anything: a simple string of lights, a fog machine, or if you're feeling adventurous, pneumatic air valves to animate your zombie corpse. Each of the switches can handle up to 12 amps of electricity, so you have to be careful not to load them up with too much gear, but there's still plenty of power to work with.
Audio setup
Another cool feature of the Nerve Center is that it can be loaded with up to 2 minutes of audio that can be automatically played back over the included speaker output during the animation. Blinking lights are cool, but blinking lights with sounds of thunder, howling wolves, and snarling zombies is much, much cooler.
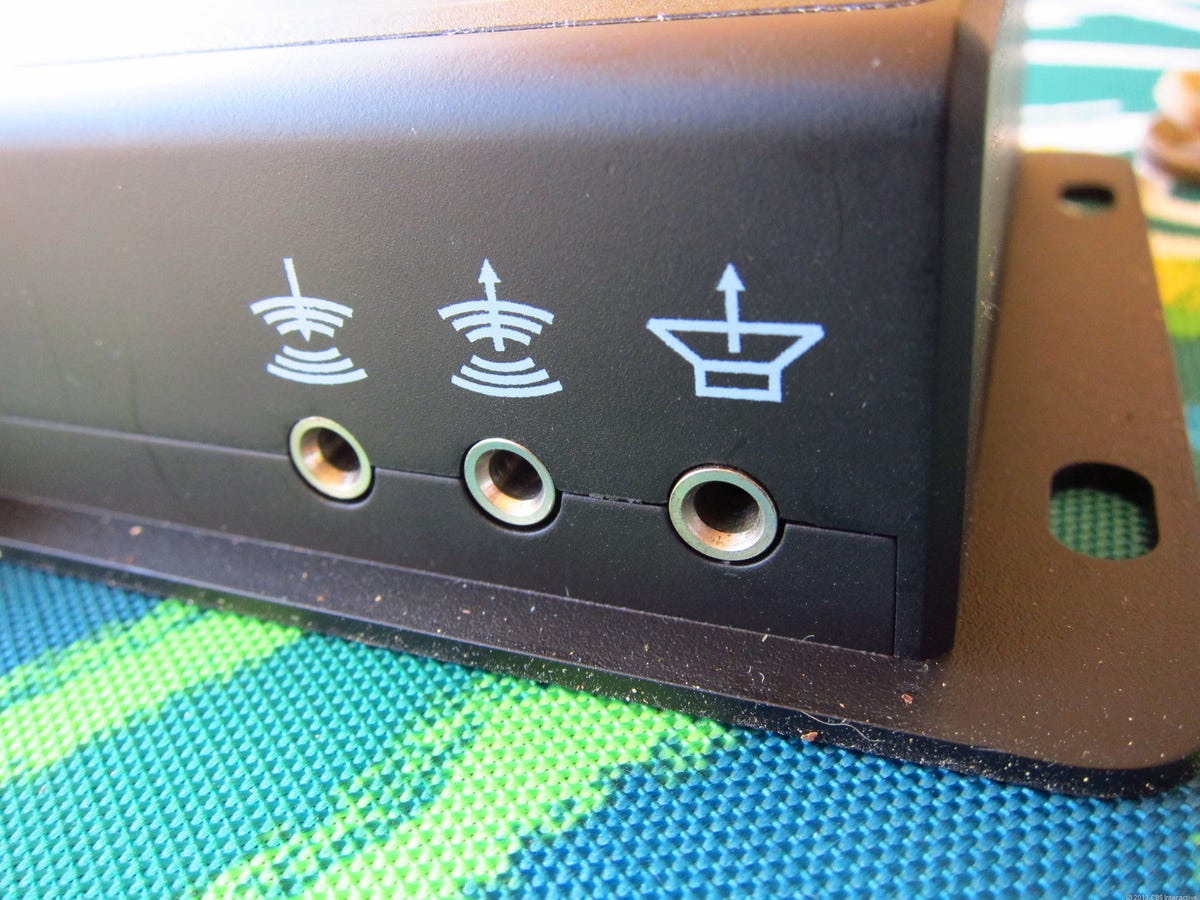
Oddly, there are three audio ports included on the front of the Nerve Center, but only two of them are active. On the far left you have the audio input channel where you can record audio to the built-in memory using the included minijack cable and an audio source like an iPod or your computer. Once ingested, the sound plays back through the output jack on the far right.
Unlike a conventional headphone or line output, however, this is a powered speaker output that is meant to connect to a pair of passive audio speakers. I made the mistake of connecting this to a powered portable speaker I had around and it sounded distorted and awful. Once I located some basic, passive speakers, though, the sound was much better.
Recording automation
After recording some sound and getting your props connected to the keybanger relays, it's time to automate everything by literally banging on the interface keys. In this case I put the Nerve Center into Action Control mode (AC1), press the start button, and then switch the relays on and off in real time by pressing the up and down arrow buttons located on the face of the controller. I press stop when I'm done and then advance the menu button to Action Preview mode (AP1) to play back the recorded sequence and see if it meets my standards of excellence.
If I don't like it, I can just cycle through the menu back to AC1 and rerecord the sequence, or head back to the sound-recording menu to record the music or sound effects again.
Once I'm happy, I can put the Nerve Center into "live" mode, shown on the display as SC1. In this mode, the recorded sequence is activated using the trigger input located on the front of the controller. Unfortunately, I don't have anything connected to it yet.
Adding a trigger
The trigger input on the front can be used with a wide range of devices, including home security sensors, IR beams, pressure-sensitive doormats, and even a good old-fashioned button. For the sake of simplicity, I went with the latter, wiring one up with some leftover wire and a momentary switch I had on hand.
With the two wires I had coming off my home made button, I screwed them down to the GND and IN connections on the front of the Nerve Center. A third connection (labeled 12V) is also included as a means to provide power to triggers such as motion sensors.

Ready to scare!
With everything hooked up and my sequence programmed, I could trigger a custom sequence of spooky Halloween lights and sound for under $100. The only thing scaring me now is figuring out how to raise the bar for next year.