Automate photo edits with Photoshop batches
Repeating the same process time and again when editing photos can be painful. Here's how to automate repetitive tasks using Photoshop's Batch function.


- Webby Award honoree, 2x Gold Telly Award winner
Repeating the same process time and again when editing photos can be painful. Here's how to automate repetitive tasks using Photoshop's Batch function.
Depending on the sort of task you want to perform, Photoshop has a range of options within the Batch function that can save you plenty of time on common photo edits, such as resizing and renaming. For the purposes of this tutorial, we will be resizing a set of images, but this is just one example to show just how many things you can do with actions.
Step one: create an action
This step is important if you want to apply a custom action of your own to multiple images, such as resizing photos to a certain width. Actions can be created using the Action palette, or, if it's not visible on your screen, go to Window > Actions.
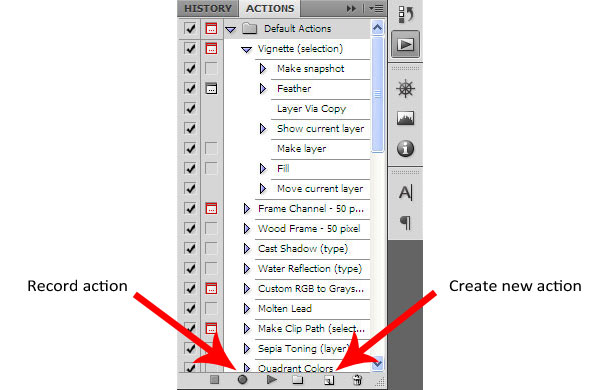
Click the "create new action" icon at the bottom of the palette to name your task, and press the record button to track what operation you want to perform. In this example, we've pressed record, gone to the Image menu and selected Image resize, changing the dimensions to something more web-friendly. Once you have completed your resize, go back to the Action palette and press the Stop icon.
Step two: batch process
Batch actions can be applied in a number of situations; either images that are already open, sourced from a particular folder or imported. From the File menu, select Automate > Batch. This will bring up the window where you can select all the options to process your images to your liking.

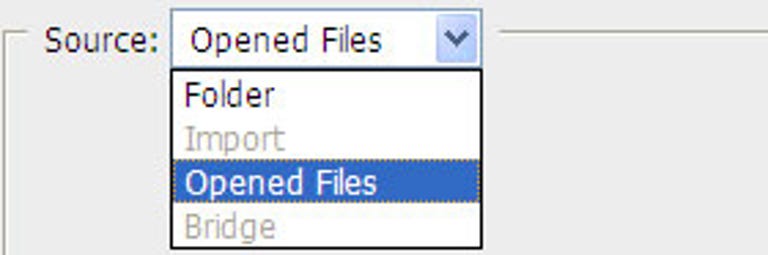
We named our custom resize action from the previous step as "Resize 600 wide", which is the one we will select from the drop-down menu. Next, from the source drop-down menu, select the images you want to apply the action to as a batch process. We are going to resize all of the images already open in the main Photoshop window, and then leave them there to perform more tweaks later. To do this, select "None" from the destination drop-down in the Batch window. Press OK, and the magic will start to happen.
Depending on the number and size of the source files, and how speedy your computer is feeling, this process might take a while. Once the batch process has completed, you will have perfectly resized photos waiting for you in the main Photoshop window.
As mentioned earlier, this is just one example to show you how flexible batch processing can be in Photoshop to save you time.