Windows 10 Settings menu: The Devices tab
This is not the Device Manager you're looking for.


Do you want to see but not touch your devices? Go here!
If you were worried Microsoft might do away with the Control Panel completely in favor the new Windows 10 Settings menu, one glance at the Devices tab should alleviate your fears.
In earlier versions of Windows 10, the Devices tab was surprisingly useless -- you couldn't manage your devices or fix any issues from this menu. But in the Windows 10 Insider Preview Build 14342, Microsoft has added some more functionality (hopefully with more to come). Of course, non-Insiders may not see all of this functionality just yet, but it's something to look forward to in the Windows 10 Anniversary Update.
To find the Devices tab, open up the new Windows 10 Settings menu by going to the Start menu, then clicking Settings (above the Power button), and clicking the icon that says Devices. This icon takes you to the Devices tab -- more robust than Windows 8.1's Devices section (Settings charm > PC settings > PC and devices > Devices), but decidedly less robust than the Device Manager, which you can still find by right-clicking on the Start icon.
The Devices tab combines Windows 8.1's Devices section with a handful of settings pertaining to your mouse, touchpad, and keyboard. It's separated into six sections: Printers & scanners, Connected devices, Mouse & touchpad, Typing, AutoPlay and USB.


Printers & scanners is where you'll find -- you guessed it -- printers and scanners that are connected to your PC. This includes anything that works like a printer or a scanner, including programs that let you "print to PDF" or write documents. At the top of the screen, you'll see an option to Add a printer or scanner, and clicking on any existing device gives you the option to set that device as default or remove that device.


Clicking on any of your listed devices gives you the option to view that device's queue (Open queue),manage the device, or remove the device. Clicking Manage will take you to a separate Manage your device screen, where you can see the device's status or do things like Print a test page, Run the troubleshooter, or view Printer properties.

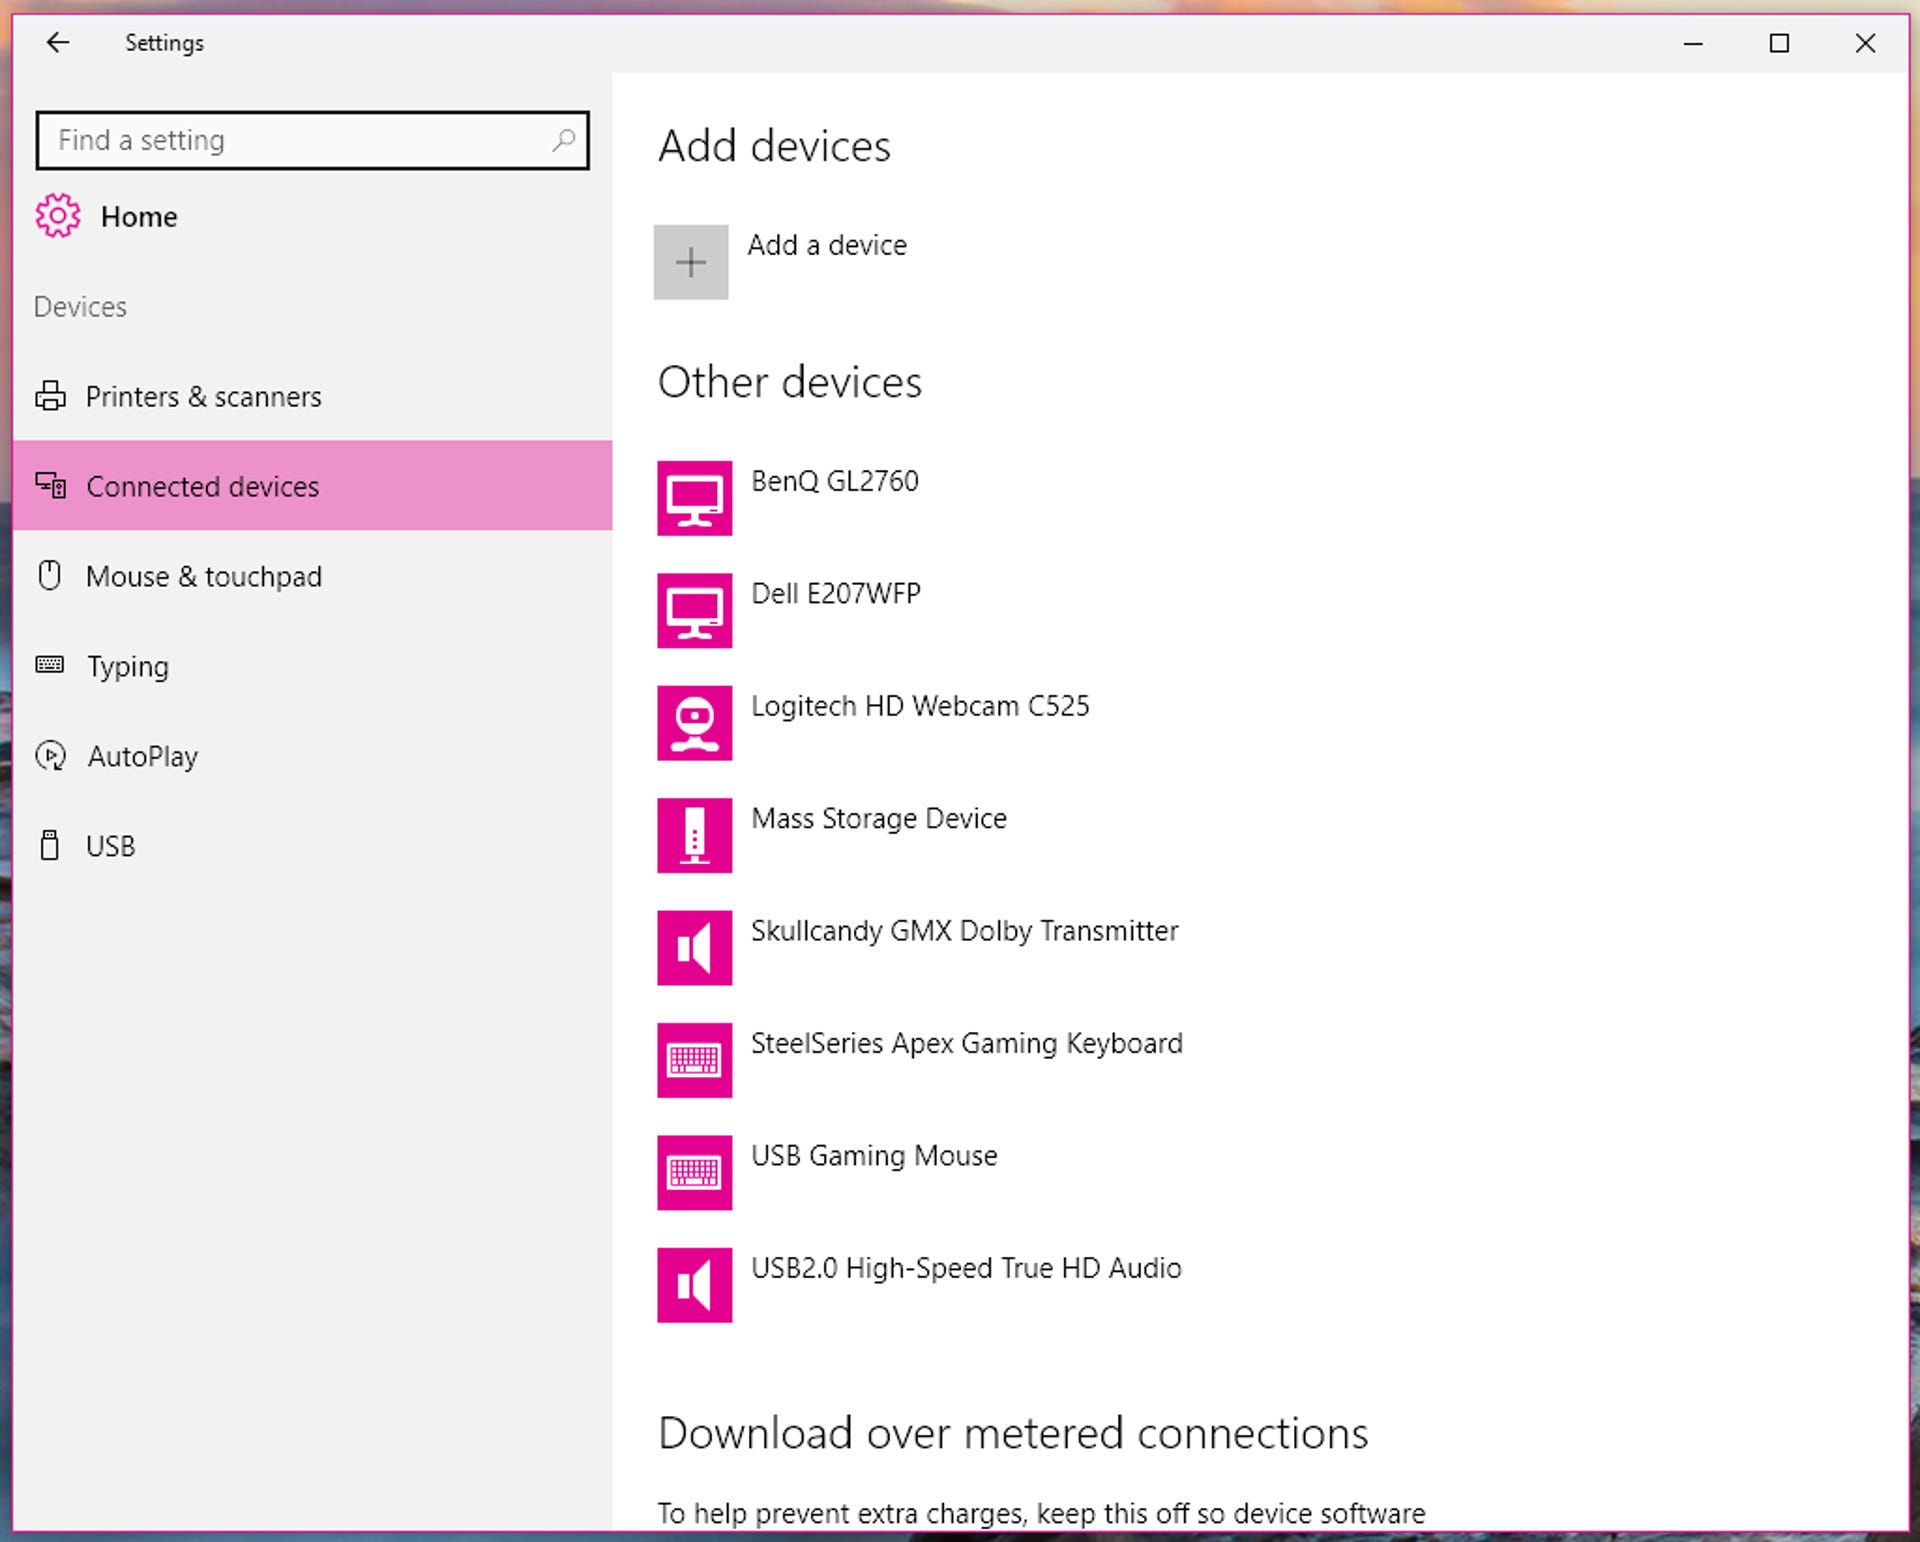
The Connected devices section is similar to the Printers & scanners section, just for devices that aren't printers or scanners. At the top of the screen you'll see an option to Add a device -- while most of your devices will not need to be manually added if they're plugged in, if you click this your PC will initiate a Bluetooth scan (mine picked up several cellphones from around my apartment complex).
Next, you'll see a list of currently connected devices under Other devices. These devices will include keyboards, mice, speakers, microphones, monitors, webcams and Bluetooth devices. Unlike the Printers & scanners section, you cannot manage these devices from this page -- you can remove them, and that's it. At the bottom of the screen, in the Related settings section, you'll see links to the Devices and printers and Device manager windows, where you will be able to manage these devices.
You can choose whether you want your PC to download device drivers over metered connections. The default setting is off -- your PC will only download device software, including apps, when you're connected to a non-metered connection -- but you can turn it on if you want up-to-date device software at all times.
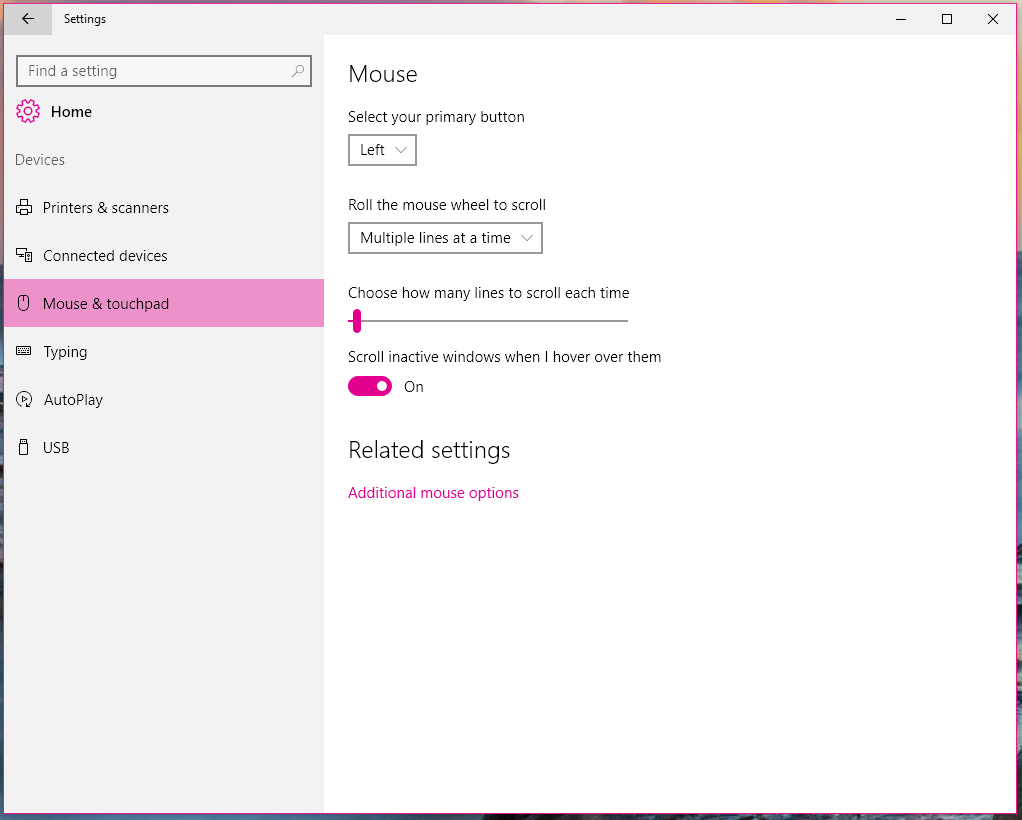
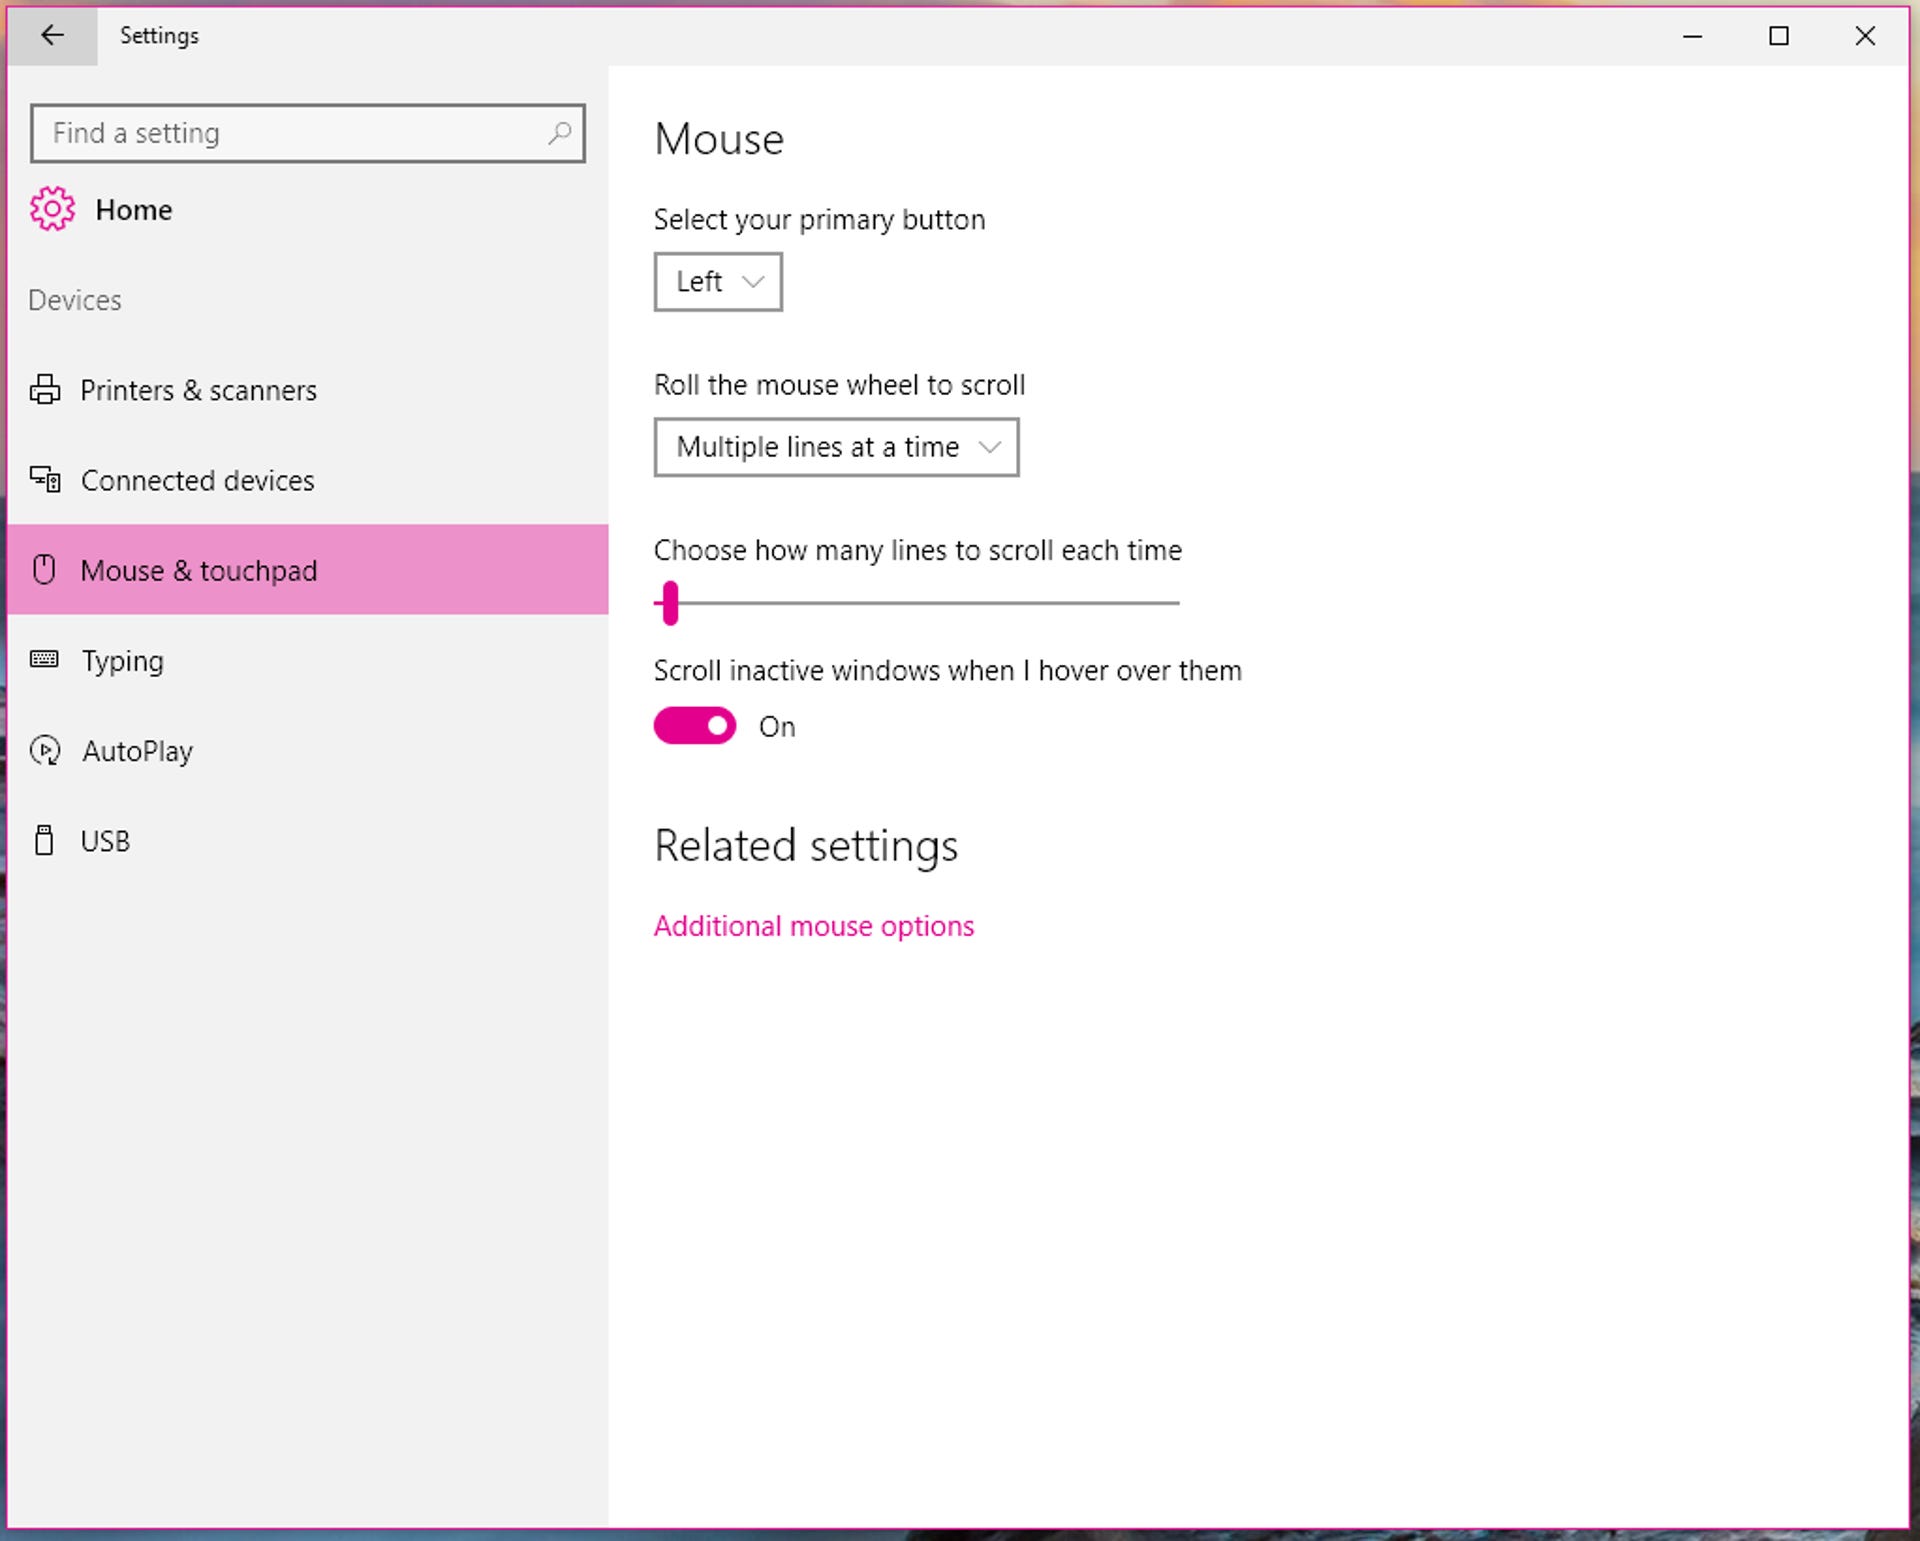
Mouse & touchpad lets you configure a couple of mouse and touchpad settings, such as selecting your primary mouse button and choosing whether to scroll multiple lines at a time or screen by screen. If you want to configure more advanced mouse settings, such as setting the double-click or pointer speed, you'll have to go into the Control Panel. You can do this by clicking the Additional mouse options link under Related settings.
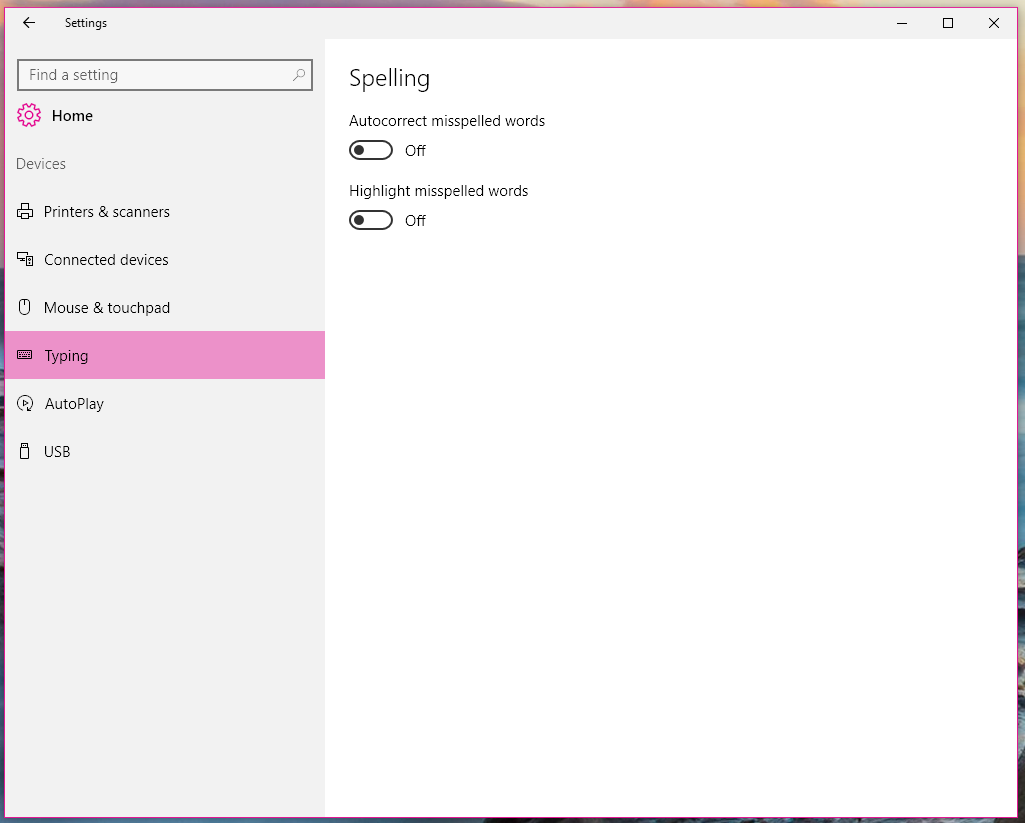

Typing appears to be deceptively labeled, as it doesn't take you to the keyboard -- either physical or touchscreen -- settings, but merely has two toggles for autocorrect and "highlighting misspelled words." Sorry, but is this a phone or a PC I'm using?
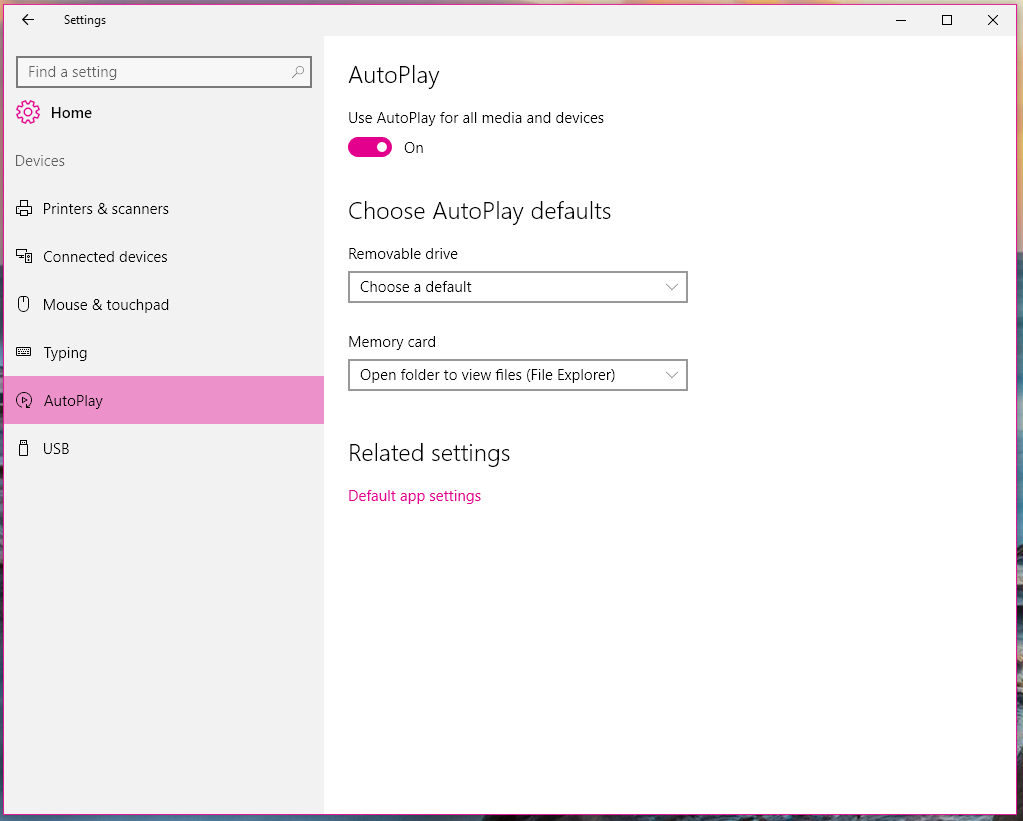

AutoPlay is actually a useful section, because this is where you toggle AutoPlay on and off and choose AutoPlay defaults. AutoPlay automatically launches apps depending on what type of removable media/devices you plug in. You can choose to have AutoPlay automatically play media, open a folder to view files, take no action or prompt you to manually choose every time.
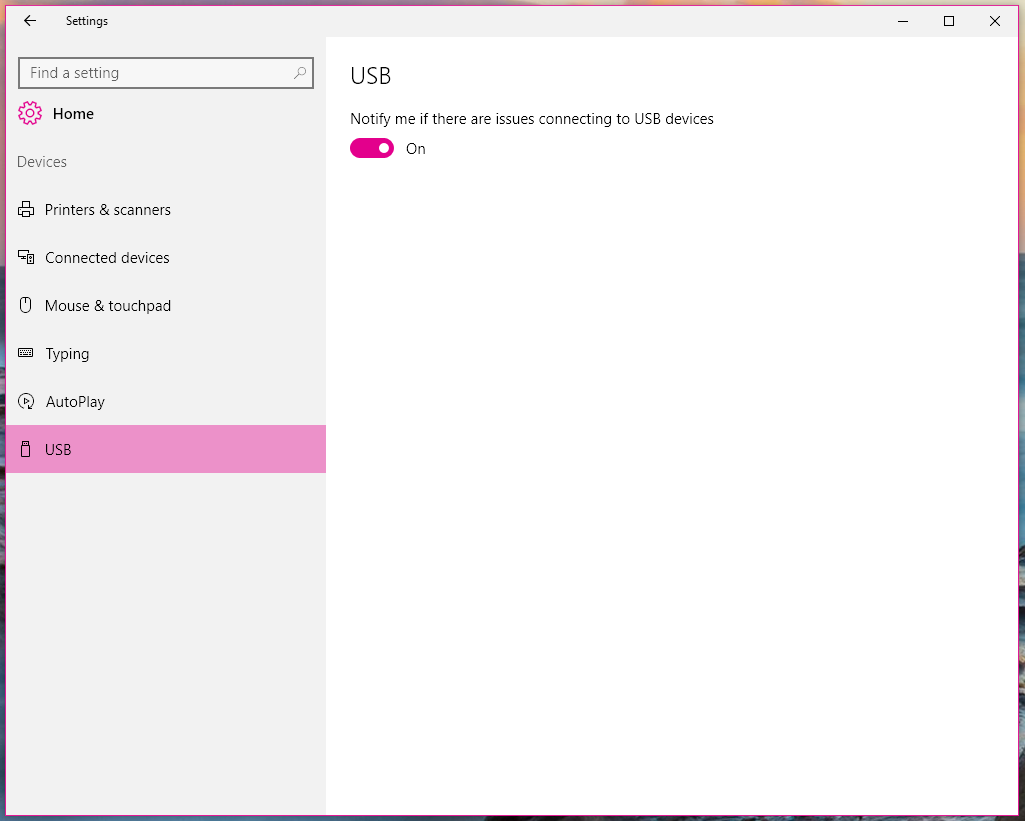

The USB section debuted in the November 2015 build of Windows 10 (10586) -- and it contains a toggle that lets you choose whether to be notified if there are any problems when you connect a USB device.
Editors' note: This How To post was originally published on January 27, 2015, but was updated on May 20, 2016, to reflect new information from Windows 10 Insider Preview Build 14342.