Three tips for a smoother Apple Pay experience
Apple Pay is already easy enough to use, but with a few tips you can tailor the experience to fit your needs.


Apple Pay is arguably the most straight-forward mobile payment solution we've seen thus far. Tim Cook announced it has seen over 1 million users activate a card on the service in the first 72 hours -- more than the number of users who signed up for all similar services combined.
Yet with its ease of use, and simplistic approach, there are a few tips and settings you should know about.
Selecting a card at checkout
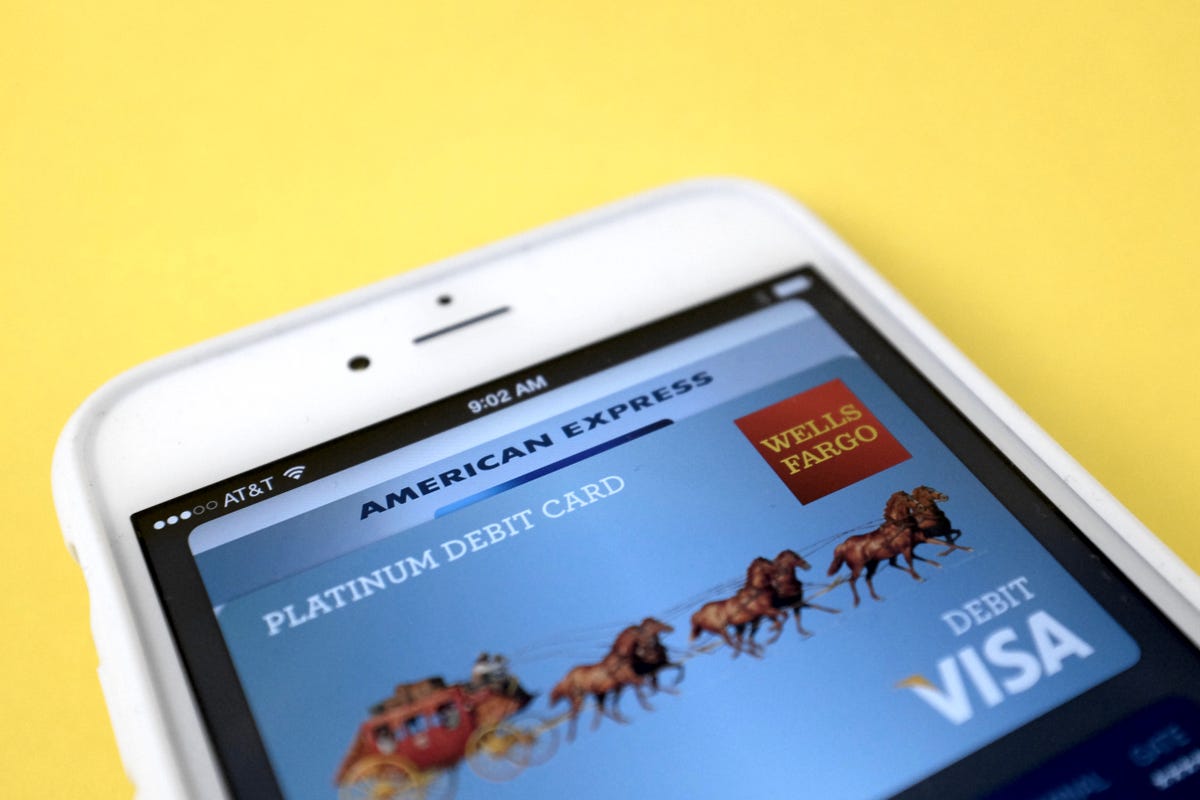
There are two ways to pay with Apple Pay at an NFC terminal. The first is to tap your phone to the terminal with your finger on the Touch ID button. Leaving your finger in place causes your default card to be used to process the payment.
The second method allows you to tap your phone to the terminal, without your finger on the Touch ID button, which brings up a list of the cards you've added to your Apple Pay account. You can then select the card you want to use for the transaction, place your finger on the Touch ID button and complete your purchase.
Transaction details
Apple Pay isn't just a form of payment within physical retail stores. Developers can add Apply Pay to iOS apps, making it possible to order a ride through Uber, or a new case for your iPad Air 2 in the Apple Store app using your fingerprint.
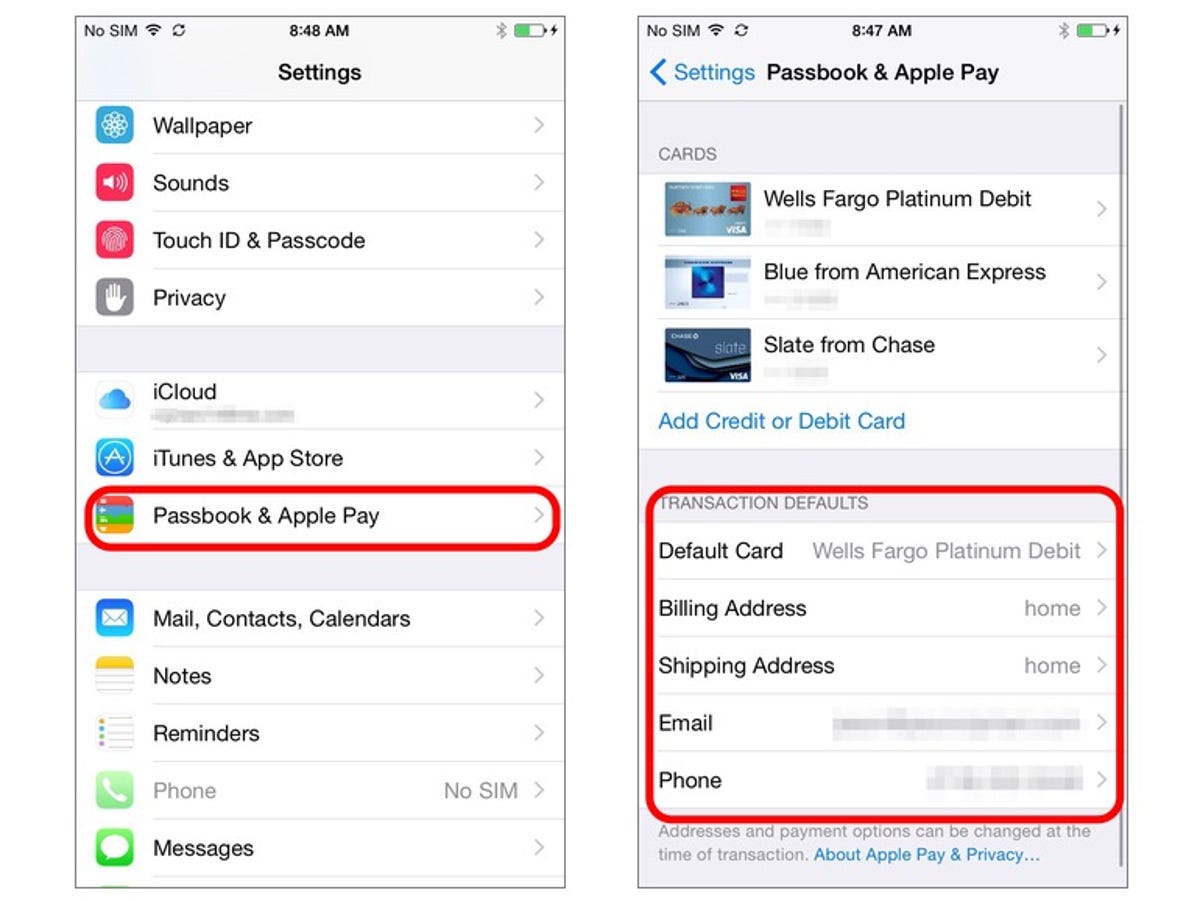
In order to save yourself some time with your first in-app Apple Pay purchase, add your billing and shipping info to your account.
- Launch the Settings app.
- Find and select Passbook & Apple Pay.
- Fill out the fields under the Transaction Defaults section.
Disable Alerts
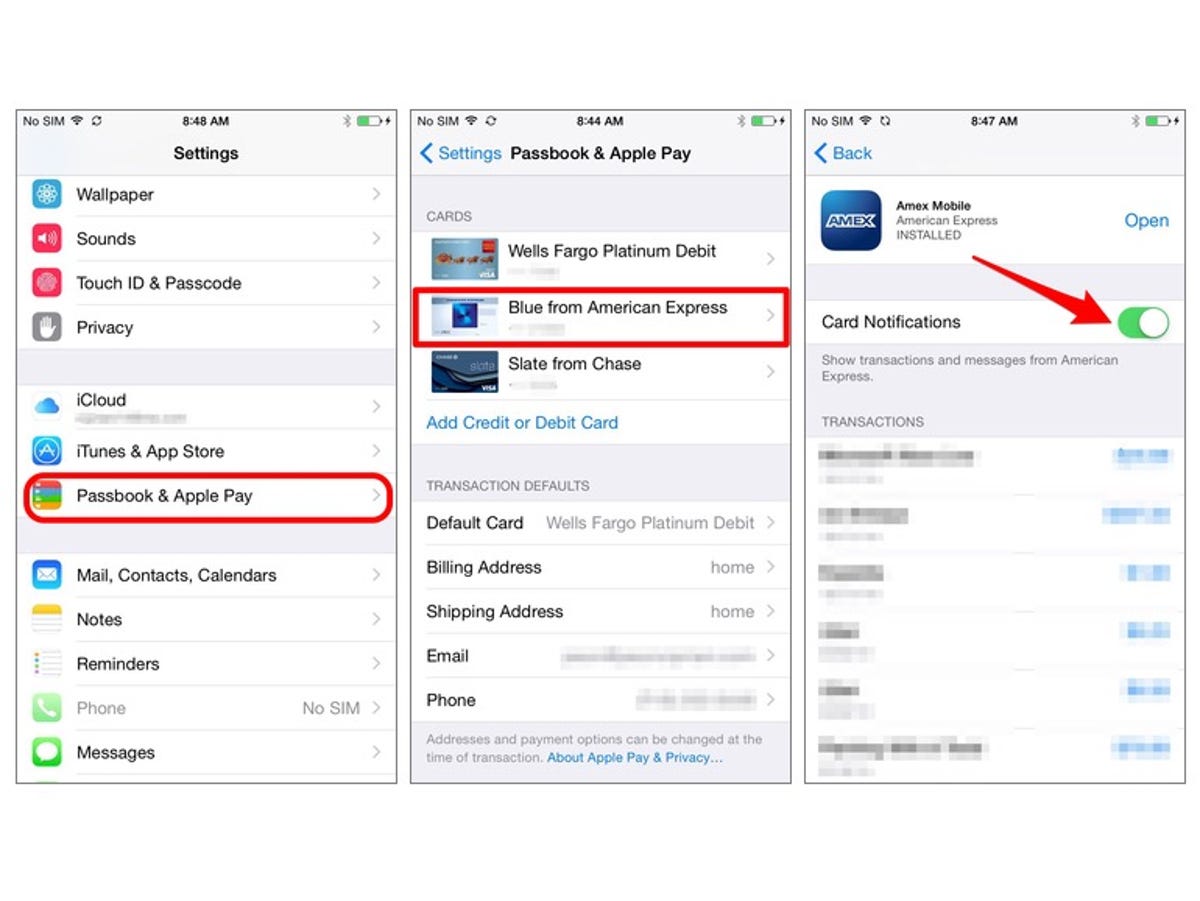
Some service providers offer instantaneous alerts when an Apple Pay transaction goes through. Though, for those who don't want to receive an alert for each transaction, they can be a tad annoying. Luckily you can disable alerts on a card-by-card basis.
- Launch the Settings app.
- Find and select Passbook & Apple Pay.
- Select the card you want to disable alerts for.
- Move the Card Notifications switch to the Off position.
Remember, you will need to independently setup each device you use Apple Pay on. Since Apple stores your payment information in the "secure enclave," it doesn't sync between your devices as your Passbook Passes do.