Make your portable hard drive faster by upgrading to USB 3.0
USB 2.0 portable hard drives are common and ideal for compatibility, but are slow performers. Upgrading your portable hard drive to a USB 3.0 enclosure will increase its performance significantly. We'll show you how to upgrade your drive to USB 3.0.


The most common portable hard drives have USB 2.0 connections, which are great for compatibility, but terrible for performance. If you have an old USB 2.0 portable hard drive, you can increase its transfer rates by upgrading it to USB 3.0. For as little as $15, you can double your drive's real-world performance. Here's how:
Disclaimer: Opening your portable hard drive's enclosure will likely void your warranty. It's also possible that you'll damage the original enclosure and or the internal hard drive. We recommend you back up any data that may be on the drive before proceeding.
Remove the hard drive from the old enclosure
The most difficult part of the upgrade is figuring out how to crack open your old hard drive's enclosure. Look for seams to give you clues on how the enclosure is put together. If you can't find any obvious screws, they may be hidden. Check under rubber feet or other adhesive rubber covers.
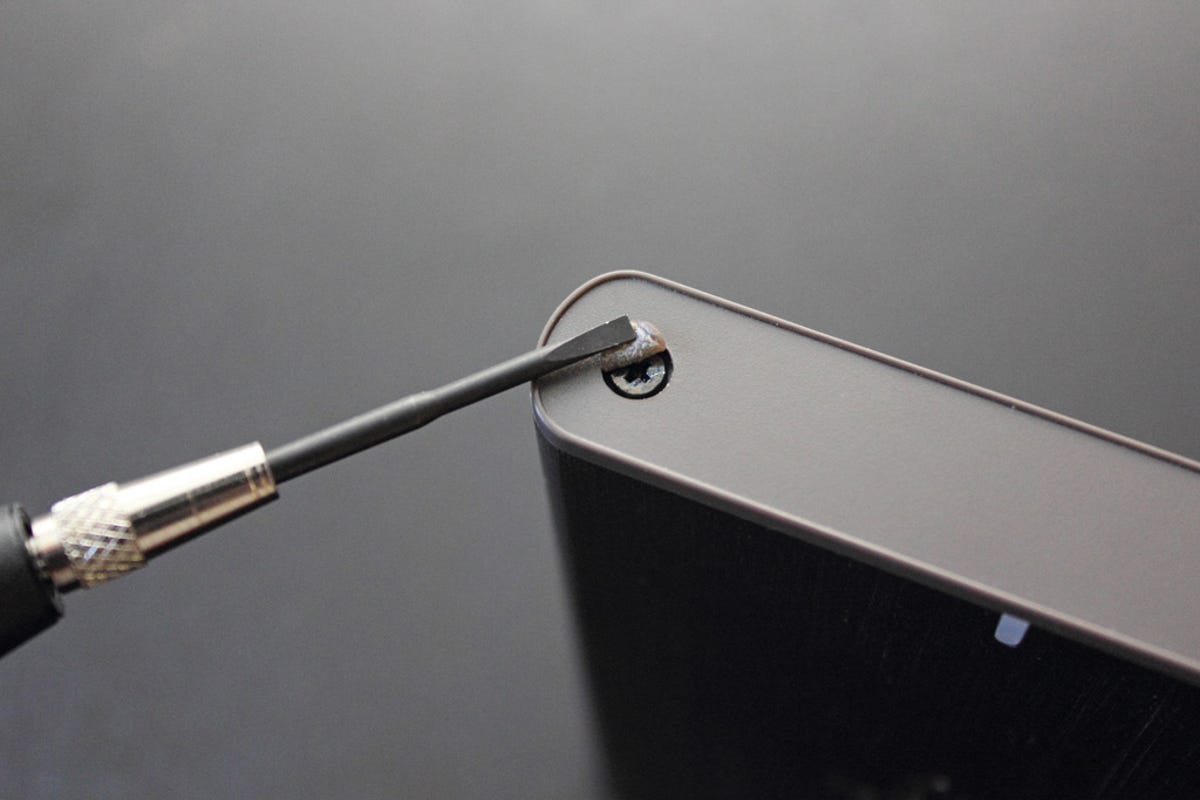
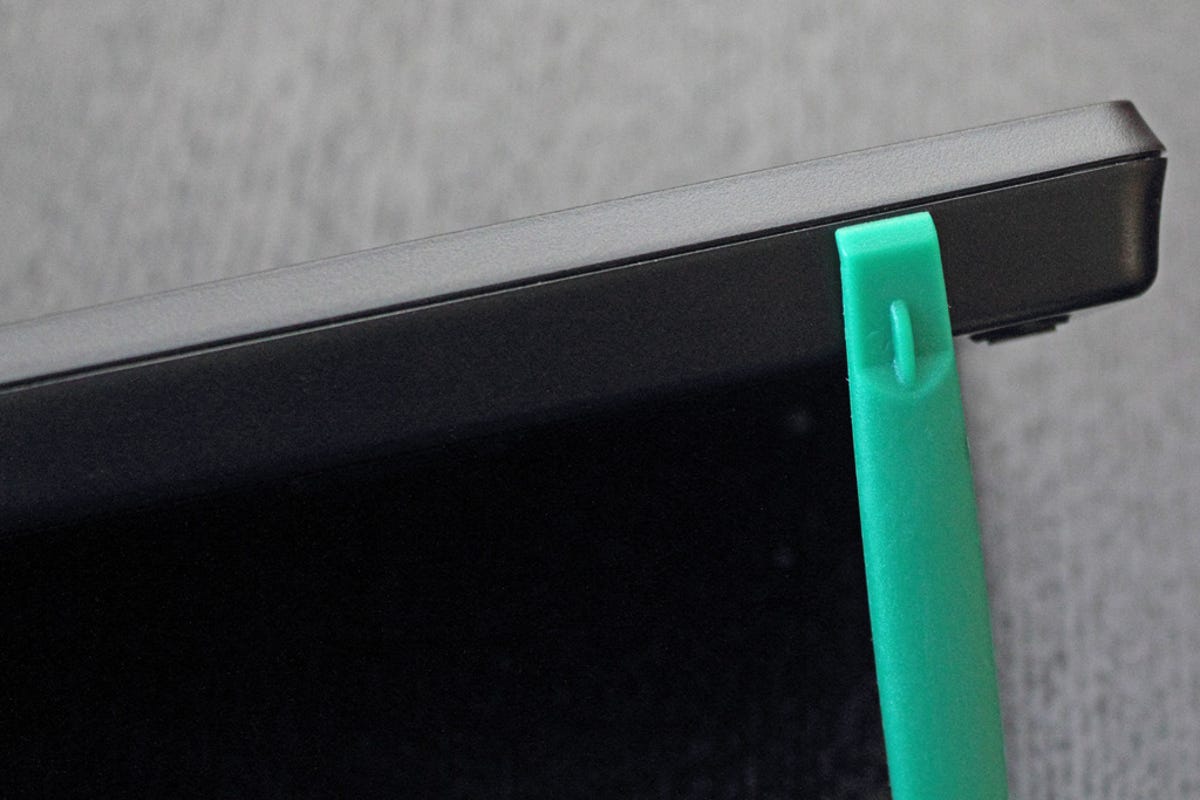
There's also a chance that the enclosure uses tabs instead of screws. In that case, you may need to use a spudger to separate the enclosure.
Once you've opened the old enclosure, remove any mounting screws from the tray that may be located on the sides or the bottom.
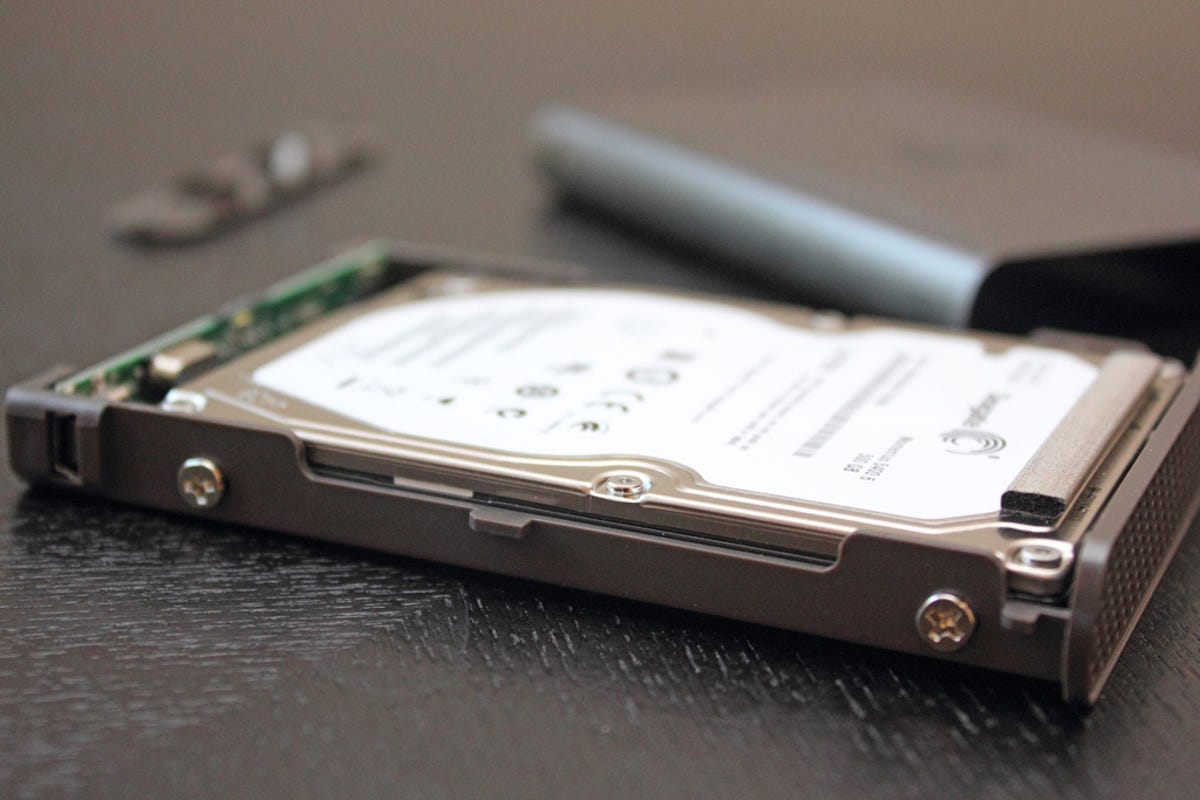
When the drive is no longer mounted on the tray by screws, carefully remove the drive from the SATA connector of the enclosure.

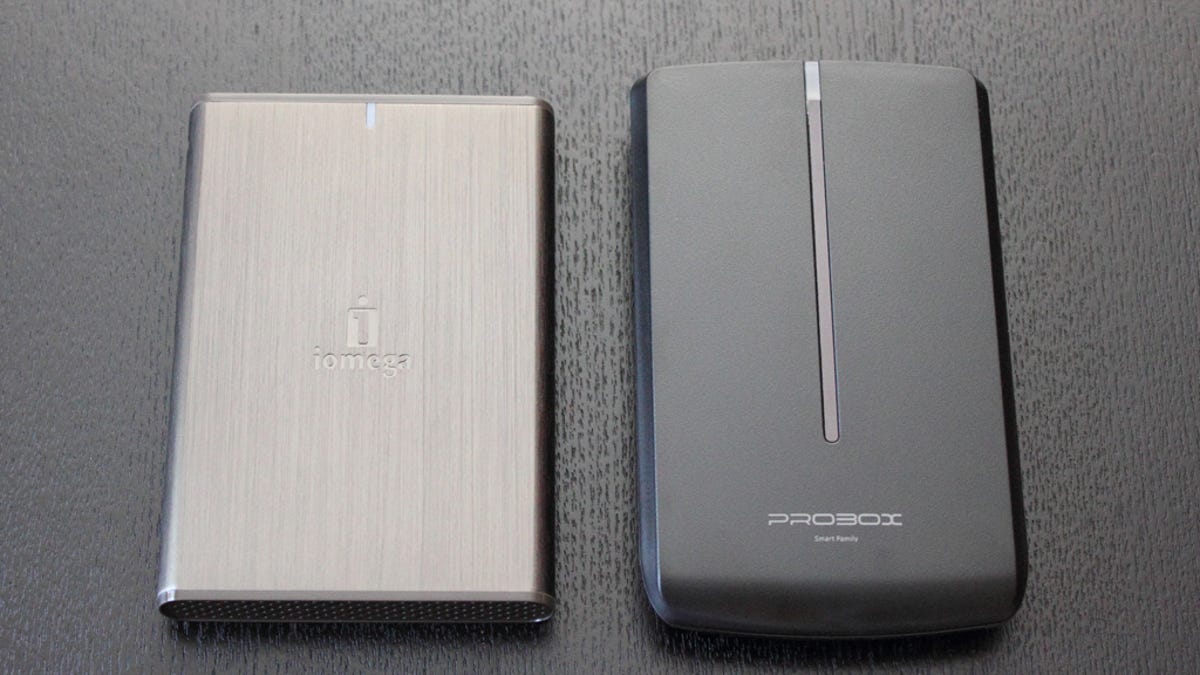
Pick a new USB 3.0 enclosure
There are a couple of factors to consider when choosing an enclosure. We went over some of them in a previous post on building external hard drives. In this case, we just need to make sure that our enclosure is USB 3.0, then decide whether we want a plastic or aluminum enclosure.
Aluminum is better at cooling and more durable, but it's also more expensive. Paying too much for an enclosure will defeat the purpose of this exercise, since new USB 3.0 hard drives aren't that expensive these days. A plastic enclosure will work fine, as long as you don't intend to keep it running all day long. Newegg has a great way to search enclosures based on features, so you might want to start there.
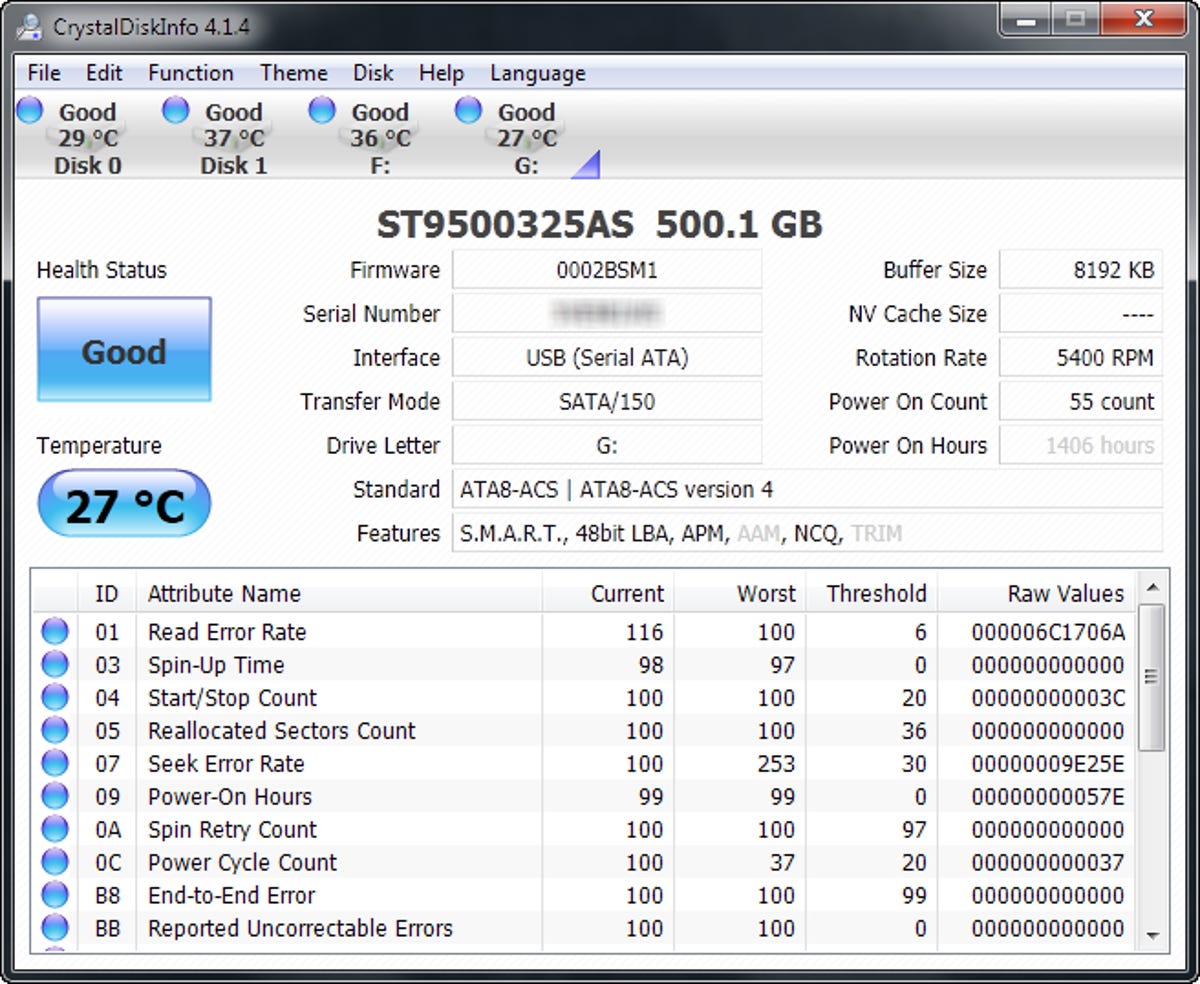
One last thing to consider is the physical height of the hard drive. Many 2.5-inch portable hard drives are 9.5mm in height, but some are 7mm or 12.5mm. Do an Internet search of the model number of the hard drive you pulled to find the height, then try to match it with a compatible enclosure. If you're not sure how to locate the model number, you can also run CrystalDiskInfo for Windows to find it.
Install your old hard drive into the new USB 3.0 enclosure
Follow the instructions from your new enclosure to install your hard drive. Most enclosures will take less than five minutes to install. Once you've finished putting the drive together, plug it in to a USB 3.0 port and enjoy your much faster portable hard drive. You should see a noticeable increase in performance, similar to the drive used in this tutorial, which went from a read/write rate of 40MB/s on USB 2.0, to 80MB/s on USB 3.0.
