iPad Air: How to set up and use Apple's new Touch ID fingerprint sensor
The new iPad Air is the first Apple device to have a fingerprint reader under the power button. We'll show you how to set it up.


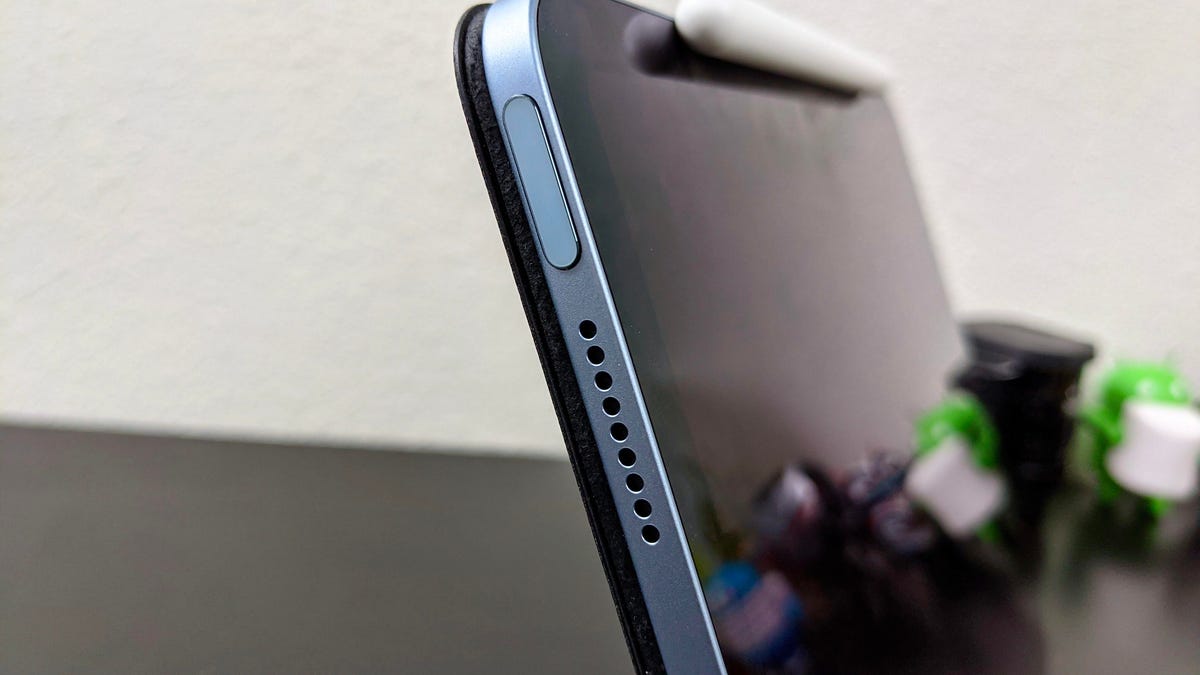
The iPad Air's new Touch ID sensor.
The fourth-gen iPad Air features a completely new design in the same vein as the iPad Pro. The new Air has flat edges, ditches the home button and adds a USB-C port. Apple used the same design with the iPhone 12 lineup, save for a USB-C port. But one thing it doesn't carry over is Apple's facial recognition tech, Face ID. Instead, you'll use a fingerprint to unlock the tablet, approve purchases and sign into apps.
For the first time on a mobile device, we're seeing Apple's new Touch ID sensor hidden under the power button. Or, as Apple calls it, the "top button." When holding the iPad Air vertically, you'll find the button on the top-right edge, near the corner. When it's connected to an accessory like Apple's Magic keyboard , it'll be on the left-hand side, near the top.
Integrating Touch ID into the power/lock button is a feature Apple should bring to the new iPhones, as well, considering Face ID is all but useless when you're in public and wearing a face mask.
Apple isn't the first company to use this type of fingerprint sensor. Microsoft's Surface Duo and several Samsung Galaxy phones all have a similar biometric setup.
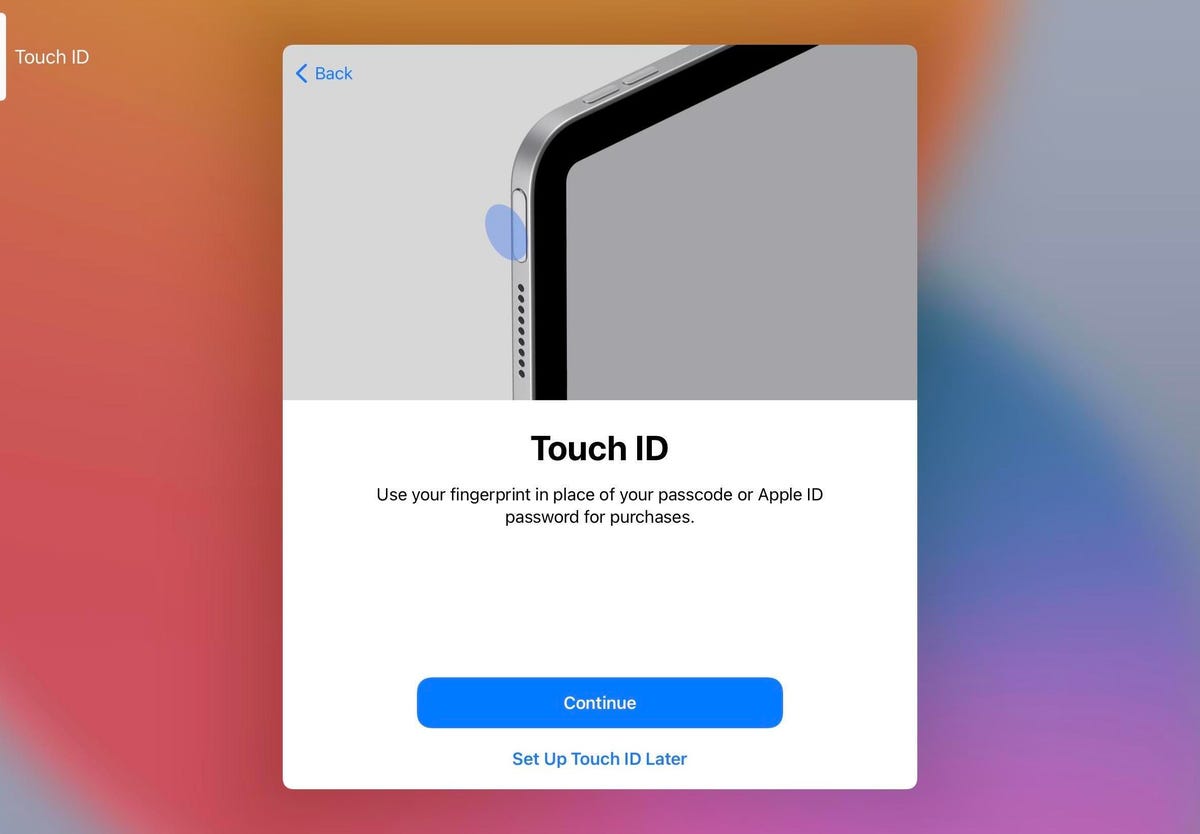
During initial setup, you're walked through registering a fingerprint with Touch ID.
How to set up Touch ID on your iPad Air
Even though the sensor is now on the side of the iPad Air, the setup process will be the same.
During the initial setup, you'll be asked to place your finger on the sensor multiple times, lifting it and adjusting it between each reading, in order to teach Apple's Secure Enclave (where your fingerprint data is securely stored on the device). You can repeat this process up to five times, using a different finger each time, or register multiple reads of the same finger to provide even more data from a variety of angles.
If you skipped past Touch ID setup or want to register more fingerprints, you can add them at any time by opening the Settings app and going to Touch ID & Passcode. Then enter your PIN code, tap Add a Fingerprint and follow the prompts.
Just leave your finger on the button for a split-second and it'll magically unlock.
How to unlock, sign in to apps and buy stuff with Touch ID
The iPad Air's top button will work exactly like the home button does on previous generations of iPads and iPhones.
You can press the button and simultaneously wake the iPad and unlock it, or if the iPad is already awake you only need to place your finger on the button until the device unlocks and goes to the home screen, as shown in the animated image above.
If you need to log into an app or approve a purchase, you simply place your finger on the button (without actually pressing it in). It only takes a fraction of a second to analyze your print to unlock the iPad Air, approve your login and authenticate your purchase on a website.
See? Same method, just in a different shape. If you've just unboxed your iPad Air and are looking for new features in iPadOS 14, we have you covered. We also have rounded up iOS 14 features, some of which also work on the iPad. Same goes for the hidden features we've found.