Install your new Ring Video Doorbell Pro in 10 easy steps
Don't be daunted by electrical wiring. We show you everything you need to know about mounting Amazon's video doorbell at home.


Update, Sept. 28, 2021: Amazon hosted an event today to show off the latest editions to its growing lineup of devices as well as updates on its services. You can read a recap on our event coverage page. Original story follows.
Read more: Amazon's smart products lead the market even as trust in the company lags
So, you just bought a Ring Video Doorbell Pro to keep an eye on your front door. Now what? It's time to dive into the installation, but don't fret. This $249 hard-wired buzzer from Amazon's smart home company Ring is easier to install than you might think. Yes, it does involve some electrical wiring, but I'm going to walk you through each and every step so you know what to expect. And as always, consult a professional electrician if you have any questions about your particular home setup.
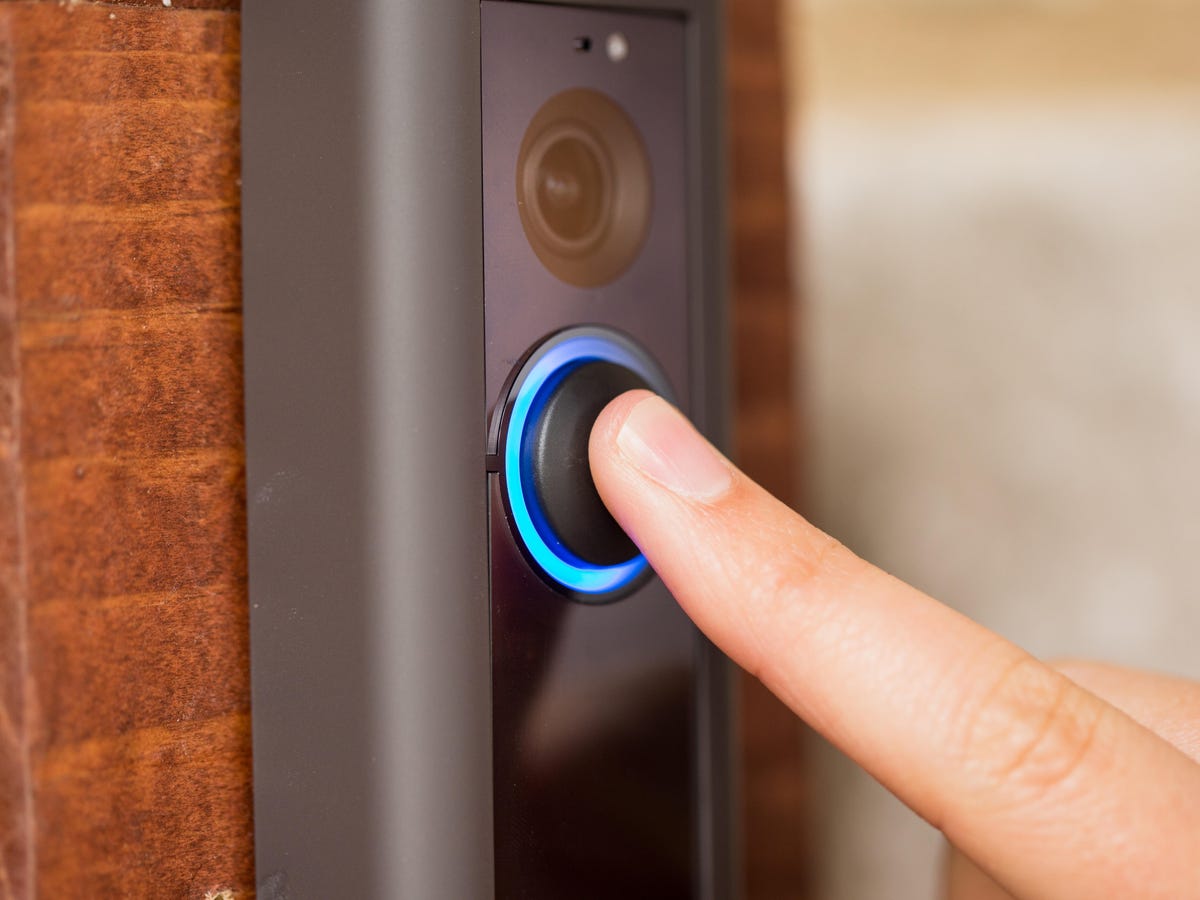
The hard-wired Ring Video Doorbell Pro costs $249.
Step 1: Test your Wi-Fi
Before you get started, use your phone to take a network speed test at the spot where you plan to install your Ring Video Doorbell Pro. As with any Wi-Fi-enabled device, its quality is only as good as the connection where the product is installed. With a live-streaming video doorbell , a slow connection can cause lag times, pixelation in the video feed and other issues.
If your connection is slow, try these handy tips to improve your Wi-Fi connection.
Step 2: Download the Ring app
Download the Ring app and create an account if you don't already have one. If you do, log in using your existing account info.

The Ring app walks you through each step.
Step 3: Select Set Up a Device in the app
On the home screen click on Set Up a Device and choose Doorbells from the list of devices. Next, grab your doorbell and scan the QR code on the side of the doorbell.
Step 4: Enter your address
Next, the Ring app will ask you to enter (or confirm, if you have an existing account) the address where you want to install the doorbell. Ring says it needs this information for some of your doorbell's features to work. Check out this Ring support page for more info. And if you're concerned about Ring privacy, check out this article about Ring's partnerships with police.
After that, the app will prompt you to name your doorbell. It provides a list of popular choices like Front Door and Office, but you can create a custom name too.
Step 5: Turn off power at the circuit breaker
Now it's time to turn off power to your doorbell and doorbell chime (if you have one) at the circuit breaker.
Step 6: Remove the old doorbell
Remove the existing doorbell's faceplate (it should pull off pretty easily). Grab a screwdriver and loosen the baseplate. Remove the baseplate and set the old doorbell aside.
Step 7: Install the new doorbell
Connect your two existing doorbell wires to the screws on the back of the Ring Video Doorbell Pro, then tighten the screws to secure the wires in place. Use the included screws to attach the Ring Video Doorbell Pro's baseplate to your door frame (or wherever you're installing your doorbell). You may have to drill new holes if the new doorbell doesn't line up with the dimensions of the old one.

Installing the Pro Power Kit is a simple but important step.
Step 8: Install the Pro Power Kit V2
The Ring Video Doorbell Pro also comes with a Pro Power Kit that connects to the doorbell chime inside your house (if you have one) to regulate the power going to the doorbell.
Make sure the power to your internal chime is turned off. Remove the chime cover and loosen the front and trans terminal screws. Without removing the wires already connected to these terminals, attach one wire from the Pro Power Kit to each terminal. Read more about the Pro Power Kit here.
Step 9: Enter Wi-Fi info
The Ring app will prompt you to join Ring's Wi-Fi network and then ask you to enter info for your own Wi-Fi network.
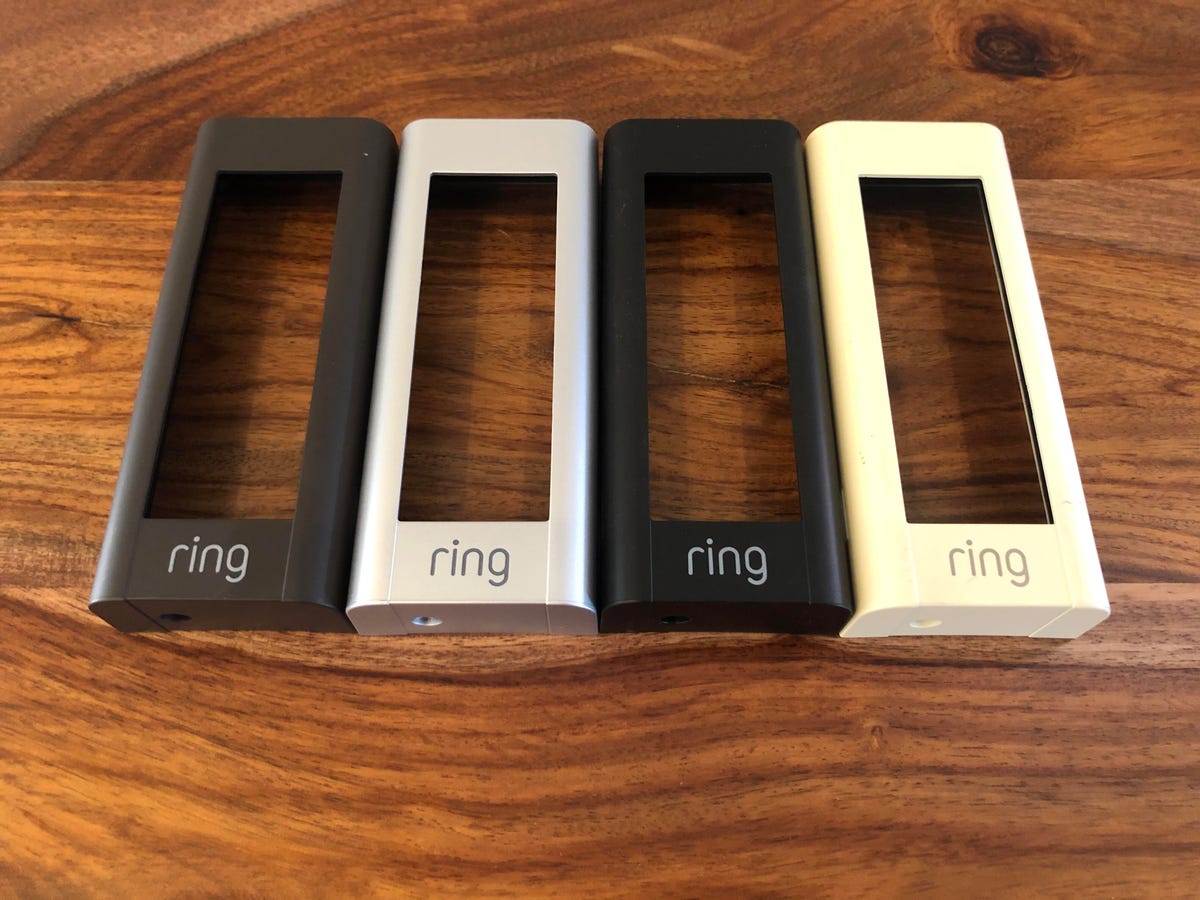
All four removable faceplates -- black, satin nickel (silver color), Venetian (bronze) and pearl (off-white) -- come with your purchase.
Step 10: Attach the faceplate
The Ring Video Doorbell Pro comes with four different removable faceplates in satin nickel (silver color), Venetian (bronze), pearl (off-white) and black that connect to the Video Doorbell Pro's baseplate. Choose one and screw in the security screw at the bottom of the doorbell to hold it in place.
That's it, you're done. Now you can use your Ring Video Doorbell Pro. Visit the settings section in the app to customize your doorbell's features, such as setting up your own free motion detection zones.