Install the Honeywell Wi-Fi Smart Thermostat in a snap
This intermediate installation is pretty straightforward, but only if you already have the necessary wiring.


The installation process on the
Step 1: Go to your circuit breaker and switch off power to your thermostat.
Step 2: Remove your current thermostat and make note of the wires attached to the base plate; this will not be the same for everyone. My old thermostat had a G, a W, a Y, and an Rh wire.
Step 3: Make sure that you tag each of the wires with the correct letter designation if they aren't already labeled. Then, remove the wires from the base plate and remove the base plate from the wall.
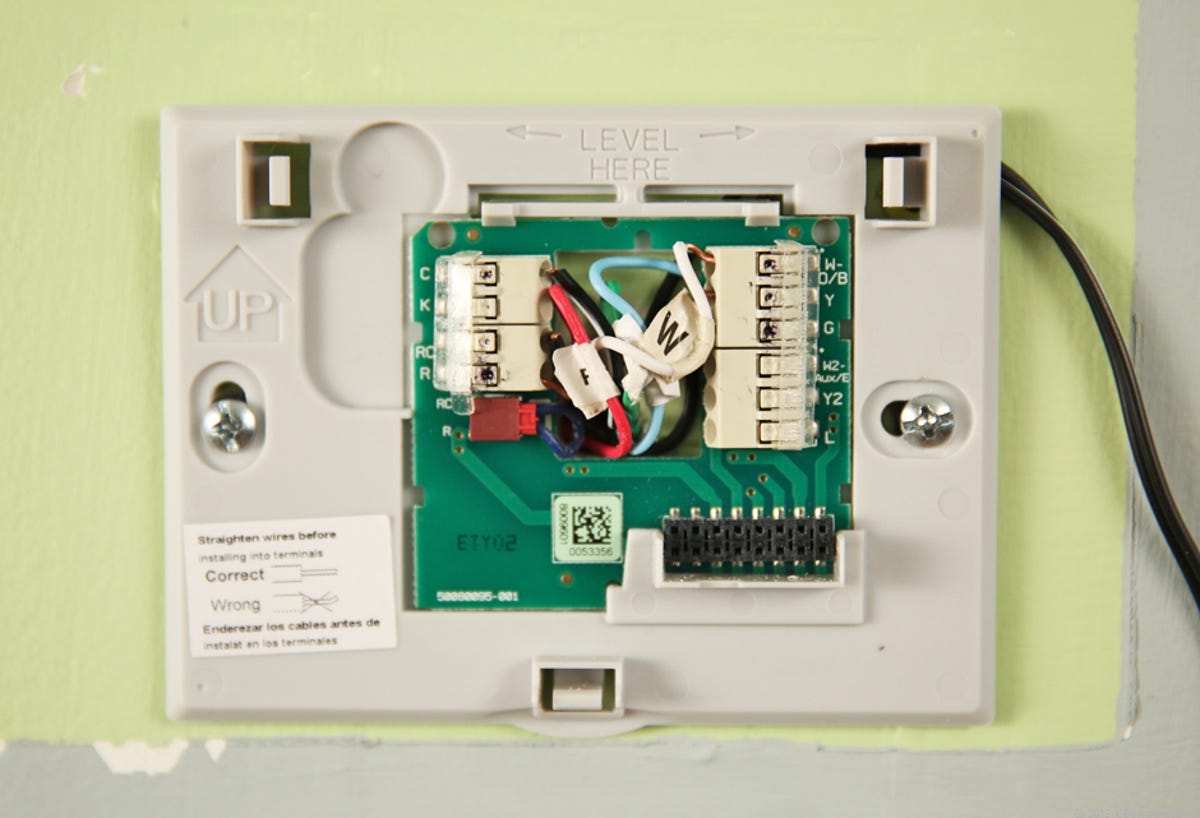
Step 4: Now you can attach the Honeywell base plate to the wall and connect the wires to their corresponding ports. If you're lucky, you already have a C or "common" wire to power the thermostat. If not, read
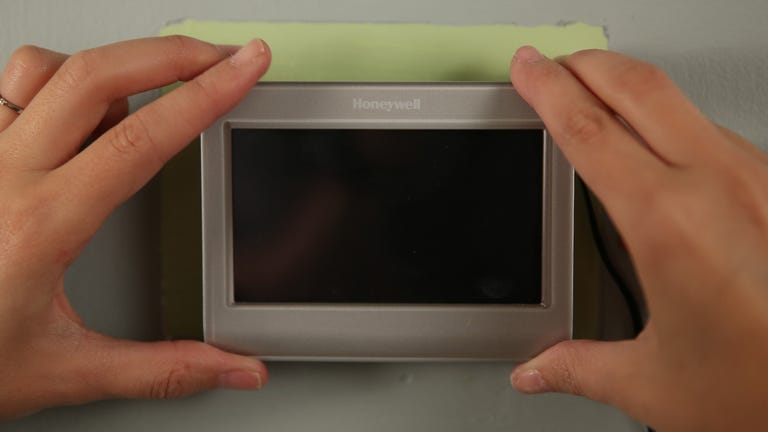
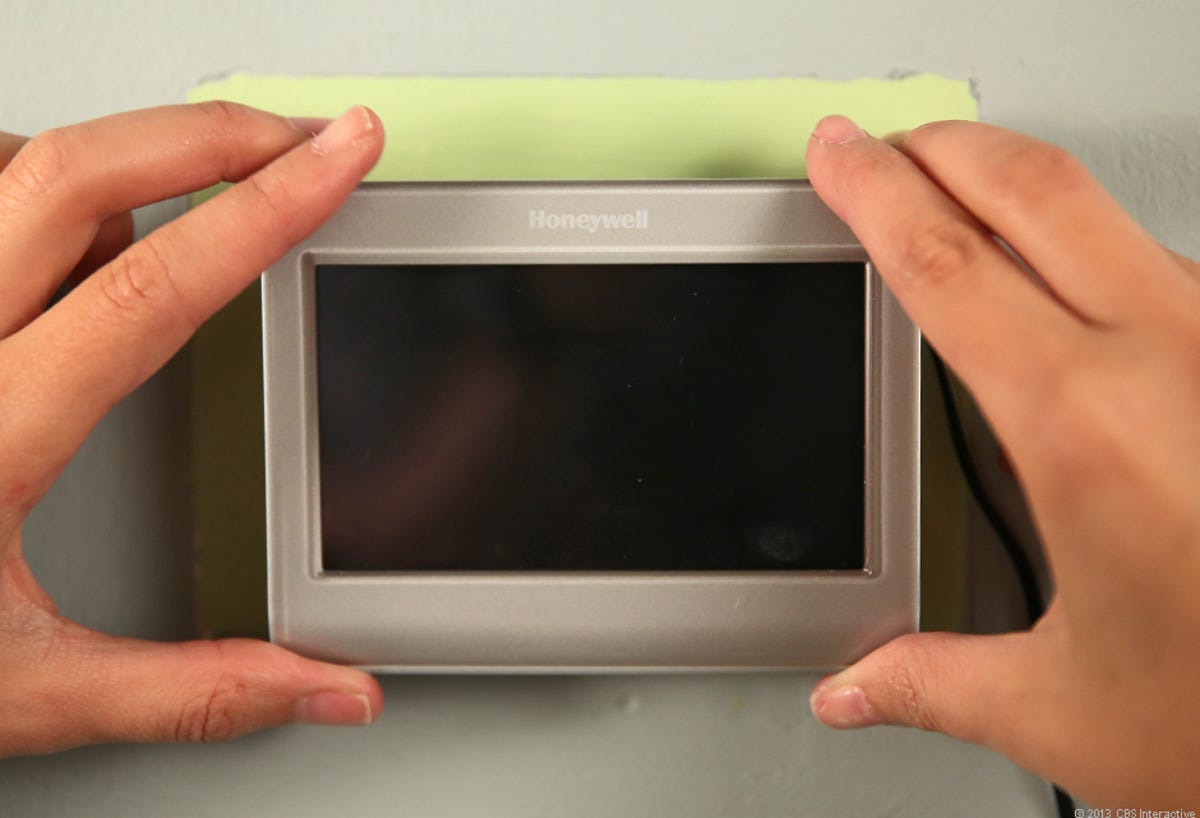
Step 5: The last step is to simply snap the Honeywell thermostat to the base plate. Turn your power back on and the unit should begin to power up.