How to use your AV receiver's speaker calibration
You might think your receiver's auto speaker setup and calibration are a no-brainer affair, but it's not. This how-to blog is loaded with tips to help improve your sound.


Most new AV receivers come with an "auto setup" or "automatic calibration" feature, but despite the word automatic, these features can stump AV novices. If you're setting up an AV receiver for the first time, this guide will put you on the right track.


First, let's describe what auto setup systems do.
They send test tones to all the speakers and subwoofer, and use a microphone to pick up the sound of the speakers in your room. Auto setup systems determine speaker sizes and volume levels, set the subwoofer-to-satellite crossover frequency, measure distances from each of the speakers to the listener, and confirm that all of the speaker cables are correctly hooked up. Some receivers also use equalization to balance the frequency response of all the speakers.
Auto setup systems go by different names, but they all do approximately the same thing. Denon and Onkyo feature Audyssey; Sony has Digital Cinema Auto Calibration, Pioneer Multi Channel Acoustic Calibration, and Yamaha uses a Parametric Room Acoustic Optimizer.
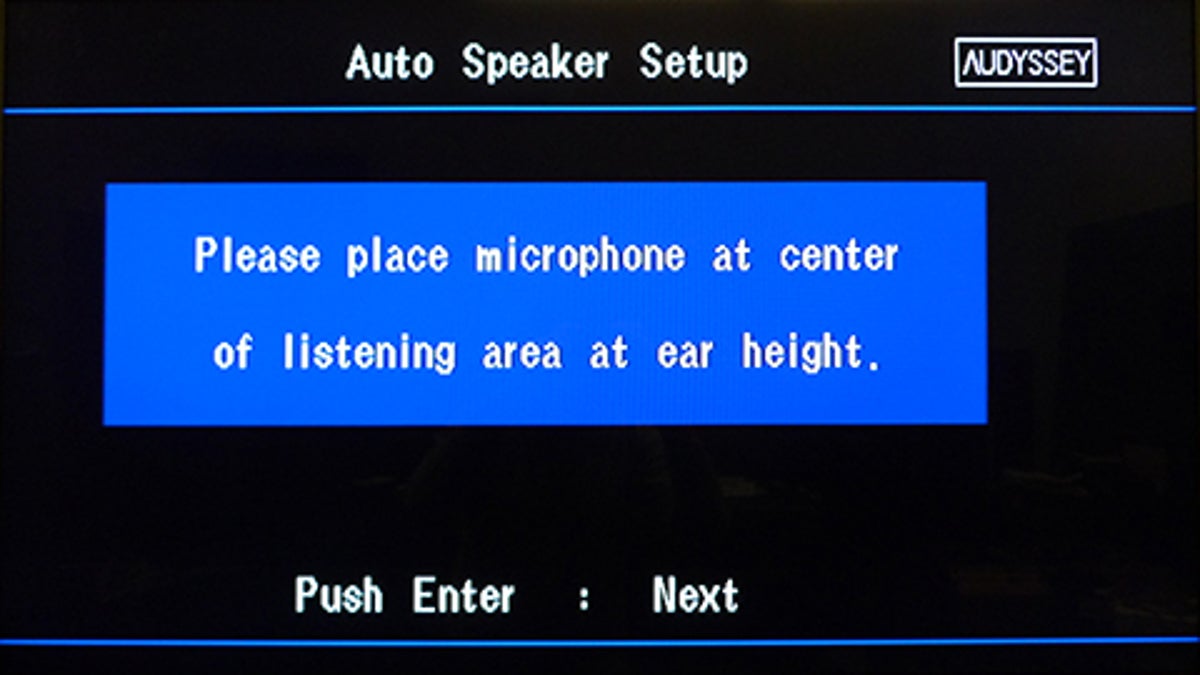
The exact positioning of the auto calibration microphone is crucial for achieving accurate results. Some auto setup systems work from just one mic position, which would be the primary spot where you sit when watching movies by yourself. Ideally the mic should be placed at the same height as your ears when you're sitting watching a movie.
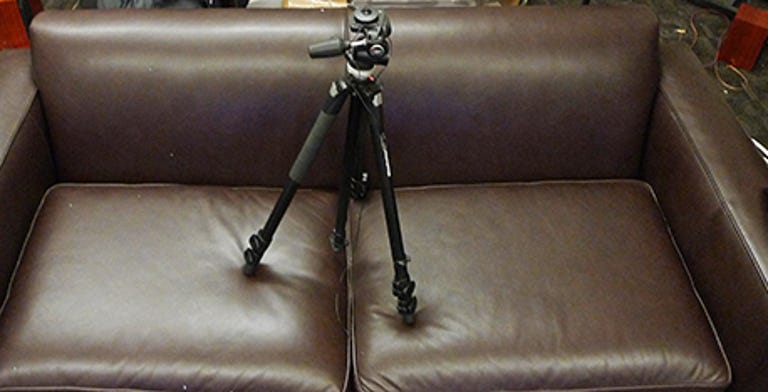
If you have a camera tripod, use it to place the mic at ear height; perfectionists should move the couch entirely out of the way. Lacking a tripod place the mic on the back of the couch, atop the highest pillow.
Most auto setup systems work best with readings from three or more mic positions, usually starting from that central, "sweet spot," and then from the right and left sides of the seating area. Again, the mic should be placed as close to seated ear height as possible.
Before you get started running test tones, check that the interconnect cable running to the subwoofer is connected to the sub's "direct" or "LFE" input. If your only choice is Left or Right RCA inputs, that's fine, but make sure the sub's Low Pass/Crossover knob is turned up to the maximum setting. Turn the sub's volume control half way up. One more thing, most subs have 0/180 degree phase controls (some have continuously variable phase control knobs), but in any case, set the control to "0." (Check out my subwoofer setup guide for more in-depth sub tips.)
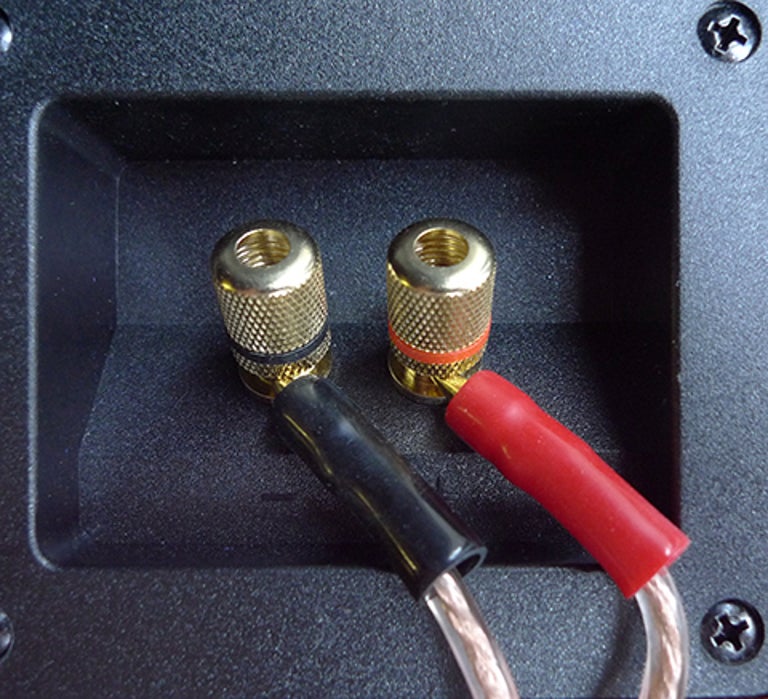
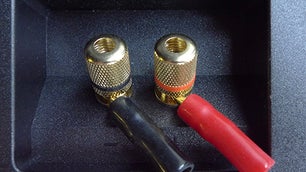
Also, make sure all of the speakers are wired "in-phase," meaning red/+ and black/- connections are consistent at the speaker and receiver ends. Some auto setup systems will check the wiring, but try to get it right in the first place.
When running the auto setup test tones, the room should be as quiet as possible, turn off your air conditioner, and shut all the windows and doors. It's a good idea to leave the room, so you avoid the annoying test tones and so you don't effect the results of the test.
Setup systems that equalize the speakers' frequency response, such as Audyssey, may need to be turned on or activated after running the auto setup, check the owner's manual. Don't assume the EQ-ed sound is better, listen to a few movies and CDs and see if you prefer the equalized sound. EQ systems frequently boost the subwoofer volume too much, so if you think the sub's too loud or low, feel free to either adjust the volume on the subwoofer itself, or via the receiver's manual setup menu.
If you're happy with the sound, you're done, if not, go ahead and recheck the settings in the manual speaker setup menus. While you're there confirm the speaker-to-listener distances are in the ballpark. Most systems are pretty good overall, but the sub-to-listener distance might be way out of whack. I've seen them mistake a 12-foot distance for 42 feet!
Then again, if you're at all technically inclined you might want to forgo the auto setup and tackle manual speaker setup. It's not very difficult, but you should use a sound pressure level meter, such as a Radio Shack 33-4050. You can probably do a better job than the auto setup.