How to use Apple's Lion Recovery Disk Assistant
Apple has released a Lion Recovery Disk Assistant with which you can create a recovery partition on a physical storage device; here's how.


With OS X Lion, Apple bucked the traditional method of releasing software on a physical medium, instead opting to release Lion through the Mac App Store. This is convenient for many, but it does not sit well for those who prefer to have a physical way to fix problems down the road.
Here's how to use a tool Apple just released to create a Lion Recovery HD on a USB drive.
What you will need to get started:
- A USB thumbdrive with 1GB of free space
- An existing Recovery HD on a Mac running OS X Lion.

The first thing we will do is partition the required 1GB of free space on the USB drive, allowing the remaining free space on the USB drive to still be used for other things.
- Open Disk Utility (located under Applications > Utilities).
- Select the USB drive, then select the Partition tab.
- Click on the + sign, adding a partition to the drive.
- Name the new partition "Recovery HD."
- Set the format to Max OS Extended (Journaled).
- Give the partition a size of at least 1GB.
- Click Apply.
Disk Utility will now do its magic, after which you will have two partitions on the USB drive.
Next, you will need to download Apple's Lion Recovery Disk Assistant, which you can find here. You can either run the Assistant from the disk image you just downloaded, or drag the Assistant icon to your Applications folder and run it from there.

Run the Lion Recovery Disk Assistant and accept the terms. You will then be presented with available drives on which to install the recovery disk. Select the Recovery HD we created earlier, and click Continue.
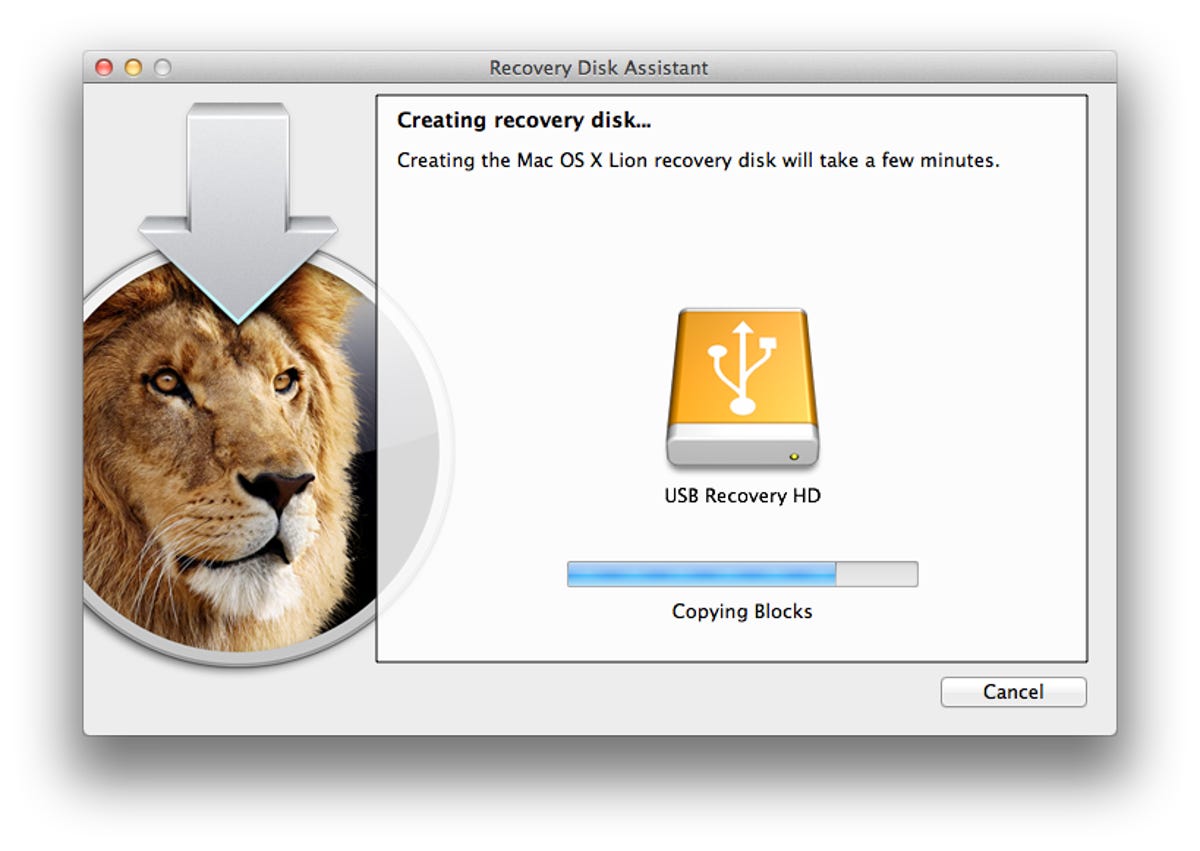
The process takes a few minutes to complete. Sit tight; check your Facebook or Twitter feed if you get bored.
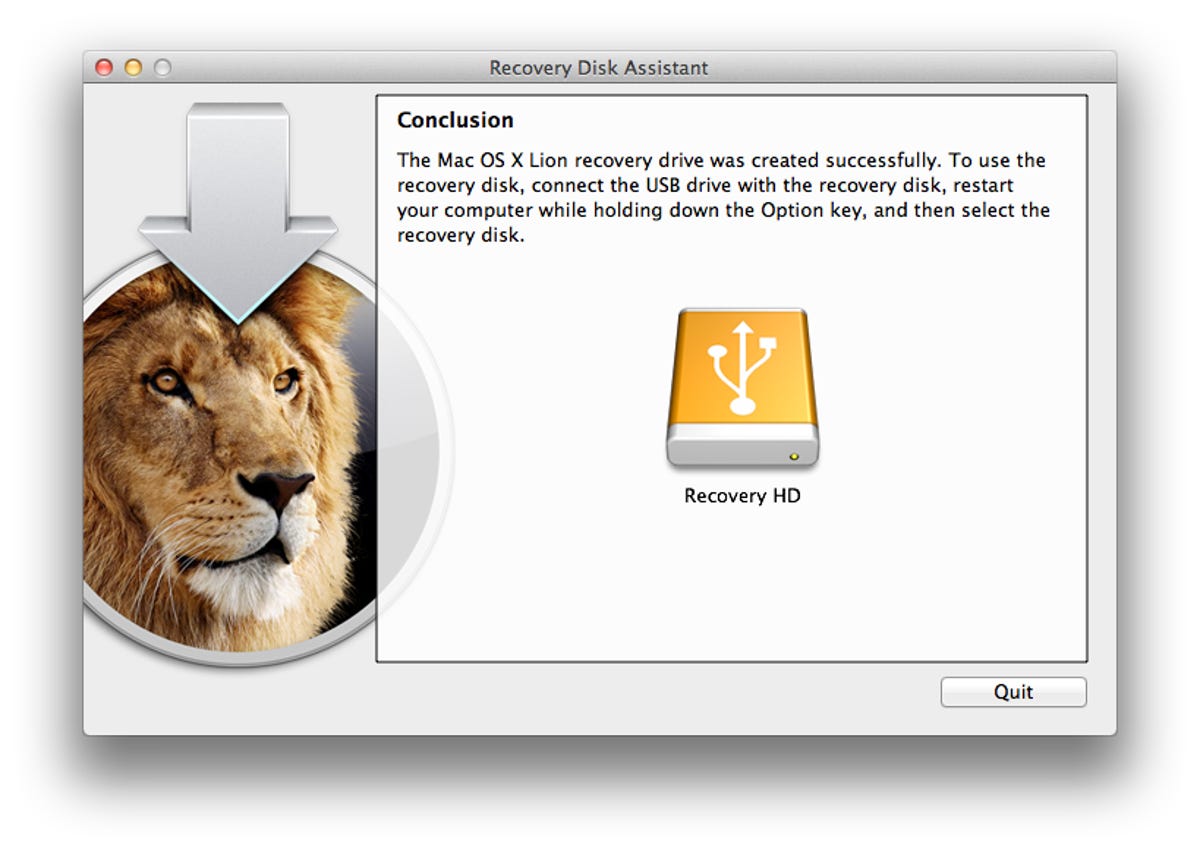
Once the process is complete you will see a Conclusion screen informing you that the Recovery HD was successfully created.
There are a few things to keep in mind when creating and using this type of recovery disk:
- If this recovery assistant was created on a Mac that shipped with Lion, this recovery drive can only be used with that Mac. However, if the recovery drive was created on a Mac that was upgraded from Snow Leopard to Lion, you can use the drive on any computer that followed the same upgrade path.
- To reinstall Lion using this recovery disk, an Internet connection is required. Without an Internet connection, you will only be able to use the Disk Utility portion of the recovery drive.
- The Recovery HD partition will not be visible in Finder.
If you would prefer to have a physical installation disc instead of a recovery disk due to the Internet requirement, here's how to create an OS X Lion installation disc.
Should you run into issues down the road, you can boot to the recovery disk by plugging the USB drive into your computer and holding down Option while the Mac boots up. When presented with the available boot disks, select Recovery HD.