How to take your own passport photos
Stick it to the overpriced drugstores and print your own passport photos with the DIY project.


- Webby Award ("How To, Explainer, and DIY Video"); Folio Changemaker Award, 2020
Drugstores will charge you as much as $10-15 for a measly photo, adding insult to injury when you're tied up in a long and expensive passport application process.
If you're willing to pay the price for convenience, so be it, but if you like to "DIY," you'll be happy to hear that taking your own passport photos is actually pretty simple.
You'll need:
- A digital camera (or smartphone)
- Computer
- A photo printer (or local photo printing center)
Easy enough, right? Now follow the steps to take your passport photos, DIY-style.
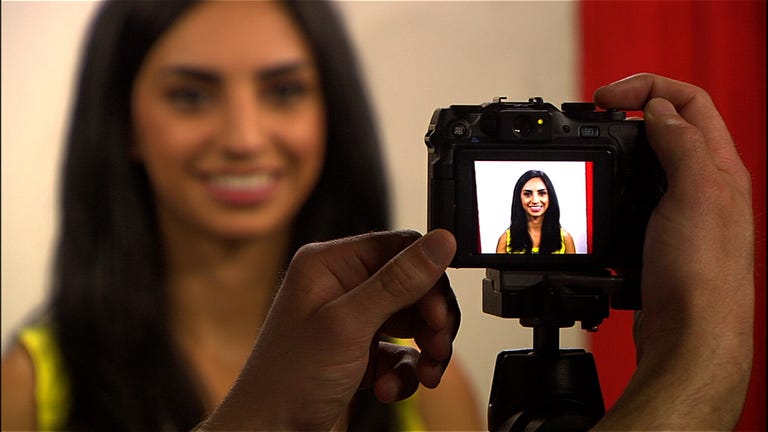
Step 1: Set up your shot
Get yourself in front of a white or cream-colored background, like a wall or posterboard. That's the easy part. Now, with the help of a friend, adjust the lighting so that there aren't any shadows or glare on your face or around your head and body. This could mean getting near natural daylight, or turning on/off household lights.
Step 2: Make yourself presentable
The U.S. government has a pretty strict set of guidelines that address what you should look like in your photo. In a nutshell, you should look like your everyday self. (That might vary if you've got your headphones glued to your ears all day.)
Abide by these rules to get your passport photo accepted:
- Wear your everyday clothing and hairstyle. This is not the time to get creative or try that new electric green eyeshadow. Uniforms and costumes are unacceptable, unless they're worn daily for religious reasons.
- No electronics can be in the photo, so take of your headphones, Bluetooth devices, and 3D glasses before hitting the shutter.
- Hats, sunglasses, and tinted glasses are forbidden, but if you wear prescription glasses, you can sport those.
- Pose with a neutral face. A smile or straight face are OK, but no goofy expressions!
- For a complete list of guidelines (which you should review) go to the U.S. Department of State's Web site.
Step 3: Shoot, edit, print
If the lighting looks good and you're sporting a government-approved look, frame the shot that there's plenty of headroom and room around your arms. You should be cropped out just below the shoulders. It's better to be too zoomed out than too zoomed in, since you'll be able to crop later.
Snap a few shots and transfer your photos to your computer.
To edit your photo to the proper dimensions and composition, head to the U.S.'s own photo-editing tool (link). Upload the photo to the site, then zoom in or out, and move the photo around until your face is aligned with the outline. It's imperative that it's lined up as close as possible, or else your photo may be rejected.
Save the photo to your desktop, and you're ready to print. The program will save it as a 2-inch-by-2-inch photo, which will be the final printed size. If you're printing at home, use your photo printer to print your headshot on matte or glossy photo paper. Otherwise, go through a service like Shutterfly to print it out at your local drugstore.
You should attach only one photo to your passport application, and finally, pat yourself on the back for a job well done.