How to quickly share files in Windows 10
There's no more Share charm, but there is a Share button in File Explorer.


Here's the scene: You're browsing through your photos in File Explorer, when you see an adorable picture of your dog that you absolutely must upload to Facebook right now.
If you're using Windows 8, you can swipe open the Charms bar and click the Share charm. But if you're using Windows 10, you can share directly from the File Explorer with the new Share button.
Here's how to share files (including photos, documents and videos) in Windows 10:
Step 1: Find the file you want to share
Open up the File Explorer and navigate to the file or files you want to share. You can share any file type, although you cannot share any file type with any app. (For example, you can't share DLL files to Facebook -- I tried). Select the file you want to share by clicking on it.
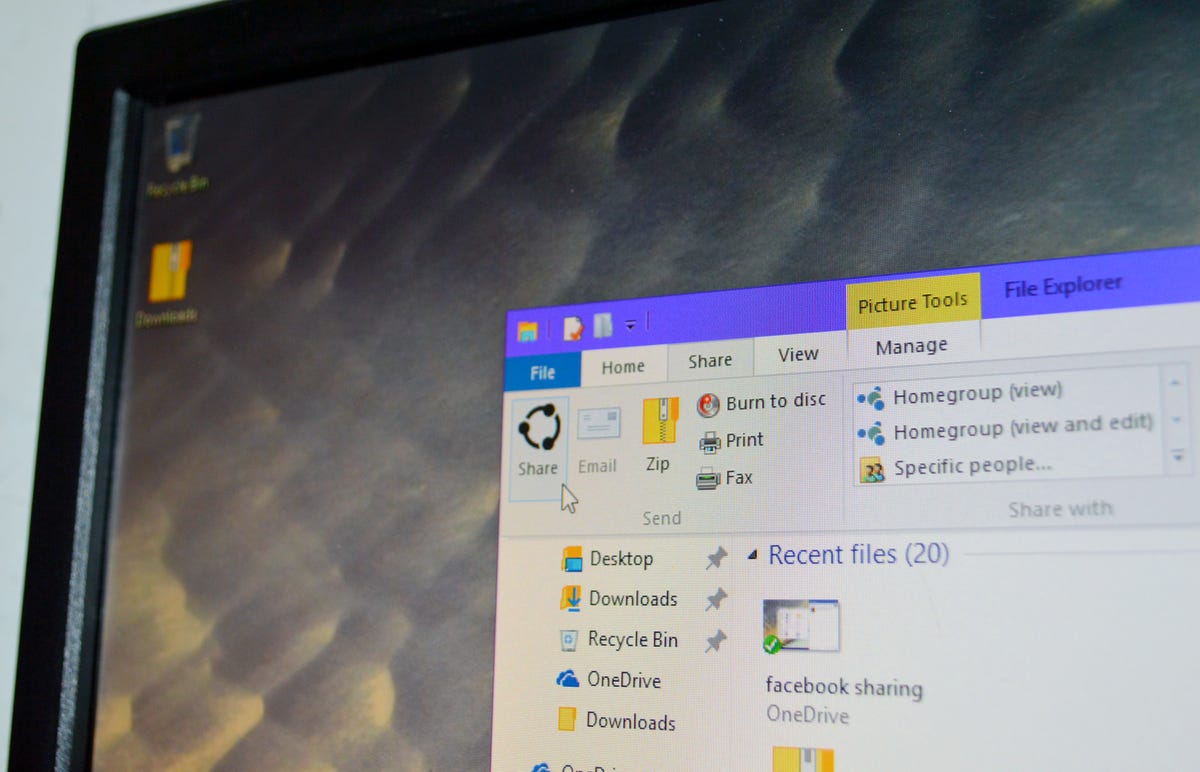
Step 2: Open the Sharing menu
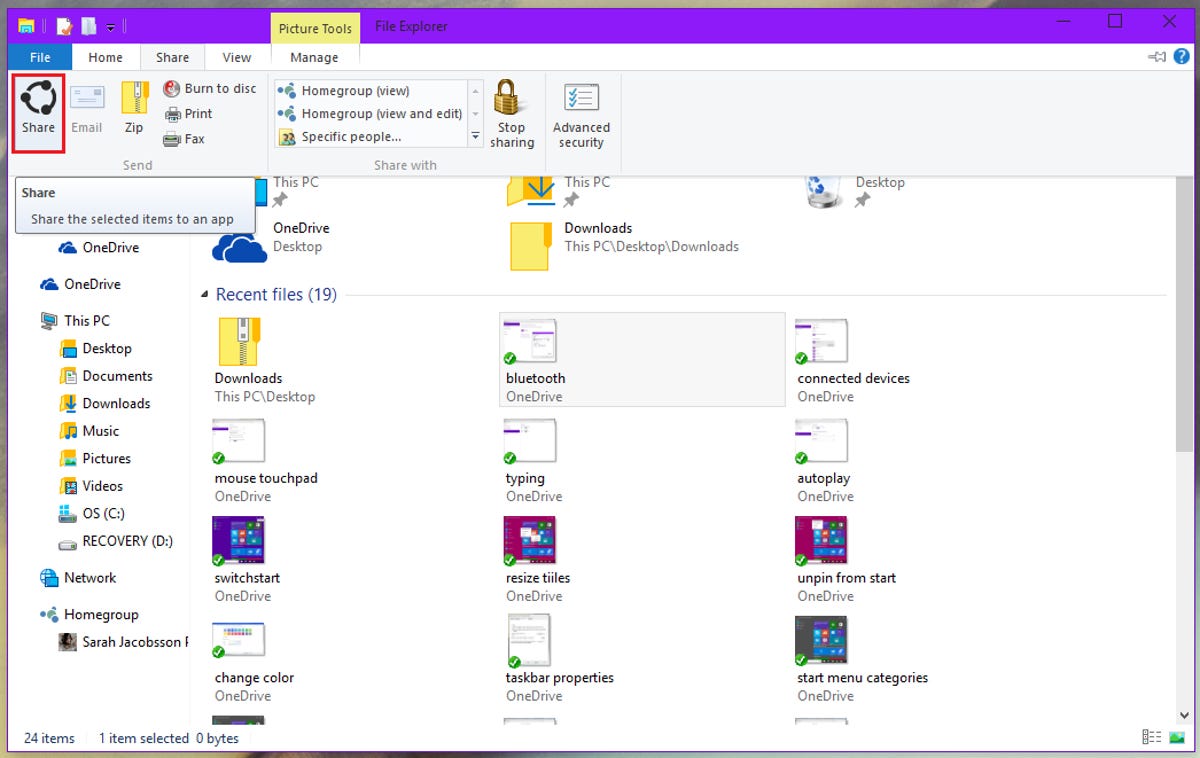
While there is a one-click Share button in the File Explorer, it's actually hidden inside the Sharing menu. Click Share to open up the sharing menu. Depending on what type of file you have selected, different options in the Sharing menu will be available to you. For example, if you've selected a folder, and not a file, the Share button will be grayed out and the Zip button will be available. From the Sharing menu, you can also zip, burn, print and fax files, as well as modify network sharing options.
Step 3: Click the Share button
The Share button has the same three-dot-circle icon as the Windows 8 Share charm. Click the Share button to open up the Share sidebar.
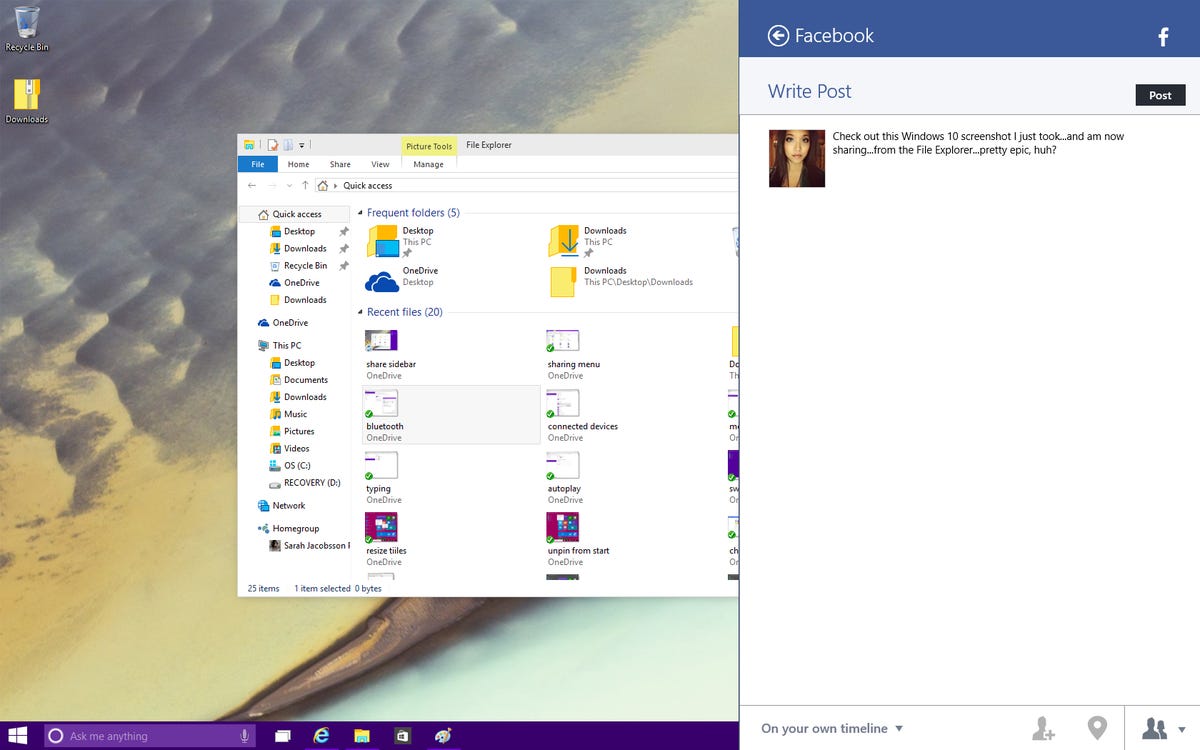
Step 4: Choose the program you want to share with
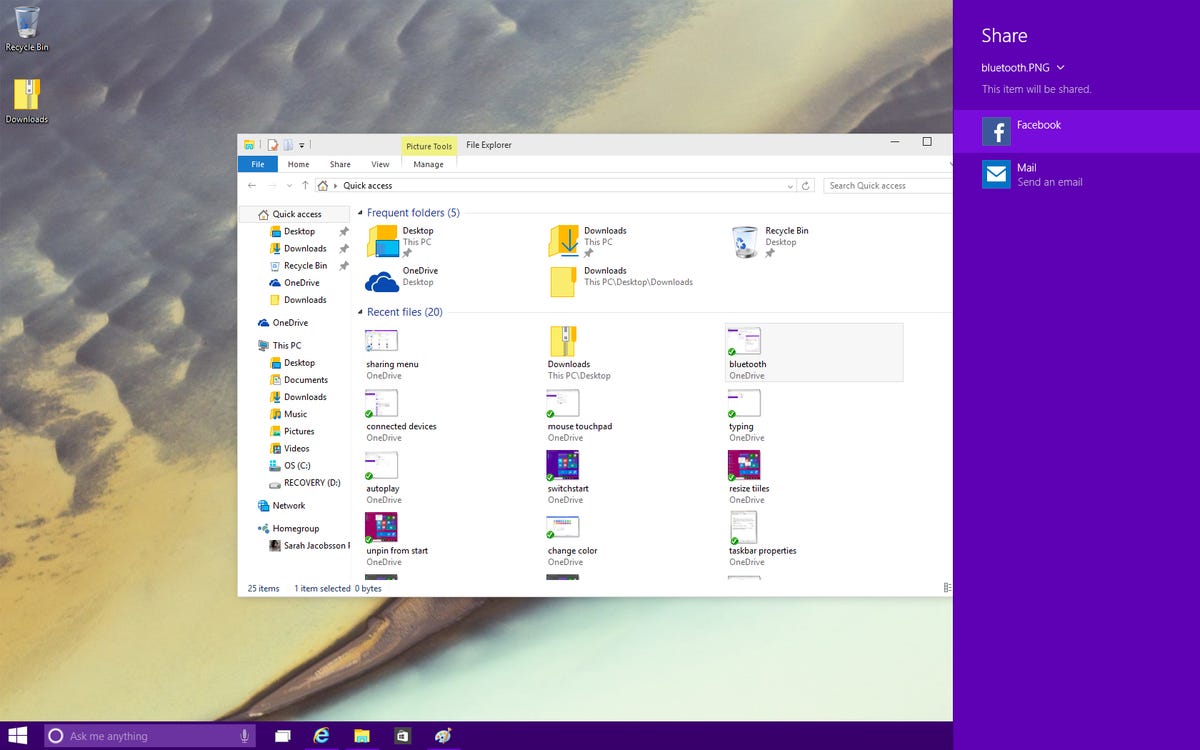
In the Share sidebar, you'll see a list of apps you can share your file with. Again, depending on the file type you're trying to share, some apps may not show up. Facebook and Twitter will not show up if you're trying to share a zipped folder, but Mail will.
Step 5: Configure your Sharing options
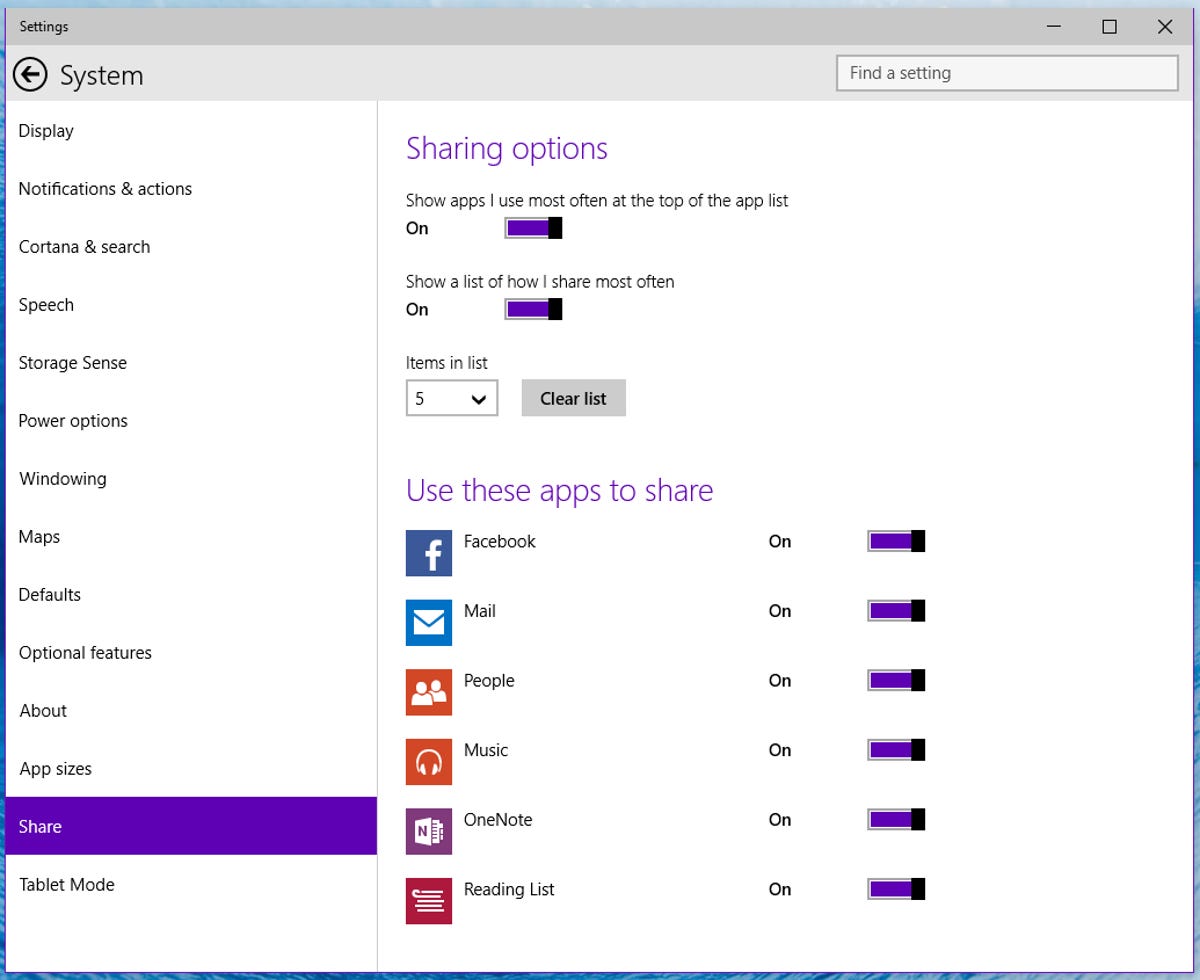
By default, the Share sidebar shows the apps you share with most often -- to change this and other Sharing options, go to the Settings menu, click on System, and open the Share tab. Here you can toggle the frequently used apps list on and off, choose how many items appear in that list, and turn sharing on and off altogether for certain apps.
While sharing directly from File Explorer is certainly handy, there doesn't seem to be a way to share other types of media (e.g., links) that don't appear in the File Explorer. Because there's no longer a Charms bar, you can't simply tap the Share charm whenever you come across a website you want to share to Facebook. Hopefully Microsoft will come up with a solution to this before the final version of Windows 10 drops.