How to make your own emoji
Turn your favorite photos into shareable emoji with this free app.


After much demand from the public, Apple finally rolled out multiracial emoji symbols in its latest iOS update (but no redheads -- sorry, guys). But there are still times when you can't find the perfect emoji to express yourself. Instead of waiting for Apple's next (likely far off) emoji update, it's time to start making your own emoji.
With imoji, a free app for iOS and Android, you can make any picture -- even one you've downloaded from the Web -- into a custom emoji to share with your friends via MMS.
Step 1: Choose your picture
Open up the imoji app and tap the plus sign to add a new "imoji" (emoji) or "artmoji" (a picture with emoji stamps on it). Tap "imoji" and the camera will open up. If you want to use an impromptu photo as your emoji, take a picture with the camera, making sure to keep the emoji subject (e.g., your face) within the dotted oval.
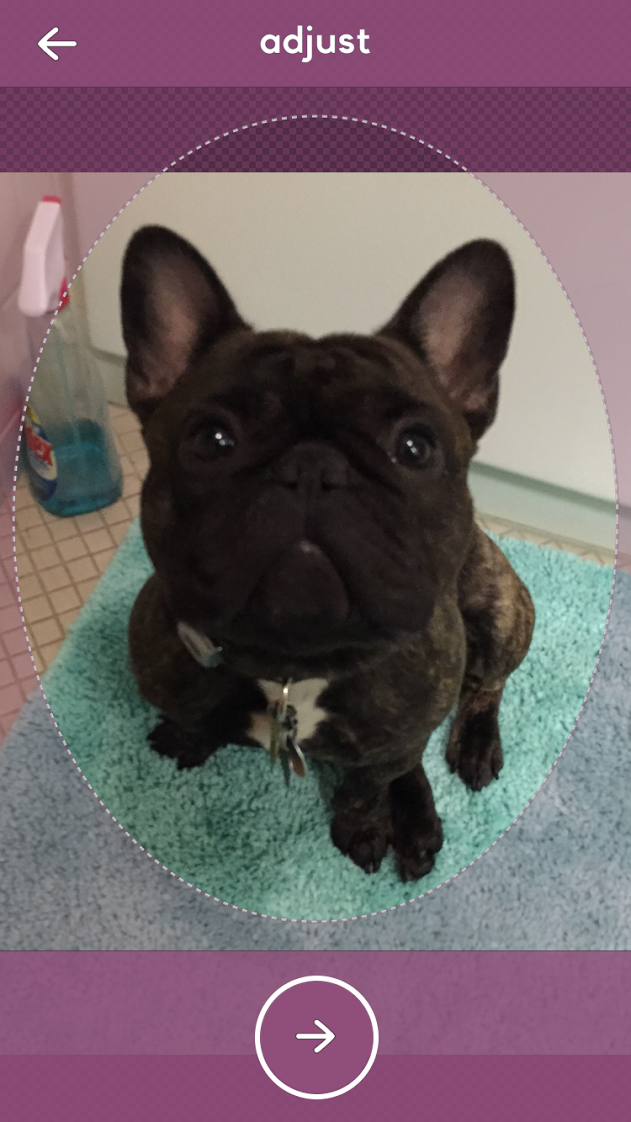
If you want to use an existing photo from your camera roll as an emoji, tap Photos in the lower left corner to choose a picture. Move and resize the picture as necessary to ensure the emoji subject is entirely within the dotted oval, and then tap the arrow.
Step 2: Trace and cut out your emoji
On the next screen, Imoji will cut out everything that wasn't inside the oval. But if you want a more precise border around your emoji, you can now use your finger to trace an outline around your emoji subject.
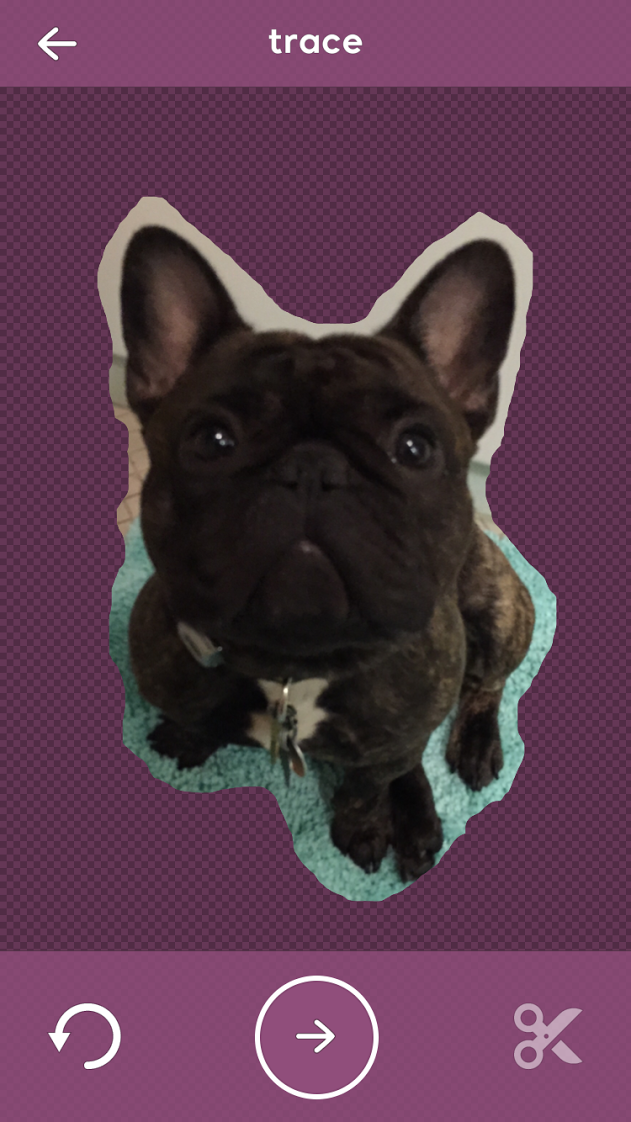
You don't have to erase everything from the photo manually -- once you've traced an outline around your subject, you can tap the scissors button to cut out the extra background noise.
Step 3: Tag it
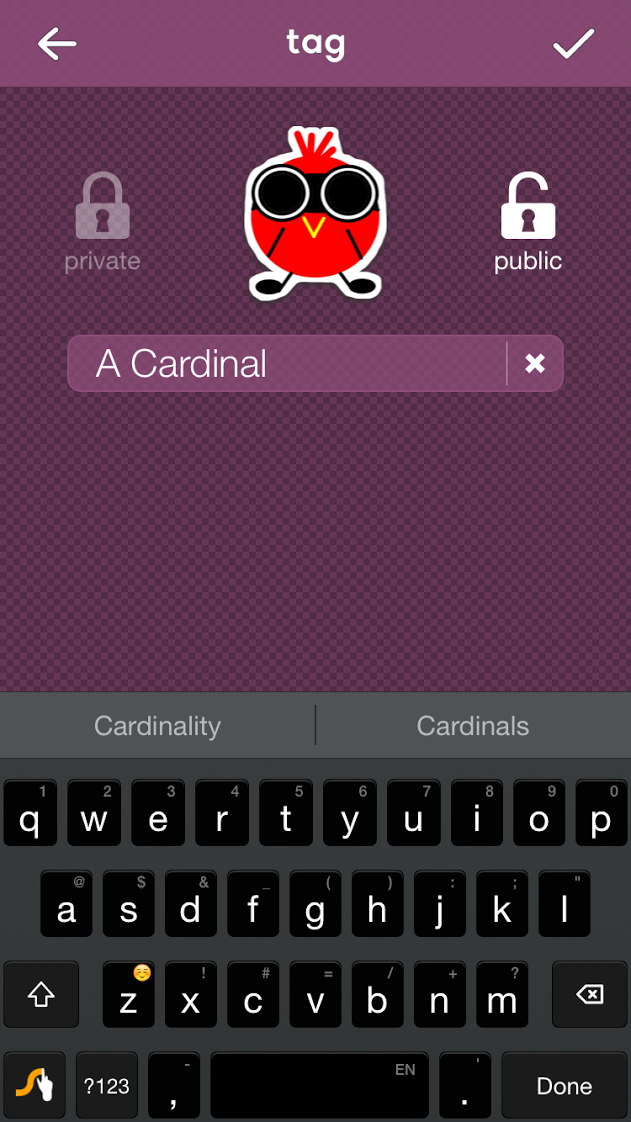
By default, all imoji emoji are public and available to the rest of the imoji community. If you want to keep your imoji public, go ahead and give it a descriptive name so that other users will be able to find it in a search. Otherwise, tap the lock icon and name it whatever you want (only you will be able to see and share this emoji).
Step 4: Share it
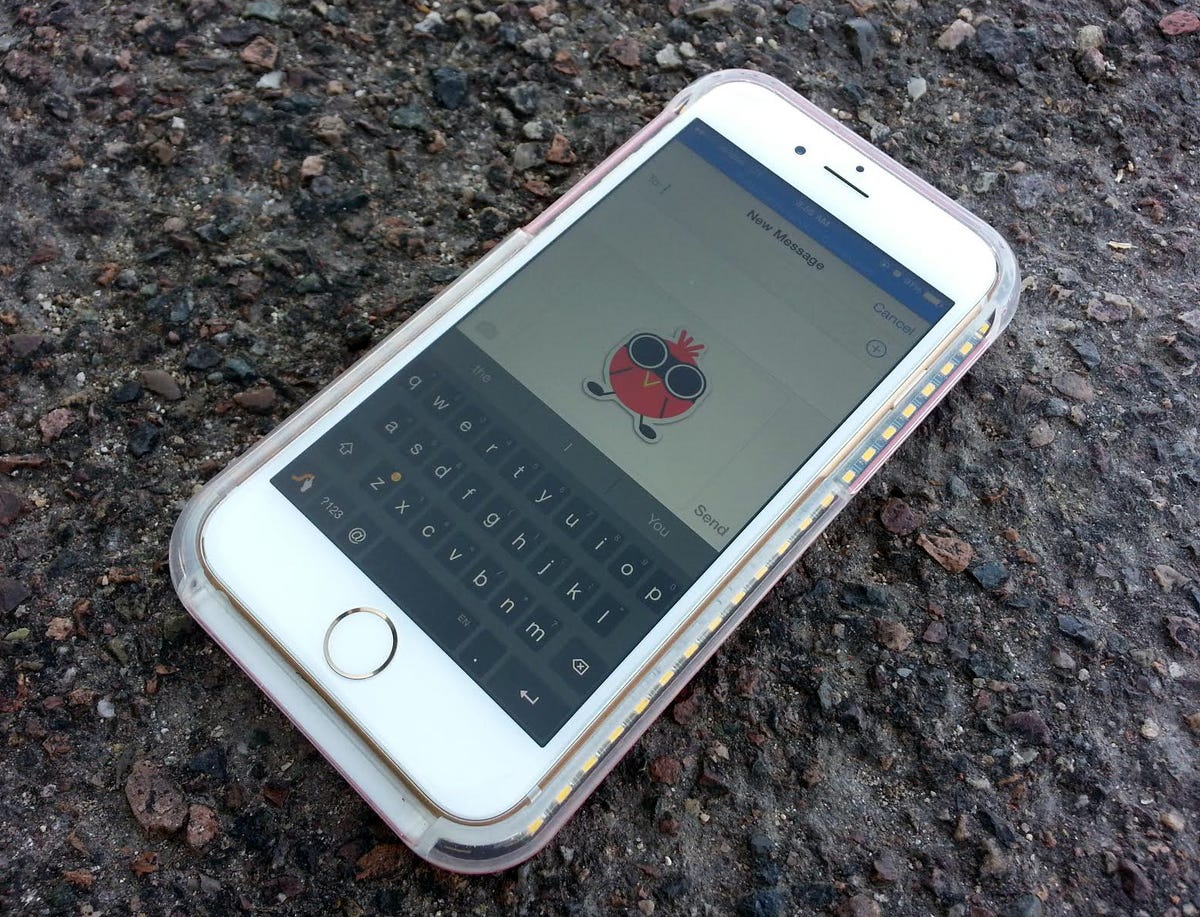
To share your emoji, tap it to bring up a list of options: iMessage, Facebook Messenger, Instagram, Facebook, Twitter, Copy to Clipboard, Set as Avatar and Delete.
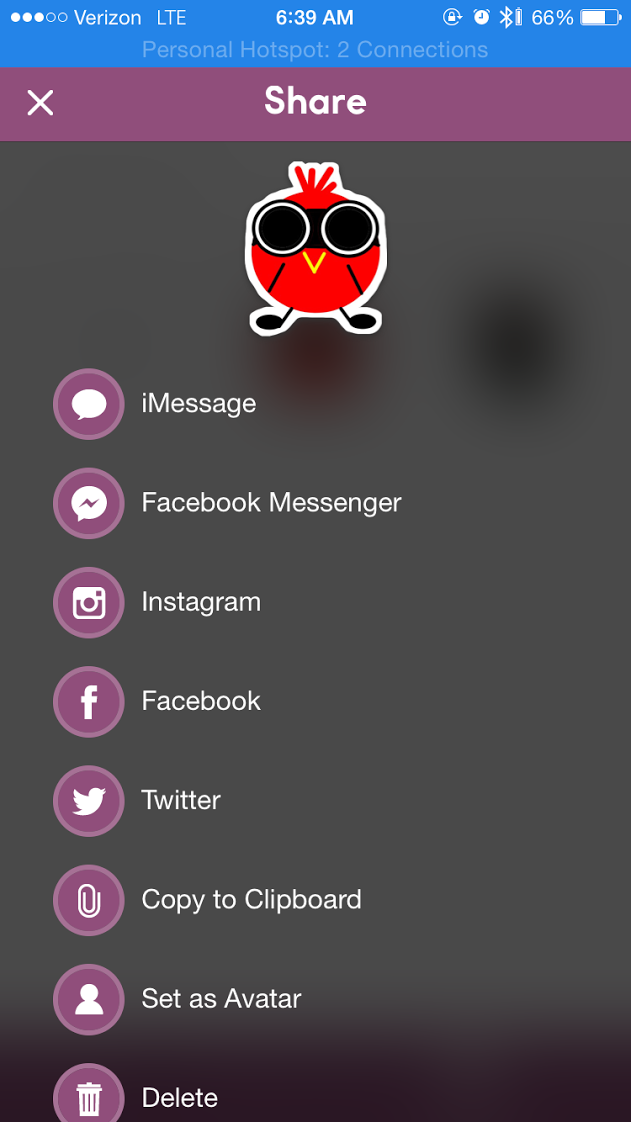
Tap the messaging service or social network you want to share it with to open that app.
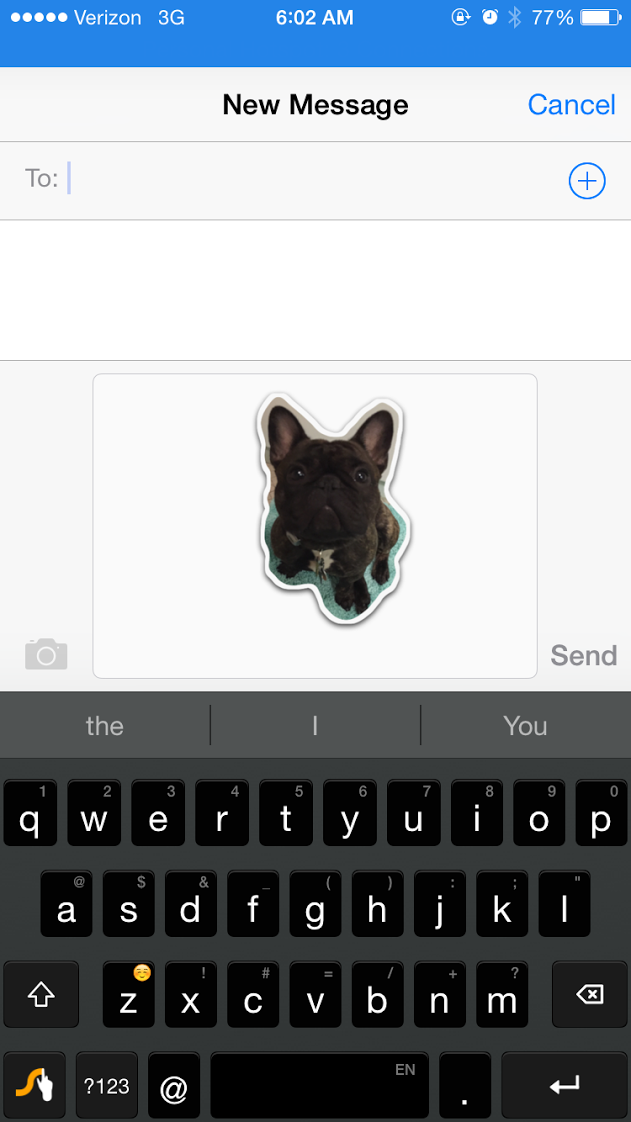
Remember -- this is not a "real" emoji, i.e., a Unicode character, it's a picture. So if you try to share it on a social network, you will end up posting a picture -- not a comment. However, if you share it on a messaging app, you'll still get a relatively emoji-like experience, since iMessage and Facebook Messenger put picture messages in line with texts.