How to make a video game console patch bay
With this simple guide, you can wire your old and new video game systems into one television and have all your classic games ready to play in the blink of a patch.


- Webby Award Winner for Best Environmental and Sustainability video (2023), 3-time Telly Award Winner (2019, 2020, 2022) 12 years experience producing videos, podcasts, and live events for CNET.
Over the years you may have accumulated a lot of old video game consoles and, naturally, getting rid of them is not an option. After all, you've spent so much time with your beloved console. Like an old friend, full of memories and adventures, it's hard to let go.
Or maybe you're a collector who likes to play older games every now and then for the nostalgia. I'm in both camps. And unfortunately my television is not equipped with enough inputs to have all my game systems connected at once and ready to play at a moment's notice.
There is a solution to this problem!
With three items and in about 20 minutes or less you can wire a video game patch bay that will make playing all your favorite games fast and easy without the hassle of digging around in that rat's nest behind your TV.

Here's what you will need to get started.
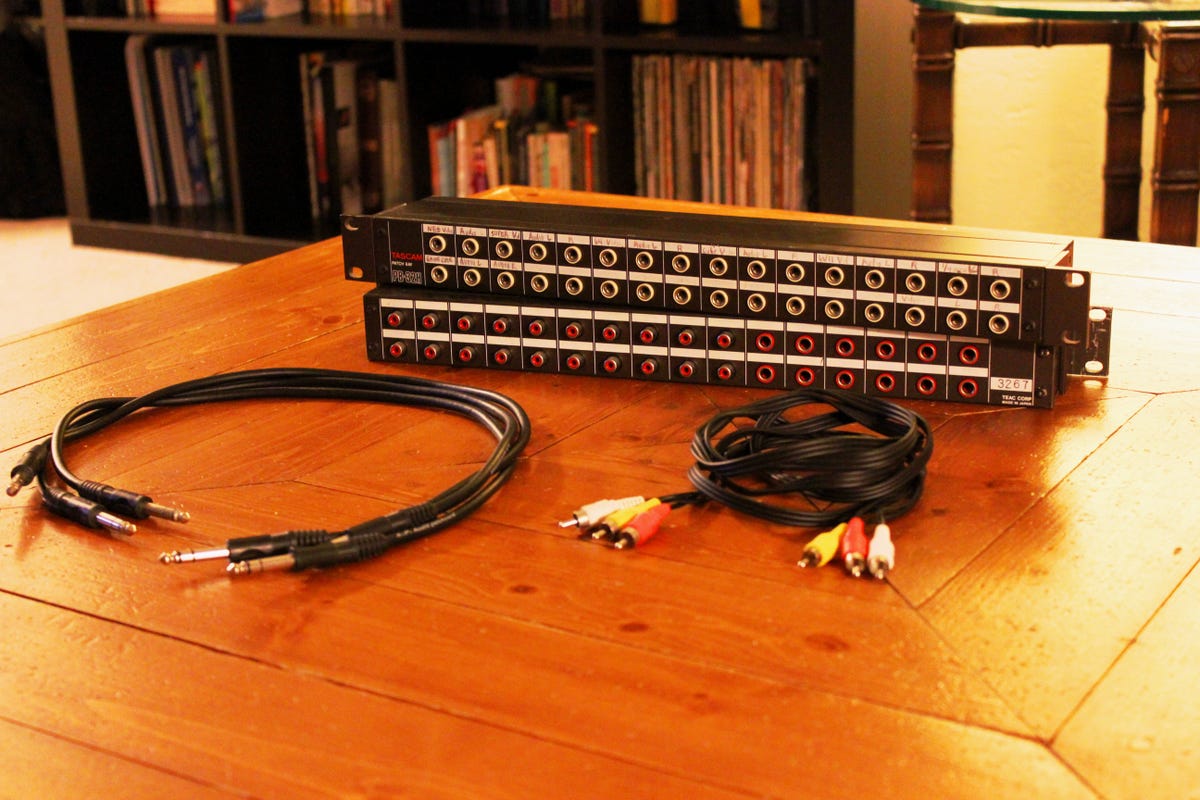
Supplies:
- RCA patch bay (see the first step for tips on where to find)
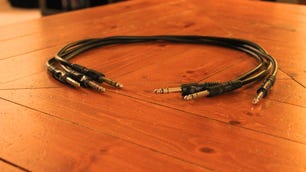
- 3.25-inch patch cables
- RCA cable with video and stereo audio connections
Step 1: Find and purchase an RCA patch bay
Finding an RCA patch bay is probably the hardest step. There are tons of used ones on eBay and other sites like Google Shopping and GuitarCenter.com. You might also find them in local electronics shops or music stores. They range in price from about $20 to $50 depending on the model. Once you have your patch bay in hand it's time to connect your consoles.
Step 2: Connect your patch bay to the AV input on the back of your television
Choose an AV or component input on the back of your television and connect it to three inputs (RCA) on the back of your patch bay. On my patch bay I chose the bottom right-hand corner. Connect the yellow video cable first, followed by the white and red audio cables. Make sure they are at the end of your patch bay so it's easy to patch into. Once you have connected the patch bay to your television it's time to connect your consoles.
Step 3: Plug the RCA outputs of your game consoles into the back of your patch bay
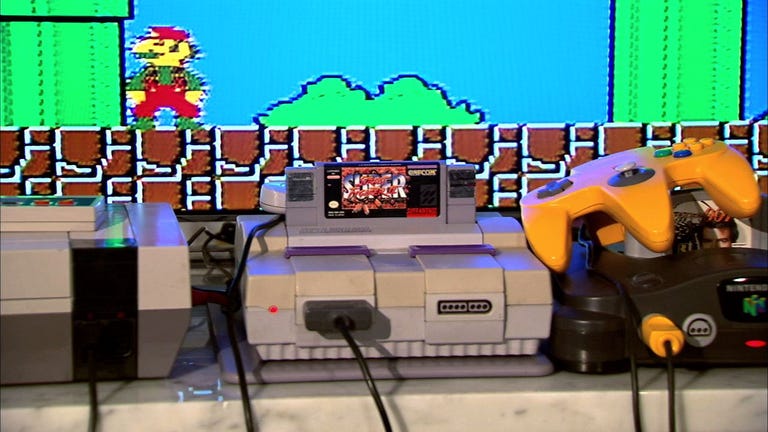
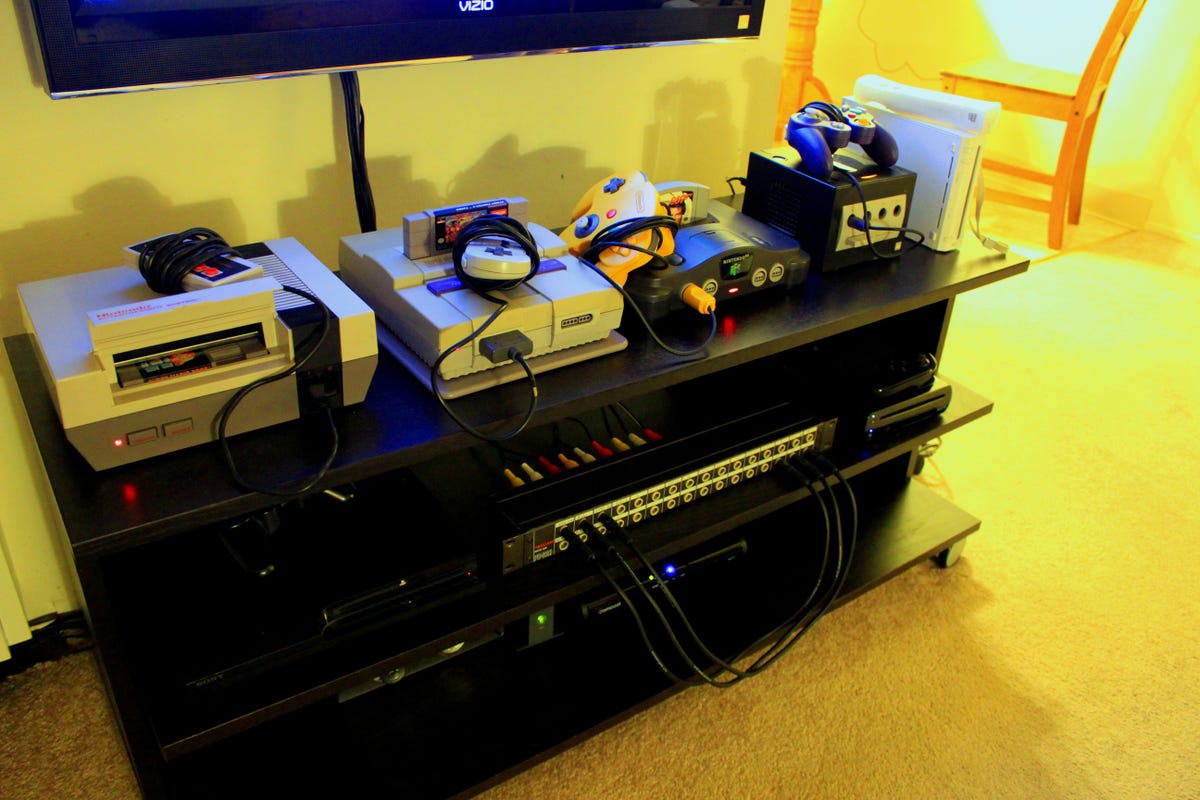
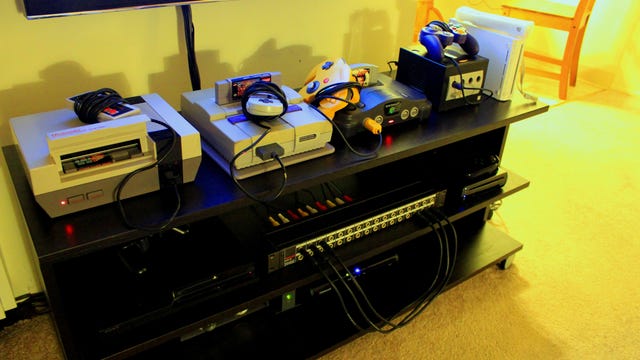
Plug the RCA outputs from your consoles into the back of the patch bay in the order that works best for you. I connected mine in chronological order across the top of my patch bay from left to right, starting with the NES...then the Super Nintendo, Nintendo 64, and so on.

Make sure you use the same order for each console. Video first, then audio left and audio right. It makes for a simple and less confusing patch.
Now remember: this only applies to older consoles. Consoles like the original Sony PlayStation and the Sega Dreamcast have component RCA outputs on the back and will easily connect to your patch bay.
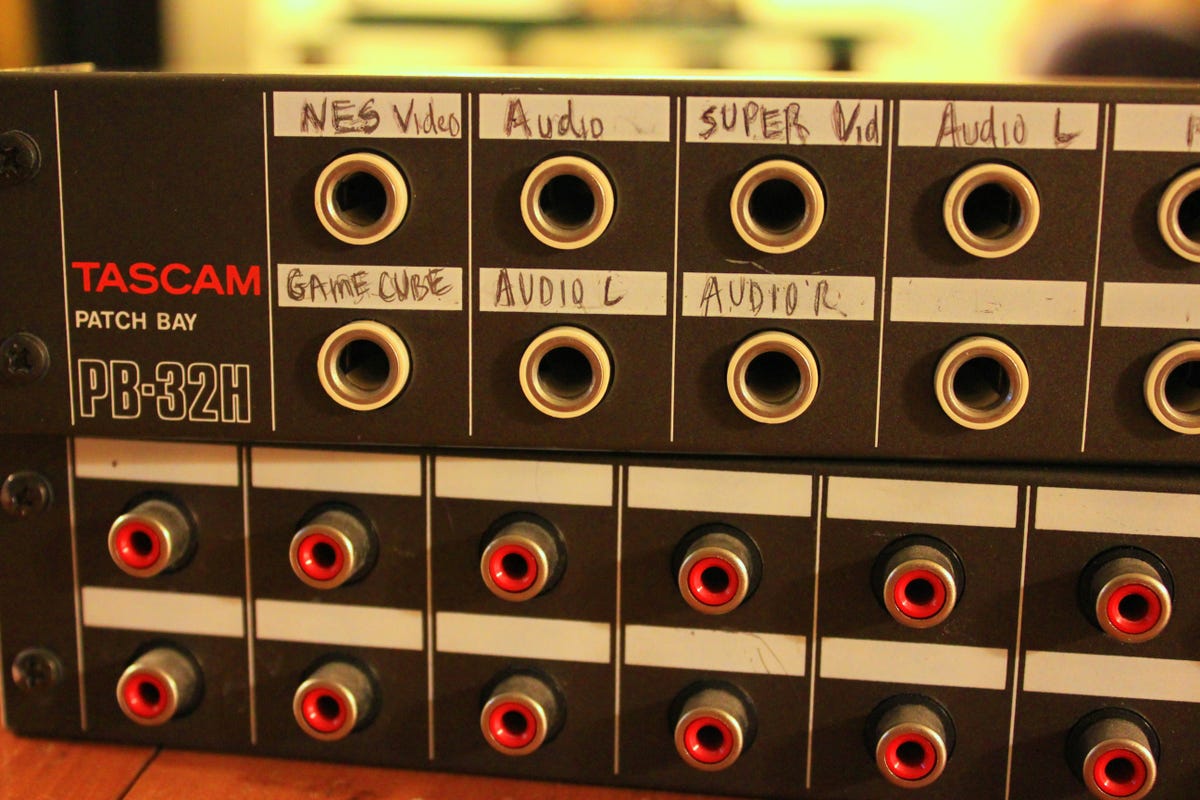
Step 4: Label your patch bay
Now that you have connected all your consoles, label your patch bay with a pencil or sharpie so it's easy to see what sources you are patching into your television.
Step 5: Patch your consoles into the TV using 3.25-inch patch cables
Finally you are ready to start patching your consoles into the TV. Plug the patch cable into the video-out of your game console and plug the opposite end into the video input going to the back of your television. Do the same for the corresponding audio connections and you're good to go!
There you have it! All your video game consoles and games in one place, easily accessible via your brand-new video game patch bay. Send your questions and suggestions to CNETHowto@cnet.com and if you're up to it, tweet a picture of your awesome game system setup to @cnethowto. Happy gaming!