How to keep fonts for projects grouped together in Windows 7
With this free software you can keep your fonts for various projects in one neat bundle, instead of hunting them down for each use.


When dealing with several hundred items, it's a good idea to have a solid system of organization. This is true if you're a collector of things like cards, work in a system with a lot of tools or clients, or even if you're at home working with different fonts on your computer. Unfortunately in the case of the last example, Windows 7 users get the short end of the stick on native options for font organization. However, using the free tool NexusFont can alleviate this problem.
To begin, download and install NexusFont.
Using Groups
Groups are NexusFont's method of installing fonts from different folders rather than the default Windows font directory. Organizing Groups can help if you install a lot of fonts on your own and would like them separate from the default ones for easier space management. Here's how to make and manage new Groups:
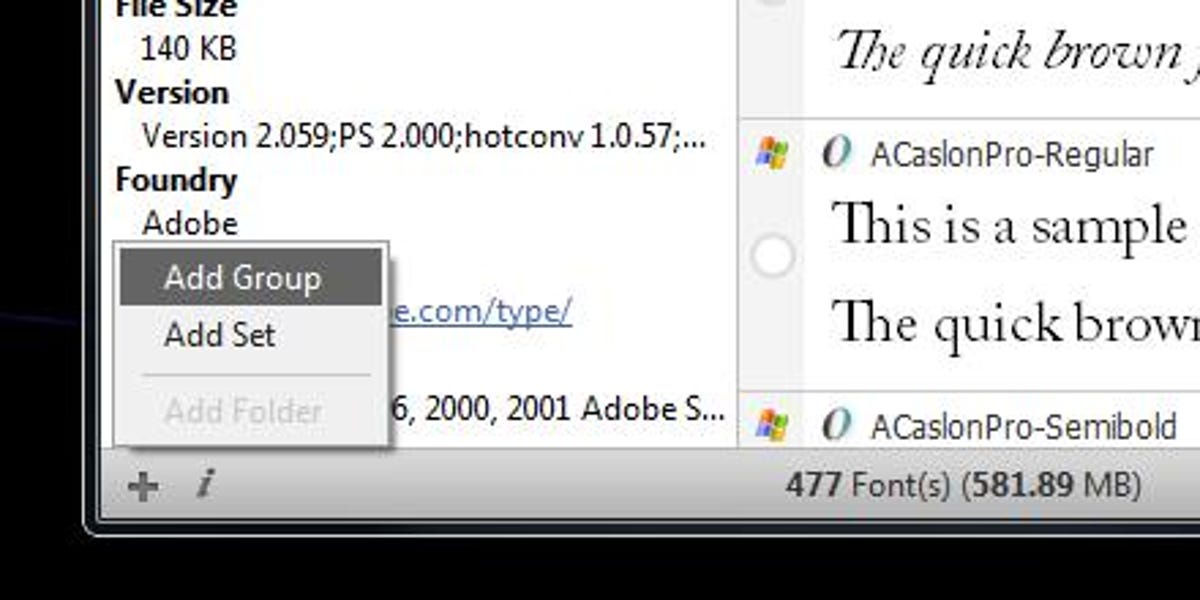
Step 1: Cick on the + sign at the bottom left of the NexusFont window and select Add Group from the menu that appears.
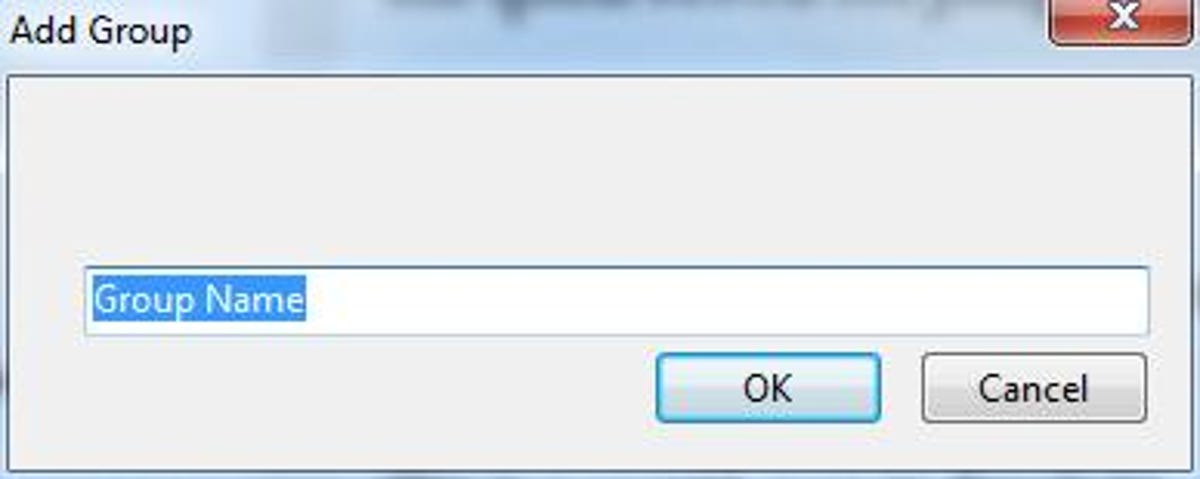
Step 2: Enter the desired name of your new Group.
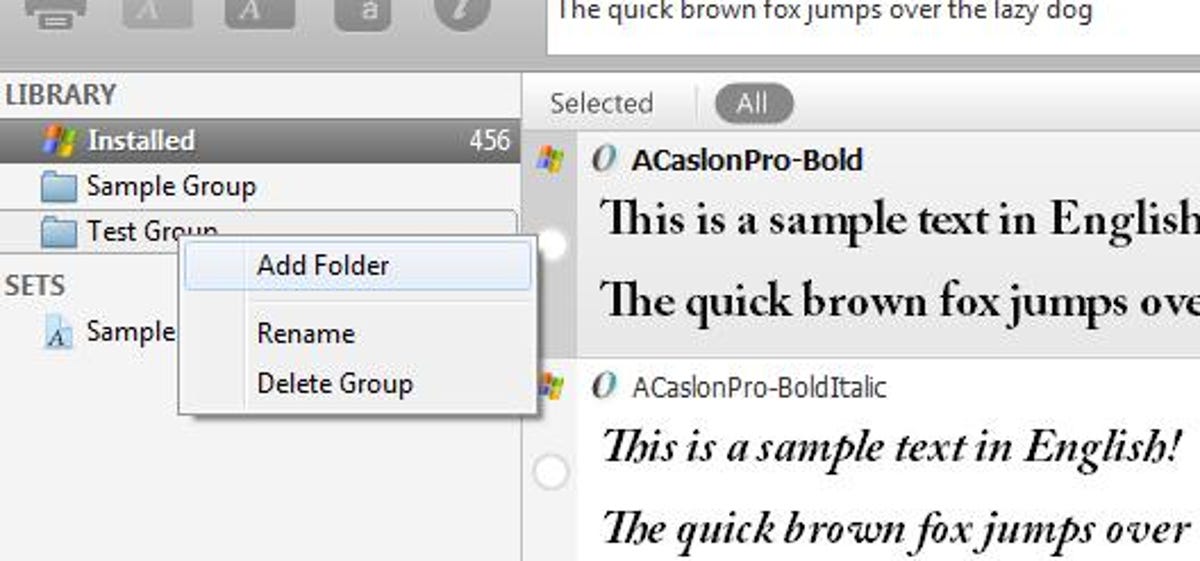
Step 3: Right-click on the newly created Group in the menu to the left and select Add Folder.

Step 4: Navigate to the folder containing your custom fonts in the window that appears.

Step 5: With the folder selected, click OK to add the folder to the new Group.
Using Sets
Sets are user-managed organizers for fonts within NexusFont. This method of organizing is a great way to keep all of the fonts you'd use for a specific purpose together. The following steps will show you how to create and manage new Sets:

Step 1: Click on the + sign at the bottom left of the NexusFont window and select Add Set from the menu that appears.
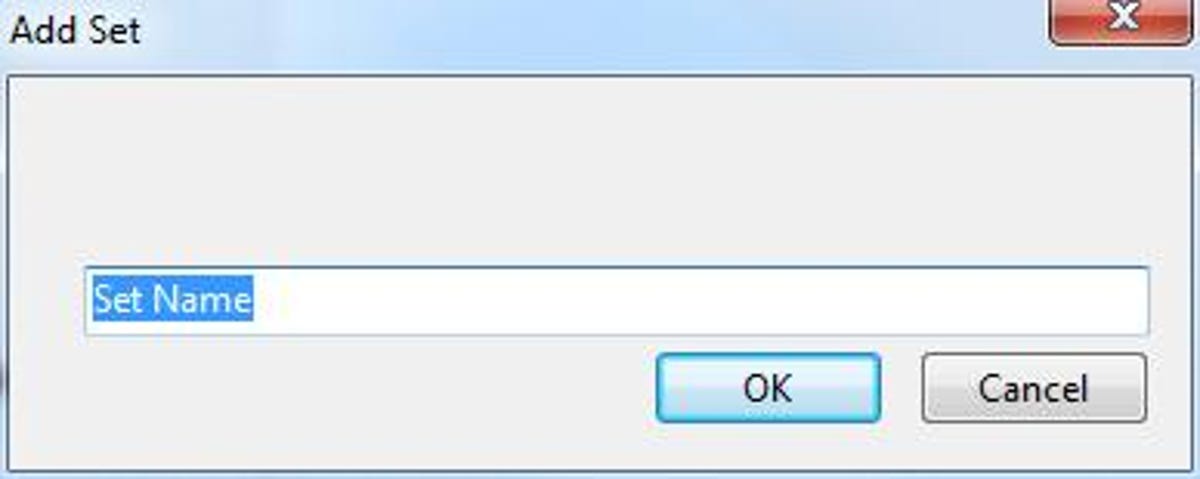
Step 2: Enter the name of your new Set.
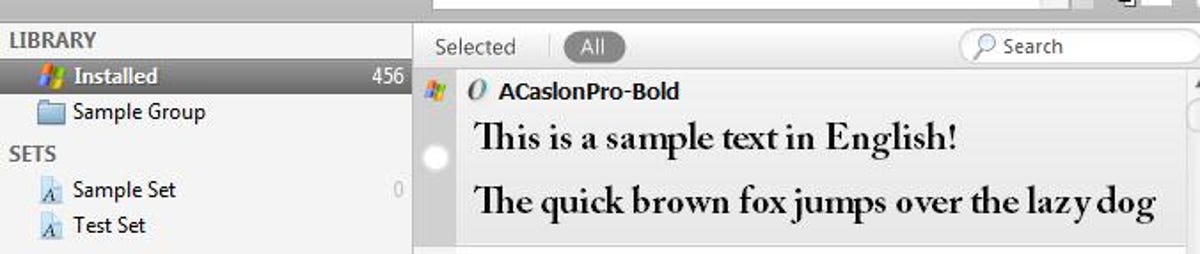
Step 3: Select the Installed entry to view all of your installed fonts.
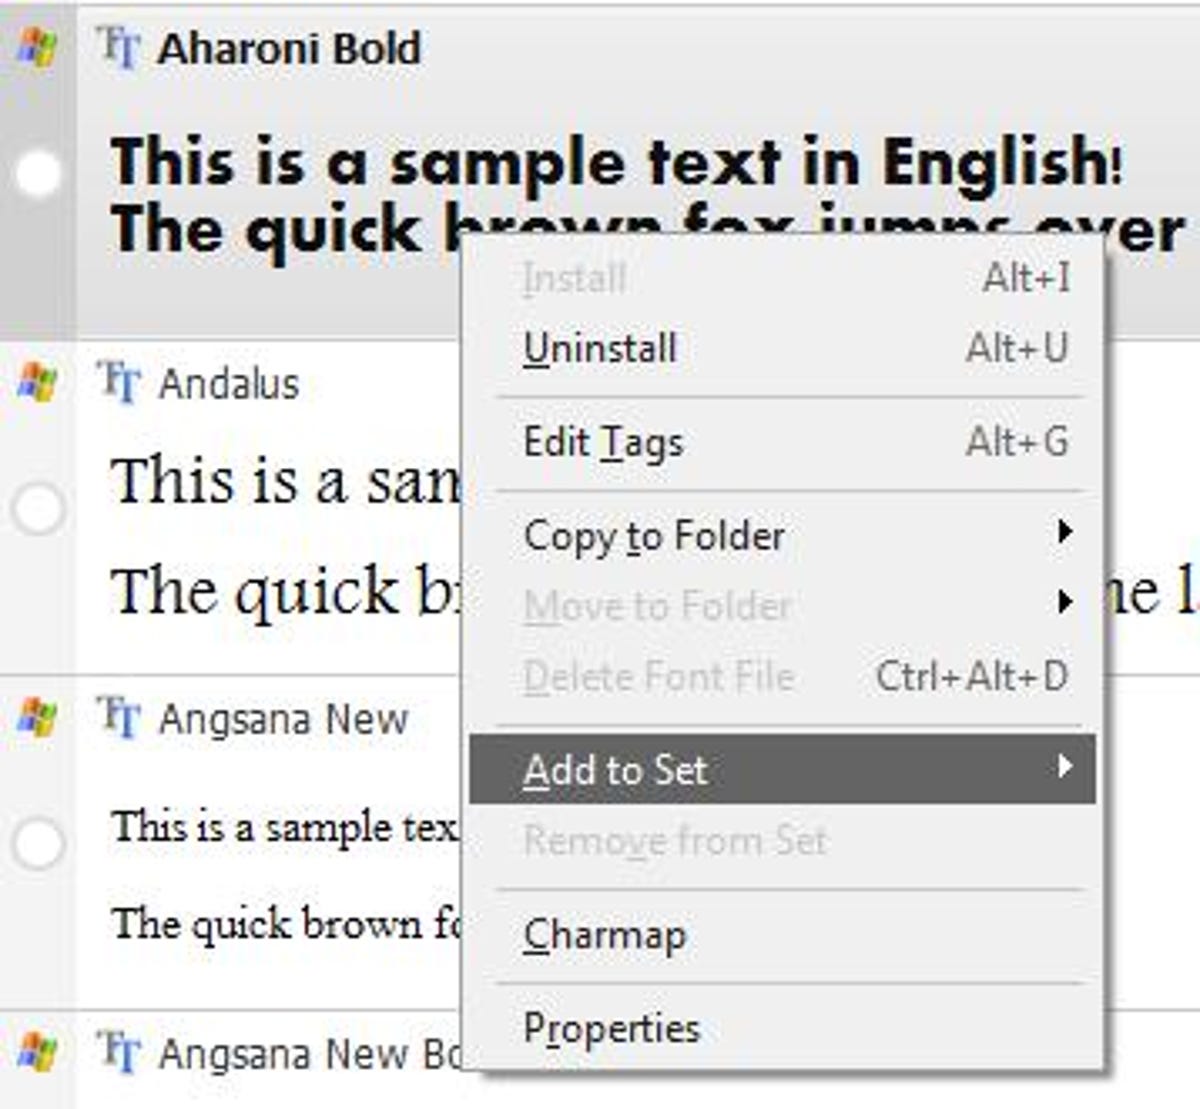
Step 4: Right-click on a font you'd like to add to your set and click Add to Set from the menu that appears.
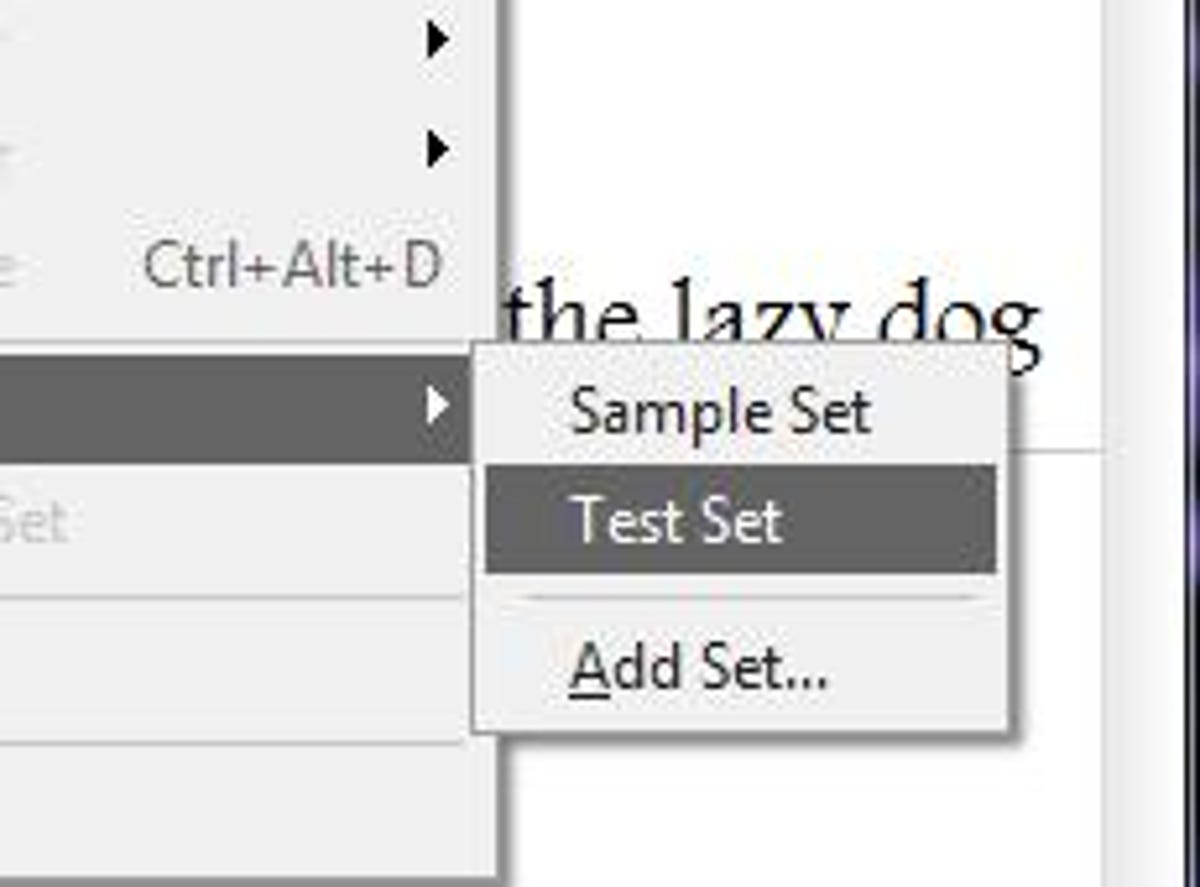
Step 5: Choose the desired Set from the list that appears and the font will be added.
With just these two simple organization tools, you'll find that your installed fonts are less like a bundle of tangled string and more like a nice yarn ball (keep cats away). Rather than having to remember the name of the fonts you use frequently, you have an easily accessible place to preview all of your favorites.