Install the Nest Thermostat in No Time. Here's How
The $130 Nest Thermostat is pretty simple to set up. We'll walk you through how to do it.


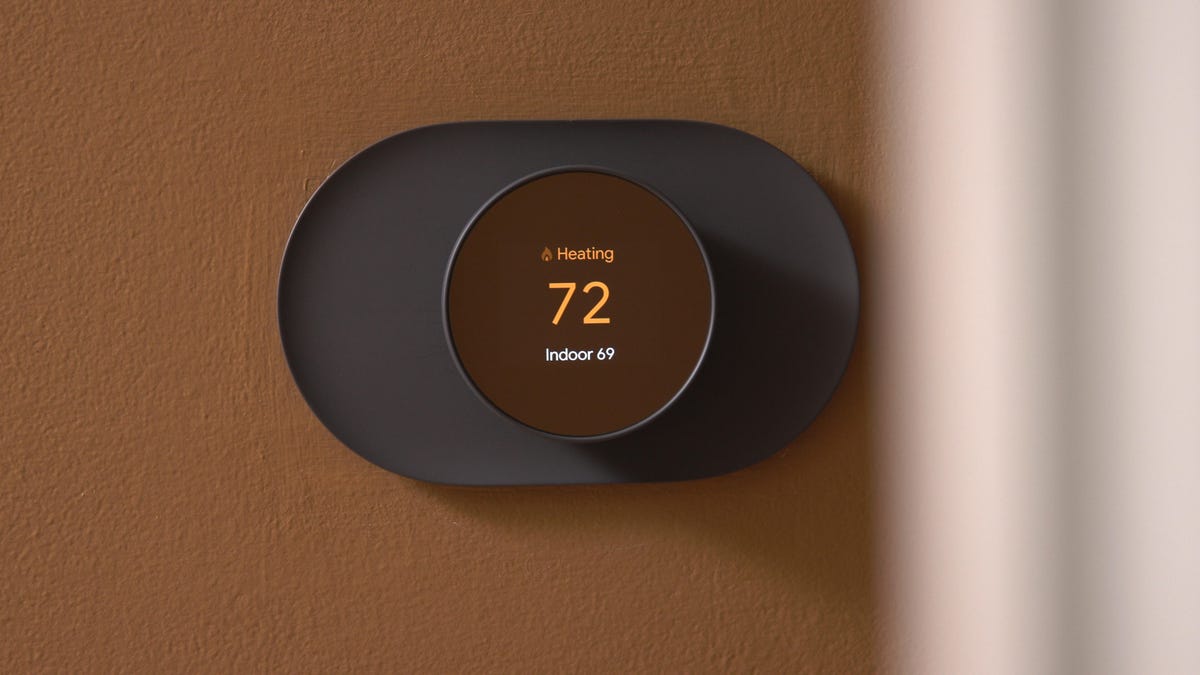
So you bought a Nest Thermostat. Now what?
The $130 Nest Thermostat -- not to be confused with the $250 Nest Learning Thermostat -- is Google's latest smart thermostat. While the newer model is priced significantly lower than the flagship Learning Thermostat, it still shares a lot of the same impressive design and functionality.
The installation is similar, too, although keep in mind that the new Nest Thermostat is only available via the Google Home app and won't work on the legacy Nest app that still connects some older products. Below I'll walk through the basic steps to installing and configuring the Nest Thermostat. Before you buy this thermostat, take a look at Google's Compatibility Checker to see if this model is compatible with your current thermostat wiring.
Read more: Nest Learning Thermostat vs. Nest Thermostat: What's the difference?
Getting started
The initial steps start in the Google Home app:
1. Download the Google Home app and create an account, or log in if you already have one.
2. Click the plus sign on the top right of the app home page and select "Set up device," then "New devices."
3. Select an existing home you've already created in the app or create a new one.
4. Choose "Thermostat" from the list of device categories, then "Nest Thermostat."
5. Scan the QR code on your thermostat. Alternatively, you can input the six-digit code on the inside of the thermostat.
You've done the cursory app setup; now it's time to remove your old thermostat:
1. Turn off power to your thermostat and your heating and cooling system (consult a professional technician if you have any questions).
2. Remove the old thermostat, starting with the faceplate.
3. Now that the faceplate is gone, you should be able to see the thermostat wiring. Grab your phone and get a picture of the wiring for future reference.
4. Disconnect the wires from the thermostat's baseplate, then unscrew and remove the baseplate. Set aside your old thermostat.
Next, we'll install the Nest Thermostat:
1. Mark where you need to install the screws, using the Nest Thermostat's baseplate as a guide. If the holes from the old thermostat don't line up with the new one, you'll need to make new ones.
2. Use a screwdriver to connect the baseplate to the wall with the included hardware.
3. Reattach the wires. Note: The Nest Thermostat does not require a C-wire (learn more about C-wires). Again, reach out to a professional installer if you have any questions about your specific wiring and thermostat setup.
4. Line up the faceplate with the baseplate and click it into place.
5. Switch power back on to your thermostat.
Final steps
Your thermostat is installed, but you aren't quite done yet. Now the Google Home app will ask you a series of questions, including your preferred language, the type of system you have and more. You'll also have the opportunity here to customize your settings, from creating heating and cooling schedules to enabling Home/Away Assist, an option that uses built-in sensors to determine if you're home or not and adjusts the temperature for you accordingly.
Now you're ready to use your Nest Thermostat. If you want to learn more about other smart thermostats out there today, check out our lists of the best smart thermostats and the best affordable smart thermostats.