How to get Jelly Bean on your Samsung Galaxy S3
If you can't wait for the Android Jelly Bean update to reach your phone, follow this guide and install a custom ROM on your Galaxy S3.

If you've munched your way through Gingerbread, Honeycomb and Ice Cream Sandwich and you're still craving the next sugary Android fix -- and can't wait for the software update to be dished out to your Samsung Galaxy S3 -- then read on.
Jelly Bean (or Android 4.1, if you want to be all serious about it), was launched with the Google Nexus 7 tablet in July, and will arrive with UK Galaxy S3 users over the next few weeks. You can find out what it brings to your phone here.
When it will officially reach your handset will depend on when your network gets around to rolling it out. Are you too impatient to hang around for them to pull their finger out? If so, we're here to help, with this guide on how to install a straight-up Jelly Bean ROM that's lovely and stable on your Galaxy S3.
1. Root your Galaxy S3
You've already rooted your phone, right? You won't get very far if you haven't. To install a custom ROM (which is what we're doing, going behind our networks' backs and all), requires root access to the phone. In layman's terms, that means we free ourselves from manufacturer restrictions and wrest full control over it -- so get ready to ride without stabilisers on your Android bike.
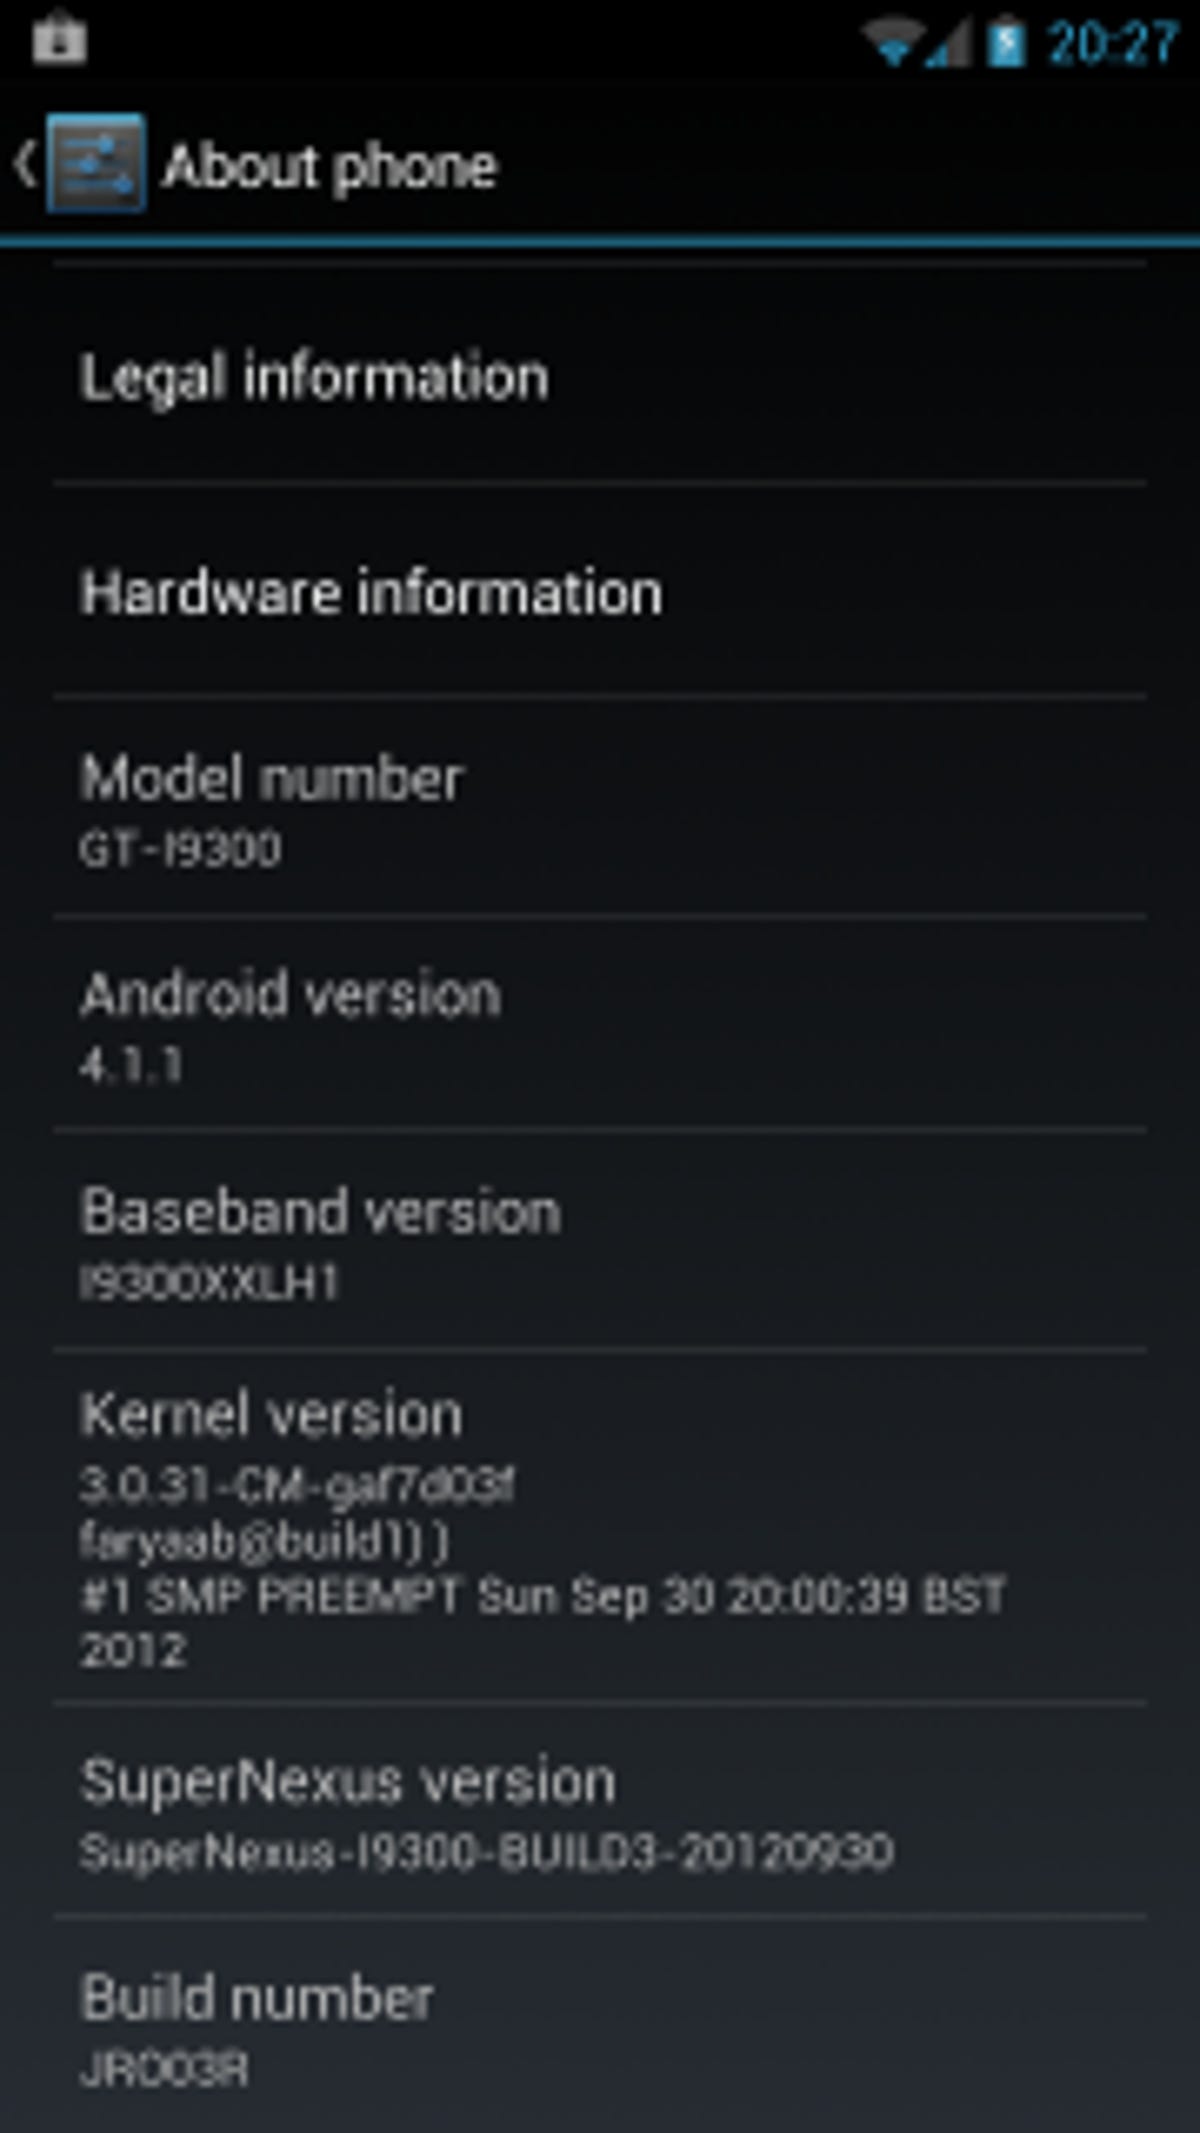
We wrote a big old guide on how to do that here. Just make sure you're using the I9300 model of the phone, otherwise you risk turning your S3 into an aesthetically pleasing paperweight. You can double check that by going into your 'About Phone' section in Settings and scrolling down to see the model number.
2. Let's find a ROM
Next up, we need a suitable ROM to bring sweet Jelly Bean treats to your phone. We'll be doing a round-up of some stable S3 Roms on the site soon, but for now, the question comes down to what you're looking for from Jelly Bean. If you'd like an all-singing, all-dancing customised Jelly Bean interface, then it's hard to fault the nightly builds of CyanogenMod, which runs smoothly and stable on my S3 ("nightly builds" are works in progress).
For the purposes of this guide though, we'll stick to the straight Jelly Bean experience as Google intended. The best example of this I've found is SuperNexus -- a ROM that aims to replicate the widely praised Nexus 7 experience on the smaller screen of the Galaxy S3, without adding any bells or whistles.
Head here and download the latest version. At the time of writing, it was Build 3, dated 30 September. A fresh version, Build 4, was uploaded yesterday with the latest tweaks and patches (but for the purposes of this guide, be aware that the screenshots refer to Build 3). You'll also want to download Google Apps from the same page, otherwise you'll be without a lot of those lovely Google applications we take for granted.
If you choose to go with a different ROM, be sure to read the instructions carefully. While it'll probably be virtually identical to what follows, it may vary subtly, so stay alert!
3. Copy your ROM over
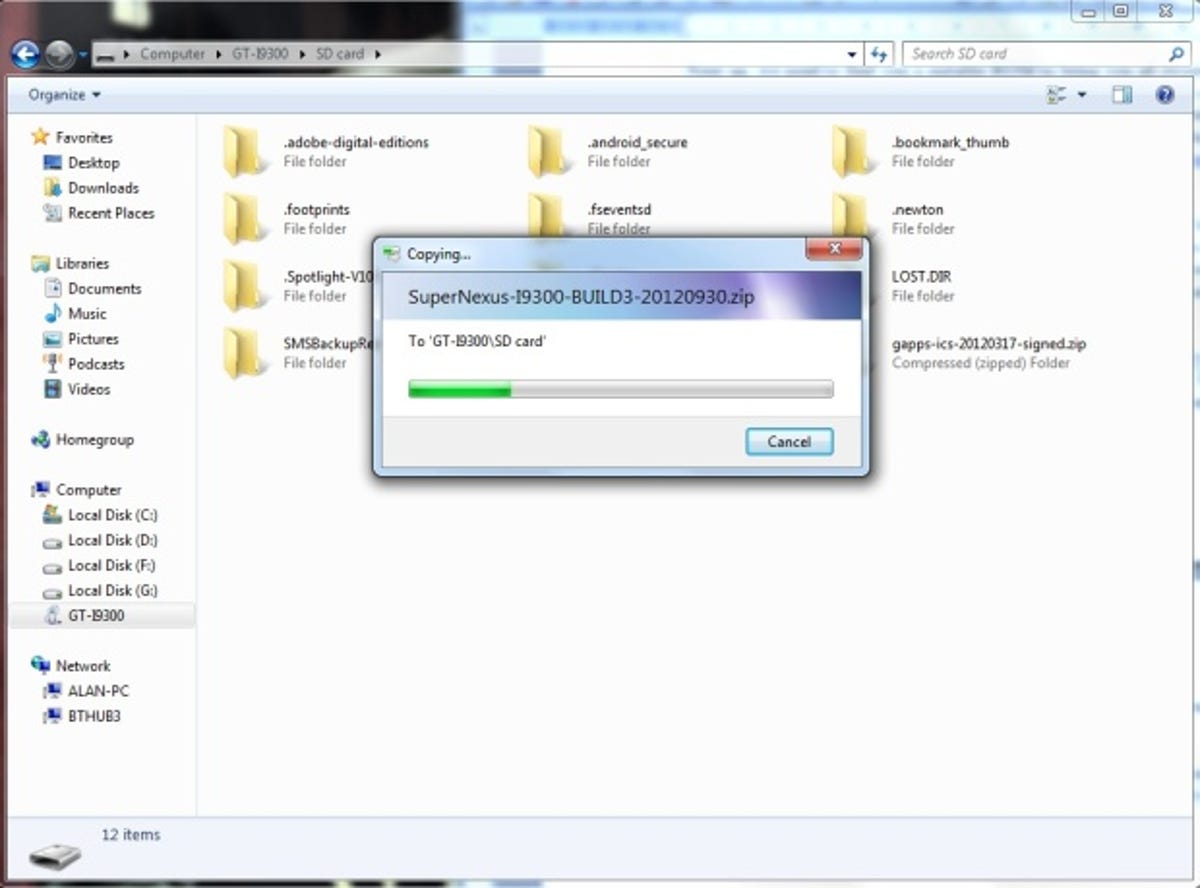
Connect your Galaxy S3 to your computer and drag and drop your freshly downloaded zip file across to your phone. ClockworkMod (which I'll get to in a moment) allows you to install from either your internal memory or your SD card, so take your pick. I've gone for the external SD card.
Drag and drop your Google Apps zip file across to the same place. Once again, there's no need to unzip it yourself -- leave that all in the capable hands of your phone.
At this point you should backup everything you want to keep from your phone. In my experience, most items remain on your phone when switching ROMs, but why take the risk when you've got the window right open in front of you -- you might as well backup. You may need those photos to humiliate someone on Facebook one day, right?
4. Restart your S3 in Recovery Mode
Take a deep breath because here comes the fun (née hair-raising) bit. When you rooted your phone in step 1, you were given a couple of new apps. One of them, ClockworkMod is what you'll need to use for adding custom ROMs -- it will be your best friend in the world should you ever need to recover the phone from a firmware accident (but that's for another article).
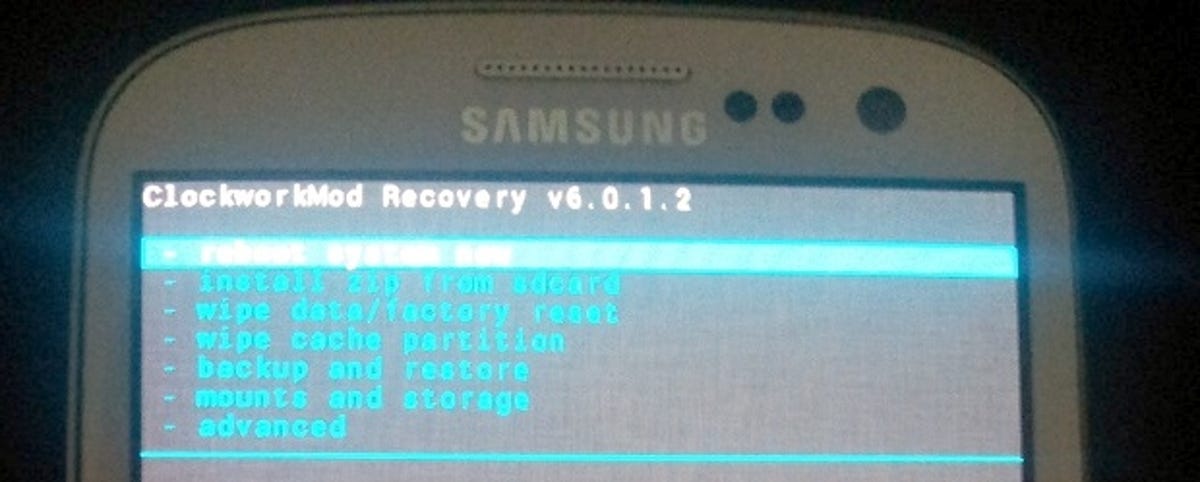
To boot up in recovery mode, switch off your phone and then restart it by holding down power, volume up and menu. After a few moments you'll see the clockwork mod menu. There's no touchscreen interface here, so you'll be navigating the menus with volume up and volume down, using the menu button to select the option you want.
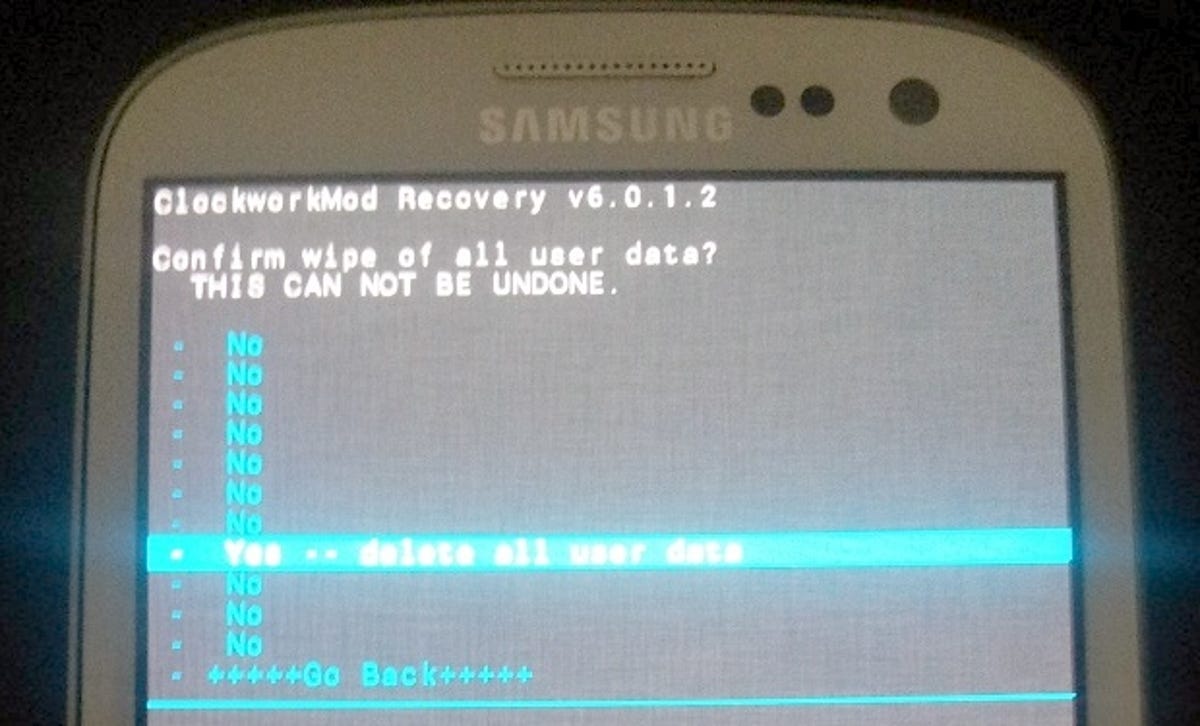
First things first, volume down to 'wipe data/factory reset'. When you press menu on this, you'll be asked if you're certain. There's lots of 'No' options and only one 'Yes', to be certain you know what you're doing. Scroll down to 'Yes' and press the menu button.
Now that the phone is all sparkly factory mint again, it's time to install our new ROM. To do that, navigate to 'install zip from sdcard' on the main menu and press the menu button. You now have to find where you put it. If it's on your phone's internal memory, select 'choose zip from sdcard'. If it's on the microSD card inside the phone, scroll down to 'choose zip from external sdcard'.
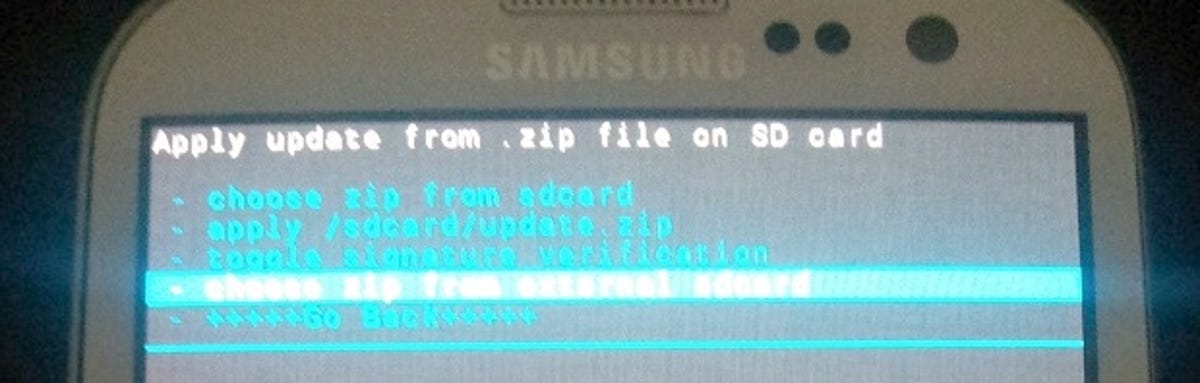
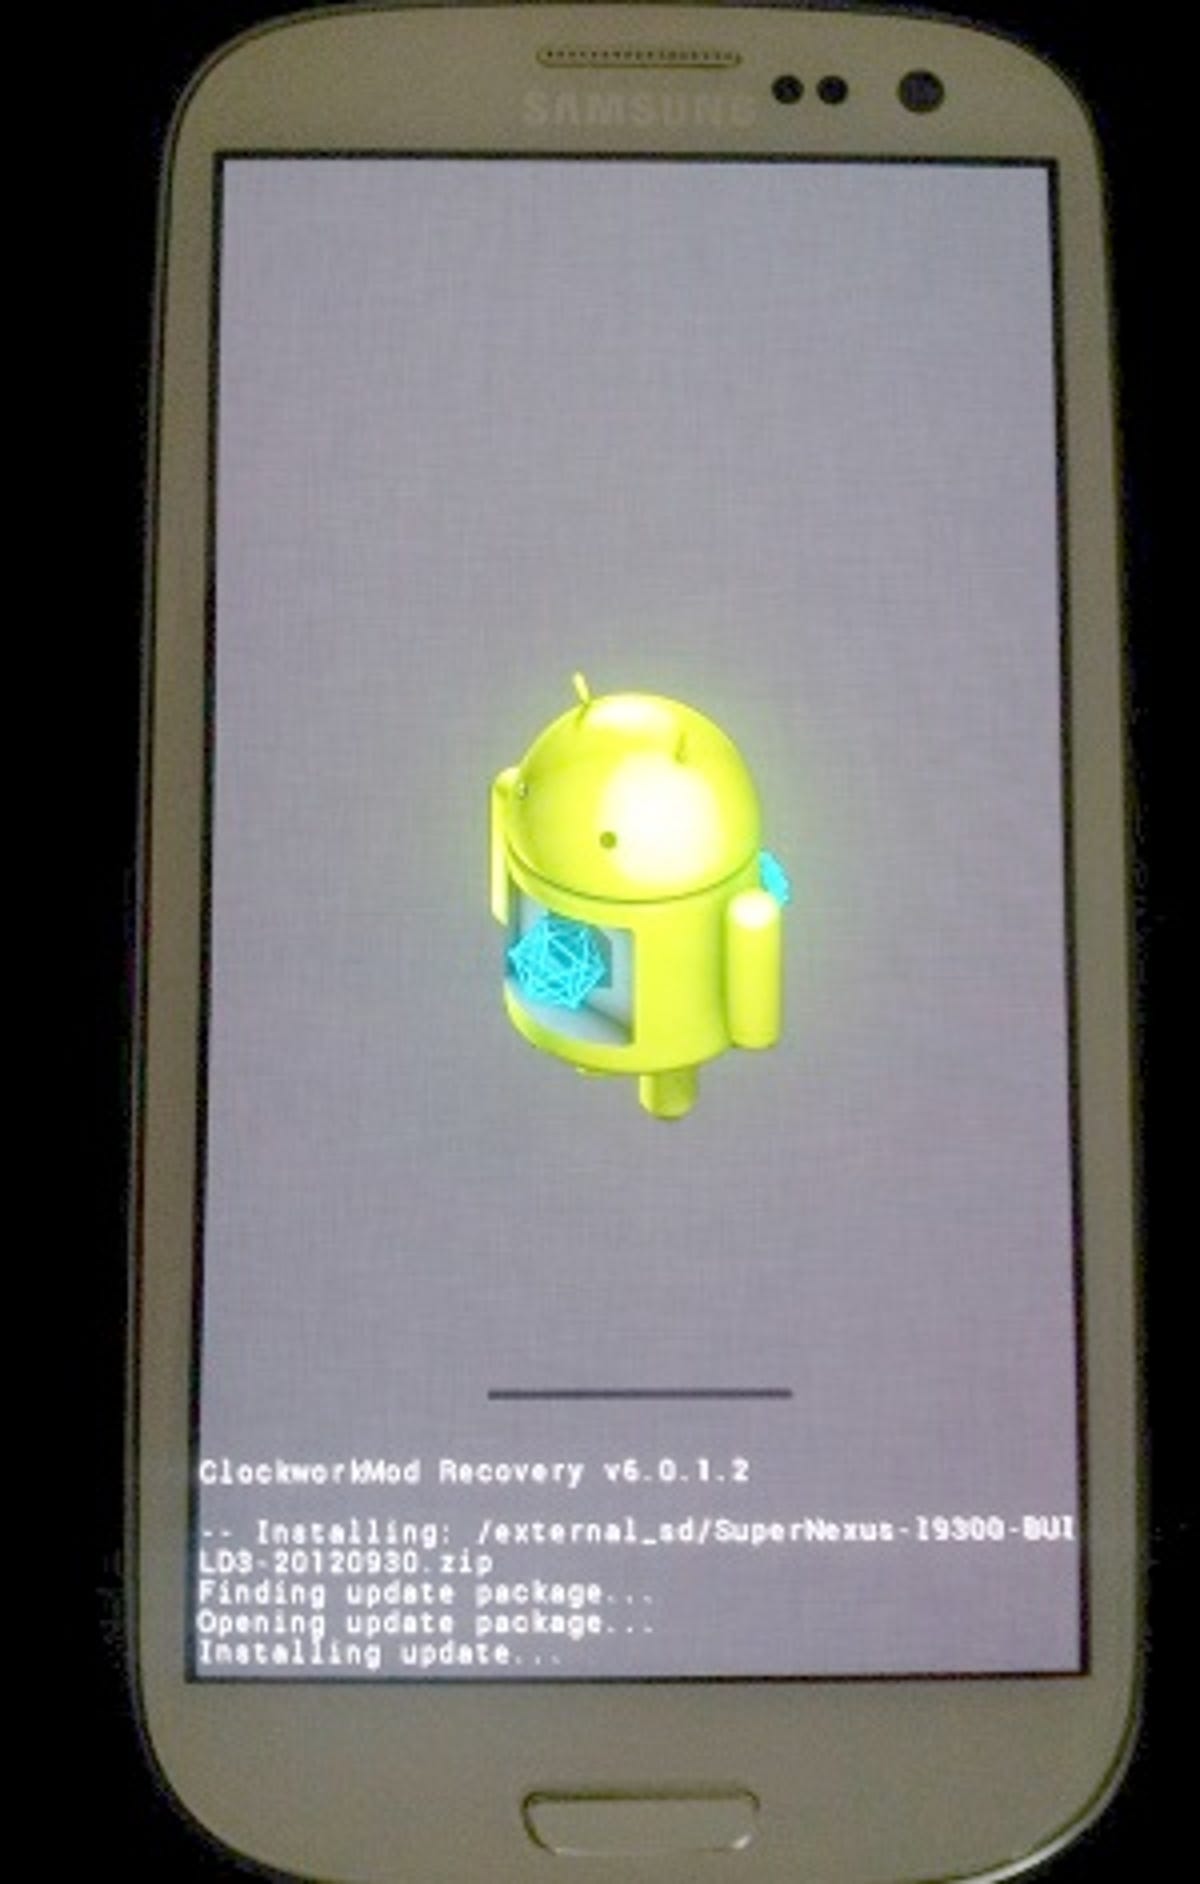
You'll then see the file listed -- in our case it's 'SuperNexus-I9300-BUILD3-20120930.zip'. If you're using Build 4, it will be 'SuperNexus-I9300-BUILD4-20121007.zip'. Select that, and once again you'll be asked if you're certain.

Sharp intake of breath, sacrifice a goat to the Google gods and go right ahead. The phone will begin to install the new ROM. This took me less than a minute.
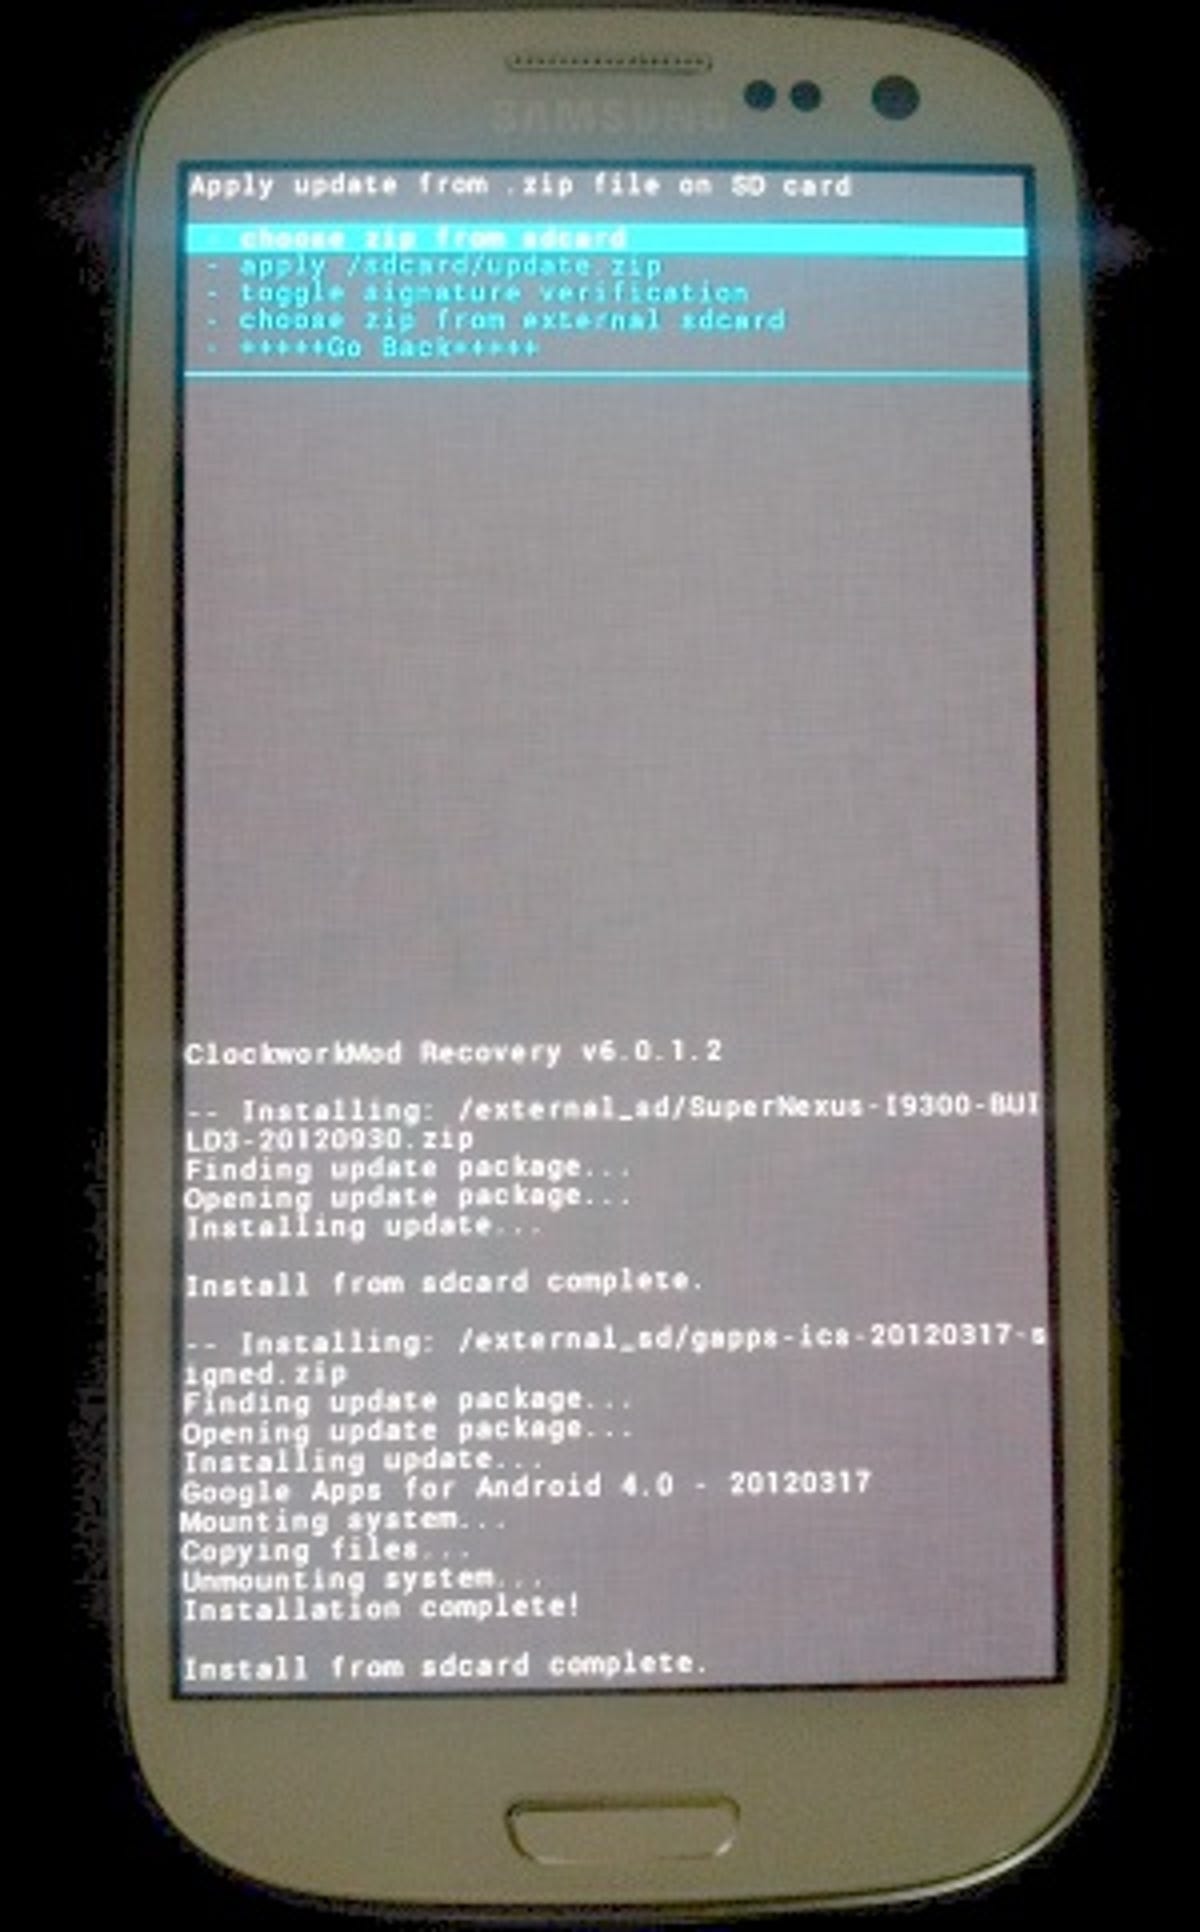
You're almost there now! Just go through the same process with Google Apps, which you dropped on the phone earlier. Find the zip file and install it exactly the same way. Now go ahead, and press 'go back' and select 'reboot system now'.
4. Enjoy the future today!
Your phone will boot up into your lovely new OS.
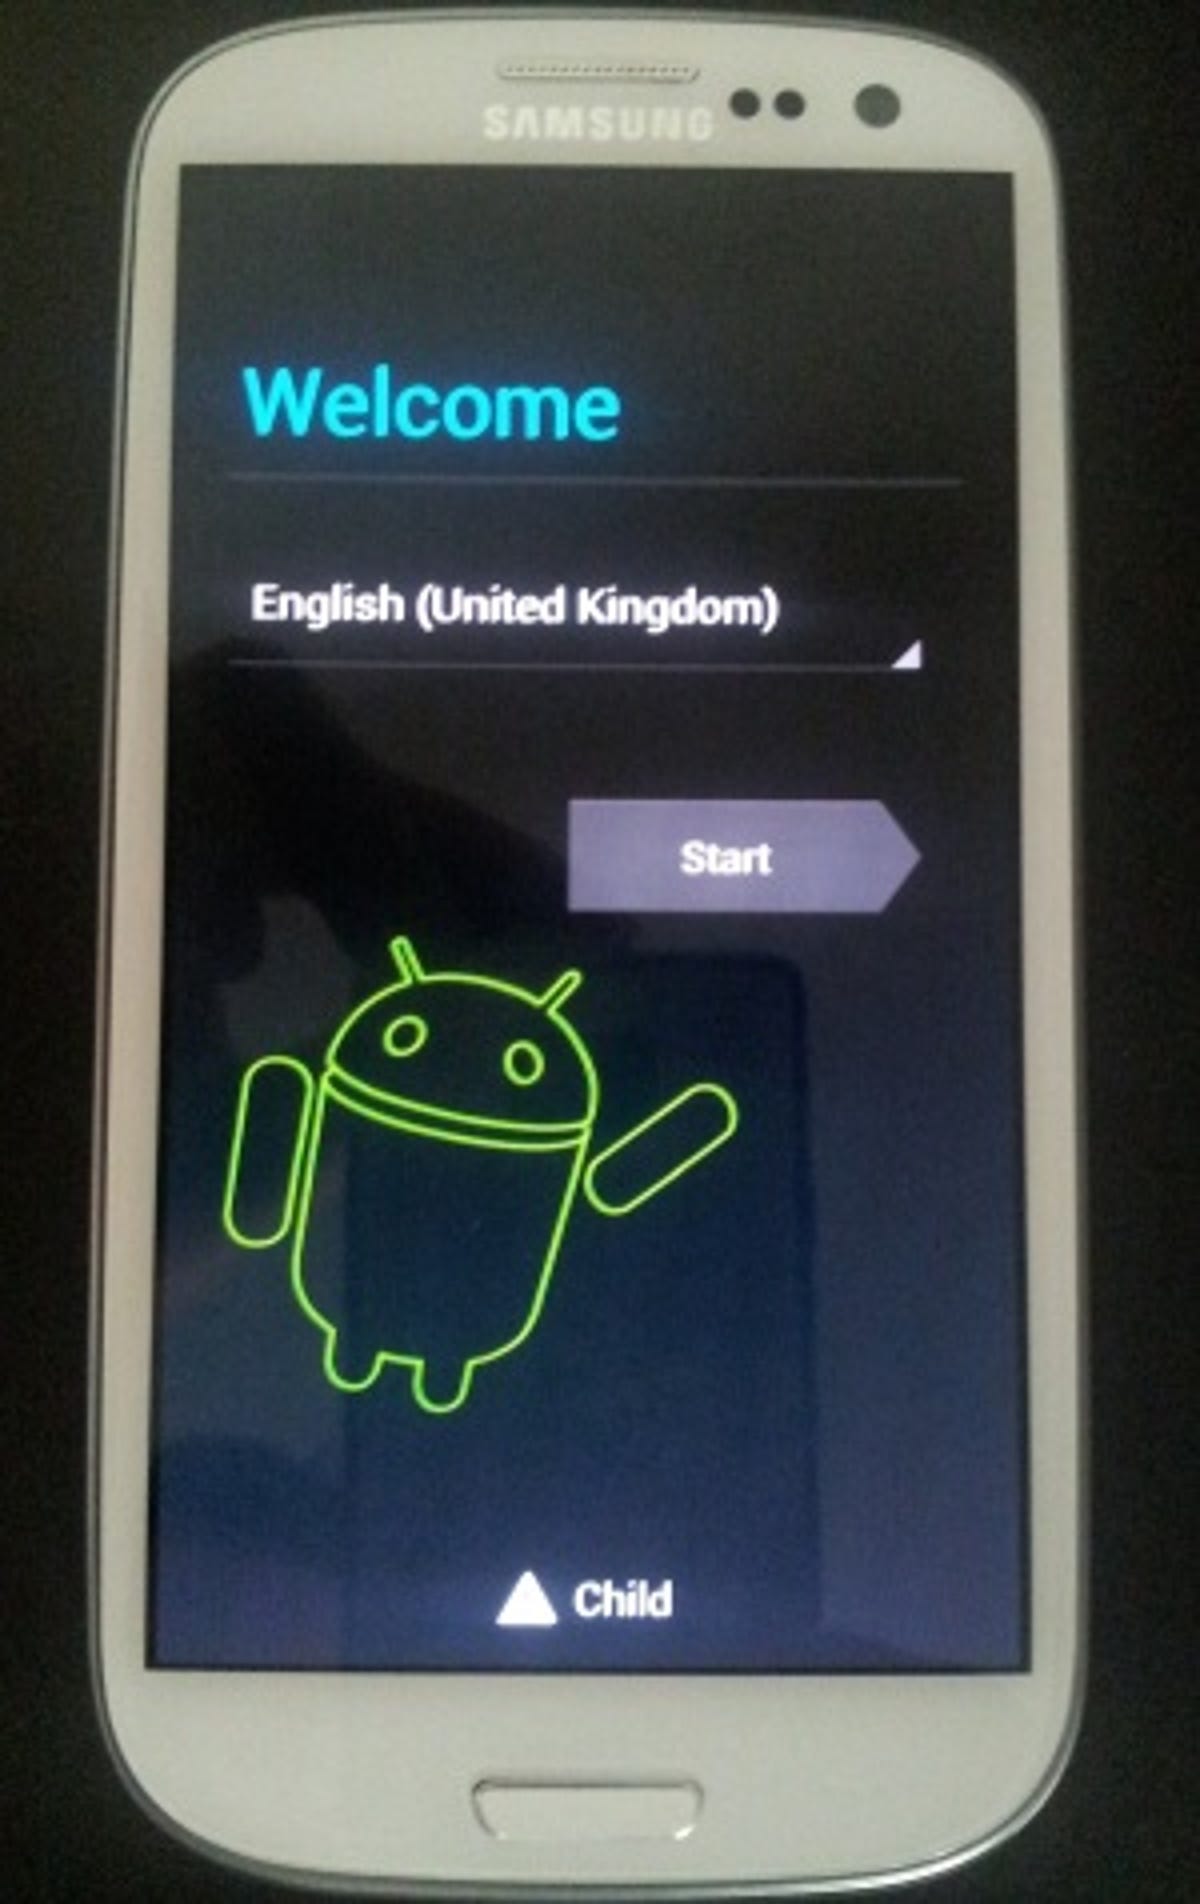
You'll run through all the stuff you did when you first bought your phone -- logging into Google, setting up Wi-Fi and so on, and then you're done. Enjoy Jelly Bean and pat yourself on the back for a job well done!