How to email stuff to your Evernote account
Learn the tips and tricks of turning mail into tagged, filed Evernote notes.


Few people would debate the awesomeness that is Evernote, but I suspect a lot of users overlook one of the service's most valuable features: notes via email.
In addition to creating notes via app, desktop client, and Web, Evernote can add any email to your account -- complete with tags and a designated folder. Here's how to take advantage of this unsung capability.
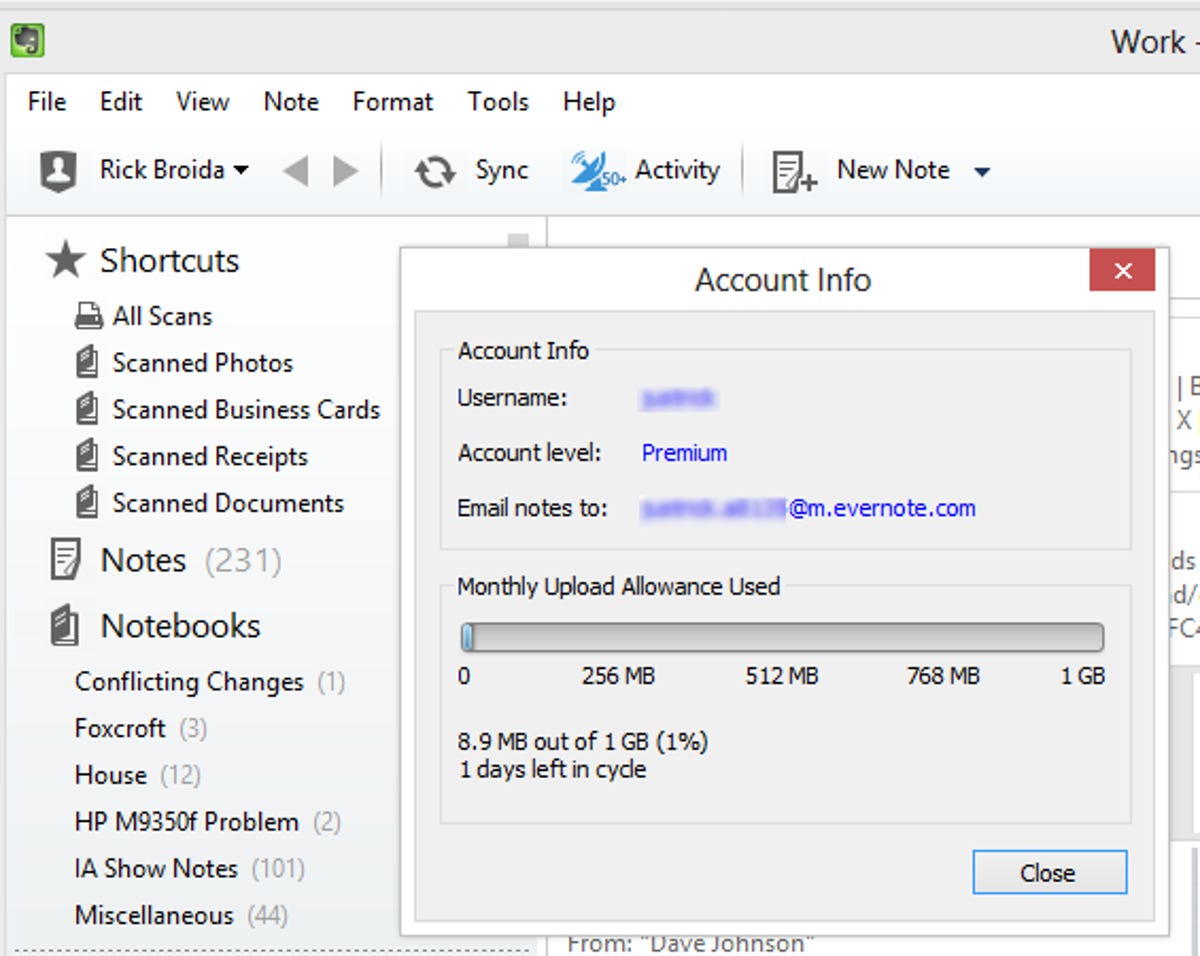
Step 1: Find out your Evernote email address. You can do this in the desktop client by clicking Tools, Account Info. Alternately, sign into your Evernote account on the Web, click the menu pull-down in the upper-right corner, and then click Account Settings. In both cases you'll see this field: "Email notes to." The address shown there is the one you need.

Step two: Using any mail service, client, or app, simply forward an e-mail to your Evernote address. Once received by Evernote, it will become a new note in your default folder. However, you can specify an existing folder by appending @foldername in the subject line. You can also add tags (if they already exist in your account) by way of hashtags.
Thus, if you're saving, say, a Home Depot receipt, the subject line might look like this:
Home Depot Order Confirmation @receipts #homedepot #house #plumbing
(Make sure the folder name comes first, then the tags.)
Step three: To make this easier going forward, create a new Evernote contact in your various address books (on your phone, in Gmail, etc.), and include the e-mail address you uncovered in step one. Now, instead of having to remember that address, you can just forward everything to "Evernote." Easy-peasy.
And that's it! Now you know the basics of Evernote-by-e-mail. I've been using this option more and more to file important attachments, receipts, project notes, and the like. It's invaluable.