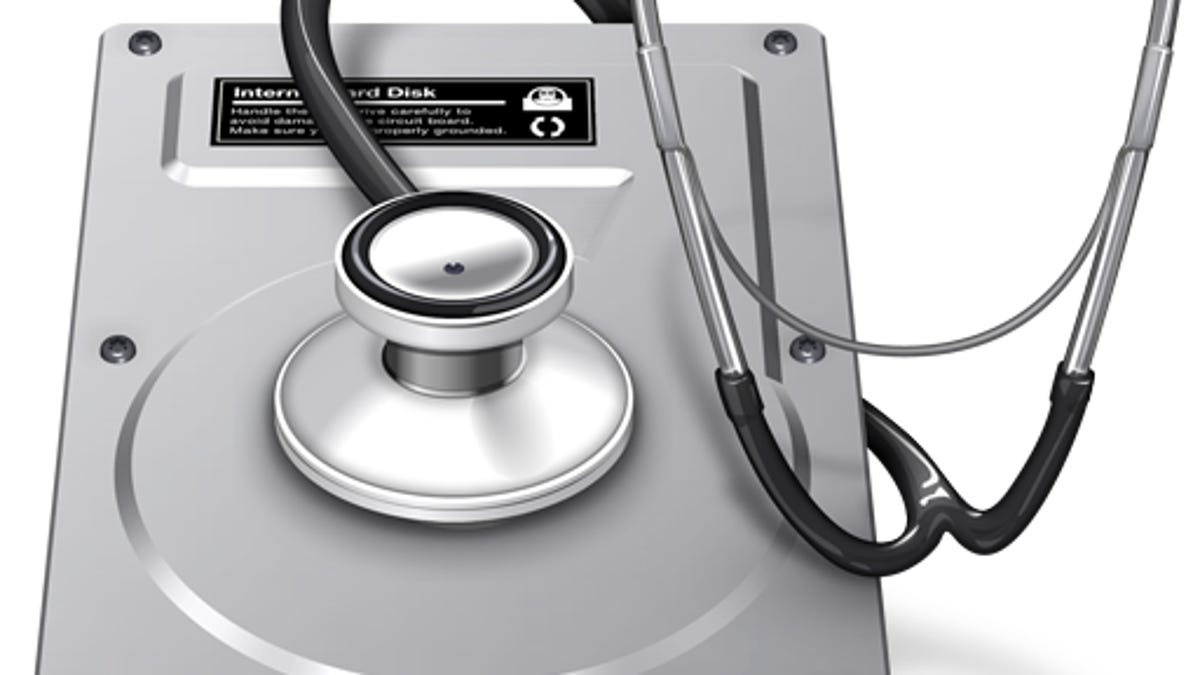
How to check for and fix OS X boot drive errors
The boot drive's format and partition structure can be checked both in the OS X graphical interface and in the Terminal.


If you are concerned about your Mac starting to run slow or become unstable, you may have looked into regularly running maintenance routines to clear caches, log files, and other temporary items from your system. You may have even seen advertisements for programs that automate these tasks. While such routines can be beneficial if a system is experiencing slowdowns, and should not adversely affect the system if implemented correctly, there is potential for something to go awry. This is especially true if you use an outdated version of these software packages that may have a bug or two in it.
While periodic maintenance of your Mac is usually not necessary to keep it running in top shape, one exception is periodically checking your hard drive for errors.
If your Mac's hard drive is experiencing formatting errors, then the system may show slowdowns, failures to properly save or read data, and even file corruption, and eventually it may not even boot. Unfortunately, formatting errors can happen even if you've just been using your computer in a normal way, so even though your system may be running fine at the moment, it can only benefit from a regular drive check.
One way to do this is to simply reboot your system into Safe mode periodically, which among some other built-in maintenance tasks will run the "fsck" command-line tool to check the hard drive for errors and repair them if found. However, there are several alternative, manual ways to check for and fix hard-drive errors.

The first is to use Apple's Disk Utility program, which is available in the Applications > Utilities folder. This is the standard and recommended method for checking the system's hard drive, since the graphical interface is quick and intuitive to use. Simply select your boot volume in the device list (this will be the name of your boot drive), and then hold the Option, Command, or Shift key and select the drive device itself, which will have the size and manufacturer in its name. With both of these selected, click the Verify Disk button and the system will check the partition tables and formatting of the drive.
Do note that checking the hard drive will pause writing to it, and since the system is continuously writing and updating data on the drive, this may result in the system hanging for a few seconds while the checking routines run, so do not be alarmed if you see the spinning color wheel cursor and cannot perform other tasks while this routine is going on. However, even if the system seems paused for a long time, the routine should resume sooner or later. If for some reason the routine seems stuck (which is rare but may happen), since it is just a checking routine, you can force-quit Disk Utility to halt the check and return your system to a usable state.
There are also alternatives to the Disk Utility program built in to OS X. These can be used either if you are logged in in Single User mode (after holding Command-S at startup to drop you to a root terminal prompt instead of loading the OS X interface), or if you are logged in remotely through an SSH connection.

Two options for use in the Terminal are the "diskutil" command, and the "fsck" command. Both of these can be used to check the hard drive for errors, using the following syntax:
diskutil verifyDisk DRIVEID
diskutil verifyVolume VOLUME
In these commands, DRIVEID is the device ID of your boot disk, which usually is "disk0," but may be another value such as "disk1" or another number if you have multiple physical drives in your system. You can look this up by running the command "diskutil list" to show the available devices and their respective device IDs.
For the second command, VOLUME is some name that will target the boot partition itself, instead of the drive. There are three ways to do this. The first is to use the name of the boot volume, which should be surrounded by quotes if there are spaces in it (or you can properly escape the space characters with a backslash before them). The second is to use the slice ID for the volume, which looks like the device ID, but with an "s1" or "s2" appended. Since OS X systems generally have an EFI boot partition, this usually offsets the boot drive's slice number to be disk0s2. The third option is to simply target the root of the boot filesystem using a single forward-slash character. The following are examples of all three of these options:

diskutil verifyVolume "Macintosh HD"
diskutil verifyVolume Macintosh\ HD
diskutil verifyVolume disk0s2
diskutil verifyVolume /
When you run these commands, the system will check the boot drive and output status similarly to what is seen in the Disk Utility log window.
The final option is to use the "fsck" routine, which is similar to the diskutil command and runs the same checking routines, but is a little barer. Apple recommends using diskutil whenever possible, but sometimes diskutil may show an error it cannot overcome, in which case fsck may be successful.
To use fsck, simply run the following command at the OS X Terminal prompt, changing the volume slice ID to be that of your boot drive:
sudo fsck_hfs -f /dev/disk0s2
As with diskutil, this will result in an output that checks the various formatting database files and shows any potential problems.
If problems do exist, then you can fix them by booting the system to the OS X installation or recovery volume and then using Disk Utility there to repair them, or running the diskutil commands listed above again but using "repairVolume" instead of the "verifyVolume" command. To use the fsck command, you can run it with the following flags to perform the repair:
sudo fsck_hfs -fy /dev/disk0s2
Keep in mind that when booted to the OS X installation or recovery drive, the "disk0" ID will likely now represent the recovery drive instead of the system's main boot drive. Therefore, be sure to run "disktuil list" again before running the command to find out the proper ID to use.
Questions? Comments? Have a fix? Post them below or
e-mail us!
Be sure to check us out on Twitter and the CNET Mac forums.