Why You Can Trust CNET
 How to buff away your iPhone's scratches
With the right tools and some elbow grease, you can restore your iPhone's ugly, scuffed-up backside to its formerly shiny, sexy self.


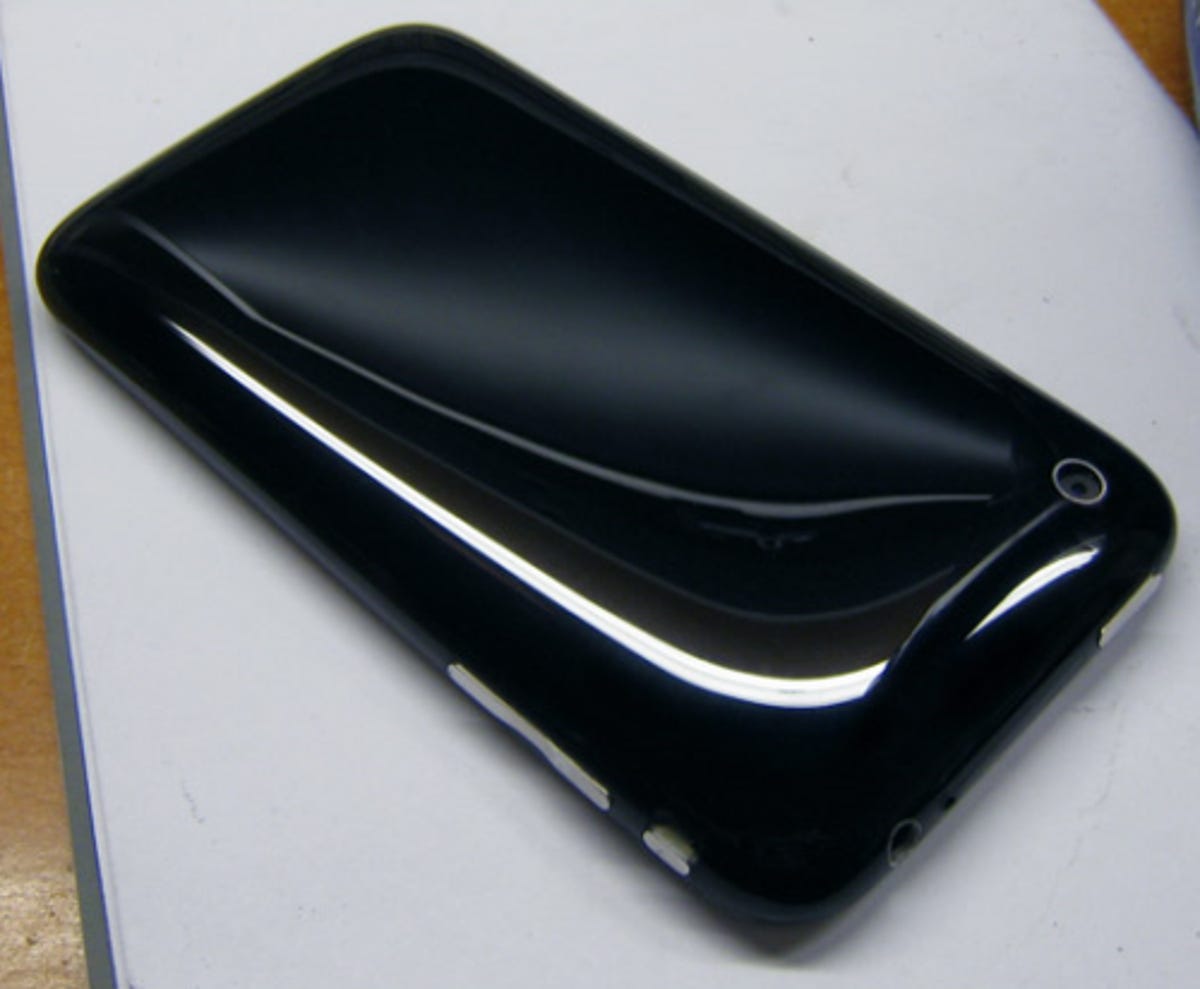
Unless your iPhone went straight from box to case, it's probably lost some--if not all--of its original shiny luster. Indeed, it's rare to find a handset that doesn't end up looking like the one in this picture after a few months.
It's awful, right? That's more or less how my iPhone 3GS looks, and it's been riding inside a rubberized shell since day one. Unfortunately, while there are plenty of DIY guides showing you how to fix the front of an iPhone, I've yet to see one that focuses on its backside.
Until now. The MacRumors Forums has a very detailed guide to restoring the back of an iPhone. If you're a seasoned do-it-yourself type with a few bucks to spare, you can end up with a phone that looks like the "after" picture.
It's nice, right? To get these impressive results, the guide's author used a combination of wet sanding and polishing. Amazingly, most of the tools you need can be found in the 3M Headlight Lens Restoration kit, which is available from Amazon for about $11.
Beyond that, you'll need some fine-grit sandpaper, a power drill, a lot of elbow grease, and probably a couple hours of free time (though that's just a guess on my part).
The only caveat here is that the sanding will wipe away the Apple logo and everything else printed on the back of your iPhone. If you can live with that, this looks like a surefire method of restoring that shiny shell.