How to arrange two photos or screenshots side by side
This is a common necessity among bloggers and other content creators. Here's how to do it without special software.


As a full-time blogger, there are countless times when I'd like to put two screenshots or product photos side by side. Alas, the blog tools I use either don't allow for that or don't make it very easy.
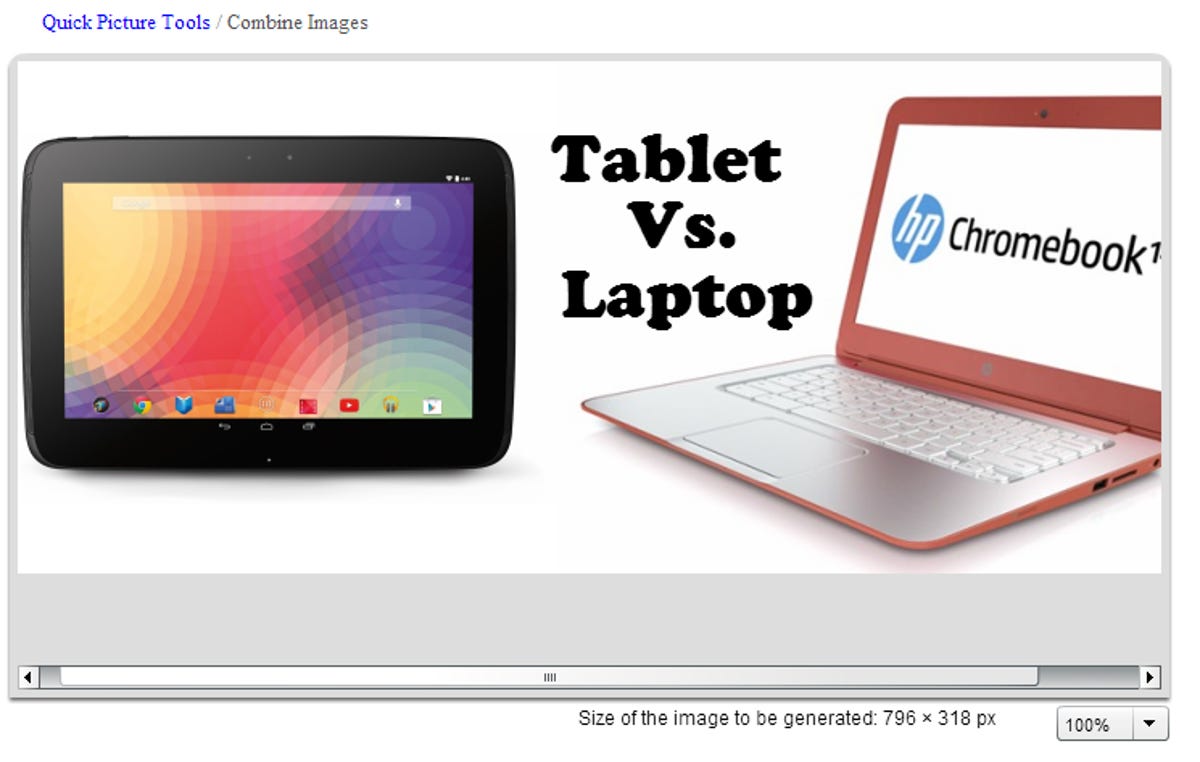
The solution? A fast and easy Web tool called, aptly enough, Quick Picture Tools - Combine Images. Here's how to use it to join two images into one. (It can also create a four-image collage, a process that becomes obvious after you start with two.)
Step 1: Open Quick Picture Tools in your browser. You'll see a blank window, with various options below it.
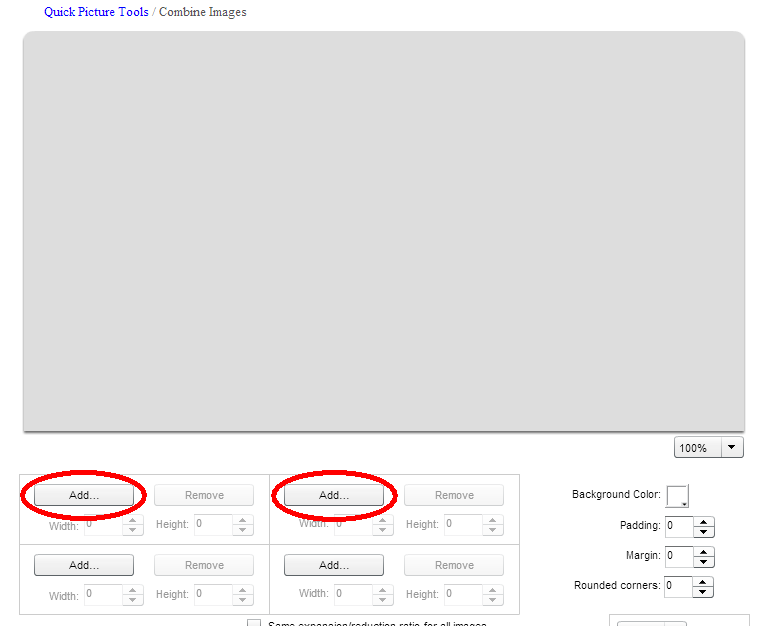
Step 2: Click the Add button in the first of the four boxes, the one in the top left. Navigate to the folder containing the first image you want, click it, and then click Open.

Step 3: Repeat the process, this time clicking the Add button in the top right box. Now you should be looking at two side-by-side images. If they're roughly the same size, you're in good shape. If either one is on the large side, though, you should click the zoom selector and choose 25 or 50 percent. That should allow you to at least preview them side by side.
Step 4: If necessary, change the values in the Width and Height fields so your two images are roughly the same. Obviously with a pair of screenshots, you can probably leave their sizes alone.
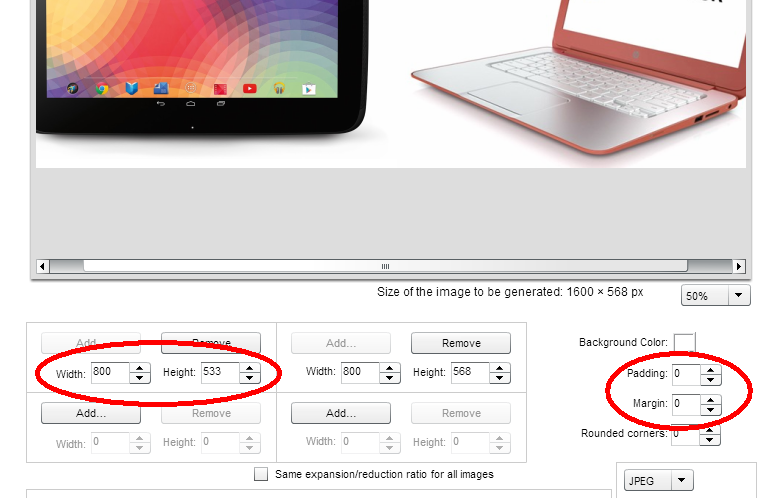
Step 5: If you want extra white space between your images, use the Padding tool. You can click and hold the up arrow until you get the space you want, or just manually enter a value. Likewise, the Margin tool will add a border around the outside edge, and Rounded Corners will round the edges of your two images.
Step 6: Want to add text? Type some words into one of the fields below the Add Image tools. A preview will appear instantly, and you can drag and drop it in whatever position you want. You can modify the color, font, and size as well.
Step 7: Choose your desired output format (JPEG or PNG), then click Generate Image. In the Save As box that appears, pick your save folder and give the new image a name.
None of this is very complicated, obviously, but it does offer and fast and effective solution for combining images. Hope you find it useful!