Add special effects to your smartphone movies
Free app FxGuru, now available for both Android and iOS, comes with a dozen dazzling effects. Here's how to kickstart your moviemaking career.


In my youth, I wanted nothing more than to make movies. But the tools just weren't available -- not on my budget, anyway. And even if I'd had a movie camera, special effects were out of the question. UFO invasions, dinosaur attacks, bomb explosions -- these were the purview of Industrial Light & Magic, not little Ricky Broida.
Oh, to be a kid again. Armed with nothing more than a smartphone and the right apps, you can shoot in razor-sharp HD and add all kinds of startlingly good special effects.
You handle the storyboarding and final edits; I'll show you how to get started with the effects. Start with Picadelic's FxGuru, a free app that comes with a dozen pretty sweet effects and offers more on the cheap. It originated as an Android app, but recently made its way to iOS.
At its most basic, FxGuru works like this: You choose the effect you want, then record some video that's at least as long as the effect (most of them run at least 10 seconds). Next, you apply filters (which are optional), then wait while the app renders your clip. When you're done, you can view it immediately, then save it, share it, etc.
Here's a more detailed walkthrough. I used the iOS version, but the steps are virtually identical in Android.
Step one: Install FxGuru, natch.

Step two: Tap Start, then choose an effect. (Satellite Crash is a good one to start with, though Breaking News is great if you're looking to set up an event -- like, say, a satellite crash.) The effects that have a silver frame are included free; those framed in gold will cost you -- usually 99 cents apiece, though many are available as part of 6-packs that cost $4.99. Thankfully, you can tap the play button to get a full preview of any selected effect, free or not. (By the way, it's worth buying at least one effect, as that allows you to enable both high-definition recording and higher-quality file size.)

Step three: Frame your shot. Each effect provides an overlay so you can see where the action (in this case a satellite hitting the ground) will occur and plan accordingly. For example, if you're planning to have the satellite land alongside a truck, you can frame the scene accordingly. Also take note of the length of the effect, because you'll need to record a clip that's at least that many seconds.
Step four: Press the Record button. Keep recording until the overlay switches from red to green, which means you've shot at least enough video for the full length of the effect. However, you can shoot longer if you want some B-roll or other introductory video before the effect kicks, or you want some aftermath footage.
Now for the really cool part: You don't need to keep your phone tripod-steady while recording. In fact, it will add some terrific vérité to the clip if the camera moves a bit. FxGuru's MotionMatch technology keeps the special effect locked more or less in place, even if you pan side to side or up and down. You shouldn't move much, but it's quite amazing how the app keeps the satellite crash in a fixed point within the shot. You expect it to "float" as the camera moves.
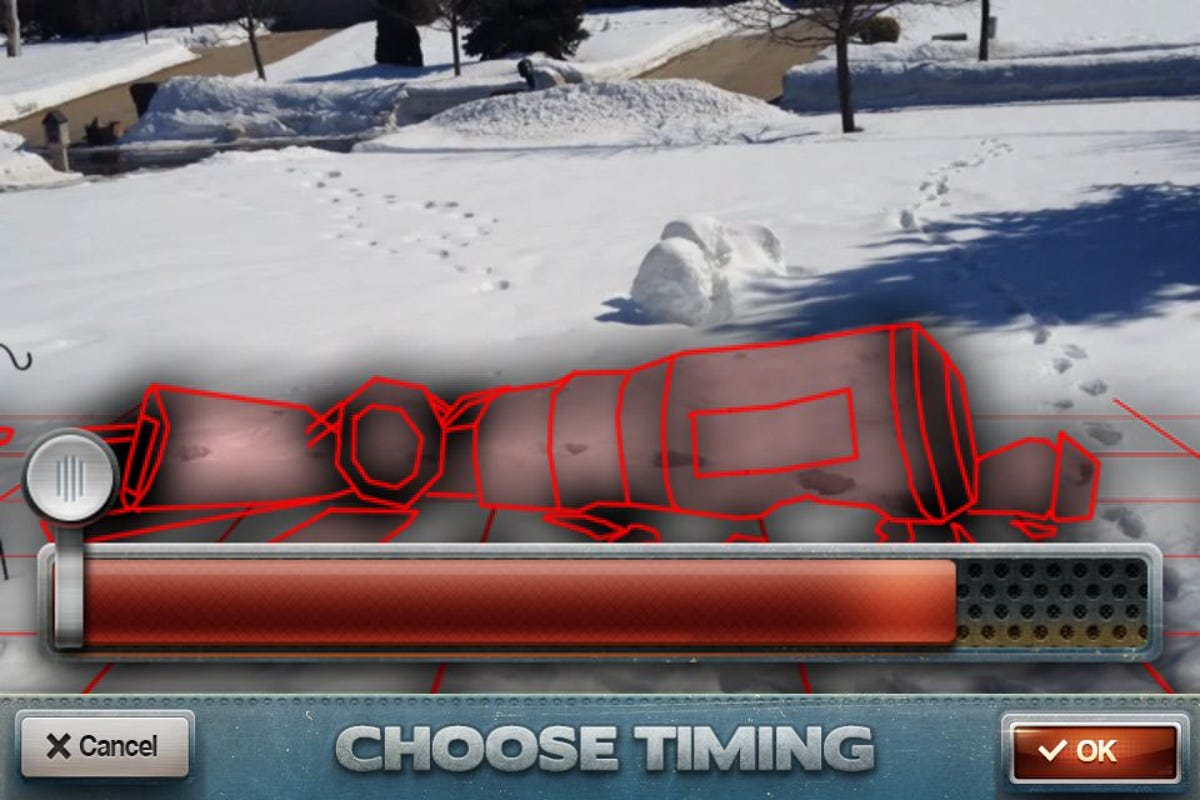
Step five: When you've shot enough video to satisfy the needs of the scene, tap the Record button to stop. Now you'll see a slider labeled Choose Timing. Drag the little handle to the spot within the video where you want the effect sequence to kick in. This is where you learn the importance of shooting for longer than the effect lasts, as it gives you some "buffer" time up front if you want it. When you've decided where you want the effect to start, tap OK.
Step six: FxGuru gives you the following options menu:
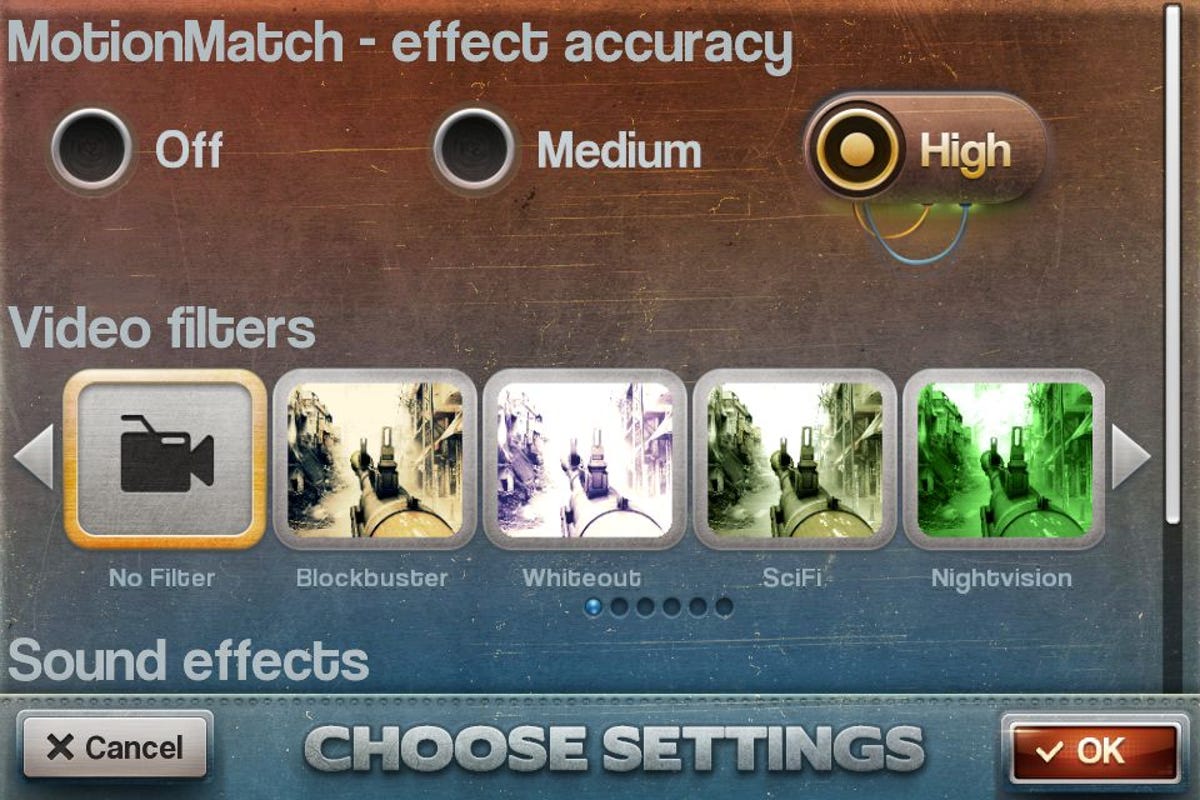
By default, MotionMatch accuracy is set to High, and I can't see any reason to change it. Next, FxGuru offers a couple dozen Instagram-style image filters, all of which are pretty cool -- though obviously if the rest of your movie doesn't look the same way, you might want to reconsider using them.
Finally, you can choose from three self-explanatory sound-effects options. With all your selections made, tap OK.
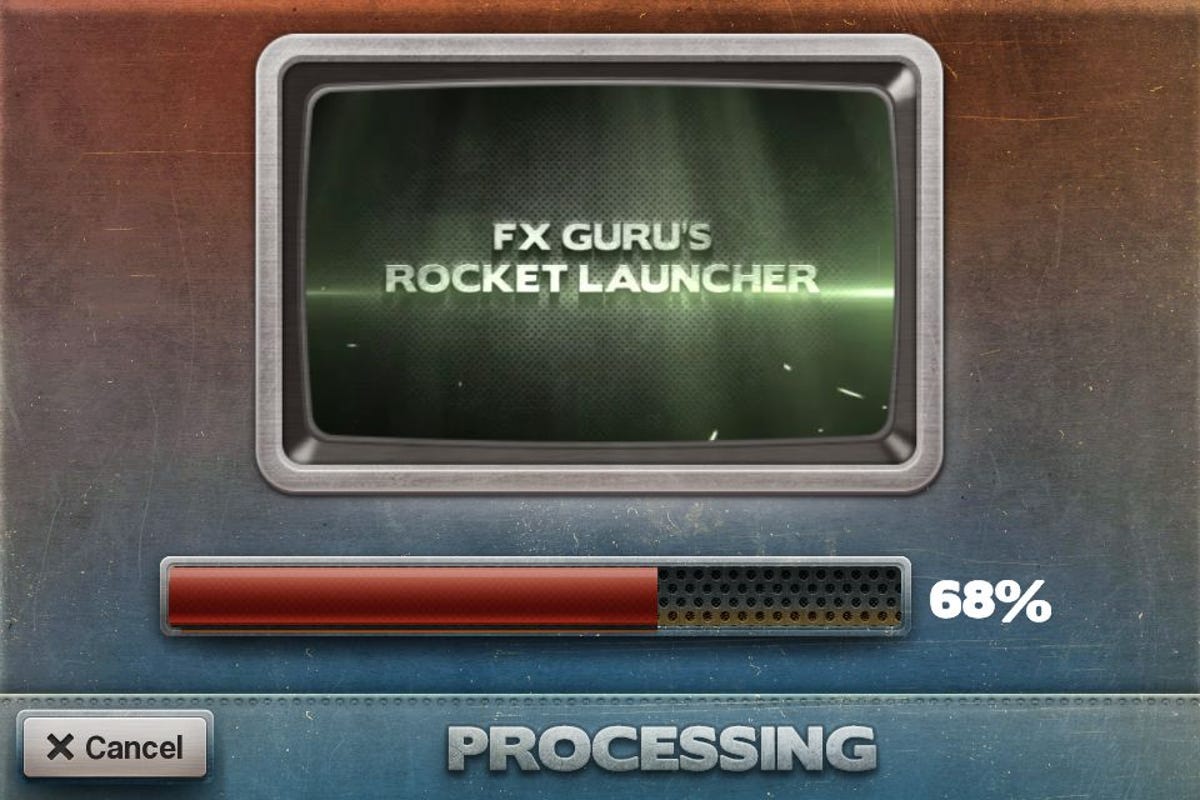
Step seven: It may take a minute or two for the app to render your video. (Amusingly, it shows previews of other effects while you wait.) When it's done, you can immediately view the clip, delete it, share/save it, or tap Edit to rework the options you chose in step five.
Now take a look at the video I shot. Note that the camera pans back and forth even as the satellite stays put. The whole thing looks remarkably real for an app that cost zero dollars and about three minutes of my time. Budding Spielbergs, you're welcome.