How to access Hyperlapse's hidden settings
Learn where to find the settings for Instagram's Hyperlapse app for creating time-lapse videos.


A large part of Hyperlapse's charm is its simplicity that lets you create a time-lapse video with a few taps of your finger. Should you want more control of your output, the app has a hidden Labs feature where you can adjust a number of settings, including resolution, frame rate, and various sound levels.
A German YouTube video shows you how to access Hyperlapse's settings. To do so, launch the app and then perform four quick taps on the screen with four fingers. It may take a few attempts before you get the hang of it. I found that your fingers should not be too close together and the taps should be quick and not too deliberate.
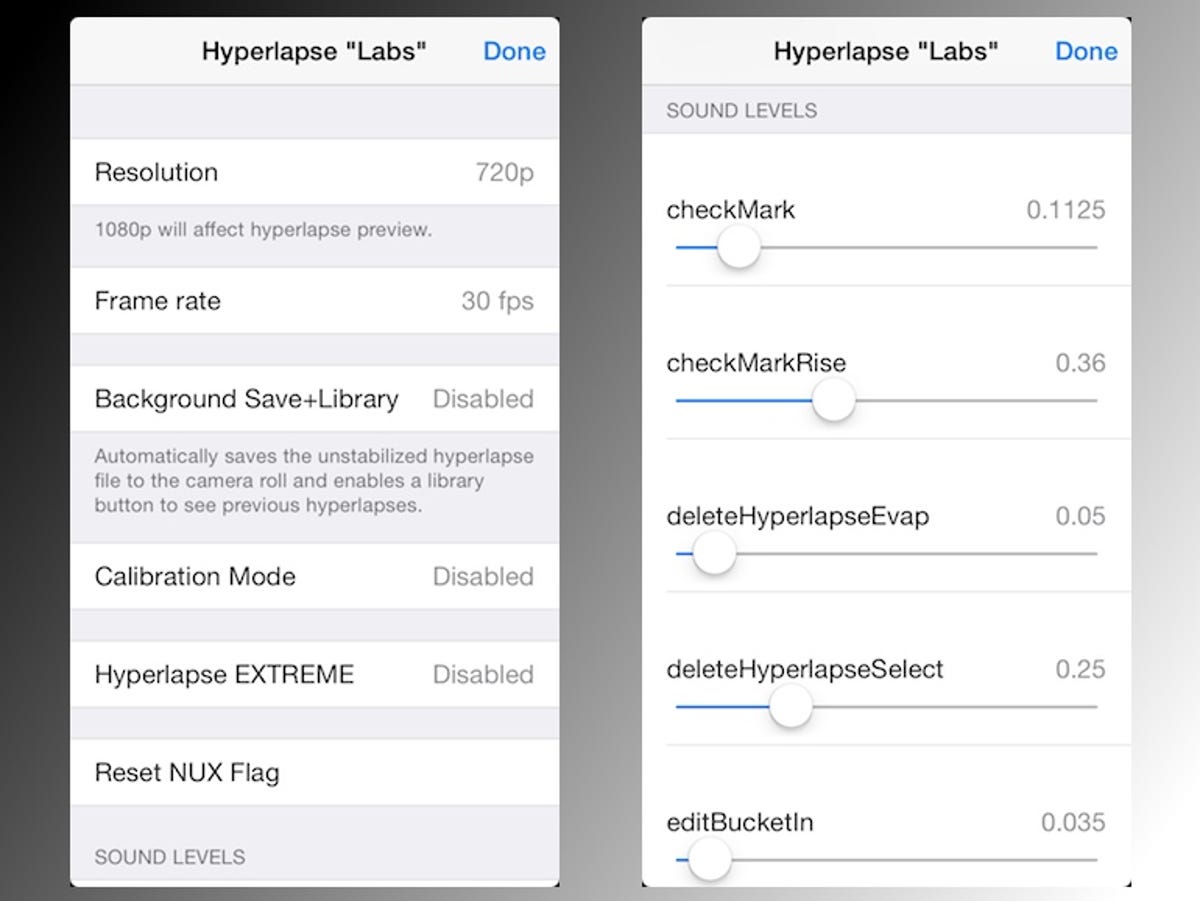
Once inside the Hyperlapse Labs, you can adjust the resolution, frame rate, and a number of sound levels as well as well as enable an option to save unstabilized videos to your camera roll, enter calibration mode and turn on something called Hyperlapse Extreme.
Let's start with the most exciting-sounding option: Hyperlapse Extreme. It adds two extra playback speed settings: 24x and 40x, which you might find useful for very long videos.
The resolution setting lets you change from the default 720p to 1080p, while the frame rate settings lets you move from 30fps to 24fps.
The Background Save+Library setting saves unstabilized videos to a Raw Hyperlapse album in your camera roll. As for Calibration Mode, it appears that it lets you tweak the exposure level without saving the test video to your phone.
Below these settings are a number sliders to adjust a number of sound levels, but be warned: they are in great number -- with seemingly purposefully vague descriptions -- so adjust them at your peril.
If you'd like to back up a step and receive a proper introduction to Instagram's time-lapse video app, learn how to get started with Hyperlapse.
(Via Lifehacker)