Getting started with Microsoft Office Lens
The new app makes it easy to turn your Android or iOS device into a scanner.


Last week, Microsoft unveiled a new version of Office Lens, a free mobile scanning app that was previously limited to Windows Phone devices. Now it's available for iOS as well, with a Preview version available for Android users who wish to beta-test it.
The idea behind Office Lens is to turn your smartphone or tablet into a fast, efficient scanner, one that automatically deposits documents, business cards, receipts, sticky notes, whiteboards and other real-world items into your OneNote account (or various other destinations). Let's take a look at how all this works.
(Note that this tutorial is based on the iOS version. Although I wasn't able to test Office Lens for Android, the overall process should be very similar, if not identical.)
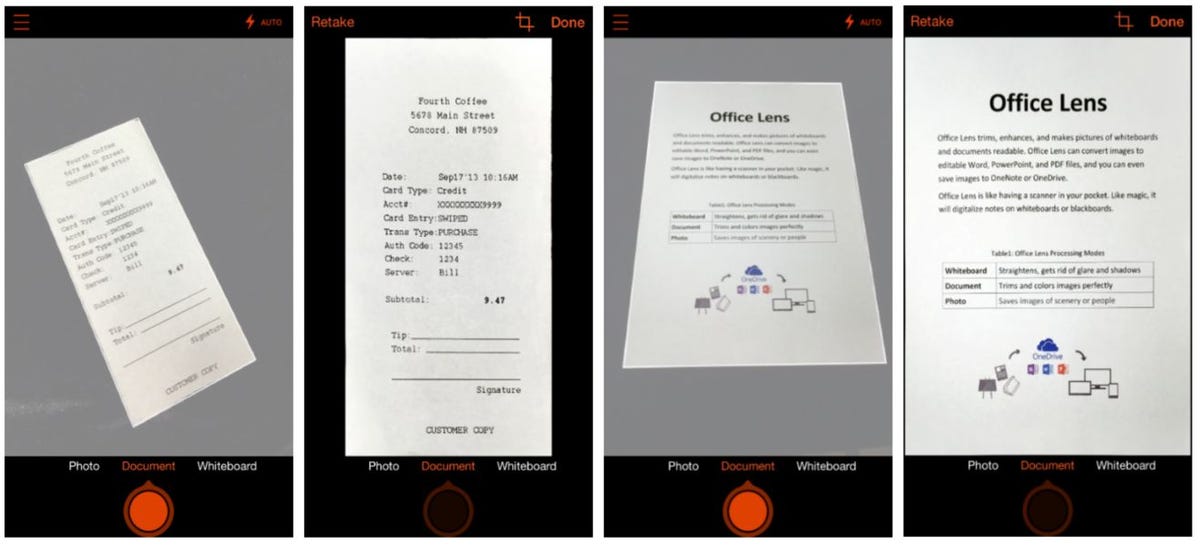
Step 1: Install Office Lens on your device, run the app, then give it permission to access your camera.
Step 2: The default "view" in the app is a live camera viewfinder. Choose one of the three available image types -- Photo, Document or Whiteboard -- then point the camera at whatever you want to capture.
Step 3: For documents and whiteboards, you'll see the app attempt to automatically frame the image as you move around. Once the frame encompasses the desired area, tap the shutter button.
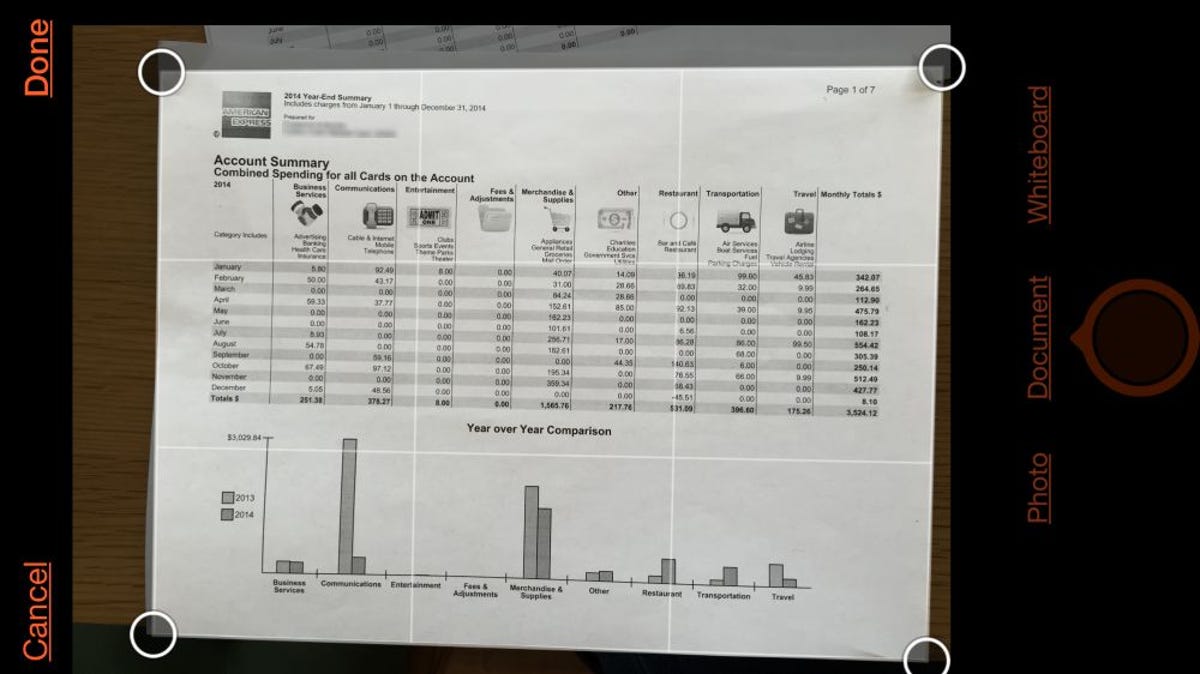
Step 4: After a moment of processing the image, Office Lens gives you a preview of it. If it needs cropping, tap the Crop icon in the upper-right corner. Once you're done cropping, or you're just ready to save the image, tap Done.

Step 5: Now it's time to choose the destination for this item. If it's OneNote, you'll first need to sign into your account (a one-time step). Then you can give the image a title and choose the notebook in which to file it. Alternately, Office Lens can export to your OneDrive account, or to Word or PowerPoint (whether or not you have the associated apps on your device). Other export options include PDF, e-mail and your photo library.
After you've exported your file, you'll find yourself back at the viewfinder, ready to capture another one. Unfortunately, Office Lens for Android and iOS doesn't currently allow for capturing multipage documents, nor will it auto-classify your documents. But it's still a quick and easy way to save and even edit real-world information.
If you like the idea behind Office Lens but already use Evernote to manage your documents, check out the very similar Scannable app, which pairs with that service.