Control camera playback using a TV remote
Want to kick back in style and review your favourite photos from your camera on the TV, without leaving the couch?


- Webby Award honoree, 2x Gold Telly Award winner
Does your SLR have HDMI output? Then chances are you can control it from the comfort of your couch, using the TV remote.
While you may be familiar with using an HDMI cable to connect a camera to a TV, you still need to use the camera's physical controls to flick through photos and videos. That soon becomes tiring if you have thousands of holiday photos to share with family and friends.
But, if your camera and TV are Consumer Electronics Control (CEC) compatible, you can control the camera's playback functionality using a TV remote.
Check the documentation of your devices first to see if CEC is available. The connection process may vary between camera and TV brands, but here are the basic steps that should work in most scenarios.
1. Enable HDMI control

Within the camera menu, there should be an option that lets you switch on HDMI control. Find this option, and enable it. On Canon SLRs, this is found in the playback menus and is called "Ctrl over HDMI".
For Nikon SLRs, enter the Setup menu and under the "HDMI" heading activate Device Control. If in doubt, or you are using another camera brand, consult your manual.
Also ensure that the video system is set to the correct option for your region: NTSC or PAL.
This is also a good time to disable your camera's auto power off mode, otherwise it might keep switching off due to periods of inactivity.
2. Connect the cable

Your camera will have either a micro- or mini-HDMI port. You'll need to buy the appropriate cable in order to connect the camera to a TV.
Unfortunately, manufacturers consider these cables as optional extras, rather than including them in the box.
With the camera switched off, connect the appropriate ends of the cable to the ports on the TV and camera.
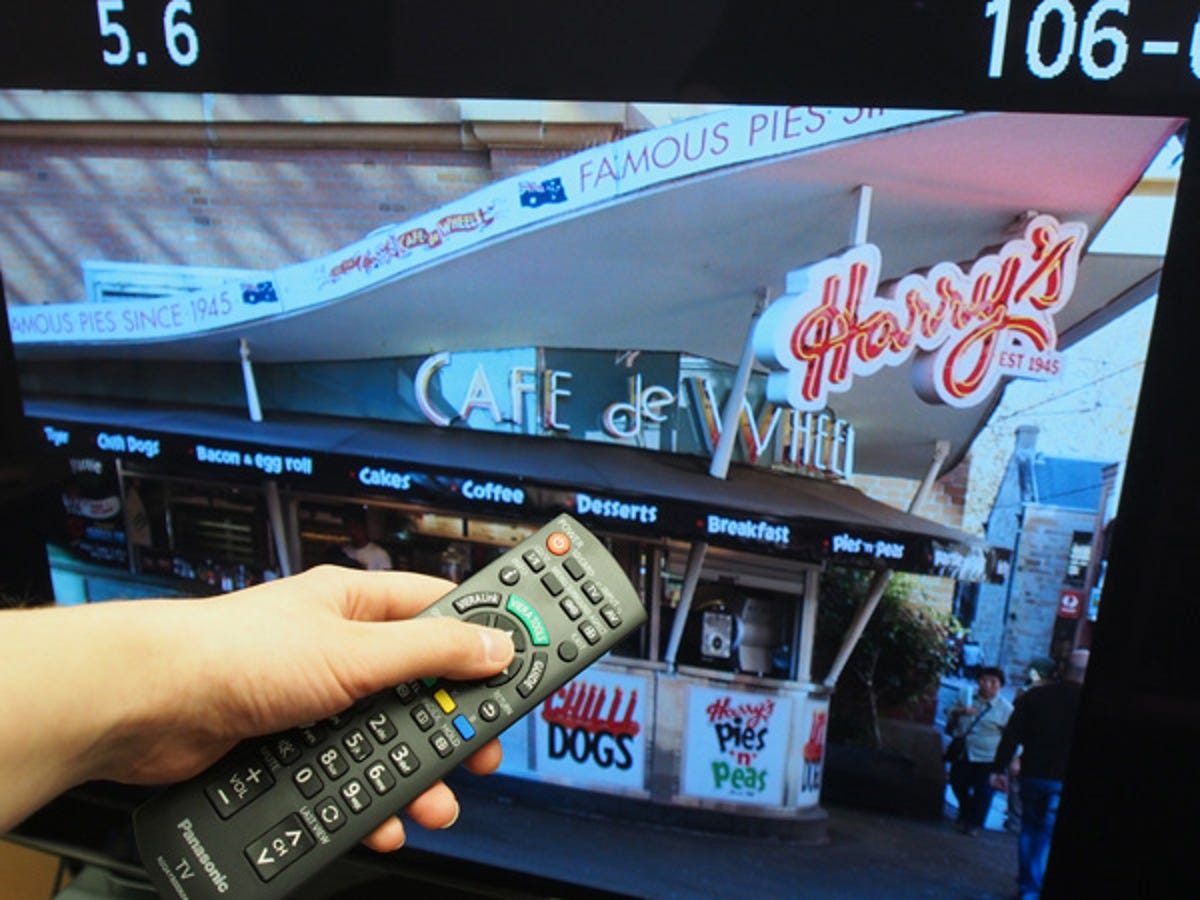
3. Start viewing
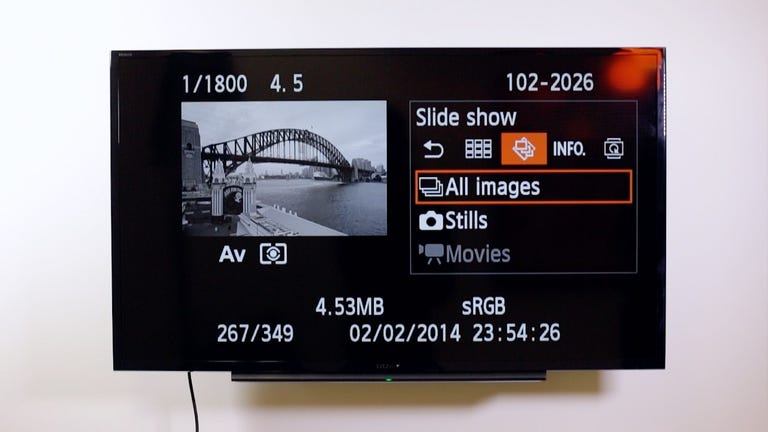
Once the cable is connected, turn on the camera and then select the HDMI input source on the TV that the camera is plugged into. Press the playback button on your camera and you should now be able to see an image from the memory card displayed on the TV. Using the remote's four-way directional pad and OK button, you can cycle back and forth through the images on your camera.
You can also use the OK or Select button on the remote to bring up any options that are available from the playback menu, such as viewing images in a grid, slideshow options or group playback.