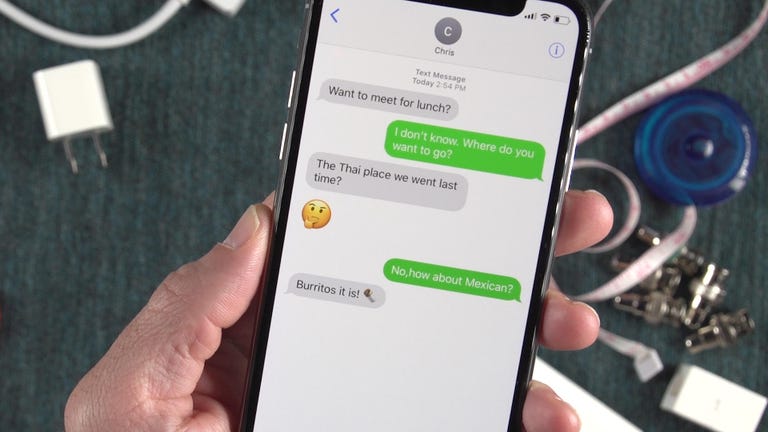
5 privacy tips for iPhone texting
Keep your texts from prying eyes.


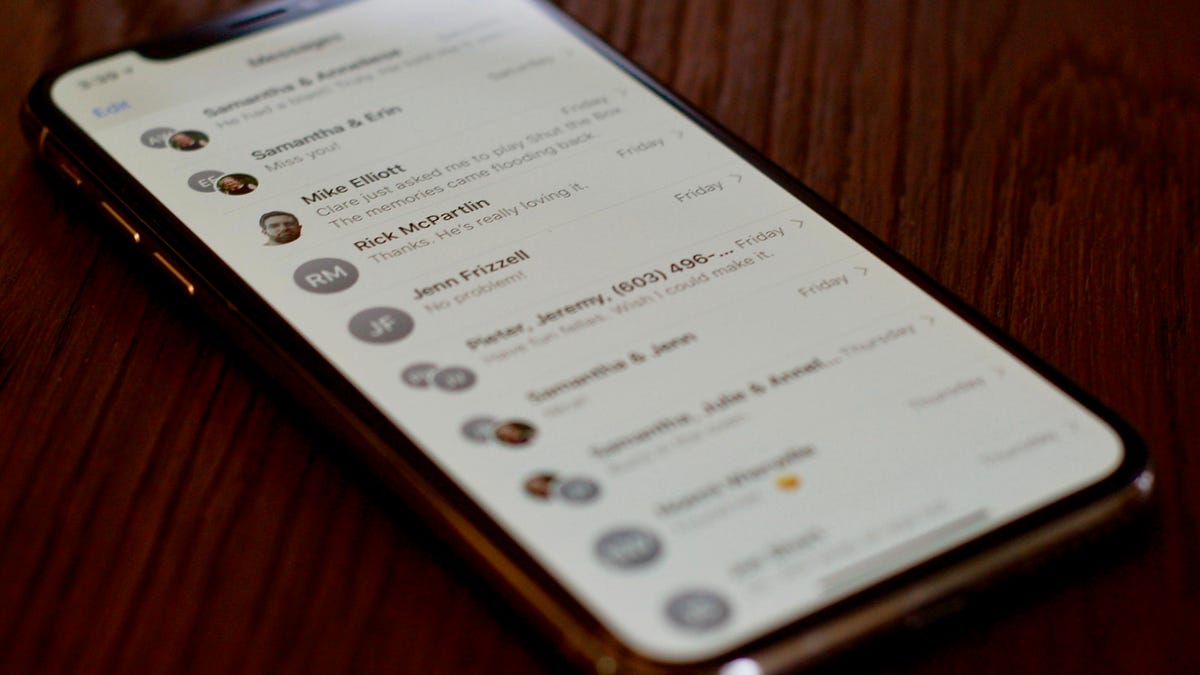
I'm not up to anything untoward, I assure you. I just don't want my kids, who are constantly borrowing my phone to play music or Google something, reading my texts as they go by.
If you want to restrict the contents of the iOS Messages app to its intended audience only (read: you), then here are five tips to to keep your iPhone text conversations private.
No lock screen alerts
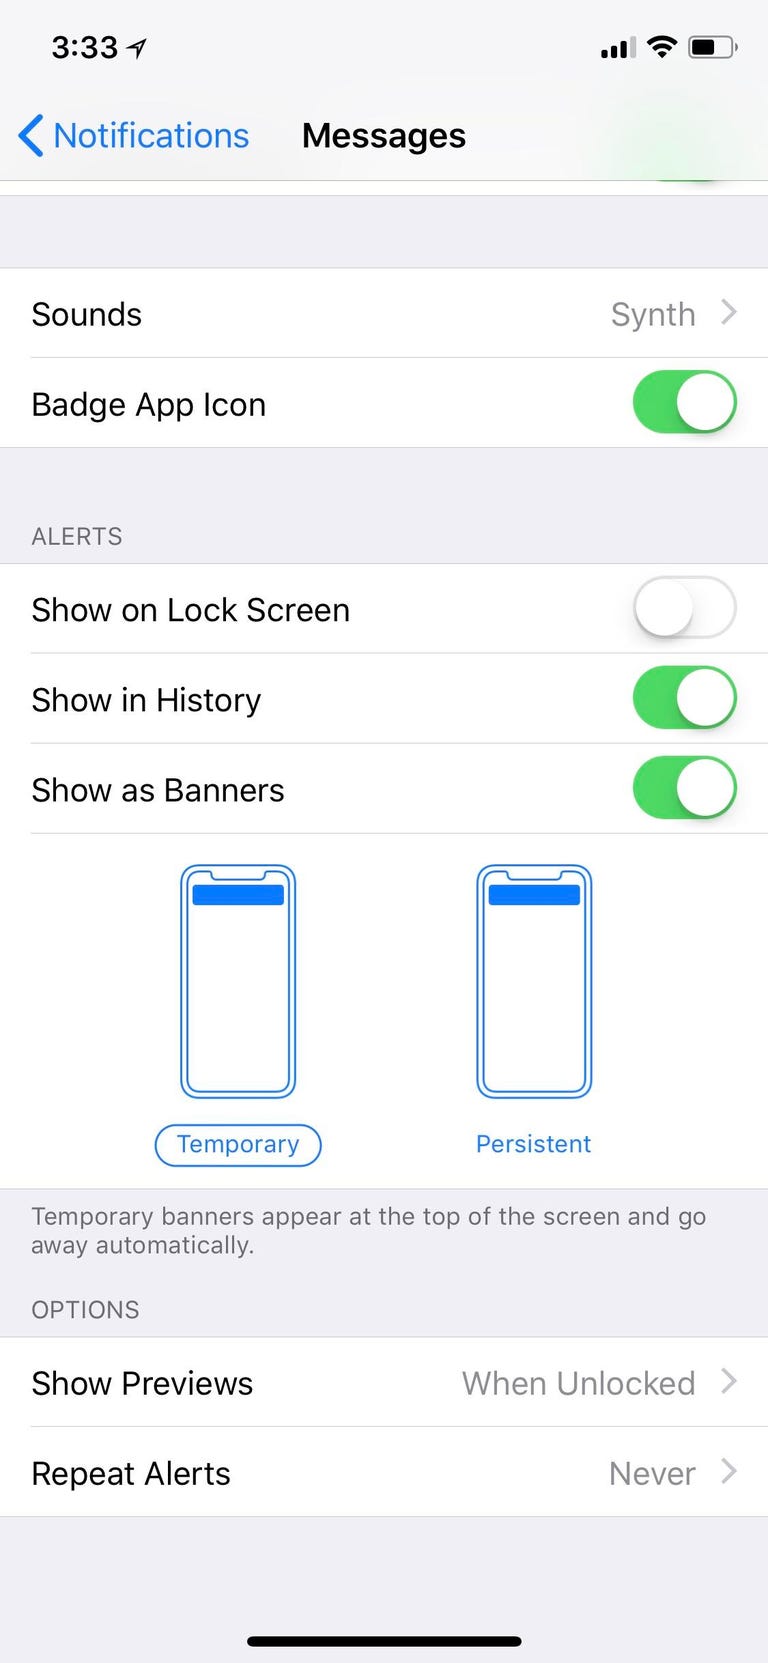
I'll assume that if you are reading a blog post about texting privacy tips, then you already have a passcode or Touch ID or Face ID enabled to keep your iPhone protected when it's locked. The next step is to keep text alerts from appearing on the lock screen, where anyone can see them. To turn off lock screen notifications, go to Settings > Notifications > Messages and toggle off Show on Lock Screen in the Alerts section.
Alternatively, you can still get lock screen alerts but without the preview of the text message. This way, you'll still be able to see which of your contacts is texting you but will need to unlock your phone and open the Messages app to see what they said. To do so, leave the toggle switch on for Show on Lock Screen and for Show Previews, choose When Unlocked or Never. Now, a banner alert will signal the arrival of a text message on your lock screen, but it will just show the sender's name without the message preview.
Text only from your iPhone
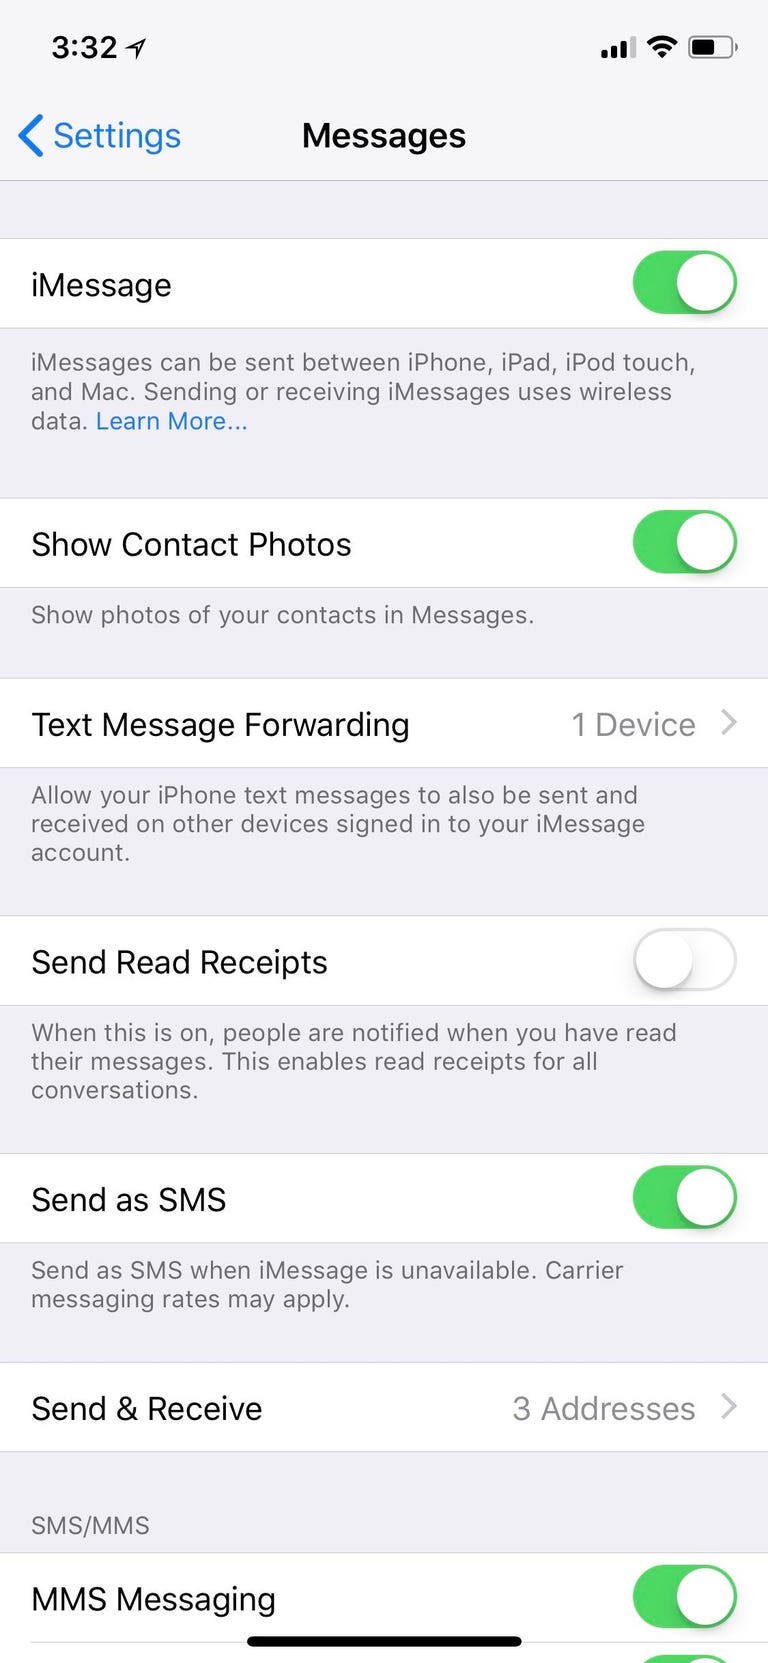
Be honest -- your phone is rarely out of reach. If so, then you don't need texts also arriving on your iPad and Mac where they can be read by, in my case, my kids because they also are always borrowing my iPad to watch Netflix and YouTube. You can disable texting via the Messages app on your other devices, but you can also do so from your iPhone. Head to Settings > Messages and see how many devices you have listed for Text Message Forwarding. Just toggle off the devices you no longer want to use to receive and send texts.
Automatically delete old messages
You don't need to keep your old texts laying around forever. Go to Settings > Messages and scroll down to the Message History area. Tap Keep Messages and choose either 30 Days or 1 Year. Not only will automatically deleting old messages from being read by someone you might not want reading your texts, but it will also free up some space on your iPhone.
Filter texts from people you don't know
If you don't want to get alerts when you get texted from an unknown number, you can turn those off, which also moves all of the texts you get from people not in your contacts to their own list. Go to Settings > Messages and toggle on Filter Unknown Senders. You'll no longer get alerts for random texts and you'll see two filters listed at the top of the Messages app: Contacts & SMS and Unknown Senders.
Turn off read receipts
This last tip is not about preventing someone from glancing at a text or a text alert on your own phone but stopping people from knowing that you've read the text they sent you. Because maybe you can't or don't want to respond right away but don't want them to know you've opened their text. To make sure people aren't getting notified when you've read a text, go to Settings > Messages and make sure the toggle switch for Send Read Receipts is turned off.
You can also disable read receipts for individual contacts. Open a text conversation (it has to be an iMessage conversation and not SMS -- that is, blue bubbles and not green), tap the "i" button in the top right and toggle off Send Read Receipts.
Read more: 10 iPhone texting tips you'll wish you'd known all along